


3535.qxd 31.08.2004 10:01 Page 2

3535.qxd 31.08.2004 10:01 Page 3
ИНСТРУКЦИЯ ПО ЭКСПЛУАТАЦИИ MANUAL INSTRUCTION
ALARM CLOCK / WIRELESS THERMO STATION
ЧАСЫ - БУДИЛЬНИК/БЕСПРОВОДНАЯ МЕТЕОСТАНЦИЯ
МОДЕЛЬ VT-3535
3535.qxd 31.08.2004 10:01 Page 2
ENGLISH
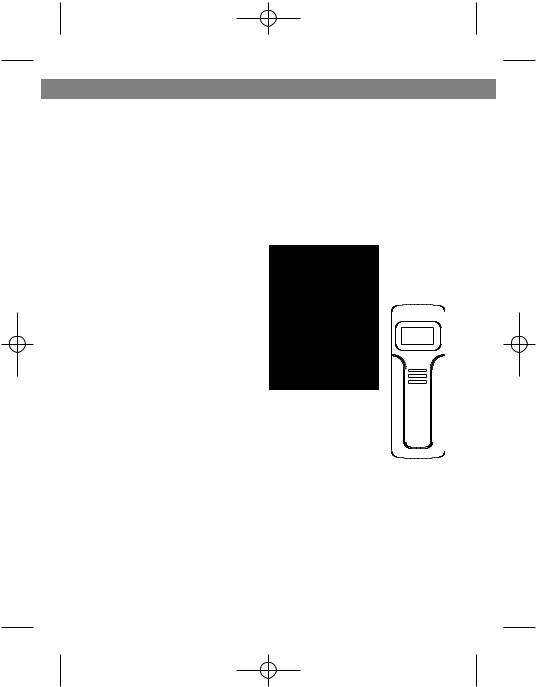
Wireless Weather Station
Congratulations on your purchase of this weather station set.
Please take the time to read and understand this manual so you can begin to enjoy the convenience and features this product has to offer.
FEATURES
Main Display Unit:
•12/ 24 hour clock and alarm
•local temperature display
•receives and displays temperature and humidity readings from up to 4 remote transmitter via RF
technology of 433MHz minimum and maximum temperature record
•high/ low temperature alarm function
•temperature and humidity trend indicator
•weather report symbols
•backlight illumination
•user-selectable C or F
•battery type: 2 x AA
VT-3535 receiver
Remote Transmitter
•drip-proof design with LCD
•socket of external sensor probe
•temperature display in user-selectable °C or °F
•humidity display
•transmission range: up to 40 meters in open area
•battery type: 2 x AA size
VT-3535 transmitter
2

3535.qxd 31.08.2004 10:01 Page 3
ENGLISH
GETTING STARTED
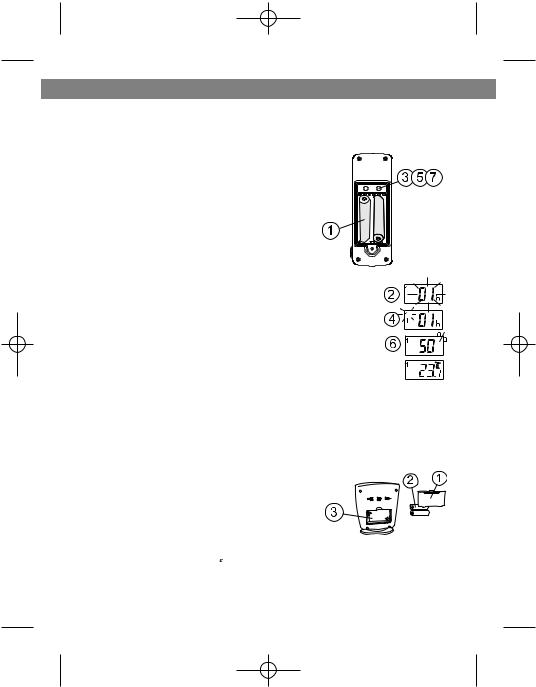
1. CHANNEL - scrolls through remote
Button placement
channels 1-4
2.ALARM/ (AM/PM)/ (C/F) - toggles between C and F, 12 and24 hour format, turns alarm on/off; clears temperature alarm presets
3.MODE/SNOOZE - scrolls through time,
alarm and temperature alarm set points (high/low); activates alarm snooze
4. UP/HOUR/MAX - scrolls through hours; shows maximum temperature
5. DOWN/MINUTE/MIN - scrolls through minutes; show minimum temperature
6. Table Stand
7. SET: enter to House code and Channel setting mode
8.C/F: change between C or F, change channel and house code
9.Battery compartment
10.Socket for external sensor probe.
11.Wall Mount Holder & Table Stand
12.LCD display
3
3535.qxd 31.08.2004 10:01 Page 4
ENGLISH
SETTING UP
• Set up the transmitter(s) before setting up Setting up transmitter(s) the receiver
1. Remove battery cover and insert batteries to start setup 2 AA size batteries (included)
Insert batteries into compartment observing proper polarity
2. HOUSE CODE will flash for 8 seconds
3. Select HOUSE CODE (1-15) by pressing C/F and pressing SET to CHANNEL setting
If you have multiple transmitters for a single receiver, set each transmitter to the same House code
4. CHANNEL will flash for 8 seconds
5. Select CHANNEL (1-3) by pressing C/F
If you have multiple transmitters for a single receiver, set each transmitter to a different Channel code
6.Humidity & Temperature will alternatively display on LCD screen
7.Select °C or °F of Temperature by pressing C/F
•Use a different house code if your weather station detects other signals from neighboring sources
• |
Factory default: house code = 01 and chan- |
Setting up receiver |
|
||
|
nel = 01 |
|
1. |
Remove battery cover |
|
2. |
2 AA size batteries (included) |
|
3. |
Insert batteries into compartment, observing |
|
|
proper polarity; replace cover |
|
REPLACING BATTERIES:  symbol on receiver will appear when batteries
need to be changed.
Transmitter: Lo bat will be displayed
4

3535.qxd 31.08.2004 10:01 Page 5
ENGLISH
SETUP
Automatic Learn Function:
1.Learn function executes automatically and runs for approximately 3 minutes when batteries are first installed in the receiver.
2.Within these 3 minutes, receiver picks up the temperature & humidity signals from remote transmitter and displays the readings.
Manual-Learn (Searching for Remote Signals):
If a new remote transmitter is added or if signal is lost (outdoor display blinking), learn function must be executed again.
1.Press & hold ALRAM/(AM/PM)/(C/F) for 3 seconds to start.
2.Beep sound indicates that learn function has started.
3.'Channel' symbol will flash and unit will beep as each transmitter is detected.
4.Temperature & humidity readings of remote transmitter displays on the receiver.
• Press & hold Channel for 3 seconds to start auto channel scroll function. In this mode, the display will scroll through the data from all the valid channels, each of which will be shown for 8 seconds.
• Press & hold Channel for 3 seconds again to disable this function.
5
 Loading...