


3473.qxd 27.06.2005 12:14 Page 1
RADIO CASSETTE RECORDER with CD/MP3 PLAYER
MODEL VT 3470 GY
INSTRUCTION MANUAL
3
10
www.vitek aus.com
3473.qxd 27.06.2005 12:14 Page 2
3473.qxd 27.06.2005 12:14 Page 3
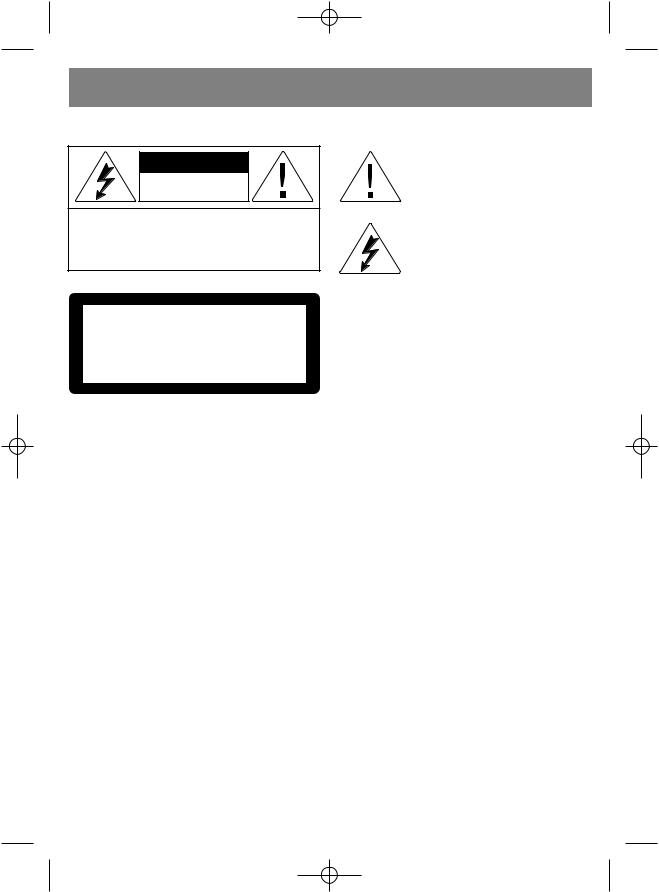
PRECAUTIONS |
CAUTION |
RISK OF ELECTRIC SHOCK |
DO NOT OPEN |
CAUTION: TO REDUCE THE RISK OF ELECTRIC SHOCK, |
DO NOT REMOVE COVER. |
NO USER-SERVICEABLE PARTS INSIDE. |
REFER SERVICING TO QUALIFIED SERVICE PERSONNEL |
CLASS 1
LASER PRODUCT
Please take good note of the following instructions:
•The unit must be connected to the power voltage which is the same as the local area. If not, there is a danger of "burning" the unit that causes a fire.
•Do not expose to the temperature higher than 35°C.
•Avoid installation near heaters or in areas subjected to direct sunlight.
•Ensure good air circulation.
•Protect the unit from dust, moisture and water.
•Avoid strong magnetic fields, e.g. near TVs or Speakers for other units.
•Avoid using strong chemical agents to clean. Do not grease or oil components, running mechanisms, etc. The CD player is designed to be maintenance free.
•Take the unit to approved service point for servicing.
CAUTION:
•To avoid electric shock, this unit must not be exposed to dripping water or water splash. Minimum distances around the apparatus for sufficient ventilation;
•The ventilation should not be impeded by covering the ventilation openings with items, such as newspapers, table-cloths, curtains, etc.
•No naked flame sources, such as lighted candles, should be placed on the apparatus.
•Before scrapping the appliance, remove the batteries and place them in the appropriate battery collection container.
ENGLISH
The "exclamation point" calls attention to features for which you should read the enclosed literature closely to prevent operating and maintenance problems.
This "bolt of lightning" indicates uninsulated material within your unit which may cause an electrical shock. For the safety of everyone in your household, please do not remove product covering.
3
3473.qxd 27.06.2005 12:14 Page 4
ENGLISH
SOME DO'S AND DON'TS ON THE SAFE USE OF EQUIPMENT
This equipment has been designed and manufactured to meet European safety standards but like any electrical equipment, care must be taken if you are to obtain the best results and safety is to be assured.
•DO read the operating instructions before you attempt to use the equipment.
•DO ensure that all electrical connections ( including the mains plug, extension leads and interconnections between piece of equipment ) are properly made in accordance with the supplied instructions. Switch off and withdraw the mains plug when making or changing connections.
•DO consult your dealer if you are ever in doubt about the installation, operation, or safety of your equipment.
•DO be careful with glass panels or doors on equipment.
•DON'T continue to operate the equipment if you are in any doubt about it working normally, or if it is damaged, in any way - switch off, withdraw the mains plug and consult your dealer.
•DON'T remove any fixed cover as this may expose dangerous voltages.
•DON'T leave equipment switched on when it is unattended unless it is specifically stated that it is designed for unattended operation or has a standby mode. Switch off using the switch on the equipment and make sure that your family knows how to do this. Special arrangements may need to be made for infirm or handicapped people.
•DON'T listen to headphones at high volume, as such use can permanently damage your hearing.
•DON'T obstruct the ventilation of the equipment, for example with curtains or soft furnishings. Overheating will cause damage and shorten the life of the equipment.
•DON'T allow electrical equipment to be exposed to rain or moisture.
Above all
NEVER let anyone, especially children, push anything into holes, slots or any other openings in the case. This could result in a fatal electric shock.
NEVER guess or take chances with electrical equipment of any kind.
It is better to be safe than sorry!
Note : If energy saving lamps (Fluorescent) are used in the same room as the unit, erratic operation may occur.
4

3473.qxd 27.06.2005 12:14 Page 5
ENGLISH
LOCATION OF CONTROLS
TOP VIEW
1. VOLUME Control
2. BASS BOOST ON/OFF SWITCH
3. FUNCTION Selector Switch (CD/TAPE/RADIO)
4. FM Rod Antenna
5.Handle
6.CD Door
7. CD door Open Lid
8. Dial pointer
9.BAND Selector
10.TUNING Control
11 Control Buttons (PAUSE/STOP-EJECT/FFW/ REW/PLAY/
RECORD)
FRONT VIEW
12.FOLDER DN/M-DN Button
13.FOLDER UP/M-UP Button
14. POWER ON Indicator
15.CD PROG. Button
16.PLAY MODE Button
17.CD Track Display
18. CD PLAY/PAUSE Button
19. CD STOP Button
20. Built-in Microphone
21. FM ST. Indicator
22. CD SKIP NEXT Button
23.CD SKIP BACK Button
24.Speaker
25.Cassette Door
26. Speaker
BACK VIEW
27. Battery door
28.AC Input socket
29.Stereo Headphone socket
Headphone Jack
Headphone Jack "PHONES" (29) for headphones
with 16-32 Ohm impedance (3.5mm jack). Use corresponding adaptors (Electronics shops) if you have different plugs. The speakers are automatically switched off when the headphones are being used.
CAUTION:
Listening at high power for long periods of time can damage users' ears.
5
3473.qxd 27.06.2005 12:14 Page 6
ENGLISH
POWER ON/OFF
1.Connect the power cable to the AC input socket (28) at the unit and then insert the power plug in the wall socket. Slide the FUNCTION selector (3) to your desired mode (CD, TAPE or RADIO with Play button pressed).
2.To turn off the power, slide the FUNCTION selector (3) to TAPE (OFF) position.
BASIC OPERATION Volume Control
Once the required station has been located or during tape/CD playback, adjust VOLUME control (1) to the desired level.
LISTENING TO THE RADIO
1.Select the FUNCTION selector (3) to RADIO mode.
2.Select the BAND selector (9) to AM or FM or FM ST. band.
3.Tune the TUNING control (10) to the desired station.
4.When finished listening, slide the FUNCTION selector (3) to TAPE (OFF) position.
PLAYING COMPACT DISCS
1.Select the FUNCTION selector (3) to CD mode.
2.If there is no CD inside or disc damaged, the LCD will show "no".
Loading a disc
1.Press the CD door open button (7) to open the CD door.
2.Put a disc inside and then close the CD door. The unit begins to read the disc. After that, the disc is playing
automatically.
Note:
Ensure the disc is pushed fully and locked in place. This unit is CD-R / -RW compatible.
To play the disc
In CD stop mode, press PLAY/PAUSE button (18) to play the CD.
To pause the playing
Press PLAY/PAUSE button during the disc is playing, the playing time will flash. Press it again to resume playing.
To stop the disc playing
Press the STOP button (19).
Skip and Search Function
Press the SKIP NEXT or BACK button (22/23) momentarily.
|
|
In play mode |
In stop mode |
|
|
Press once |
|
Press twice |
Press once |
|
Back to the |
|
Previous track |
Previous track |
|
begining of |
|
|
|
|
the current |
|
|
|
|
track |
|
|
|
|
|
|
|
|
|
Next track |
|
|
Next track |
|
|
|
|
|
Press and hold the SKIP button during playback:: FAST BACKWARD : FAST FORWARD
NOTE : During search mode low level audio will be heard to assist in locating the correct point in the track.
PROGRAMMED PLAYBACK
The CD player enables you to program up to 20 tracks in a sequence of your choice. First select CD stop mode.
1.Press the PROG. button (15) one time. ("PROGRAM" flashes)
2.Press the SKIP NEXT or BBACK button (23) to select the desired track to be programmed.
3.Press the PROG. button (15) again, then the selected track, e.g., track 4 is stored.
4.Continue to program, repeat steps 2 and 3 for each selection.
Reviewing programs
Press the PROG. button (15) repeatedly. The track number programmed on each program number will be displayed.
5.Pressing PLAY/PAUSE button (18) to play the program tracks.
Clear the program
Press the PROG. button (12) to recall previously programmed track ("PROGRAM" icon blinking), then press CD stop button will cancel the preset programs or change function mode or open the CD door.
PLAYING MP3 DISCS
1.Set the FUNCTION selector (3) to CD mode.
2.If there is no disc inside or disc damaged, the LCD will show "no".
Loading a disc
1.Press the CD door open button (7) to open the CD door.
2.Put a disc inside and then close the CD door. The unit
begins to read the disc. After that, the disc is playing automatically.
Note:
Ensure the disc is pushed fully and locked in place. This unit is CD-R / -RW compatible.
6
 Loading...