


VT-3534
3534.qxd 22.09.2004 15:22 Page 2
ИНСТРУКЦИЯ ПО ЭКСПЛУАТАЦИИ
MANUAL INSTRUCTION
МОДЕЛЬ VT-3534
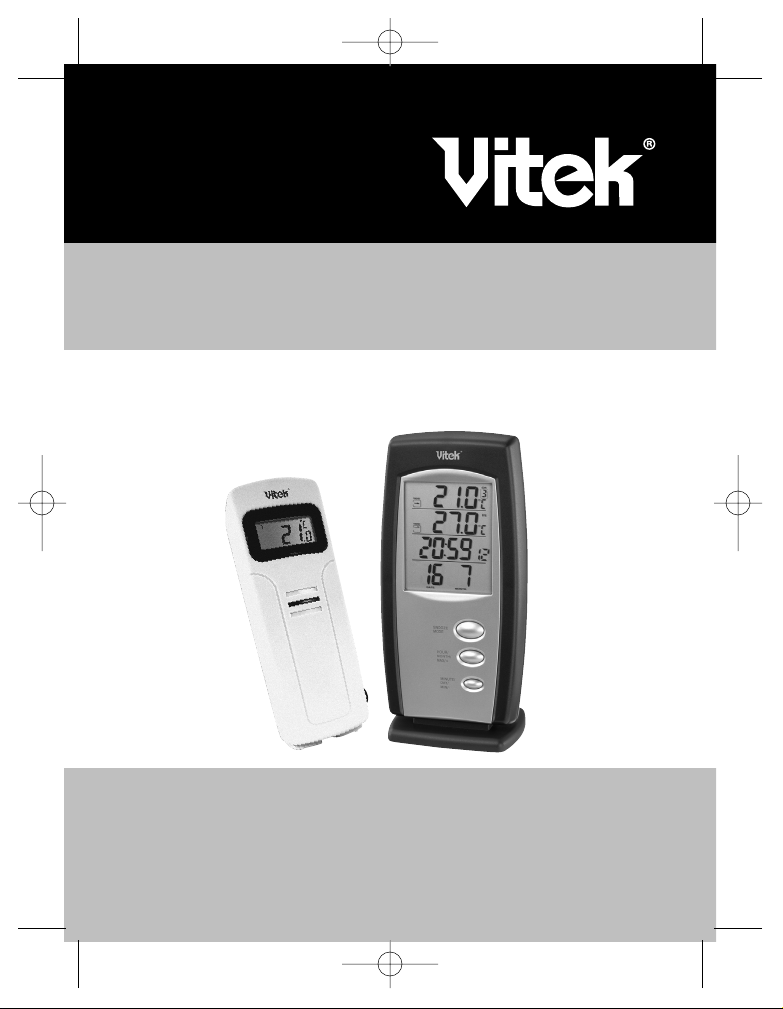
ALARM CLOCK / WIRELESS THERMO STATION
ЧАСЫ-БУДИЛЬНИК / БЕСПРОВОДНАЯ ТЕРМОСТАНЦИЯ
3534.qxd 22.09.2004 15:22 Page 3
OWNER’S MANUAL
Congratulations on your purchase of this alarm/clock/weather station set,
VT-3534. Please take the time to read and understand this manual so you
can begin to enjoy the convenience and features this product has to offer.
Remote Transmitter VT-3534
• drip-proof design with LCD
• socket of external sensor probe
• temperature display in user-selectable °C or °F
• transmission range: up to 40 meters in open area
• battery type: 2 x AA size
ENGLISH
2
FEATURES
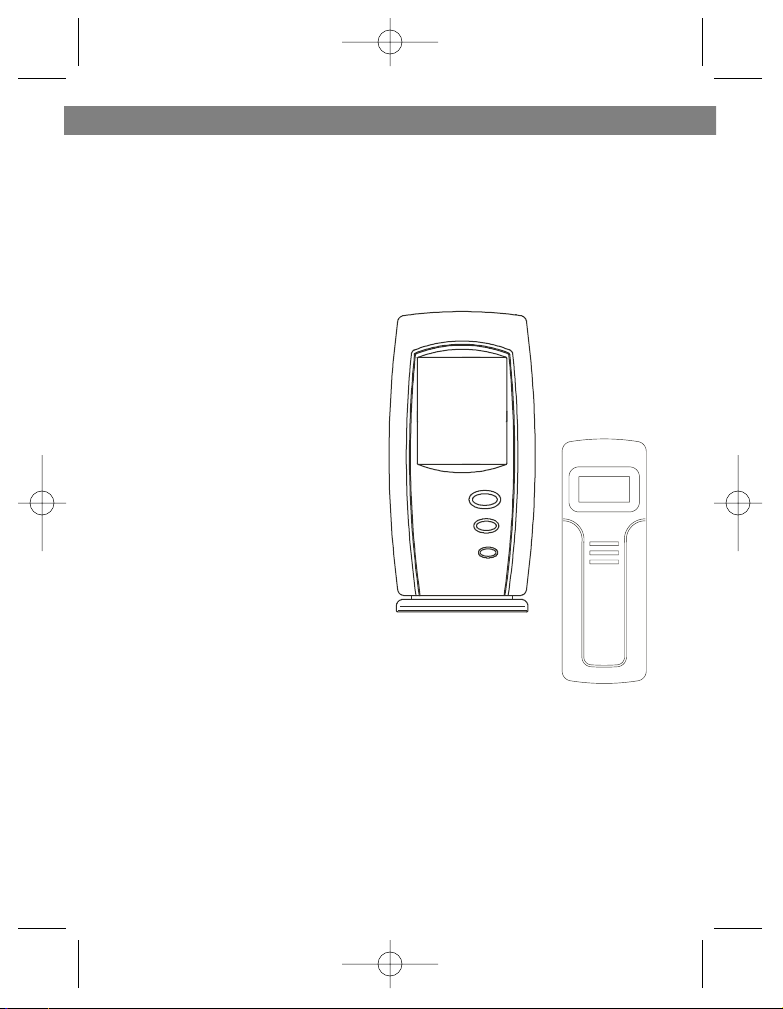
Main Display Unit:
• 12/ 24 hour clock and alarm
• local temperature display
• receives and displays temperature
readings from up to 4 remote
transmitter via RF technology of
433MHz
• minimum and maximum tempera-
ture record
• high/ low temperature alarm func-
tion
• temperature trend indicator
• user-selectable °C or °F
• backlight illumination
• battery type: 2 x AA
VT-3534
receiver
VT-3534
transmitter
3534.qxd 22.09.2004 15:22 Page 2

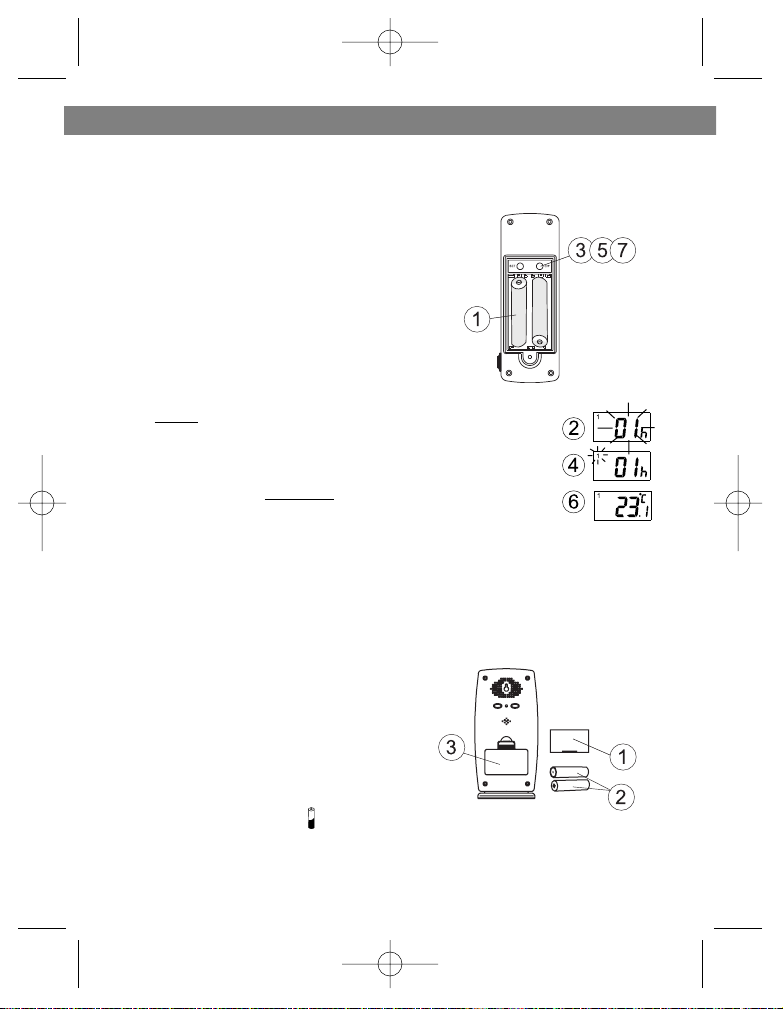
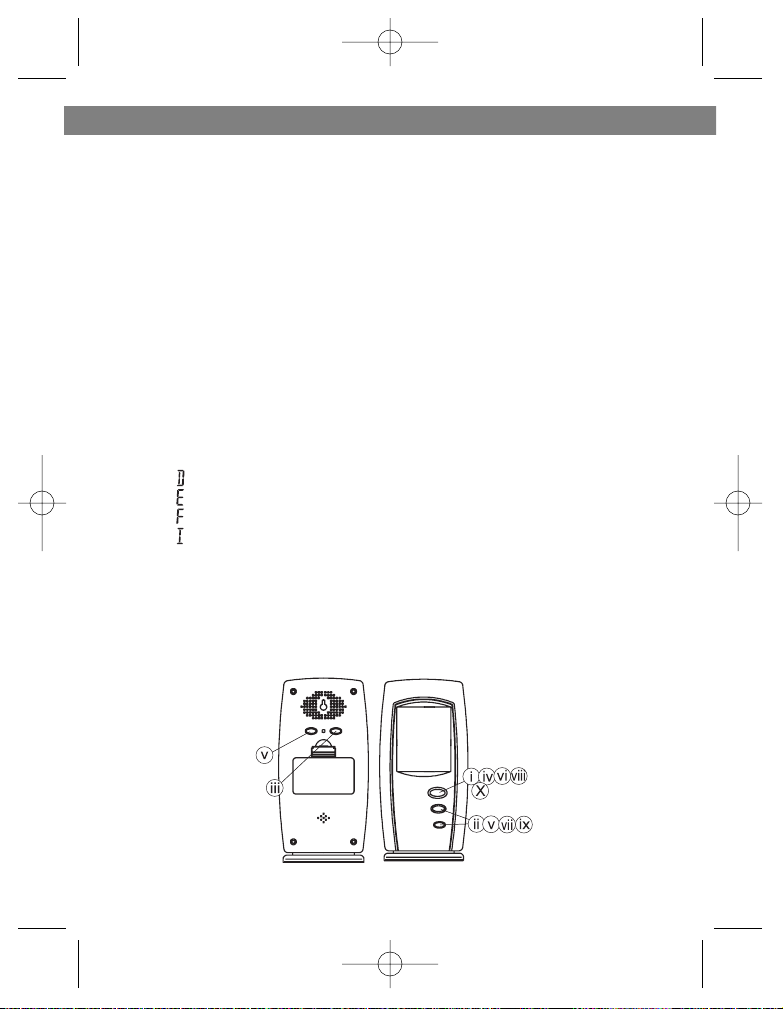
GETTING STARTED
1. CHANNEL/WEEKDAY - scrolls
through remote channels 1-4; scrolls
through weekday
2. ALARM/(C/F) - toggles between C
and F; 12 and 24 hour format, turns alarm
on/off; clears temperature alarm presets
3. SNOOZE/MODE - scrolls through
time, weekday, language, time zone,
alarm and temperature alarm set points
(high/low); activates alarm snooze
4. HOUR/MONTH/MAX/+ - scrolls
through hours, months and languages;
shows maximum temperature
5. MINUTE/DAY/MIN/- - scrolls
through minutes, days and languages;
show minimum temperature
6. R - reset the receiver
7. SET: enter to House code and Channel setting mode
8. C/F: change between C or F, change channel and house code
9. Battery compartment
10.Socket for external sensor probe.
11. Wall Mount Holder & Table Stand
12. LCD display
ENGLISH
3
3534.qxd 22.09.2004 15:22 Page 3
SETTING UP
• Set up the transmitter(s) before set-
ting up the receiver
1. Remove battery cover and insert batteries
to start setup 2 AA size batteries (included)
Insert batteries into compartment observing
proper polarity
2. HOUSE CODE will flash for 8 seconds
3. Select HOUSE CODE (1-15) by pressing
C/F and pressing SET to CHANNEL setting
If you have multiple transmitters for a single
receiver, set each transmitter
to the same
House code
4. CHANNEL will flash for 8 seconds
5. Select CHANNEL (1-4) by pressing C/F
If you have multiple transmitters for a single receiver, set
each transmitter to a different
Channel code
6. Humidity & Temperature will alternatively display on LCD
screen
7. Select °C or °F of Temperature by pressing C/F
• Use a different house code if your weather station detects other signals
from neighboring sources
• Factory default: house code = 01 and channel = 01
1. Remove battery cover
2. 2 AA size batteries (included)
3. Insert batteries into compartment,
observing proper polarity; replace cover
REPLACING BATTERIES: symbol on
receiver will appear when batteries need to be changed.
Transmitter: Lo bat will be displayed
ENGLISH
4
SETTING UP TRANSMITTER(S)
SETTING UP RECEIVER
3534.qxd 22.09.2004 15:22 Page 4
CLOCK/DATE/LANGUAGE SETTING
Clock Setting:
i. Press and hold MODE for 3 seconds to enter the clock setting mode
(the Clock display will flash)
ii. Press HOUR to set the hour and MINUTE to set the minute
iii. Press ALARM/(C/F) during clock setting, to change between 12 and 24
hour display.
Date Setting:
iV. Press MODE or enter the date setting
V. Press MONTH to set the month, press DAY to set the day and press
WEEKDAY to set the weekday
Language Setting:
Vi. Press MODE or enter the language setting
Vii.Press + or - to select the language for displaying day of the week:
-“ ” German
-“ ” English
-“ ” French
-“ ” Italian
Time Zone Setting:
Viii. Press MODE or enter the time zone setting
iX. Press + or - set the value
X. Press MODE or complete the setting
ENGLISH
5
3534.qxd 22.09.2004 15:22 Page 5
 Loading...