


U8MF1E8
PANASONIC U8MF1E8, U12ME1E8, U14ME1E8, U10ME1E8, U10MF1E8 User Manual
...
Panasonic Corporation
1006 Kadoma, Kadoma City, Osaka, Japan
85464609070015
Save These Instructions!
Conserver ce mode d’emploi
Bewahren Sie bitte diese
Bedienungsanleitung auf.
Conservate queste istruzioni
Guarde estas instruções
Φυλάξτε τις οδηγίες αυτές
Guarde estas instrucciones
Сохраните эту инструкцию!
Збережіть цю інструкцію!
Simpan Petunjuk Ini!
Model No.
Indoor Units
CASSETTE CEILING-MOUNTED WALL-MOUNTED CONCEALED DUCT
(4-WAY: U1 type)
S-22MU1E5
S-28MU1E5
S-36MU1E5
S-45MU1E5
S-56MU1E5
S-73MU1E5
S-106MU1E5
S-140MU1E5
S-160MU1E5
(1-WAY: D1 Type)
S-28MD1E5
S-36MD1E5
S-45MD1E5
S-56MD1E5
S-73MD1E5
(T1 Type)
S-36MT1E5
S-45MT1E5
S-56MT1E5
S-73MT1E5
S-106MT1E5
S-140MT1E5
(K1 Type)
S-22MK1E5
S-28MK1E5
S-36MK1E5
S-45MK1E5
S-56MK1E5
S-73MK1E5
S-106MK1E5
(Slim Low Static)
(M1 Type)
S-22MM1E5
S-28MM1E5
S-36MM1E5
S-45MM1E5
S-56MM1E5
(Low Silhouette)
(F1 Type)
S-22MF1E5
S-28MF1E5
S-36MF1E5
S-45MF1E5
S-56MF1E5
S-73MF1E5
S-90MF1E5
S-106MF1E5
S-140MF1E5
S-160MF1E5
(High Static Pressure)
(E1 Type)
S-73ME1E5
S-106ME1E5
S-140ME1E5
S-224ME1E5
S-280ME1E5
FLOOR STANDING
CONCEALED FLOOR
STANDING
(4-WAY: Y1 Type)
S-22MY1E5
S-28MY1E5
S-36MY1E5
S-45MY1E5
S-56MY1E5
(2-WAY: L1 Type)
S-22ML1E5
S-28ML1E5
S-36ML1E5
S-45ML1E5
S-56ML1E5
S-73ML1E5
(P1 Type)
S-22MP1E5
S-28MP1E5
S-36MP1E5
S-45MP1E5
S-56MP1E5
S-71MP1E5
(R1 Type)
S-22MR1E5
S-28MR1E5
S-36MR1E5
S-45MR1E5
S-56MR1E5
S-71MR1E5
Outdoor Units
MF1 3WAY U-8MF1E8, U-10MF1E8, U-12MF1E8, U-14MF1E8, U-16MF1E8
ME1 2WAY U-8ME1E8(E), U-10ME1E8(E), U-12ME1E8(E), U-14ME1E8(E), U-16ME1E8(E), U-18ME1E8(E), U-20ME1E8(E)
Split System Air Conditioner
Climatiseur Split System
Split-System-Klimagerät
Condizionatore d’Aria Split
Aparelho de Ar Condicionado Sistema Split
Κλι ατιστικ Δύο Μονάδων
Acondicionador de Aire de tipo Sistema Partido
Сплит кондиционер
Кондиціонер спліт-системи
Penyejuk Ruangan Sistem Split
• INSTRUCTION MANUAL
• MODE D’EMPLOI
• BEDIENUNGSANLEITUNG
• ISTRUZIONI PER L’USO
• MANUAL DE INSTRUÇÕES
• ΕΓΧΕΙΡΙΔΙΟ ΟΔΗΓΙΩΝ
• MANUAL DE INSTRUCCIONES
• РУКОВОДСТВО ПО ЭКСПЛУАТАЦИИ
• ІНСТРУКЦІЯ З ЕКСПЛУАТАЦІЇ
• PETUNJUK PENGGUNA
This air conditioner uses the new refrigerant R410A.
2
Contents
Page
Product Information.......................................................................................................................2
Alert Symbols ................................................................................................................................ 2
Installation Location.......................................................................................................................3
Electrical Requirements ................................................................................................................3
Safety Instructions.........................................................................................................................3
Wireless Remote Control Unit (Optional parts) .............................................................................5
NOTE
Refer to the Instruction Manual attached to the optional Wireless Remote Control Unit... 5
Timer Remote Control Unit (Optional parts)..................................................................................5
NOTE
Refer to the Instruction Manual attached to the optional Timer Remote Control Unit. ..5
Operation Condition ......................................................................................................................5
Adjusting the Airflow Direction....................................................................................................... 6
Adjusting the Airflow Direction for Multiple Indoor Units Using a Single Remote Control Unit
(Wired)...........................................................................................................................................8
Special Remarks ........................................................................................................................... 9
Care and Cleaning ........................................................................................................................9
Specification..............................................................................................................................103
Product Information
If you have problems or questions concerning your Air Conditioner, you will need the following
information. Model and serial numbers are on the nameplate on the bottom of the cabinet.
Model No. _________________________________ Serial No. _______________________
Date of purchase ______________________________________________________________
Dealer’s address ______________________________________________________________
Phone number ___________________
Alert Symbols
The following symbols used in this manual, alert you to potentially dangerous conditions
to users, service personnel or the appliance:
This symbol refers to a hazard or unsafe practice
which can result in severe personal injury or
death.
This symbol refers to a hazard or unsafe practice
which can result in personal injury or product or
property damage.
OI-070-2-EN
3
Installation Location
• We recommend that this air conditioner be installed properly by qualified installation
technicians in accordance with the Installation Instructions provided with the unit.
• Before installation, check that the voltage of the electric supply in your home or office is the
same as the voltage shown on the nameplate.
Electrical Requirements
1. All wiring must conform to the local electrical codes. Consult your dealer or a qualified
electrician for details.
2. Each unit must be properly grounded with a ground (or earth) wire or through the supply
wiring.
3. Wiring must be done by a qualified electrician.
Safety Instructions
• Read this Instruction Manual carefully before using this air conditioner. If you still have
any difficulties or problems, consult your dealer for help.
• This air conditioner is designed to give you comfortable room conditions. Use this only
for its intended purpose as described in this Instruction Manual.
• Do not install this air conditioner where there are fumes or flammable gases, or in an
extremely humid space such as a greenhouse.
• Do not install the air conditioner where excessively high heat-generating objects
are placed.
Avoid: To protect the air conditioner from heavy corrosion, avoid installing the outdoor unit where
salty sea water can splash directly onto it or in sulphurous air near a spa.
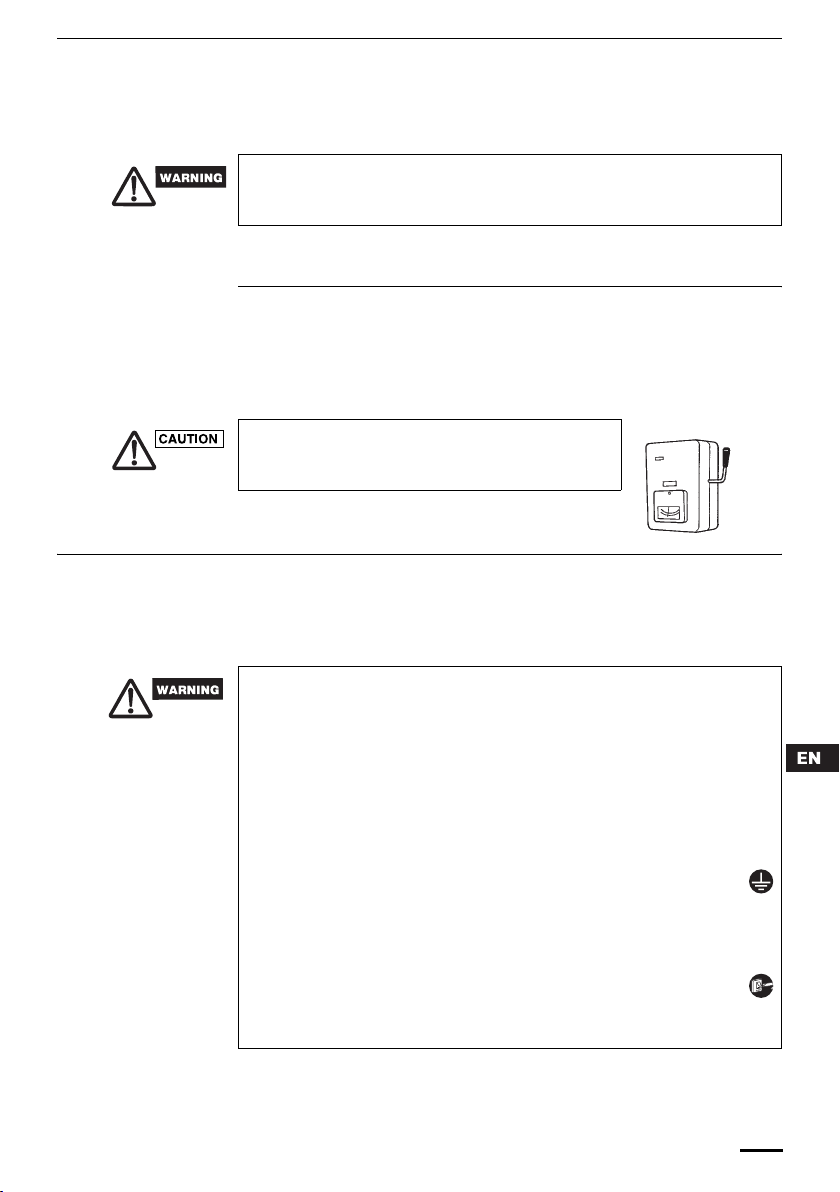
To warm up the system, the power mains must be turned on
at least five (5) hours before operation. Leave the power
mains ON unless you will not be using this appliance for an
extended period.
• Never touch the unit with wet hands.
• Never use or store gasoline or other flammable vapor or liquid near the air
conditioner — it is very dangerous.
• This air conditioner has no ventilator for intaking fresh air from outdoors. You must
open doors or windows frequently when you use gas or oil heating appliances in
the same room, which consume a lot of oxygen from the air. Otherwise there is a
risk of suffocation in an extreme case.
• Provide a power outlet to be used exclusively for each unit, and a power supply
disconnect, circuit breaker and earth leakage breaker for overcurrent protection
should be provided in the exclusive line.
• Provide a power outlet exclusively for each unit, and full disconnection means
having a contact separation in all poles must be incorporated in the fixed wiring in
accordance with the wiring rules.
• To prevent possible hazards from insulation failure, the unit must be
grounded.
• Do not clean inside the indoor and outdoor units by users. Engage authorized
dealer or specialist for cleaning.
• In case of malfunction of this appliance, do not repair by yourself. Contact to the
sales dealer or service dealer for a repair.
• Refrigerant gas leakage may cause fire.
• For safety, be sure to turn the air conditioner off and also to disconnect
the power before cleaning or servicing.
• Stop using the product when any abnormality/failure occurs and
disconnect the power plug or turn off the power switch and breaker. (Risk of smoke/
fire/electric shock)
Power mains
ON
OI-070-3-EN
4
• Do not turn the air conditioner on and off from the power mains switch. Use the ON/
OFF operation button.
• Do not stick anything into the air outlet of the outdoor unit.
This is dangerous because the fan is rotating at high speed.
• Do not touch the air inlet or the sharp aluminum
fins of the outdoor unit. You may get hurt.
• Keep the fire alarm and the air outlet at least 1.5m away from the unit.
• This appliance is not intended for use by persons(including children) with reduced
physical, sensory or mental capabilities, or lack of experience and knowledge,
unless they have been given supervision or instruction concerning use of the
appliance by a person responsible for their safety. Children should be supervised to
ensure that do not play with the appliance.
• Do not cool or heat the room too much if babies or invalids are present.
• Do not sit or step on the unit.
You may fall down accidentally.
• Do not stick any object
into the FAN CASE.
You may be injured and
the unit may be damaged.
• The compressor may occasionally stop during thunderstorms.
This is not a mechanical failure. The unit automatically recovers after a few minutes.
• The English text is the original instructions. Other languages are translation of the
original instructions.
NOTICE
OI-070-4-EN
5
Wireless Remote Control Unit (Optional parts)
Timer Remote Control Unit (Optional parts)
Operation Condition
Refer to the Instruction Manual attached to the optional Wireless Remote Control Unit.
Refer to the Instruction Manual attached to the optional Timer Remote Control Unit.
Use this air conditioner under the following temperature range.
Indoor temperature range:
Cooling mode 14°C ~ 25°C (*WBT)
Heating mode 15°C ~ 30°C (*DBT)
Outdoor temperature range:
Cooling mode -10°C ~ 43°C (*DBT)
Heating mode -20°C ~ 15°C (*WBT) 3WAY
-25°C ~ 20°C (*WBT) 2WAY
Cooling & Heating mode
-10°C ~ 43°C 3WAY
*DBT: Dry bulb temperature
*WBT: Wet bulb temperature
NOTE
NOTE
OI-070-5-EN
6
Adjusting the Airflow Direction
The functions differ depending on the indoor unit used. The airflow direction cannot be set
using the remote control unit for any unit which is not listed below.
U1 type, Y1 type, L1 type, D1 type, T1 type and K1 type.
• Never use your hands to move the flap (vertical airflow flap) that is controlled using the
remote control unit.
• When the air conditioner is turned off, the flap (vertical airflow flap) automatically moves to
the downward position.
• The flap (vertical airflow flap) moves to the upward position when performing the standby
operation for heating. The swing operation is made after the standby operation for heating is
released, but swing is indicated on the remote control unit even during the standby
operation for heating.
Setting the airflow
direction
The airflow direction changes each time the FLAP button is pressed during operation.
To activate the swing
operation
Press the FLAP button to set the flap (vertical airflow flap) to the downward position, and then
press the FLAP button again. This displays , and the airflow automatically swings up and
down.
To stop the swing
operation
Press the FLAP button again during the flap swing operation to stop the flap at the desired
position. Then, the airflow can be set from the top position by pressing the FLAP button again.
Indicator when swing operation is stopped
During cooling or drying operation, the flap will not stop at the downward position. Even if the
flap is stopped at the downward position during the swing operation, it will not stop until it
moves to the third position from the top.
Heating Cooling and drying Fan operation All operations
Set the flap (vertical airflow flap) to the downward
position. If the flap is set to the upward position,
the warm air may not reach the floor.
The flap (vertical airflow flap) can
be set to one of three positions.
Initial setting
Initial setting
Initial setting
Continuous
operation
Fan and heating Cooling and drying
OI-070-6-EN

7
Adjusting the Airflow Direction (continued)
U1 type, Y1 type, L1 type and D1 type air conditioners are equipped with auto flaps.
You can set the airflow direction to a specific angle or to the sweep mode using the remote
control unit.
Do not move the flap with your hands.
4-way (U1 type), (Y1 type) • The air outlet flap can be easily removed and washed with water.
• Be sure to always stop operation before removing the flap.
• After washing with water, allow it to dry, and then remount it with the arrow facing outward.
Ceiling mounted type (T1)
Vertical directions (automatic)
This air conditioner is equipped with an auto flap. You can set the airflow direction to a specific
angle or to the sweep mode using the remote control unit. (Refer to the description of the
remote control unit.)
Do not move the flap with your hands.
Horizontal directions (manual)
The horizontal airflow direction can be adjusted manually by moving the vertical vanes to the
left or right.
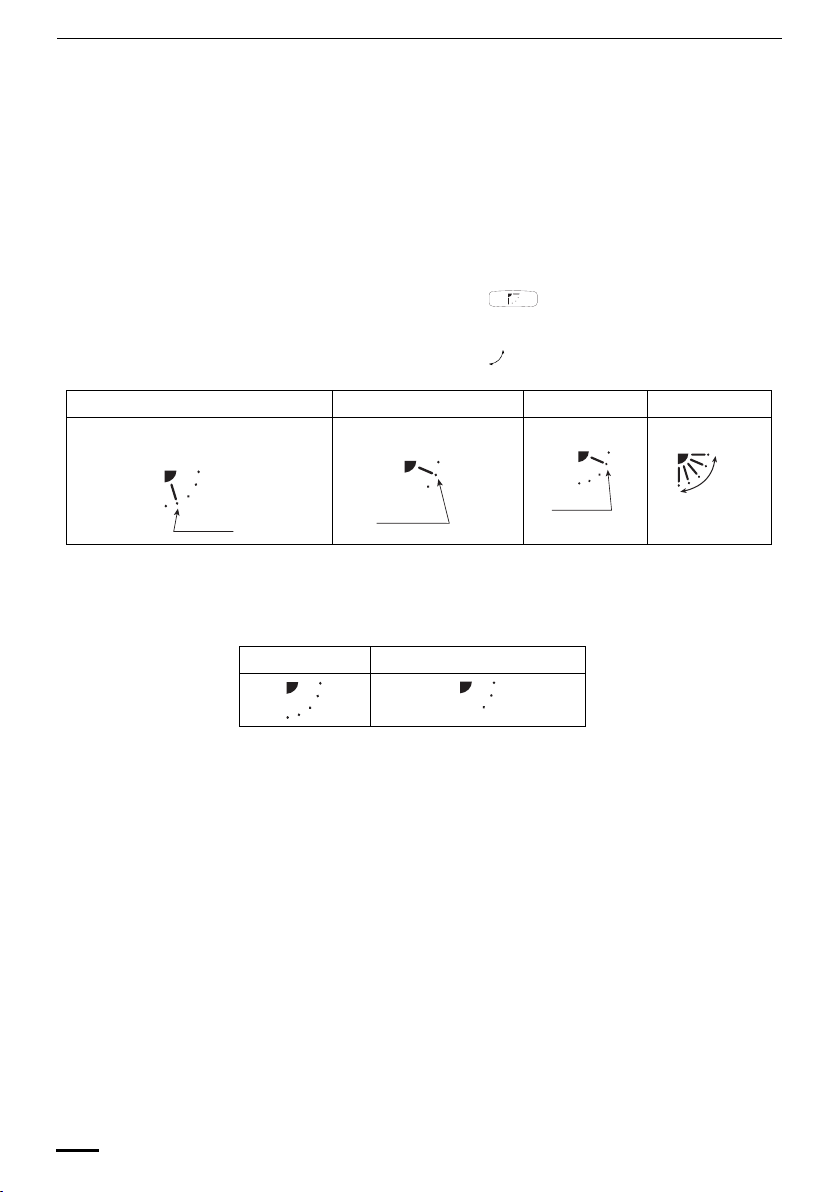
Wall mounted type (K1)
Vertical directions (automatic)
Confirm that the remote control unit has been turned on. Press the FLAP button to start the flap
moving up and down. If you want to stop the flap movement and to direct the air in the desired
direction, press the FLAP button again. In the cool mode, do not direct the flap down and move
out of the cooling zone “A”, otherwise, condensation may drip on to the floor. Zone ‘‘A’’ is the
recommended flap position for cooling.
When operating continuously in the fixed airflow direction setting for about an hour, the airflow
direction is automatically controlled and the flap position is changed. The airflow direction may
be different from the display on the remote controller.
Do not move the flap with your hands.
Horizontal directions (manual)
The horizontal airflow direction can be adjusted manually by moving the vertical vanes to the
left or right.
Concealed duct type (F1, M1, E1)
This air conditioner is not equipped with air outlet parts. These must be obtained locally. Please
refer to the manual of the locally adopted air outlet parts.
Indoor unit
Zone ‘‘B’’ for
heating
Zone
‘‘A’’ for
cooling
OI-070-7-EN
 Loading...