


 Loading...
DCH-S161 Wi-Fi Water Sensor
User Manual
January 29, 2019
Hardware: A1
Manual Version: 1.10

Manual Overview
D-Link reserves the right to revise this publication and to make changes in the content hereof without obligation to notify any person or organization of such revisions or changes. Information in this document may become obsolete as our services and websites develop and change. Please refer to the www.mydlink.com website for the most current information.
Manual Revisions
Revision |
Date |
Description |
1.10 |
January 29, 2019 |
Added the Google Assistant information |
|
|
|
Trademarks
D-Link and the D-Link logo are trademarks or registered trademarks of D-Link Corporation or its subsidiaries in the United States or other countries. All other company or product names mentioned herein are trademarks or registered trademarks of their respective companies.
Copyright © 2018 by D-Link Corporation, Inc.
All rights reserved. This publication may not be reproduced, in whole or in part, without prior expressed written permission from D-Link Corporation, Inc.
D-Link DCH-S161 User Manual |
i |

Table of Contents
Table of Contents
Product Overview.............................................................. |
1 |
Package Contents......................................................................... |
1 |
Introduction.................................................................................... |
2 |
System Requirements.................................................................. |
2 |
Hardware Overview...................................................................... |
3 |
LED Behavior........................................................................... |
4 |
Siren Behavior......................................................................... |
5 |
Safety................................................................................................. |
6 |
Before you Begin........................................................................... |
6 |
Wireless Installation Considerations...................................... |
7 |
Getting Started................................................................... |
8 |
Mounting the Water Sensor.............................................. |
8 |
Installation........................................................................ |
10 |
Powering The Water Sensor..................................................... |
10 |
mydlink™ App............................................................................... |
11 |
The Google Assistant Installation.......................................... |
13 |
Using the mydlink App.................................................... |
17 |
Controlling Your Sensor............................................................ |
17 |
Sensor...................................................................................... |
18 |
Firmware Upgrade.............................................................. |
20 |
Troubleshooting............................................................... |
21 |
Technical Specifications................................................... |
22 |
Regulatory Information................................................... |
23 |
D-Link DCH-S161 User Manual |
ii |
Section 1 - Product Overview
Product Overview
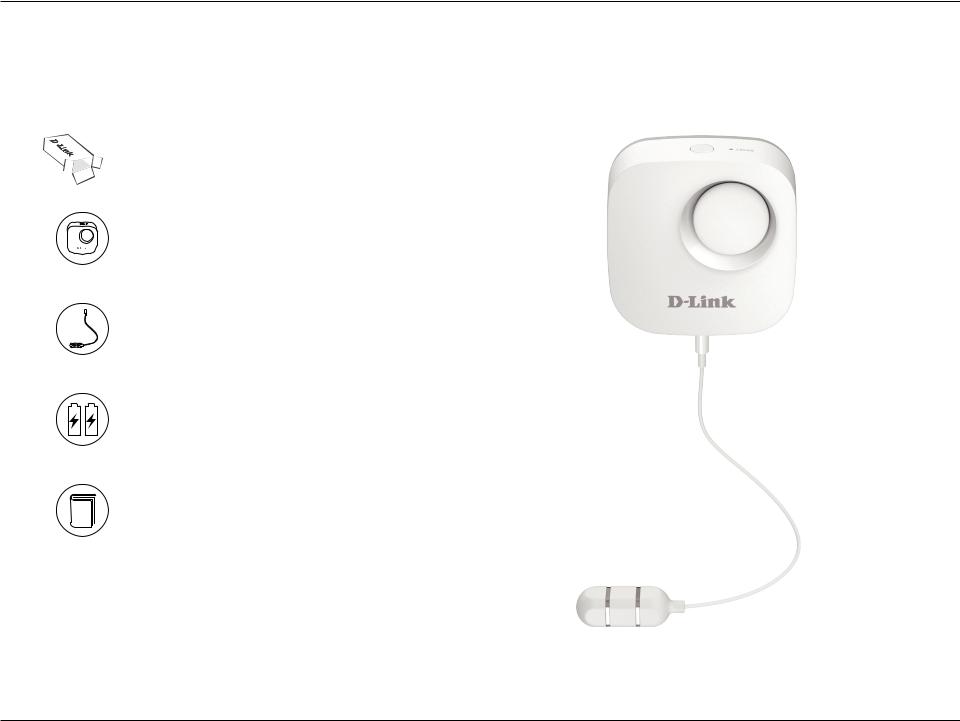
Package Contents
DCH-S161
Wi-Fi Water Sensor
Water-sensing probe
2 x AA batteries
Quick Installation Guide
If any of the above items are missing, please contact your reseller.
Note: Using a power supply with a different voltage rating than the one included with your product will cause damage and void the warranty.
D-Link DCH-S161 User Manual |
1 |

Section 1 - Product Overview
Introduction
The mydlink™ DCH-S161 is a wireless water sensor that helps keep your home safe. You can install the probe anywhere and it will help you detect water leaks before it turns into serious flooding. If the water sensor is triggered, a 90 dB alarm will sound and an LED will blink to give you audio and visual warnings. Push notifications to your mobile device let you keep tabs on your home on the go.
System Requirements
Network Requirements |
• |
Broadband Internet connection |
• |
A router connected to your broadband modem |
|
|
• An 802.11n/g Wi-Fi enabled router. |
|
|
|
|
mydlink App Requirements |
• iOS, or AndroidTM device (please refer to the mobile app’s store page |
|
|
to check whether your device is compatible) |
|
|
• Email account (for mydlink service registration) |
|
|
|
|
D-Link DCH-S161 User Manual |
2 |
Section 1 - Product Overview
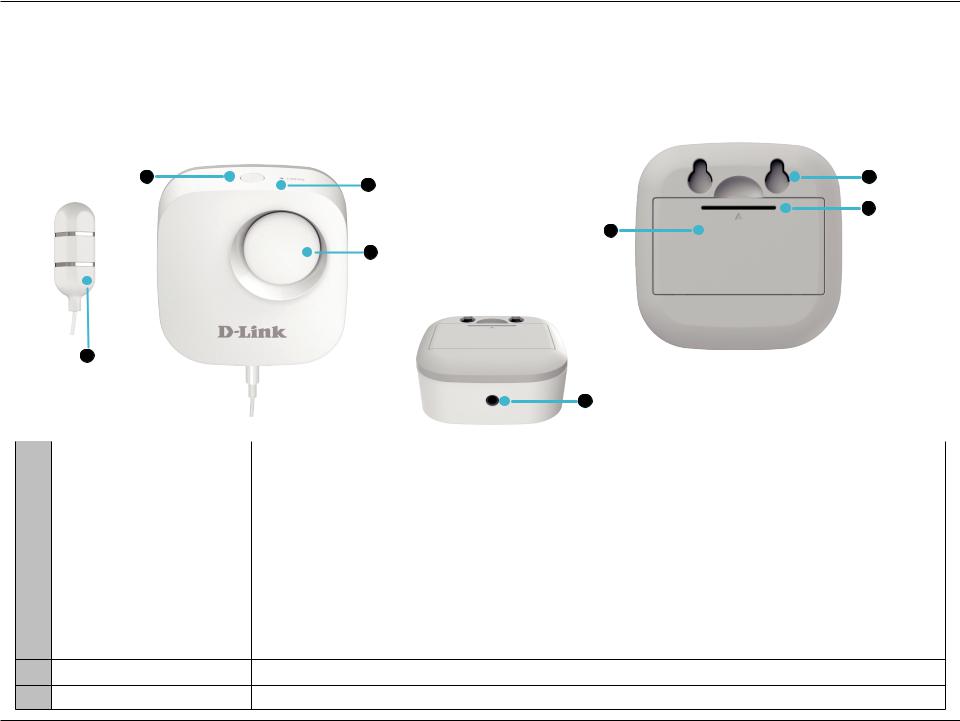
Hardware Overview
|
Front |
|
|
Back |
|
|
|
|
Action Button/LED 2 |
3 |
Reset Button |
|
|
6 |
Mounting Holes |
|
|
|
|
|
|
||
|
|
|
|
|
|
7 |
Battery Cover |
|
|
|
Battery |
|
|
|
Release Tab |
|
|
|
|
5 |
|
|
|
|
|
|
Compartment |
|
|
||
|
|
|
|
|
|
||
|
|
4 |
Siren |
|
|
|
|
|
|
|
Bottom |
|
|
|
|
|
1 |
|
|
|
|
|
|
|
Water Sensor Probe |
|
|
|
|
|
|
|
|
|
|
8 Water-Sensing Probe Port |
|
|
|
|
|
|
|
|
|||
1 |
Water Sensor Probe |
Place this in the location where you would like the sensor to detect water. |
|
|
|||
|
|
|
|||||
2 |
Action Button / LED |
Press this button to complete WPS pairing. Press to turn off siren. Press to wake up device from sleep |
|||||
mode. See LED Behavior on page 4. |
|
|
|
|
|||
|
|
|
|
|
|
||
|
|
|
|||||
3 |
Reset Button |
Press this recessed button down quickly with a paperclip to reset the device to factory default settings. |
|||||
The LED will flash red once. |
|
|
|
|
|||
|
|
|
|
|
|
||
|
|
|
|
|
|
|
|
4 |
Siren |
Speaker for the 90 decibel siren. |
|
|
|
|
|
|
|
|
|
|
|||
5 |
Battery Compartment |
Where 2 AA batteries must be placed to power the device. |
|
|
|||
|
|
|
|
|
|||
6 |
Mounting Holes |
The 2 holes where appropriately-sized screws can be placed in order to mount the device. |
|
|
|||
7Battery Cover Release Tab Press down from the top and pull out the battery cover from here.
8Water-Sensing Probe Port Where to plug in the cable for the water-sensing probe.
D-Link DCH-S161 User Manual |
3 |
Section 1 - Product Overview
LED Behavior
Status LED

Note: The Status LED is on the Action Button.
|
Solid |
The device has been successfully connected to a Wi-Fi network. |
|
Green |
The LED will turn off after 20 seconds and enter sleep mode. It will still function normally. |
||
|
|||
|
|
|
|
|
Blinking |
The device is connecting to a Wi-Fi network. |
|
Red |
Solid |
The device is booting up or has been reset successfully. |
|
|
|
||
Blinking |
The device has lost its Wi-Fi connection. |
||
|
|||
Orange |
Solid |
Updating firmware. |
|
|
|
||
Blinking |
Ready for setup. |
||
|
|||
|
|
|
D-Link DCH-S161 User Manual |
4 |

Section 1 - Product Overview
Siren Behavior
Action Button
 Siren
Siren
Note: Press the Action Button to immediately silence the siren.
Beeping every 3 seconds Water detected. Beeping will occur for one minute.
D-Link DCH-S161 User Manual |
5 |

Section 2 - Installation
Safety
Please read all of the safety and operating instructions before using your device:
1.Besides the removal of the battery cover, do not open the device or attempt to repair or service it.
2.Only place the main device in a dry location. Only the water-sensing probe can be in contact with water.
3.Do not submerge the main device in liquid or attempt to clean it with liquids or solvents. To clean the device, remove the batteries and use a damp towel.
Before you Begin
Plan the location of your water sensor:
1.Insert batteries before mounting.
2.Make sure the water sensor is placed in a location that has a consistent and adequate Wi-Fi signal.
D-Link DCH-S161 User Manual |
6 |

Section 2 - Installation
Wireless Installation Considerations
The mydlink Wi-Fi Water Sensor lets you monitor for water in various locations from virtually anywhere. Keep in mind that the number, thickness and location of surrounding buildings, foliage, or other nearby objects that the wireless signals must pass through may limit the range. Typical ranges vary depending on the types of materials and background RF (radio frequency) noise in your home or business area. The key to maximizing wireless range is to follow these basic guidelines:
1.Keep the number of walls and ceilings between the camera and the hub to a minimum.
2.Building materials make a difference. A solid metal door or aluminum studs may have a negative effect on range. If placing a camera indoors, try to position it so that the signal passes through drywall or open doorways. Materials and objects such as glass, steel, metal, walls with insulation, water (fish tanks), mirrors, file cabinets, brick, and concrete will degrade your wireless signal.
3.Keep your product at least 1 to 2 meters (3 to 6 feet) from electrical devices or appliances that generate RF noise.
D-Link DCH-S161 User Manual |
7 |
Section 2 - Installation
Getting Started
To mount your water on a wall, please follow the steps below. It is recommended that you configure the water sensor prior to mounting.
Mounting the Water Sensor
Step 1
Identify and mark the location where you want to install the bracket, ensuring that the watersensing probe cable length is long enough to reach the desired location where you want to detect the presence of water.
Note: You can extend the cable length by using a 3.5 mm (0.125 in) stereo audio extension cable.
Step 2
Using a 6 mm drill bit, drill two holes that are 2.5 cm deep over the marks. For a plaster, drywall, or concrete wall, insert plastic anchors to support the screws first.
1
2
Step 3
Twist the screws into the wall or anchors, making sure to leave enough clearance between the |
3 |
|
|
screw head and the wall. |
|
D-Link DCH-S161 User Manual |
8 |

Section 2 - Installation
Step 4
Align the screws with the largest holes on the back of the water sensor. Slide the sensor down to lock it into place.
Step 5
Assure that the water sensing probe is plugged in securely to the port on the bottom of main sensor unit. Adjust the position as desired.
4
5
D-Link DCH-S161 User Manual |
9 |
Section 2 - Installation
Installation
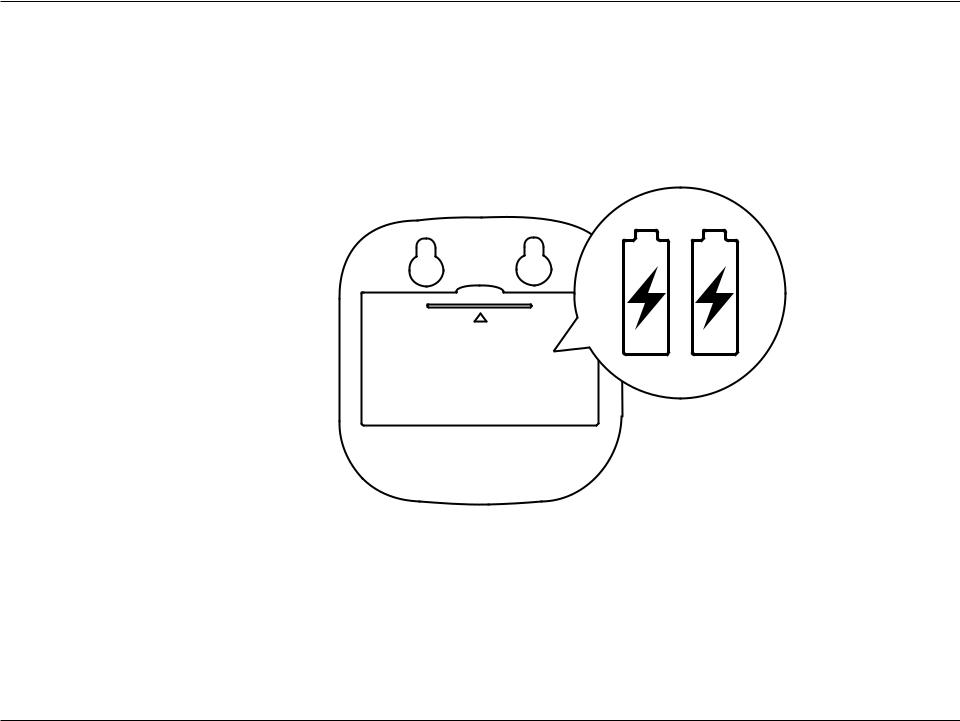
Powering the Water Sensor
Remove the battery cover by gently pressing down on the tab.
Insert the two AA batteries and reattach the battery cover.
D-Link DCH-S161 User Manual |
10 |
Section 2 - Installation
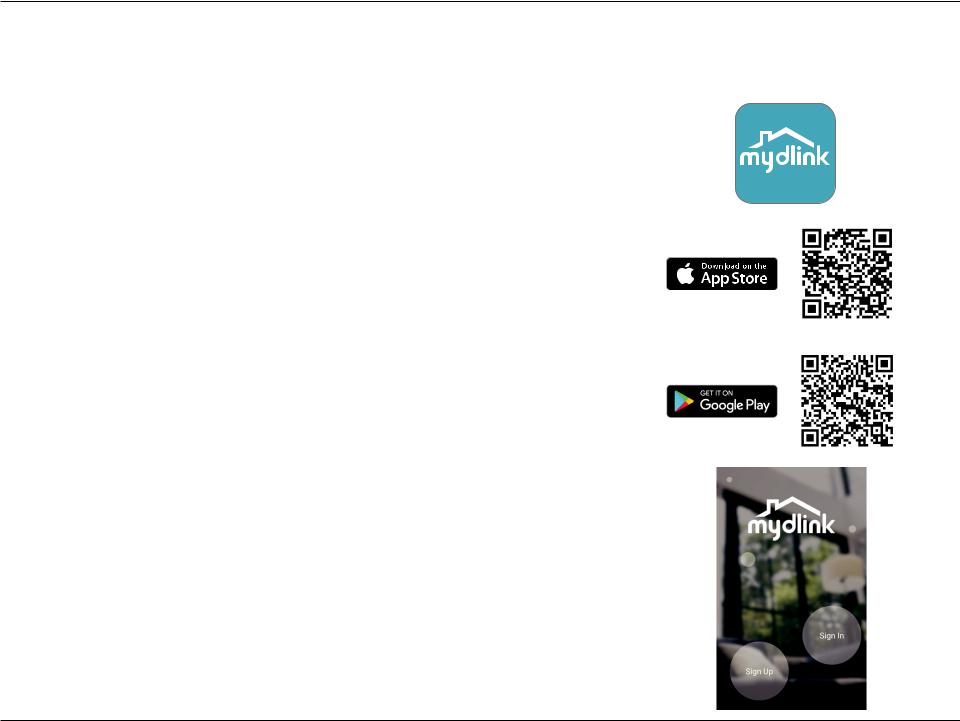
mydlink™ App
Please follow the instructions below to set up your Wi-Fi Water Sensor.
Step 1:
Download the mydlink app from the App Store (iOS) or Google Play (Android).
Note: Please ensure that your device is connected to the internet.
Step 2:
Launch the mydlink app and create a new account or sign in to your existing account.
Note: If you are asked about allowing the app to access your location, select Allow. Make sure location services are turned on in your phone’s settings.
D-Link DCH-S161 User Manual |
11 |
Loading...