


DPR-1020
Table of contents
 Loading...
D-Link DPR-1020
USB Multifunction Print Server
Manual
Rev. 01 (November , 2008)

Table of Contents
Table of Contents
Package Contents ....................................................................................................1
Contents of Package:..........................................................................................1
System Requirements:........................................................................................2
Introduction...............................................................................................................3
External Features .....................................................................................................6
Port Connectors ..................................................................................................6
Rear Panel Connectors.......................................................................................7
Ethernet Port.......................................................................................................7
DC Power Connector..........................................................................................7
LED Indicators.....................................................................................................8
Setting up the DPR-1020........................................................................................10
Installing the Print Server..................................................................................10
Power ON Self-Test...........................................................................................11
Getting Started........................................................................................................12
Using the PS Software...........................................................................................13
Auto-Run Installation.........................................................................................13
PS Software ......................................................................................................14
Installing PS Software.......................................................................................14
Using PS-Link....................................................................................................17
Installing and Using a MFP/GDI Printer............................................................28
Using PS-Wizard...............................................................................................49
Using the Web Configurator..................................................................................55
Home.................................................................................................................55
SETUP > LAN Setup.........................................................................................59
SETUP > Printer Setup .....................................................................................60
D-Link DPR-1020 User Manual i

Table of Contents
ADV ANCED > Advanced LAN...........................................................................68
ADV ANCED > User Access ..............................................................................70
ADV A NCED > E-Mail Notification.....................................................................72
ADV ANCED > SNMP........................................................................................74
MAINTENANCE > Password............................................................................75
MAINTENANCE > Save/Restore Settings........................................................76
MAINTENANCE > Firmware Upgrade..............................................................77
MAINTENANCE > Diagnostics .........................................................................78
STA TUS > Device Info.......................................................................................79
ST ATUS > Network...........................................................................................80
ST ATUS >Print Log...........................................................................................82
HELP.................................................................................................................83
Reboot...............................................................................................................84
Refresh Printer Status.......................................................................................85
TCP/IP Printing for Windows Vista .......................................................................86
TCP/IP Printing for Windows XP...........................................................................96
TCP/IP Printing for Windows 2000......................................................................111
TCP/IP Printing for Windows 98SE/ME ..............................................................126
Unix/Linux Printing...............................................................................................142
Printing Text Files from Unix............................................................................142
Printing from BSD Unix Versions....................................................................143
Printing from SCO Unix System V/386 ...........................................................146
Printing from Solaris........................................................................................148
Printing from Red Hat Linux............................................................................149
Setting up Printing in Mac OS X Tiger (10.4.9)..................................................156
Adding a Printer...............................................................................................157
AppleTalk-enabled or Bonjour-enabled Printers.............................................160
D-Link DPR-1020 User Manual ii

Table of Contents
Setting up AppleTalk Printing in Mac OS 9........................................................171
Technical Specifications......................................................................................176
Appendix: DPR-1020 Printer Compatibility List................................................177
D-Link DPR-1020 User Manual iii
Package Contents
Package Contents
Contents of Package:
D-Link DPR-1020 USB Multifunction Print Server
Manual and Warranty on CD
Printed Quick Installation Guide
If any of the above items are missing, please contact your reseller.
D-Link DPR-1020 User Manual 1

Introduction
System Requirements:
A computer with Ethernet interface.
Windows Vista/XP/2000/NT4/ME/98SE/95
Or
Apple Mac OS 9.x to MAC OS X 10.4.x
Or
Linux, Solaris, SCO Unix, AIX
Internet Explorer 6.0 or above; Netscape Navigator version 6.0 or above, with
JavaScript enabled
Your printer must support the required operating system.
D-Link DPR-1020 User Manual 2

Introduction
Introduction
D-Link’s DPR-1020 Print Server allows you to connect a USB Multi-Function Printer
(MFP) to your existing Ethernet network. This product lets multiple users print, scan
and fax using the connected printer. The DPR-1020 also manages the flow of print
files and delivers print jobs quickly and efficiently.
The DPR-1020 comes with easy to use software compatible with most
Windows-based networks. Protocol support for TCP/IP, NetBEUI, and AppleTalk are
provided to ensure seamless connection to major networking operating systems.
The DPR-1020 has a built in web configurator that allows users to easily configure
the Print Server and manage multiple print queues through TCP/IP.
The DPR-1020 improves upon network printing services in the following ways:
The DPR-1020 manages the print file traffic for all of the connected printers. This
provides relief for your file servers and allows them to be used to their full capacity
for file access or other network services. On peer-to-peer networks, workstations
can print directly to the Print Server without increasing the load of another
workstation or server.
The DPR-1020 Print Server is portable and cheap compared to a PC-based print
server. This means you’re able to deploy the DPR-1020 in locations that offer
maximum convenience to users.
Use the included PS-Link software to enable your computer to use your MFP
printer’s print/scan/fax/copy functions. PS-Link helps you to install your printer’s
D-Link DPR-1020 User Manual 3

Introduction
manufacturer drivers without creating a physical USB connection from your printer to
your computer. After the software provid ed by your p rinter’s manufacturer is inst all ed,
using the printer’s scan and fax functions will be exactly the same as how it’s
described in your printer’s manual.
Use PS-Wizard to easily add a network printer on Windows for traditional TCP/IP
printing.
The DPR-1020 is compatible with all major network operating systems and
protocols:
TCP/IP
UNIX lpr/lpd (HP-UX, SunOS, Solaris, SCO, UnixWare, IBM AIX) Windows NT/2000,
Windows 95/98SE/ME, Windows XP/Vista, NetWare 5.x NDPS LPR Remote
Printing
NetBEUI
Windows NT/2000/XP, Windows 95/98SE/ME, Windows for Workgroups, Microsoft
LAN Manager, IBM LAN Server
AppleTalk
MacOS EtherTalk
The PS software, PS Link and PS Wizard, allows further configuration of the MFP
server:
¾ PS-Link -Use this to enable your computer to use your printer’s
print/scan/fax/copy functions and GDI printing. PS-Link helps you to install your
printer’s manufacturer drivers without creating a physical USB connection from
your printer to your computer. For more information see the “Using The PS
Software Chapter”.
D-Link DPR-1020 - User Manual 4

Introduction
¾ PS-Wizard - This tool allows you to easily add a printer to your computer. For
more information see the “Using The PS Sof t ware Chapter”.
D-Link DPR-1020 - User Manual 5

External Features
External Features
Port Connectors
The DPR-1020’s USB printer port is located on the rear panel of the device and is
configurable using the web configurator.
The default IP address of the DPR-1020 is automatically acquired from a DHCP
server on the network. If a DHCP server cannot be found the default IP address for
the DPR-1020 will be 192.168.0.10.
NOTE: Your PC’s IP Address must be in the same subnet as the Print Server’s IP
Address for the two devices to communicate. (For example, if MFP server’s IP
Address is 192.168.0.10, with a subnet mask of 255.255.255.0, then your
computer’s IP Address should be 192.168.0.x, where x is a value between 1-254,
excluding 10.)
D-Link DPR-1020 User Manual 6
External Features
)
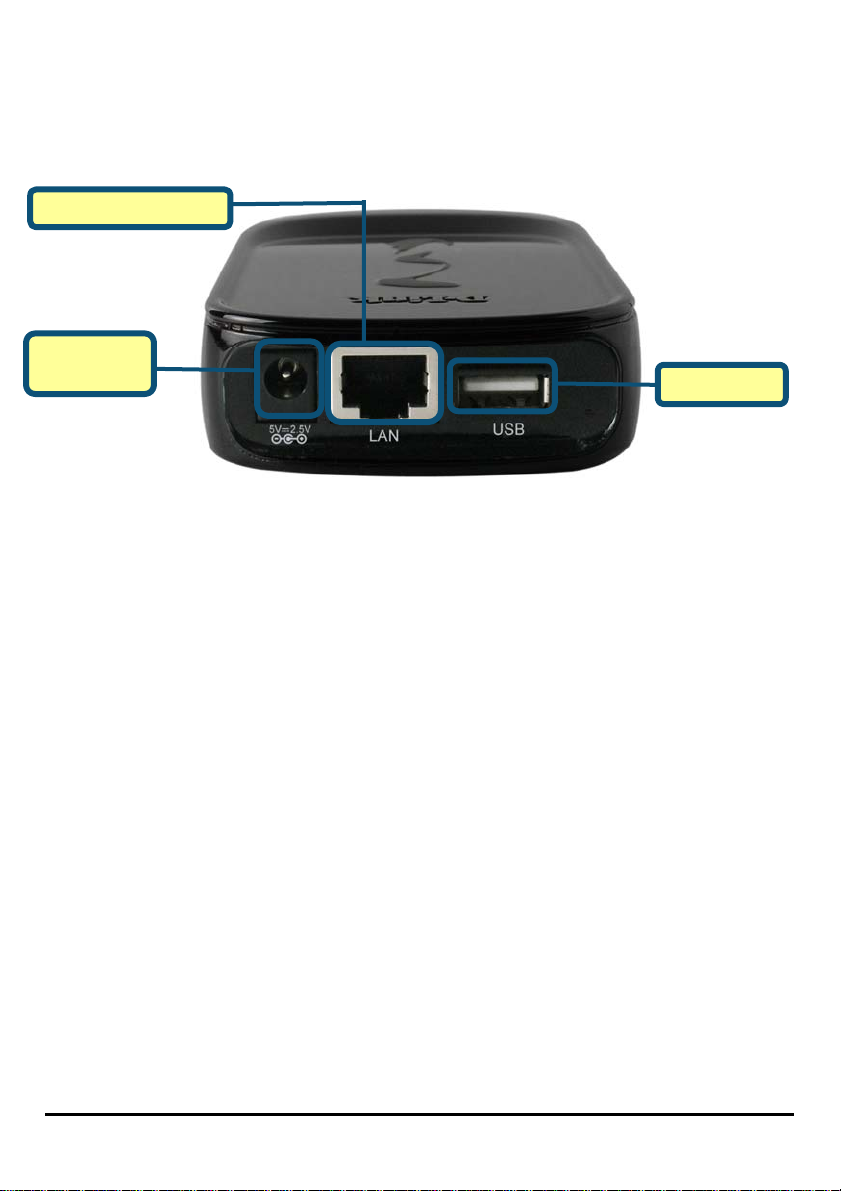
Rear Panel Connectors
Ethernet Port (LAN
DC Power Connector
USB Port
Ethernet Port (LAN)
The Print Server’s rear panel features an Ethernet port for connecting 10/100Mbps
CAT 5 Ethernet cables. This port supports the NWay protocol, allowing the Print
Server to automatically detect or negotiate the transmission speed of the network.
DC Power Connector
The DC power input connector is labeled DC 5V.
D-Link DPR-1020 - User Manual 7
External Features
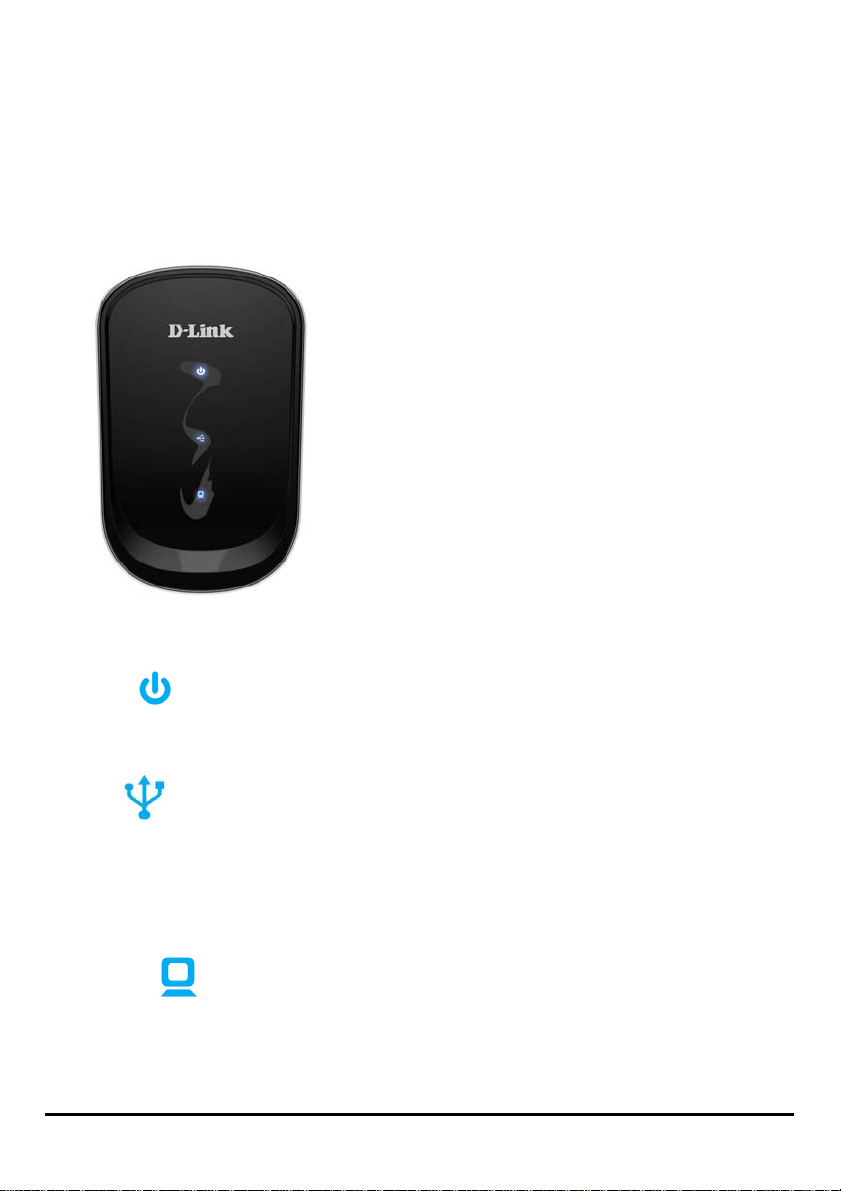
LED Indicators
The top of the Print Server features three LEDs:
Power
A steady blue light confirm s that the Print Server is turned ON.
USB
A steady blue light indicates the printer is online and successfully connected to the
print server. This light will also blink to indicate that data is being transferred
between the print server and printer.
Link/Act
A steady blue light confirm s that the Print Server has a connection to an Ethernet
network. This light will also blink when receiving or transmitting dat a on the network.
D-Link DPR-1020 - User Manual 8

External Features
These three LED indicators are also used during the Print Server’s Power-ON Self
Test to indicate any hardware failures.
D-Link DPR-1020 - User Manual 9

Setting up the DPR-1020
Setting up the DPR-1020
Installing the Print Server
WARNING:
without first establishing a network connection.
Follow the steps below to avoid any complications during the hardware inst allation:
1. Confirm that the printer you will use to connect to the DPR-1020 is operating
correctly.
2. When you have confirmed that the printer is operating correctly, switch its power
OFF.
3. Confirm that your network is operating normally.
4. Using a CAT 5 Ethernet cable, connect the DPR-1020 Ethernet Port (labelled LAN)
to the network.
There may be configuration problems if the Print Server is turned on
5. While the printer is turned OFF, connect the USB printer cable to the printer and
then to the USB port on the Print Server.
6. Switch on the printer.
7. Insert the power adapter’s output plug into the DC 5V power socket on the rear
panel of the Print Server.
8. Connect the other end of the power adapter into a power outlet. This will supply
power to the Print Server. The blue LED on the Print Server’s front panel should turn
on and the Print Server’s self-test will proceed.
D-Link DPR-1020 User Manual 10

Setting up the DPR-1020
Power ON Self-Test
Every DPR-1020 has been factory-tested to operate properly.
When the DPR-1020 is powered ON, it automatically performs a Self-Test on each of
its major components. The final result of the Self-Test is signaled by the state of the
USB LED indicator following the Self-Test. Preliminary to the actual component tests,
the three LED indicators are tested to confirm their operation.
Immediately after power-up, all three of the blue LEDs should illuminate steadily for
several seconds. Then the USB LED should light OFF simultaneously. Irregularity of
any of the three LEDs during these LED tests may mean there is a problem with the
LEDs themselves.
The actual component tests immediately follow the LED tests. A normal (no fault)
result is signaled by simultaneous flashing of the LEDs three times, followed by a
quiescent state with all three LEDs dark.
If the Self-Test routine traps any component error, then following the LED tests the
Self-Test will halt and the LEDs will continuously signal the error according to the
following table. In the event of any such error signal, contact your dealer for
correction of the faulty unit.
USB LED Faulty Component
On DRAM error
1 long 3 short Flash Protected
1 long 5 short Flash Erase/Program error
1 long 6 short LAN Controller error
1 long 14 short LAN MII error
1 long 18 short USB error
D-Link DPR-1020 - User Manual 11
Getting Started
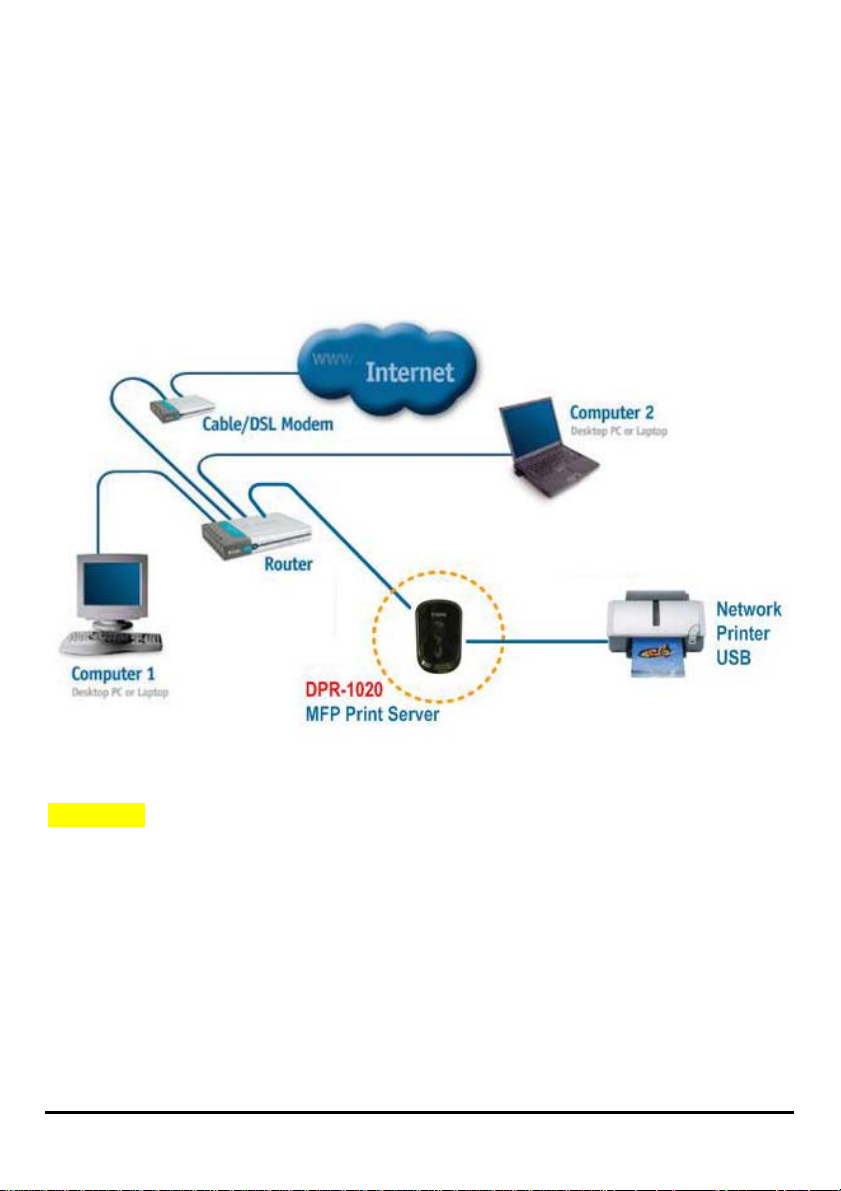
Getting Started
Below is a sample network using the DPR-1020. The DPR-1020 has a built- in web
configurator that allows users to easily configure the Print Server and manage
multiple print queues through TCP/IP.
WARNING: Only a USB printer may be connected to the USB port of the DPR-1 020.
Do not connect any other USB devices to the USB port of the DPR-1020; to do so,
may damage the unit and will void the warranty for this product.
For a list of printers that are compatible with the DPR-1020, please see the Appendix
in this manual. The compatibility list is not comprehensive. Even if it is not included
in the list, your printer may be compatible with the DPR-1020.
D-Link DPR-1020 User Manual 12

Using the PS Software
Using the PS Software
This chapter will introduce you to the installation and operation of the PS Software
(PS-Link and PS-Wizard) with which the MFP Server can be configured further.
Auto-Run Installation
Insert the included installation CD into your computer’s CD-ROM drive to initiate the
auto-run program. If auto-run does not start, click My Computer > [CD ROM Drive
Letter].
The content of the installation CD-ROM includes:
• Install PS Software – click this to install the PS Software, which contains
PS-Link and PS-Wizard that can configure more settings for the MFP Server,
such as:
- Change the IP address
- Support the multi-functions (Print/Scan/Copy/Fax) of a MFP printer, GDI
printing, and other software from any MFP/GDI printer.
- Easily add a printer to your computer.
• View Quick Installation Guide – click this to preview the Quick Installation
Guide in PDF format for step-by-step instructions of the MFP Server
Installation.
• View Manual – click this to preview the User Manual in PDF format for
detailed information regarding the MFP Server.
• Install Acrobat Reader – click this to install Acrobat Reader for the viewing and
printing of PDF files found in this Installation CD-ROM.
• Exit – click to close the Auto-Run program.
D-Link DPR-1020 User Manual 13
Using the PS Software
PS Software
To avoid any conflict within your network, use the PS Software to change your MFP
Server’s settings, such as the IP address.
The PS Software contains two utilities: PS-Link and PS-Wizard.
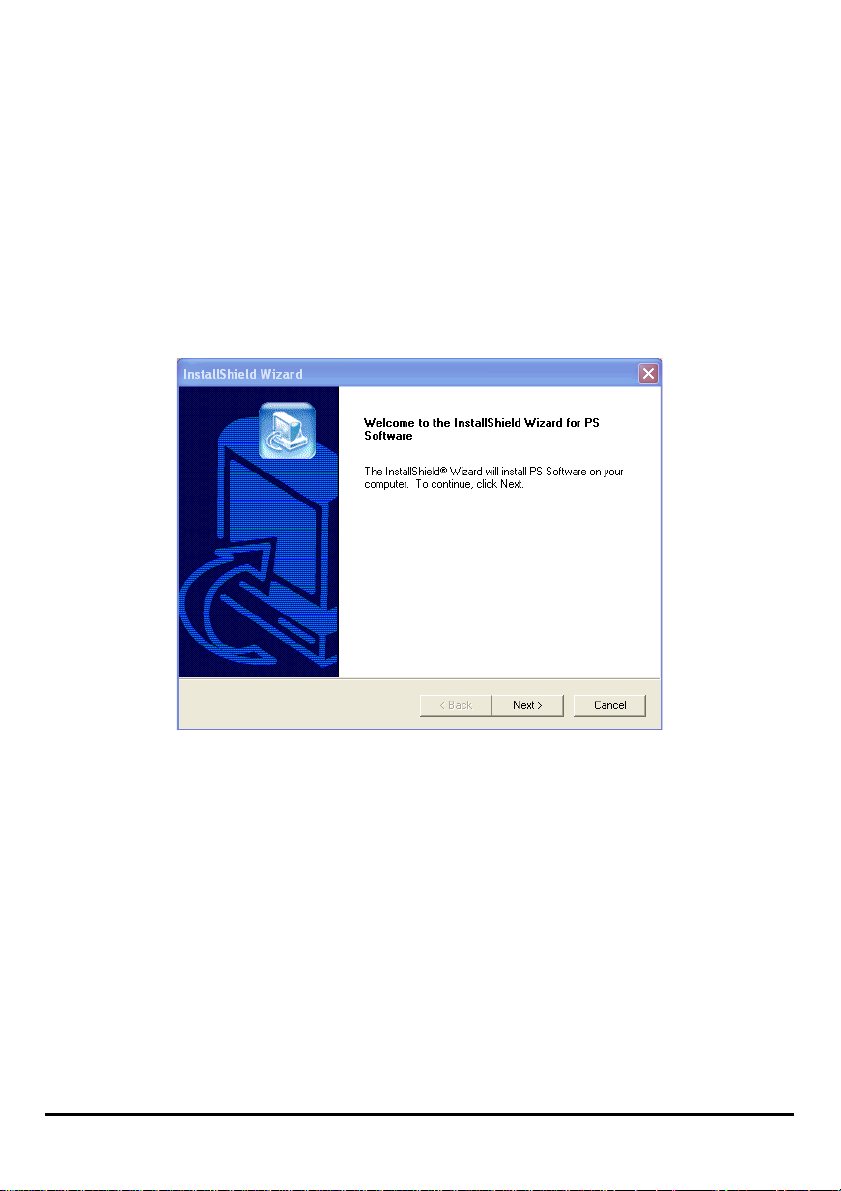
Installing PS Software
1. Click the Next > button in the welcome window of the InstallShield Wizard.
D-Link DPR-1020 - User Manual 14
Using the PS Software
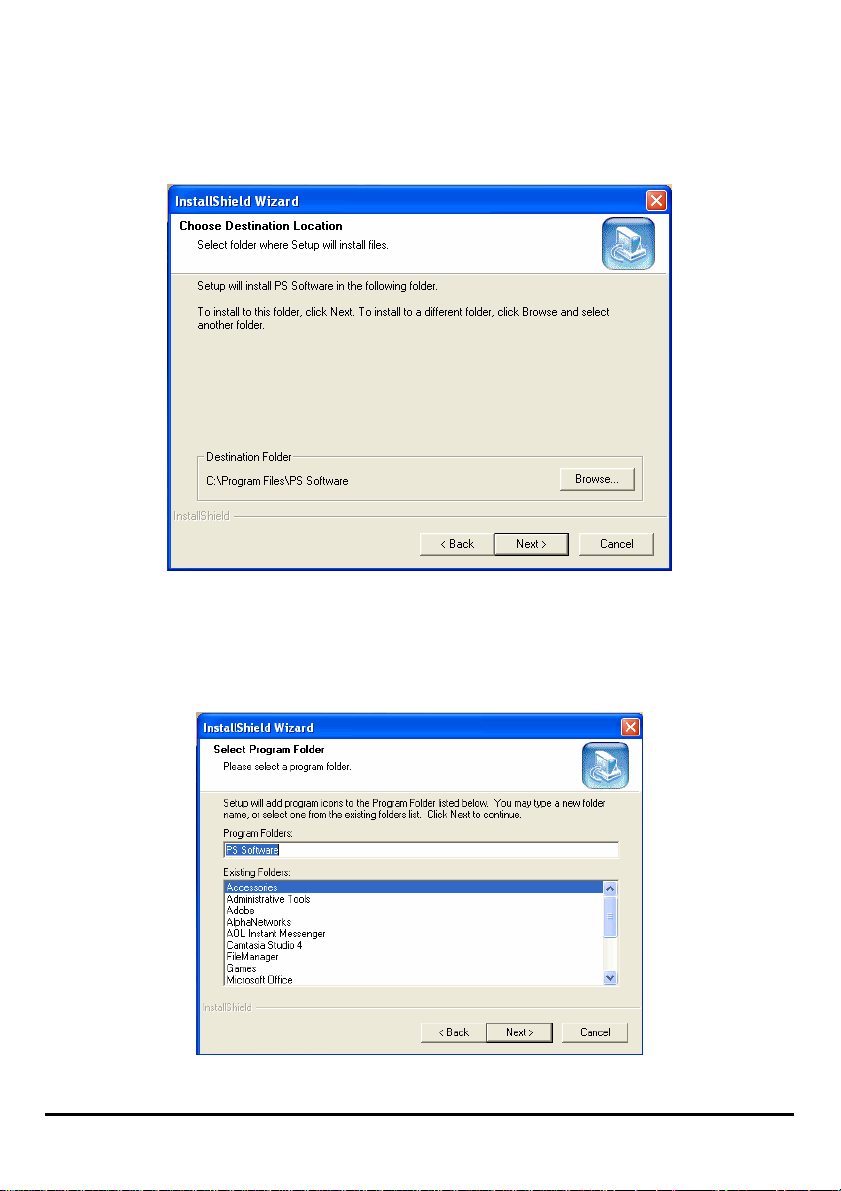
2. Specify the destination location by clicking the Browse… button. Otherwise,
click the Next > button to continue.
3. You may enter a new folder name in the Program Folder field if you want to
change the default name. Otherwise click the Next > button to go to the next
screen.
D-Link DPR-1020 - User Manual 15
Using the PS Software
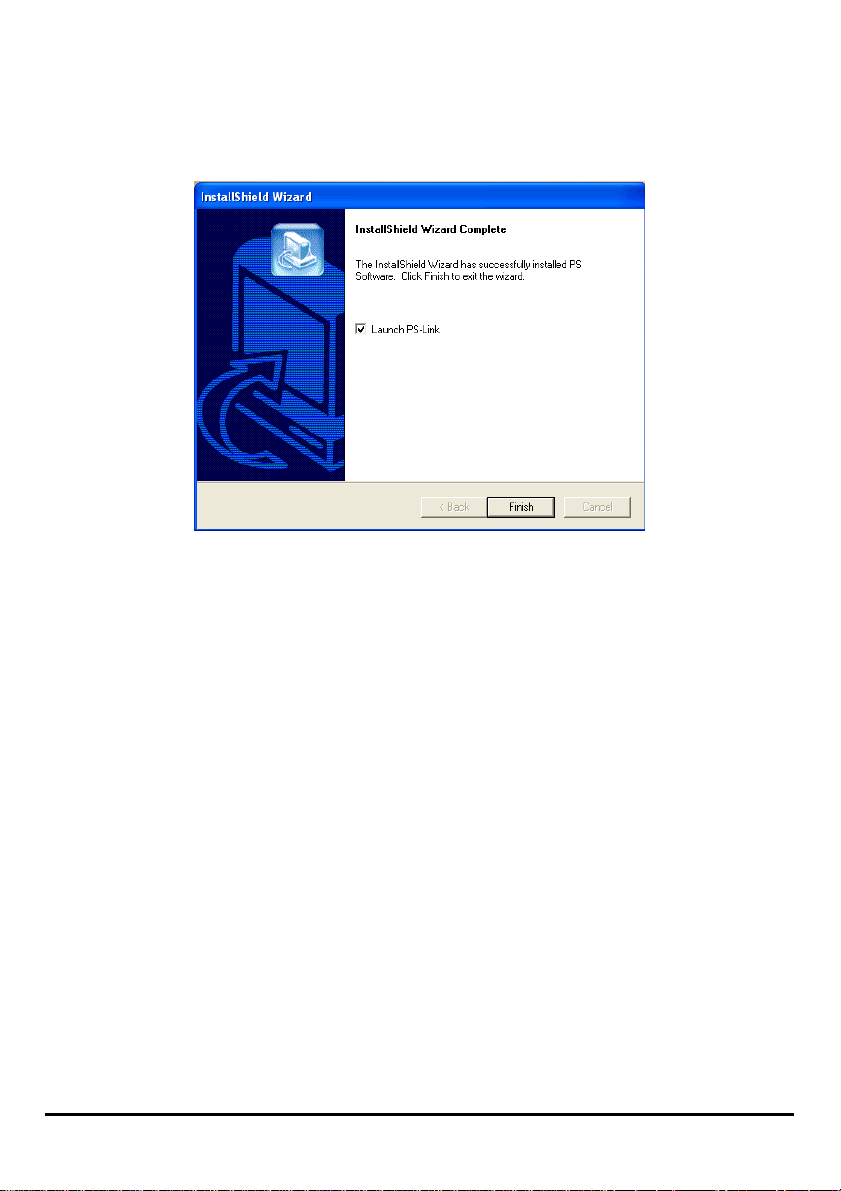
4. The InstallShield Wizard starts to install the software, and the Progress bar
indicates the installation is proceeding until the following window shows up. Cli ck
the Finish button to complete the installation.
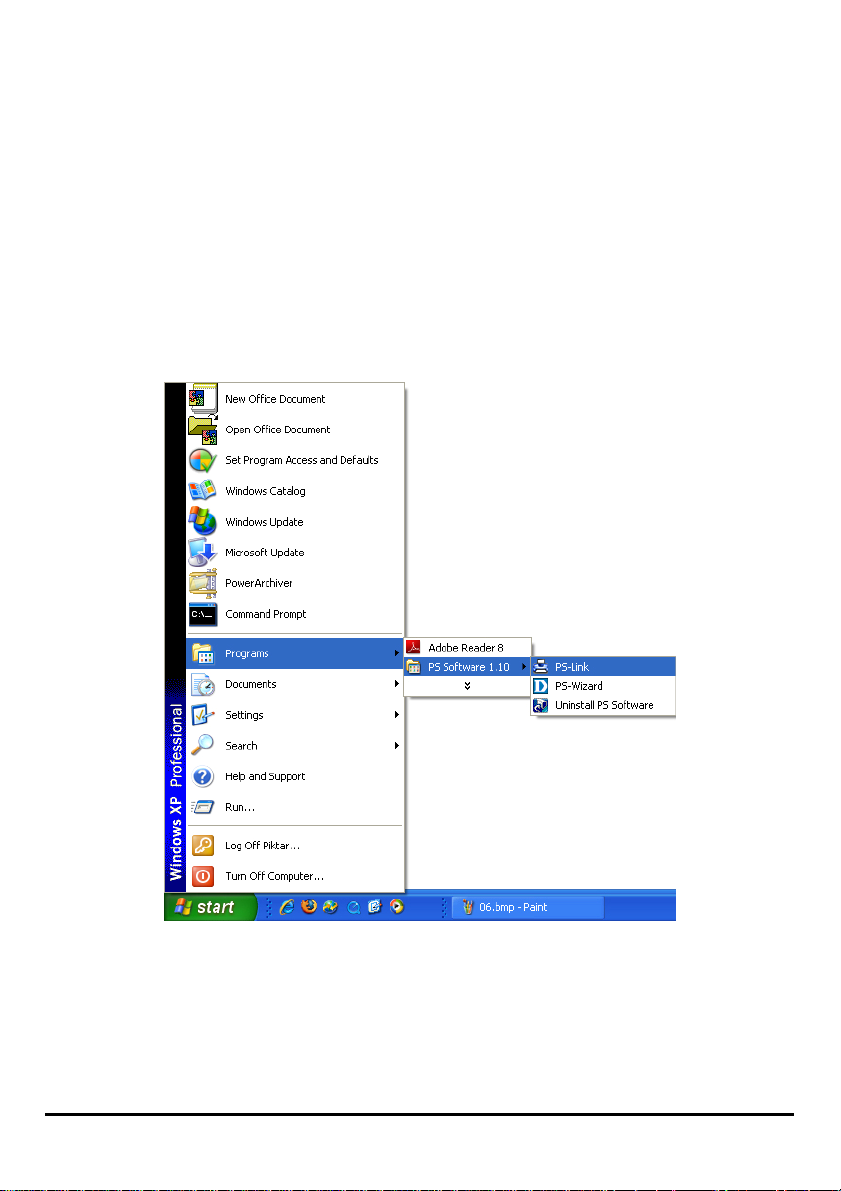
After installing the program, you can access the two utilities by clicking StartÎ
ProgramsÎ PS Software.
The PS Software contains two utilities: PS-Link and PS-Wizard.
D-Link DPR-1020 - User Manual 16
Using the PS Software
Using PS-Link
PS-Link (Windows 2000/XP/2003/Vista), is a utilit y that will help you use your printer
manufacturer drivers with the MFP print server. Using the Link command you can
simulate a physical USB connection between your computer and printer, thus
enabling you to complete the installation of the manufacturer drivers without making
a USB connection to your computer .
To start PS-Link, go to StartÎ ProgramsÎ PS Software, and click PS-Link.
PS-Link will then start and automatically search for MFP servers in the same
network segment. If the installation has been successful, you will see that the name
of your MFP server has been discovered and is listed in the Server Name column. If
your MFP server is not listed, please check your network connectivity and click the
Discover button again.
D-Link DPR-1020 - User Manual 17

Using the PS Software
Server Name: This list displays the name of the MFP Servers within the network.
Discover: Click this button to search for more MFP Servers.
Status Bar: The status bar at the bottom of the screen displays the current
system status and number of connected MFP servers.
Information: This field displays basic information regarding the selected MFP
Server in the Device List.
There are also three buttons: Setup Wizard, Change IP Address, and Web
Setup. Here is an explanation of each button:
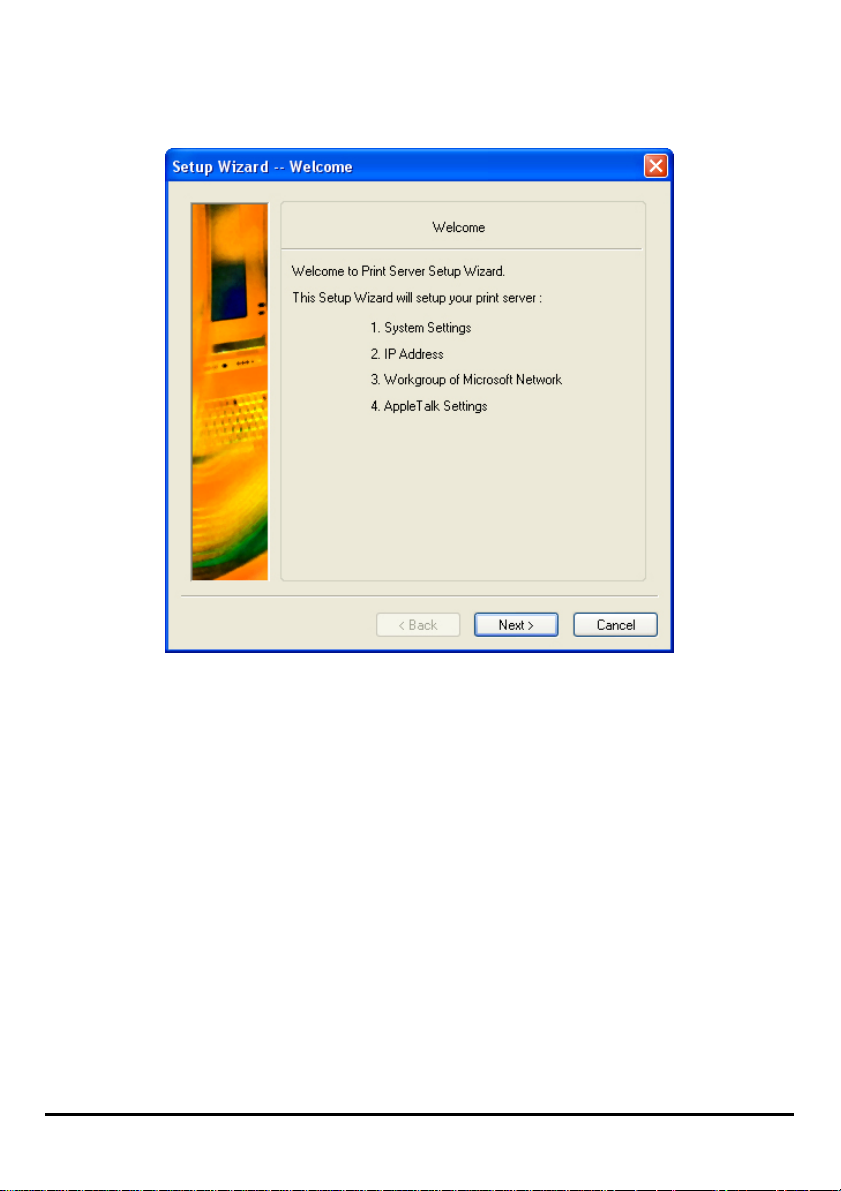
[Setup Wizard] – Setup Wizard will allow you to configure the print server
step-by-step. When this button is clicked, the following screen will display.
D-Link DPR-1020 - User Manual 18
Using the PS Software
Click Next > to begin configuring the settings.
D-Link DPR-1020 - User Manual 19
Using the PS Software
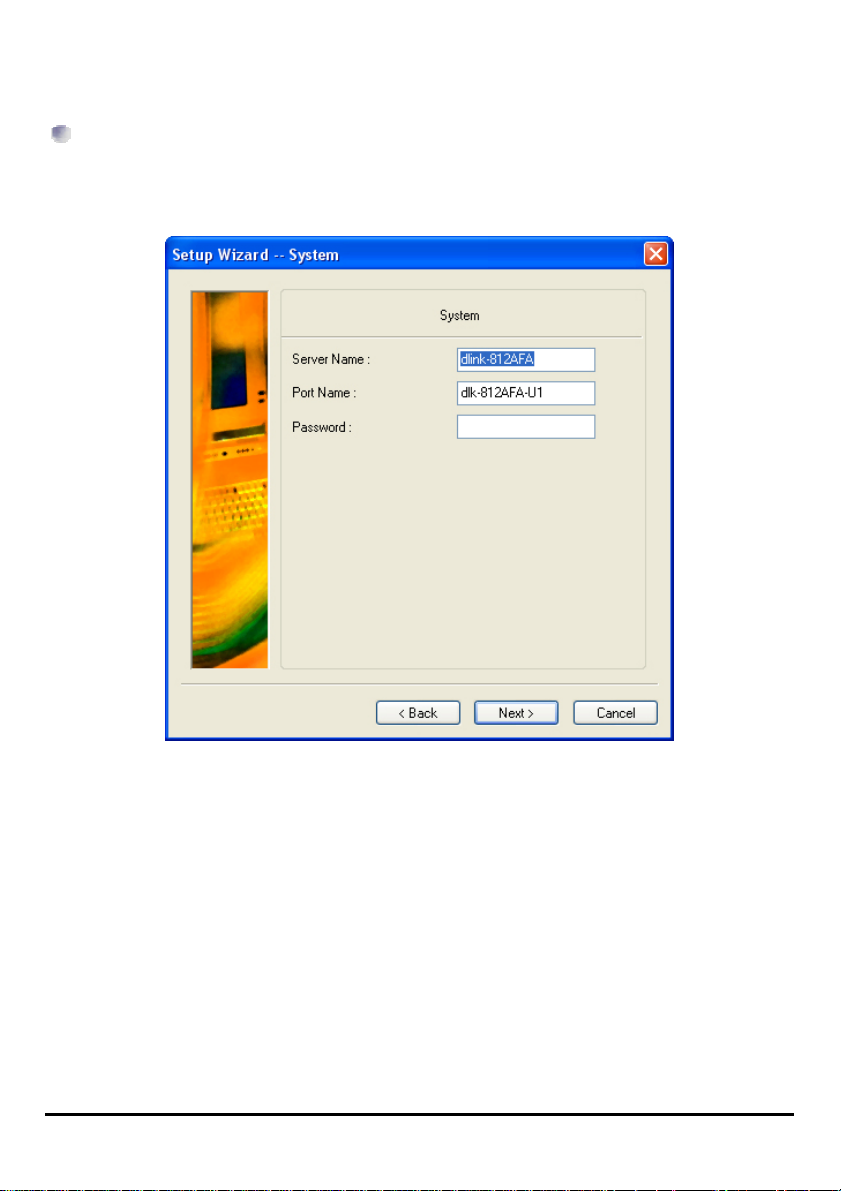
System Settings
Enter the Server Name, Port Name and Password for the print server.
Click Next > to continue to the next page and Cancel to exit.
D-Link DPR-1020 - User Manual 20
Using the PS Software
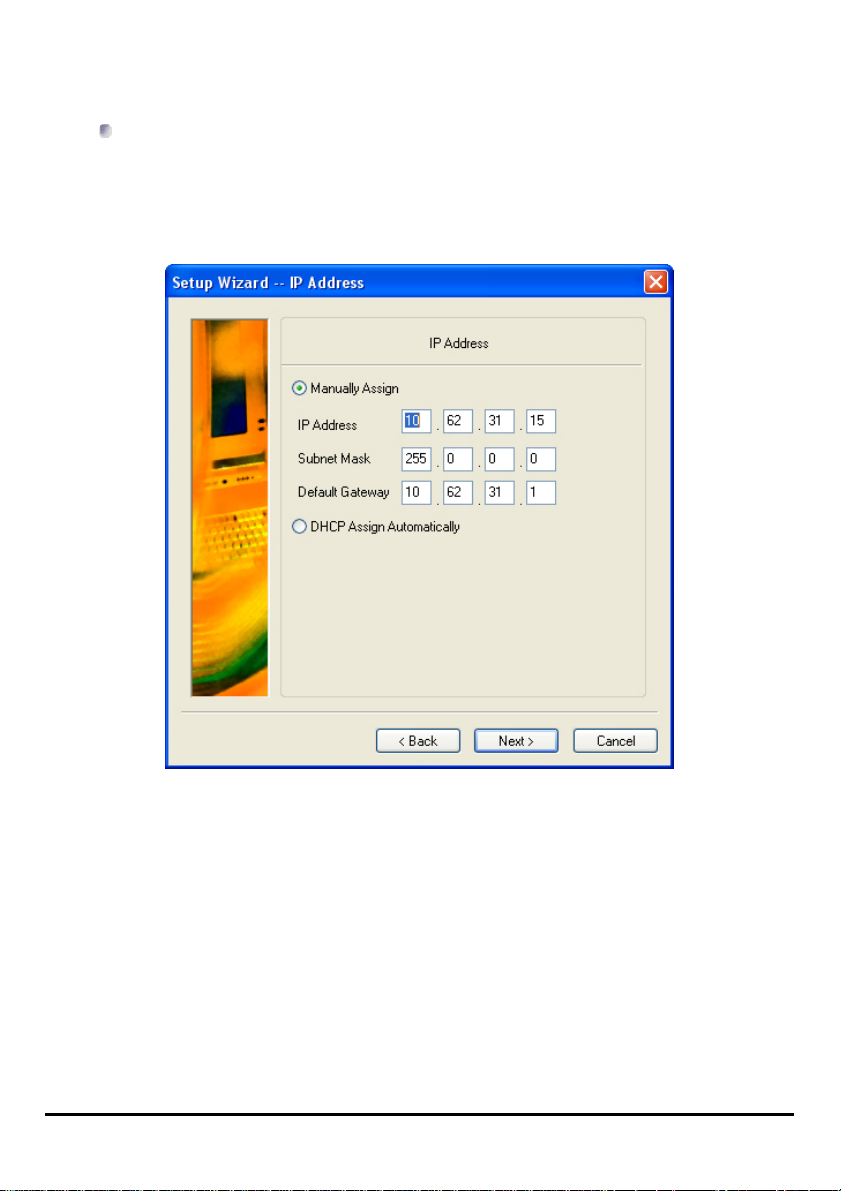
Changing the IP Address:
Select Manually Assign to enter a specific IP address for the print server or DHCP
Assign Automatically to assign the server an IP address automatically.
Click Next > to continue to the next page or Cancel to exit.
D-Link DPR-1020 - User Manual 21

Using the PS Software
Microsoft Network Workgroup
Type the name of the Microsoft Workgroup.
Click Next > to continue to the next page or Cancel to exit.
D-Link DPR-1020 - User Manual 22
Using the PS Software
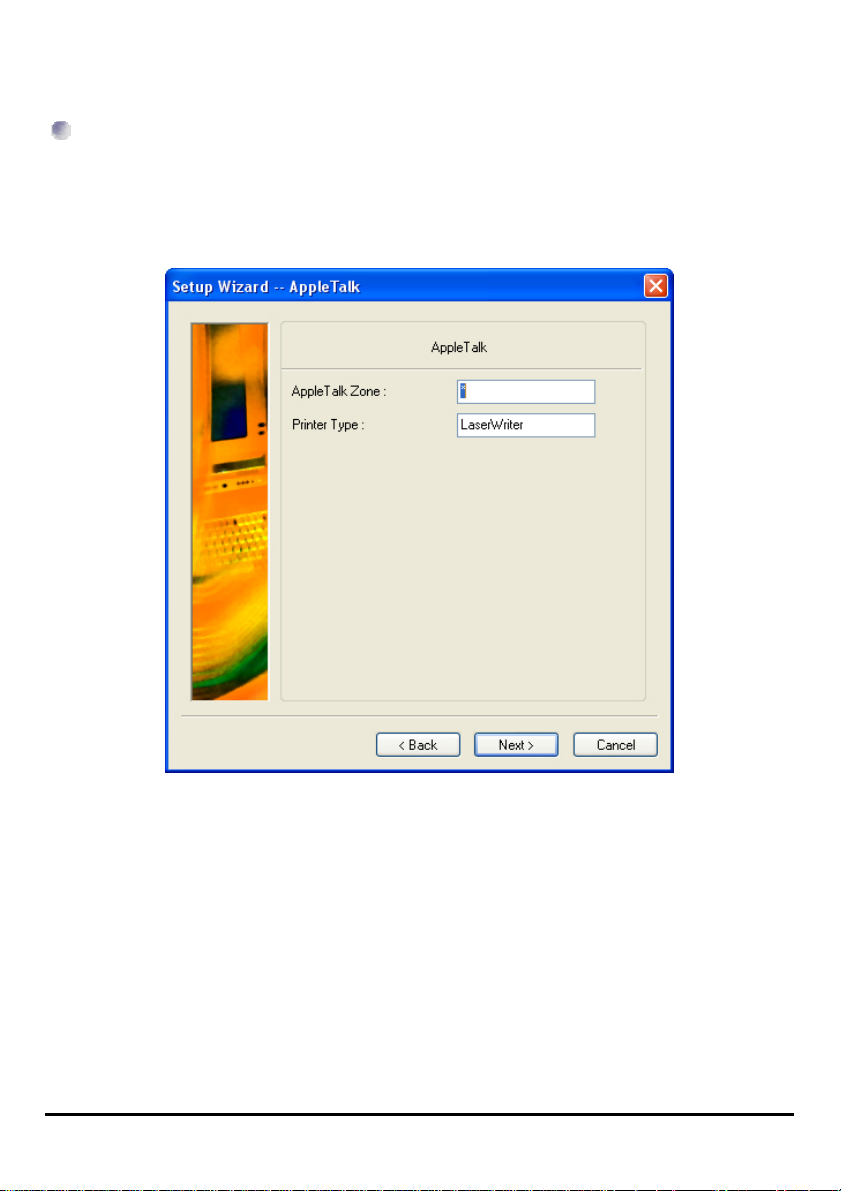
AppleTalk Settings (Optional)
Enter the AppleTalk Zone or just type “*” if your AppleTalk netwo rk is not divided i nto
zones. Type the Printer Type.
Click Next > to continue to the next page or Cancel to exit.
D-Link DPR-1020 - User Manual 23
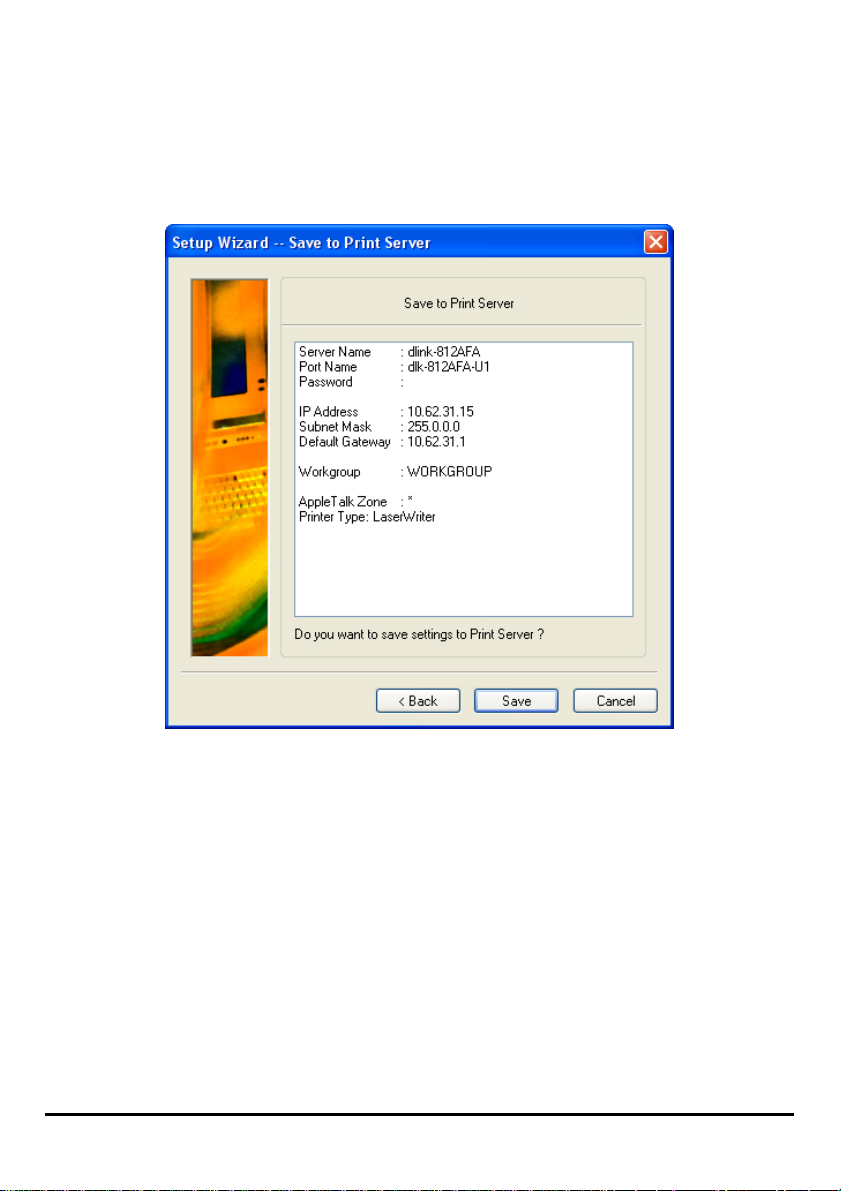
Using the PS Software
After the configuration of these screens is complete, click Save to store the settings
that are displayed or Cancel to abort. You can also click < Back to modify these
settings.
D-Link DPR-1020 - User Manual 24
Using the PS Software
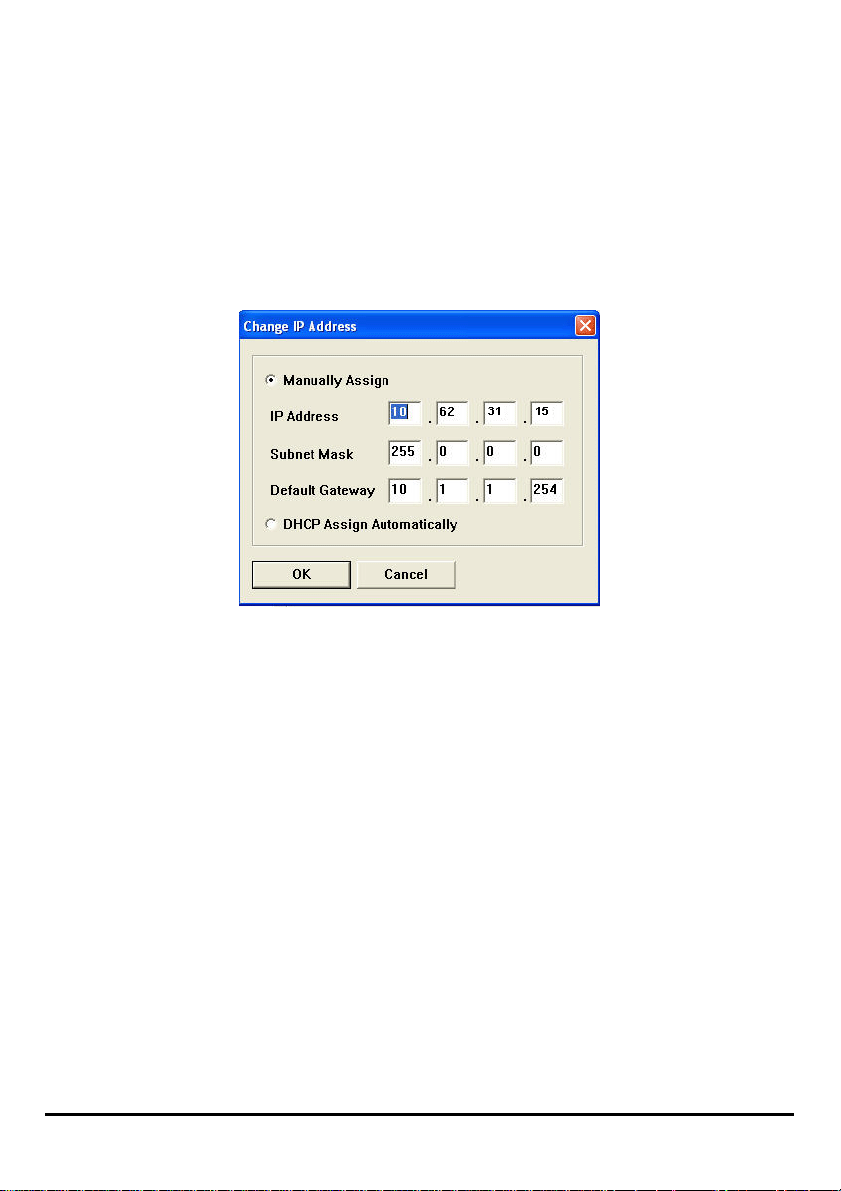
[Change IP Address] - Click this button to bring up the following screen. This
screen allows you to change the IP Address of the MFP Server. Select Manually
Assign to enter a specific IP address for the MFP server or DHCP Assign
Automatically to assign the server an IP address automatically. Click OK to
save your changes or Cancel to abort.
D-Link DPR-1020 - User Manual 25
Using the PS Software
[Web Setup] – Click this button to launch the web configurator. You can also launch
the web configurator by clicking on the name of the server in the Device List.
Printer Port: This field displays basic information and the current status of the
connected printer. It also allows you to use the four control buttons (Link, UnLink,
Lock, UnLock).
[Link] – The function of this button is to simulate the physical connection between
the printer and computer via a USB cable. This means you can set up a link by
simply clicking this button without physically attaching the printer’s USB cable to
your computer. This is be cause the USB cable will be connected from your prin ter to
the print server and not to your computer.
[UnLink] – This button disconnects the simulated link between the printer and the
computer.
[Lock] – Clicking the Lock button will enable Single User Mode. In this mode only
one user may print.
[UnLock] – Clicking the Unlock button will enable the Shared Mode.
D-Link DPR-1020 - User Manual 26
Loading...