


GPS 400
Quick Reference

KEYS AND KNOBS
1 |
2 |
3 |
4 |
5 |
6 |
|
|
|
|
P |
|
7 |
8 |
9 |
10 |
11 |
12 |
13 |
1
2
3
4
5
|
Figure 1-1 Keys and Knobs |
|
|
|
Power |
6 |
ENT (enter) |
10 |
FPL (flight plan) |
CLR (clear) |
7 |
NRST |
11 |
PROC (procedures) |
Direct-to |
8 |
OBS |
12 |
Large right knob |
RNG (map range) |
9 |
MSG (message) |
13 |
Small right knob |
MENU |
|
|
|
|
Left-hand Knob |
Right-hand Keys and Knobs |
The Power Knob controls unit power, turn clockwise to turn the unit on.
The RNG Key allows the pilot to select the desired map range. Press the up arrow to zoom out to a larger area, or the down arrow to zoom in to a smaller area.
The Direct-to Key provides access to the direct-to function, which allows the pilot to enter a destination waypoint and establishes a direct course to the selected destination.
The MENU Key displays a context-sensitive list of options. This options list allows the pilot to access additional features or make settings changes which relate to the currently displayed page.
2 |
GPS 400 Quick Reference |
190-00140-61 Rev. E |

The CLR Key is used to erase information, remove map detail, or to cancel an entry. Press and hold the CLR key to immediately display the Default NAV Page.
The ENT Key is used to approve an operation or complete data entry. It is also used to confirm information, such as during power on.
The large right knob is used to select between the various page groups: NAV, WPT, AUX, or NRST. With the on-screen cursor enabled, the large right knob allows the pilot to move the cursor about the page. The large right knob is also used to move the target pointer right (turn clockwise) or left (counterclockwise) when the map panning function is active.
The small right knob is used to select between the various pages within one of the groups listed above. Press this knob momentarily to display the on-screen cursor. The cursor allows the pilot to enter data and/or make a selection from a list of options. When entering data, the small knob is used to select the desired letter or number and the large knob is used to move to the next character space. The small right knob is also used to move the target pointer up (turn clockwise) or down (counterclockwise) when the map panning function is active.
KEYS AND KNOBS
Bottom Row Keys
The NRST Key displays the Nearest Airports Page. Then, turning the small right knob steps through the NRST pages.
The OBS Key is used to select manual or automatic sequencing of waypoints. Pressing the OBS Key selects OBS mode, which retains the current ‘active to’ waypoint as the navigation reference even after passing the waypoint (i.e., prevents sequencing to the next waypoint). Pressing the OBS Key again returns the unit to normal operation, with automatic sequencing of waypoints. When OBS mode is selected, the pilot may set the desired course to/from a waypoint using the ‘Select OBS Course’ pop-up window, or an external OBS selector on the HSI or CDI.
The MSG Key is used to view system messages and to alert the pilot to important warnings and requirements.
The FPL Key allows the pilot to create, edit, activate, and invert flight plans, as well as access approaches, departures, and arrivals. A closest point to flight plan feature is also available from the FPL Key.
The PROC Key allows the pilot to select and remove approaches, departures, and arrivals from the flight plan. When using a flight plan, available procedures for the departure and/or arrival airport are offered automatically. Otherwise, the pilot may select the desired airport, then the desired procedure.
190-00140-61 Rev. E |
GPS 400 Quick Reference |
3 |
POWER ON
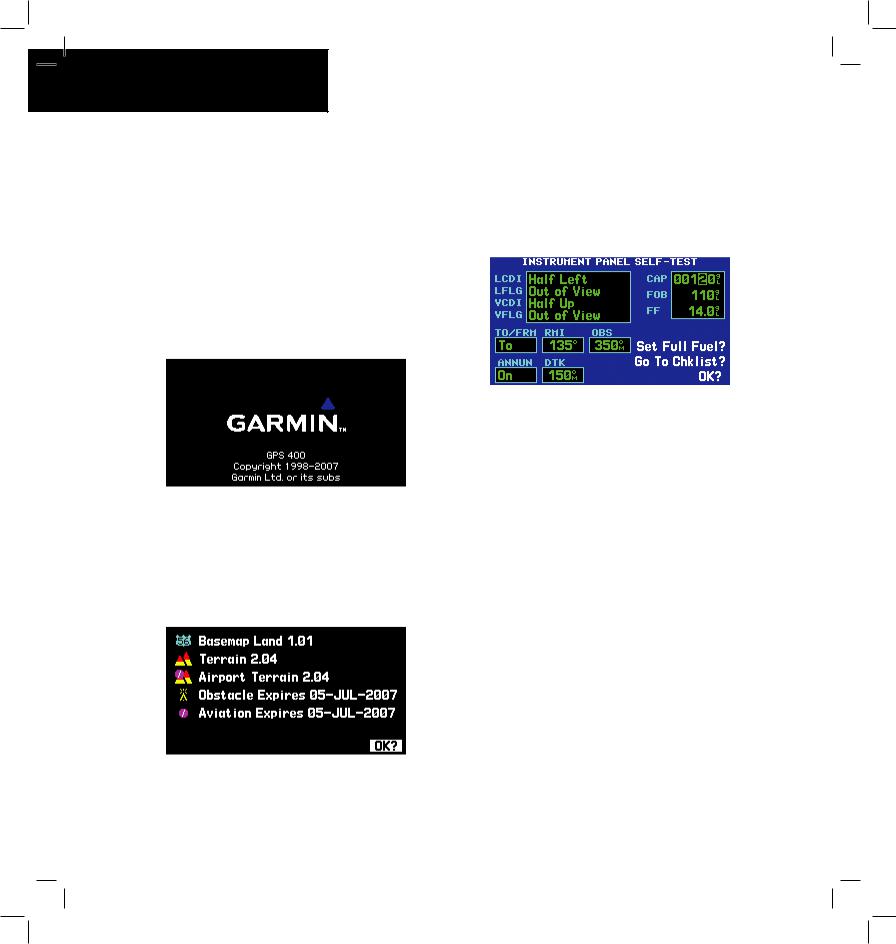
Powering on the GPS 400:
1)Turn the Power Knob clockwise to turn the unit power on.
2)A welcome page appears briefly while the unit performs a self test, followed sequentially by the Unit Type Page and the Software Versions Page. Then (depending on configuration) the Weather Page, the Traffic Page, the Aviation Data Page, the Land/Terrain/Obstacles Database Page, and the Situational Awareness Page are sequentially displayed.
3)Once the self-test concludes, the Database Versions Page appears which shows the current database information on the NavData® Card and Terrain Data cards. Press the ENT Key to acknowledge the Database Page and proceed to the Instrument Panel Self-test Page.
4)The Instrument Panel Self-test Page allows the pilot to verify that the GPS 400 is communicating properly with in-panel instruments. Compare on-screen indications with the information depicted on connected instruments, such as the CDI, HSI, RMI, and/or external annunciators.
5)After verifying proper operation, press the ENT Key to display the Satellite Status Page.
4 |
GPS 400 Quick Reference |
190-00140-61 Rev. E |
SCREEN LAYOUT (WINDOWS)
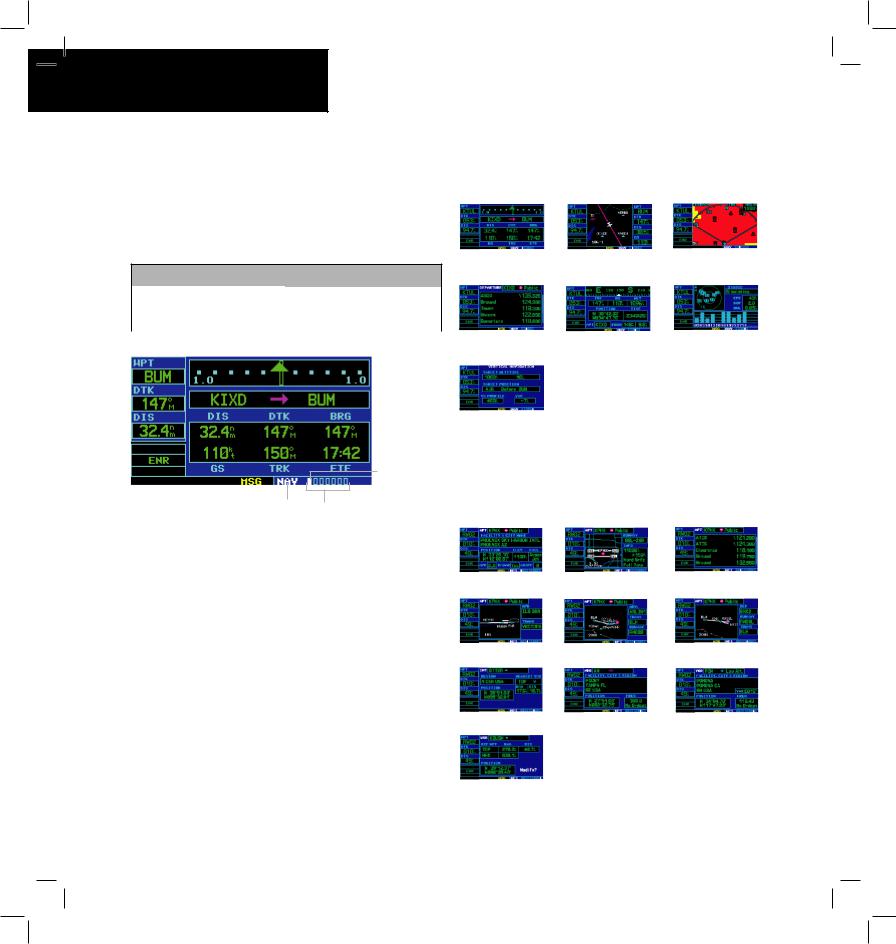
The GPS 400’s display is divided into two separate windows (or screen areas). The left side of the display provides three user-defined data fields. The right side of the display consists of a GPS Window, which shows the various navigation, waypoint information, and settings pages. The bottom of the display is used for annunciators.
GPS Window
Data Fields
DATA ENTRY
CURSORS
The GPS window cursor is used to select the desired fields. Press the small right knob to activate the cursor. Press again to deactivate it. Use the small and large right knobs to move the cursor around the data fields to select options and enter data.
DATA ENTRY
Data is entered in the GPS Window using the large and small right knobs. The large right knob is used to move the cursor about the page. The small right knob is used to select individual characters for the highlighted cursor location.
Each unique screen of information is referred to as a page. Pages are typically selected using the small and large right knobs, with the cursor removed from the GPS Window. See pages 6 and 7 for details on arrangement of the GPS 400’s main pages.
190-00140-61 Rev. E |
GPS 400 Quick Reference |
5 |
MAIN PAGE GROUPS
Main Page Groups
The GPS 400’s main pages are divided into four separate page groups: NAV, WPT, AUX, and NRST. Each page group is comprised of multiple pages. The page groups are selected using the large right knob. The individual pages are selected using the small right knob.
Page Groups
NAV Group |
WPT Group |
AUX Group |
NRST Group |
7 NAV Pages |
10 WPT Pages |
4 AUX Pages |
8 NRST Pages |
Position of
Current Page within Current Page Group
|
|
|
|
|
|
Number of Pages in |
|
Current Page Group |
Current Page Group |
||
NAV Page Group
The NAV Page Group includes seven pages.
Default NAV |
Map |
TERRAIN |
|
|
(if configured) |
NAV/COM |
Position |
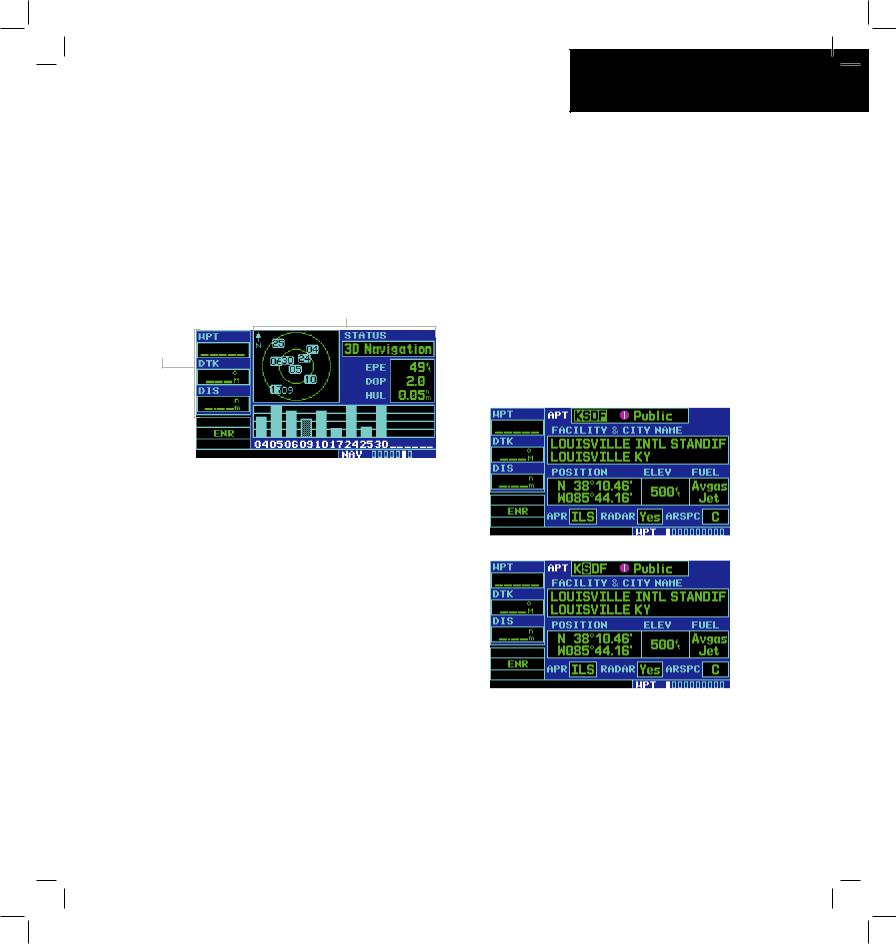
Satellite Status |
VNAV
WPT PAGE GROUP
The WPT Page Group includes ten pages.
The bottom right corner of the screen indicates which page group is currently being displayed (e.g., NAV, WPT, AUX, or NRST), the number of screens available within that group (indicated by the square icons), and the placement of the current screen within that group (indicated by a highlighted square icon).
Selecting the desired page group and page:
1)Press and hold the CLR Key to select the Default NAV Page.
2)Turn the large right knob to select the desired page group.
3)Turn the small right knob to select the desired page.
Airport Location Airport Runway |
Airport Frequency |
Airport Approach |
Airport Arrival |
Airport Departure |
Intersection |
NDB |
VOR |
User Waypoint
6 |
GPS 400 Quick Reference |
190-00140-61 Rev. E |

AUX PAGE GROUP
The AUX Page Group includes four pages.
Flight Planning |
Utility |
Setup 1 |
Setup 2
NOTE: The flight plan pages are selected by pressing the FPL Key and using the small right knob to select the desired page.
NRST PAGE GROUP
The NRST Page Group includes eight pages.
NRST Airport NRST Intersection |
NRST NDB |
NRST VOR |
NRST User |
NRST Center |
NRST Flight Service NRST Airspace
NOTE: The NRST Pages can be selected by pressing the NRST Key or by using the large
right knob.
DIRECT-TO NAVIGATION
Selecting a direct-to destination:
1)Press the Direct-to Key. The Select Direct-to Waypoint Page appears, with the waypoint identifier field highlighted.
2)Use the small and large right knobs to enter the identifier of the desired destination waypoint.
3)Press the ENT Key to confirm the selected waypoint, and press the ENT Key again to activate the direct-to function.
190-00140-61 Rev. E |
GPS 400 Quick Reference |
7 |
 Loading...