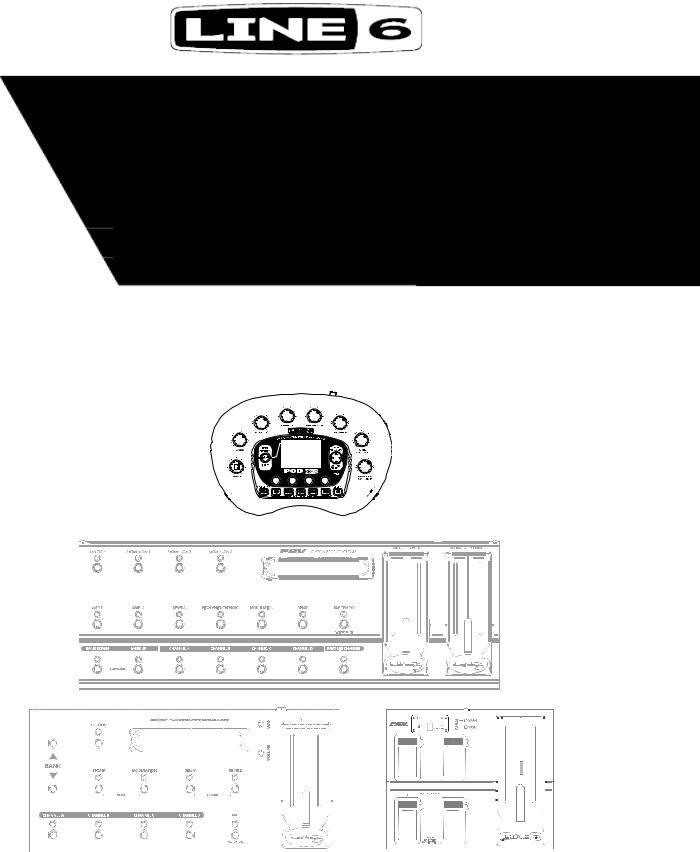
Line 6 POD X3, FBV4, FBV, FBV Express, FBV2 User Manual
...
®
FBVtm - POD® X3
Control Guide
Using the FBVtm, FBV Shortboardtm or FBV Expresstm with POD® X3
POD X3 FirmwareVersion 1.01
P32A HENDRIX UNIVIBE
Updated: Nov. 12, 2007

FBV - POD X3 Control Guide
Table of Contents
Getting Started........................................................................................ |
1•3 |
Updating & Registering with Line 6 Monkey................................................................ |
1•3 |
Connecting the FBV to the POD X3.............................................................................. |
1•5 |
Expression Pedal.............................................................................................................. |
1•5 |
Calibrating Your FBV Series Controller’s Foot Pedals.................................................... |
1•5 |
Taking Control ......................................................................................... |
2•8 |
Quick Start...................................................................................................................... |
2•8 |
Calling Up Presets........................................................................................................... |
2•8 |
Controlling Effects & More.......................................................................................... |
2•10 |
POD X3 System Configuration - Pedal Settings........................................................... |
2•12 |
Dual Tone Pedal Behaviors........................................................................................... |
2•14 |
Controlling Dual Tone Presets...................................................................................... |
2•16 |

FBV - POD X3 Control Guide: Getting Started
Getting Started
Congratulations if you’ve obtained both a Line 6 POD X3 along with an FBVTM, FBV ShortboardTM or FBV ExpressTM * since you are now equipped for some serious tone creation - as well as hands-free access to your custom presets! This document will walk you through setting up and using your FBV Series Controller specifically with POD X3.
As you’ve likely discovered by now, POD X3 is one powerful hunk of gear! So, to get the most out of your X3 and best understand just what the FBV buttons and pedals are accessing, it is recommended you read through the very helpful info in your POD X3 Pilot’s Handbook. In particular, the “Tutorial: POD X3 for Guitar” section provides a quick run-through on how to create, tweak and store your custom Tone Presets (don’t be afraid - there are even pictures!) Another handy resource is the FBV Series Controller User Manual, which comes in the box with your FBV Series Controller. If you cannot find these printed manuals, then you can download them from the Line 6 web site here:
http://line6.com/support/manuals/
Your FBV Series Controller allows you to remotely call up the Tones within the POD X3 User folder. A good number of User Tone Presets have already been created for you on your POD X3, but you’ll probably want to customize and create your own Tones, which you can save to the memory locations within this User folder.
* Note that POD X3 works with the FBV Series Controller models only and is not compatible with the older Line 6 Floor Board or FB4.
Updating & Registering with Line 6 Monkey
OK, so maybe you already read about doing this updating & registration stuff for your POD X3 and FBV, but in case you were too excited with your new gear to get to that yet, now is the time to do it! This is all very easy using Line 6 Monkey on your computer with an Internet Connection...
Line 6 Monkey is the intelligent updater software utility that you can get free from the Line 6 web site:
www.line6.com/monkey/
Once you download the file, go ahead and install the Line 6 Monkey software, connect your POD X3’s USB cable to your computer, power it on, and then launch Line 6 Monkey. Monkey will automatically check to see if you have all the latest updates to allow you to get the most out of your POD X3. It’s also a great idea to do this every so often to keep things up to date.
* Note - This Guide specifically covers POD X3 Firmware Version 1.01. Please use Line 6 Monkey to check that your POD X3 is updated to this (or later) Firmware Version.
1•3

FBV - POD X3 Control Guide: Getting Started
Login Account
You’ll need to Login so that Line 6 Monkey can communicate with the online Line 6 Server to provide the specific product updates for your gear. It’s just a few clicks, and it’s free!
•If you have a Line 6 account, type in your User Name and Password at the top of the Monkey dialog.
•If you have not yet created an account, click the New User button and you’ll be walked right through the steps.
RegisterYour Hardware
Registering your Line 6 hardware is also very important because it ensures that you’re dialed in for warranty service and makes it possible for us to contact you if new software versions or other cool enhancements are offered - cutting edge technology and such!
If you have not already done so, you’ll be prompted to Register your connected Line 6 hardware. It’s a painless process really, so click that Register Now button and fill in the blanks on the web page. This page will list all your registered Line 6 gear in one place. It’s all quite simple, just click on the Register
1•4

FBV - POD X3 Control Guide: Getting Started
button when Monkey prompts you to do so and you’ll be walked through the steps.
Connecting the FBV to the POD X3
Connecting your POD X3 to your FBV, FBV Shortboard or FBV Express is accomplished with one simple cable connection.
• First, power OFF your POD X3.
Your FBV unit comes with a long cable that has “RJ-45” connectors on each end. Note that this cable is indeed a standard “Category 5” computer network cable. So, in case you lost yours, or your drummer friend sliced through it by dropping his cymbal on it, you can simply run down to any electronics or computer store and ask for a cable of
this type.
•Plug one end of this cable into the TO AMP OR POD jack on the back of the FBV unit, and the other end into the FBV PEDAL jack on the POD X3.
•Power on your POD X3.
Power is supplied to your FBV unit via this same cable connection. You should now see the FBV display show a patch name and/or indicator lights illuminated. The FBV will work just like this, and by stomping on one of the BANK or A, B, C, D buttons you should see it call up the respective Tone Preset that is stored in the USER folder on the POD X3.
Expression Pedal
FBV Shortboard owners can optionally add a 2nd pedal for even greater control! The Line 6 EX-1 Expression Pedal is designed to work with the FBV Shortboard by simply plugging it into the Expression Pedal jack on the back of the chassis. The EX-1 also works with any other Line 6 device that includes an Expression Pedal input. These can be purchased directly on the Line 6 Online Store, or from most Line 6 dealers.
CalibratingYour FBV Series Controller’s Foot Pedals
Before putting FBV controller to use, it is recommended that you “calibrate” its pedal(s) to optimize performance with your POD X3. Follow the steps below for your specific FBV model:
FBV
•Attach the RJ-45 cable from your POD X3 to your FBV pedal board. Once your POD X3 is powered up, your FBV’s LEDs should cycle and the display should read “LINE 6” with the backlight lit up.
•Move the LEFT pedal to the center position, roughly halfway between the MAXIMUM and MINIMUM position.
1•5

FBV - POD X3 Control Guide: Getting Started
•Press AMP1 + AMP2 + TREMOLO and hold for three seconds to enter calibration mode. (There will be no indication your have entered this mode.)
•Press AMP1 + AMP2 + DELAY and hold for three seconds to begin calibration of the LEFT pedal.
¤Move the LEFT pedal to its MAXIMUM position (pedal all the way toe down) and press down hard enough to actuate the pedal’s toe switch.
¤Move the LEFT pedal to its MINIMUM position and press down (pedal all the way heel down).
•Press AMP1 + AMP2 + MODULATION and hold for three seconds to begin calibration of the RIGHT pedal.
¤Move the RIGHT pedal to its MAXIMUM position (pedal all the way toe down) and press down hard enough to actuate the pedal’s toe switch.
¤Move the RIGHT pedal to its MINIMUM position and press down (pedal all the way heel down).
•Turn OFF your Line 6 device. You have just calibrated your FBV pedals!
FBV Shortboard
•Attach the RJ-45 cable from your POD X3 to your FBV Shortboard. Once your POD X3 is powered up, your FBV Shortboard’s LEDs should cycle and the display should read “LINE 6” with the backlight lit up.
•Move the onboard pedal to the center position, roughly halfway between the MAXIMUM and MINIMUM position.
•Press STOMP + DELAY + REVERB and hold for three seconds to begin calibration of the onboard pedal.
¤Move the onboard pedal to its MAXIMUM position (pedal all the way toe down) and press down hard enough to actuate the pedal’s toe switch.
¤Move the onboard pedal to its MINIMUM position and press down (pedal all the way heel down).
If you have an optional Expression Pedal, hook it up to your FBV Shortboard now and continue on to to the next step. If you do NOT have an Expression Pedal, simply turn OFF your POD X3, you are done calibrating!
•Move the Expression Pedal to the center position, roughly halfway between the MAXIMUM and MINIMUM position.
•Press BANK DOWN + STOMP + DELAY and hold for three seconds to begin calibration of the EXTERNAL pedal.
¤Move the Expression Pedal to its MAXIMUM position (pedal all the way toe down).
¤Move the Expression Pedal to its MINIMUM position and press down (pedal all the way heel down).
•Turn OFF your POD X3. You have just calibrated your Expression Pedal!
1•6
 Loading...