


 Loading...

Using the TWAIN Datasource
Starting the Scan Validation Tool ....................................................... |
2 |
The Scan Validation Tool dialog box .................................................. |
3 |
TWAIN Settings screen...................................................................... |
5 |
Using the TWAIN Datasource ............................................................ |
6 |
How do I begin? ................................................................................. |
7 |
Creating a new Setting Shortcut ........................................................ |
8 |
Changing Image settings ................................................................... |
9 |
Changing Device settings ................................................................ |
10 |
The main Scanner window................................................................ |
11 |
The Image Settings window............................................................. |
14 |
Preview area................................................................................ |
15 |
General tab.................................................................................. |
17 |
Size tab........................................................................................ |
19 |
Adjust tab: black and white.......................................................... |
22 |
Adjust tab: color or grayscale ...................................................... |
24 |
Enhance tab ................................................................................ |
27 |
Detect tab .................................................................................... |
29 |
Advanced Image Setup.................................................................... |
32 |
Advanced tab............................................................................... |
32 |
Content Settings tab .................................................................... |
36 |
Creating color/grayscale or black and white images based on the |
|
content of your documents, Example 1.......................................... |
38 |
Creating multiple images for each side of a document, Example 2 . 40 |
|
Creating different settings for each side of a document, Example 3 42 |
|
The Device Settings window............................................................ |
44 |
Device - General tab.................................................................... |
45 |
Device - Transport tab ................................................................. |
47 |
Device - Printer tab...................................................................... |
49 |
Device - Multifeed tab.................................................................. |
54 |
Device - Patch tab ....................................................................... |
57 |
The Diagnostics window .................................................................. |
58 |
Diagnostics - General tab ............................................................ |
59 |
Diagnostics - Debug tab .............................................................. |
60 |
Diagnostics - Logs tab ................................................................. |
61 |
A-61839/TWAIN July 2016 |
1 |
Starting the Scan
Validation Tool
The Kodak i4250, i4650 and i4850 Scanners provide the ability to process scanned images to improve their quality by using image processing features.
Image processing refers to features of the scanner that allow you to automatically adjust each image that may improve the resulting images (e.g., correcting any skew in the fed document, cutting the edges of the image off to remove unneeded borders or cleaning up extraneous “noise” on the image).
The information in this guide provides procedures for using the TWAIN Datasource as well as descriptions of the features. The same features should be available on the user interface of the scanning application you are using (e.g., Kodak Capture Pro Software).
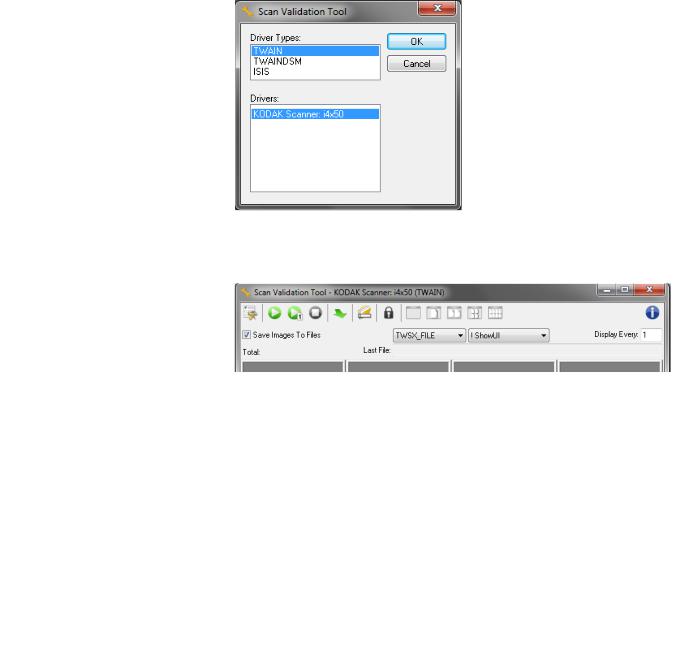
1.Select Start>Programs>Kodak>Document Imaging>Scan Validation Tool.
2.Select TWAIN for the Driver Type and the KODAK Scanner i4x50 as the driver.
The Scan Validation Tool dialog box will be displayed.
2 |
A-61839/TWAIN July 2016 |
The Scan Validation Tool dialog box
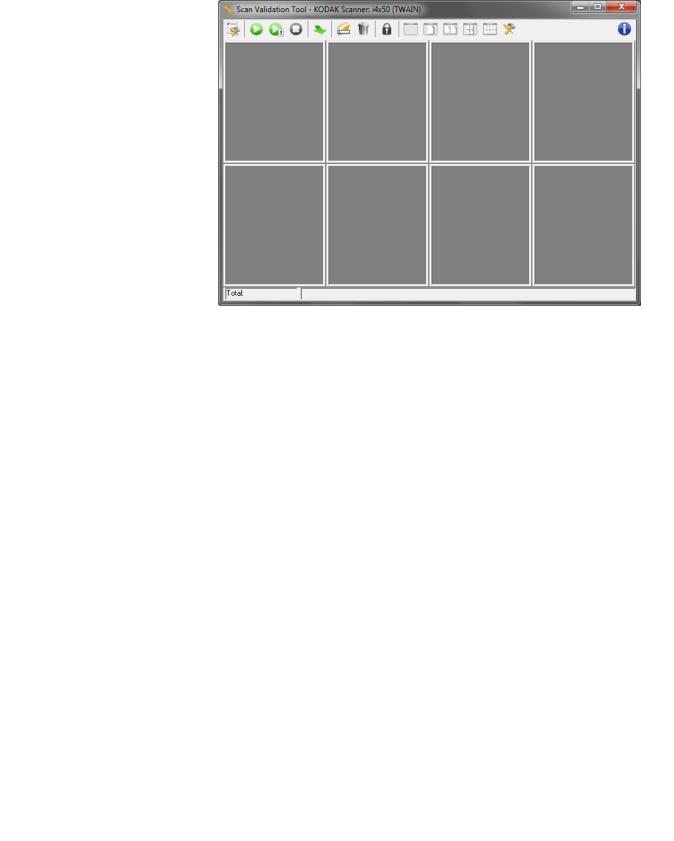
The Scan Validation Tool (SVT) is a diagnostic application provided by Kodak Alaris. The SVT user interface allows access to all the features of the scanner and is a good way to verify that the scanner is working properly. The Scan Validation Tool allows you to verify scanner functionality using the TWAIN Datasource.
NOTE: The Scan Validation Tool is not intended to be used as a production scanning application. There are many full featured applications that support the Kodak i4x50 Scanners. The Kodak Capture Pro Software Limited Edition scanning application that is included with this scanner is a good choice for basic scanning. Kodak Capture Pro Software Limited Edition can be upgraded to the full version of Kodak Capture Pro Software as your scanning needs increase.
A-61839/TWAIN July 2016 |
3 |
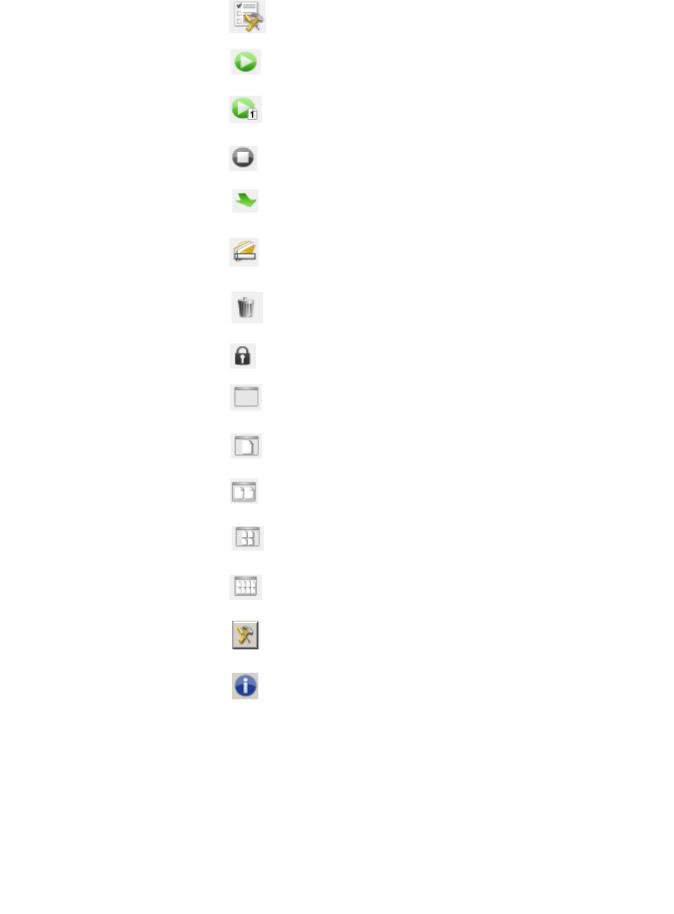
Toolbar buttons
Setup — displays the user interface for the selected driver.
Start Scanning — scans the documents in the input elevator.
Scan One Page — scans only one page.
Stop Scanning — ends the scan session.
Change — switches between the TWAIN Datasource and ISIS Driver.
Destination — allows you to select a directory to store scanned images and their file names. This option is only available when
Files to Save on the TWAIN Settings screen is selected.
Delete — deletes the destination files.
License Key — displays the License Key window.
No Image Display mode — closes the Image Viewer window (no images will be displayed).
One Image Display mode — displays one image at a time.
Two Image Display mode — displays two images at a time.
Four Image Display mode — displays four images at a time.
Eight Image Display mode — displays eight images at a time.
TWAIN Settings — displays the TWAIN Settings screen.
About: displays the scanners’ version and copyright information as well as a link to the Kodak Alaris website to download the latest driver updates.
4 |
A-61839/TWAIN July 2016 |
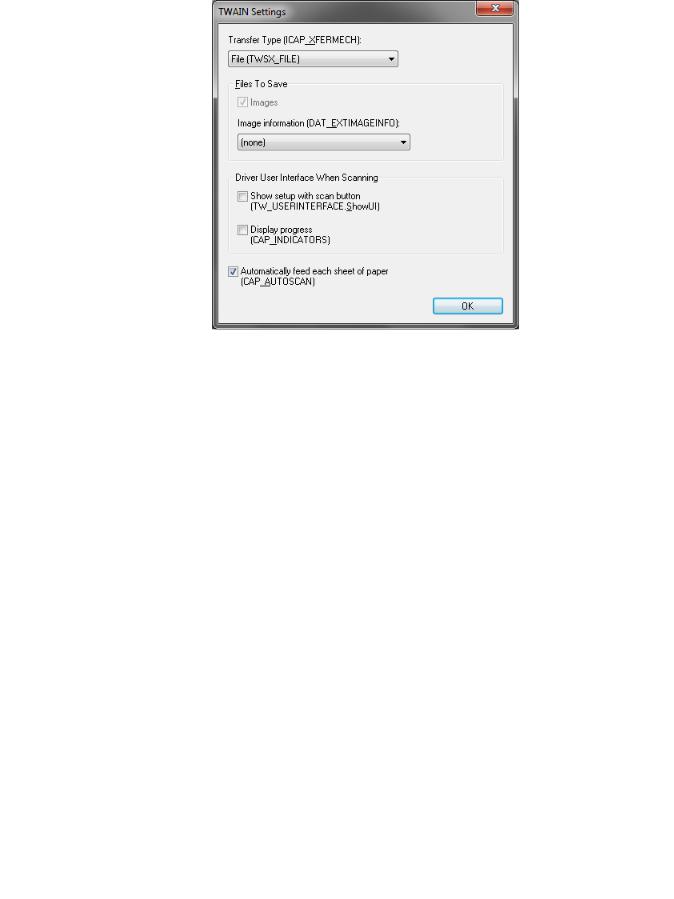
TWAIN Settings screen When you click the TWAIN Settings icon the following screen is displayed.
Transfer Type (ICAP_XFERMECH) — allows you to select which
TWAIN transfer type to use.
•File (TWSX_FILE): the driver saves the image directly to a file. SVT reads the image from that file for display.
•Memory (TWSX_MEMORY): the driver transfers the image into memory created by SVT.
•Native (TWSX_NATIVE): the driver transfers an uncompressed bitmap representation of the image into memory created by the driver and then the memory ownership is given to SVT.
Files To Save
Images — when selected, scanned images will be saved to the specified Destination directory with the specified Destination prefix.
NOTE: This is not available for Transfer Type - File (TWSX_FILE).
Image information (DAT_EXTIMAGEINFO) — the information is saved in a .xml file. The file will be saved to the specified Destination directory with the specified Destination prefix and with the associated image number.
•(none): no image information is saved.
•All: all image information will be saved.
•Only barcode data: just barcode related image information will be saved.
A-61839/TWAIN July 2016 |
5 |

Using the TWAIN
Datasource
Driver User Interface When Scanning
Show setup with scan button (TW_USERINTERFACE.ShowUI) — displays the Main screen of the TWAIN datasource when a scan is initiated.
NOTES:
•Scanning will not start until the Scan button is selected on the Scan Validation Tool dialog box.
•All error and progress messages will be displayed.
Display progress (CAP_INDICATORS) — displays any error and progress messages during scanning.
Automatically feed each sheet of paper (CAP_AUTOSCAN) — during scanning, each document will automatically be scanned; otherwise, the user decides when the scanner will scan the next document (i.e., by using the Scan One Page button).
OK — saves any changes and closes the TWAIN Settings dialog box.
The Kodak i4250, i4650 and i4850 Scanners can provide a wide variety of electronic images. This can be done by using the TWAIN Datasource in concert with your scanning application. The TWAIN Datasource is the part of the capture system which links the scanner to your scanning application.
When using the TWAIN Datasource, the main Scanner window will display a list of Setting Shortcuts. Each Setting Shortcut is a group of specific image and device settings. The supplied Setting Shortcuts represent some common electronic image outputs used for a wide variety of input documents. If none of the Setting Shortcuts meet your scanning needs, you can create a customized Setting Shortcut. For example, you could create a Setting Shortcut called “Invoices” and whenever you want to scan invoices, you simply select that Setting Shortcut. For more information, refer to the sections entitled, “Creating a new Setting Shortcut” and “Changing image settings” later in this guide.
6 |
A-61839/TWAIN July 2016 |

How do I begin?
The goal is to make scanning as simple as possible. This is accomplished by selecting a Setting Shortcut from the main Scanner window and then selecting OK/Scan.
The scanner comes with some Setting Shortcuts already defined. In most cases, you will find that these shortcuts are all you will need. If you find that you need different settings, then you should create your own Setting Shortcut. Your shortcut will be added to the list of Setting Shortcuts and available for all future scanning.
Most of the options you will want to set are available on these two windows:
•Image Settings: clicking the Settings button on the main Scanner window, displays the Image Settings window. From this window you can set your image processing parameters by using the General, Size, Adjust, Enhance and Detect tabs. You can also access the Device settings, by clicking the Device button or the Advanced settings by clicking the Advanced Image Setup icon.
•Device Settings: the Device button is located on the Image Settings window. When you select Device, you will have access to the General, Transport, Multifeed and Patch tabs (if you have the Enhanced Printer Accessory installed, the Printer tab will also be available). From the Device Settings window, you can also access Diagnostics.
The procedures that follow describe how to configure a customized Setting Shortcut. Complete descriptions of the features and options on the Scanner window and tabs are found in the section entitled, “The main Scanner window”.
NOTE: Setting Shortcuts can sometimes be overridden by your scanning application. If this happens, the shortcut you access will appear in the main Scanner window in italics with the word <Changed> next to it. This is normal behavior for an application that does not use Setting Shortcuts and downloads its preferred individual settings to the scanner first and then provides access to the TWAIN Datasource.
When you click OK to begin scanning, you will be asked if you want to save the changed settings. When using an application that does not use Setting Shortcuts, select No to this prompt and continue scanning.
A-61839/TWAIN July 2016 |
7 |
Creating a new Setting Shortcut
From the main Scanner window:
1.Select a Setting Shortcut from the Setting Shortcuts list. It is recommended that you select a Setting Shortcut that best describes the desired image output.
2.Determine if you want to capture an electronic image of the front of your document, back of your document or both sides of your document and make the selection from the Input document is dropdown list.
3.Select Settings on the main Scanner window. The General tab of the Image Settings window will be displayed.
4.Select the appropriate options on the General tab.
NOTE: If necessary, review each setting on the other tabs and make any changes.
5.Place one representative document in the input elevator of the scanner.
6.Select Preview to review the resulting image.
NOTE: If the images are not acceptable, you can either select a different predefined Setting Shortcut or make additional changes on the rest of the tabs on the Image Settings window.
7.Define the desired Device settings by selecting Device on the Image Settings window to display the Device Settings window.
8.Review each tab and select the appropriate options or actions you want the scanner to perform.
9.Select Home to return to the main Scanner window.
10.Select Save As to display the Save As window.
11.Enter a new shortcut name that is meaningful to you and select
Save.
8 |
A-61839/TWAIN July 2016 |

Changing Image settings
1.From the main Scanner window select a Setting Shortcut from the Setting Shortcuts list that best describes the desired image output.
2.Select an Input document is option from the main Scanner window.
3.Select Settings to display the Image Settings window.
4.Before making any adjustments, browse through the tabs on the Image Settings window to get familiar with options that are available.
5.For each option you want to use, make the appropriate selections you want the scanner to perform when scanning.
6.When finished, select Home to return to the main Scanner window and then select Save to save your selections to the shortcut.
A-61839/TWAIN July 2016 |
9 |
Changing Device settings
1.From the main Scanner window select a Setting Shortcut from the Setting Shortcuts list that best describes the desired output.
2.Select Settings to access the Image Settings window.
3.Select Device. The Device Settings window will be displayed.
4.Before making any adjustments, click through the tabs on the Device Settings window to get familiar with features that are available. See the section entitled, “The Device Settings window” for information about these features.
5.For each option you want to use make the appropriate selections you want the scanner to perform when scanning.
6.When finished, select Home to return to the main Scanner window and click Save to save your selections to the Setting Shortcut.
10 |
A-61839/TWAIN July 2016 |
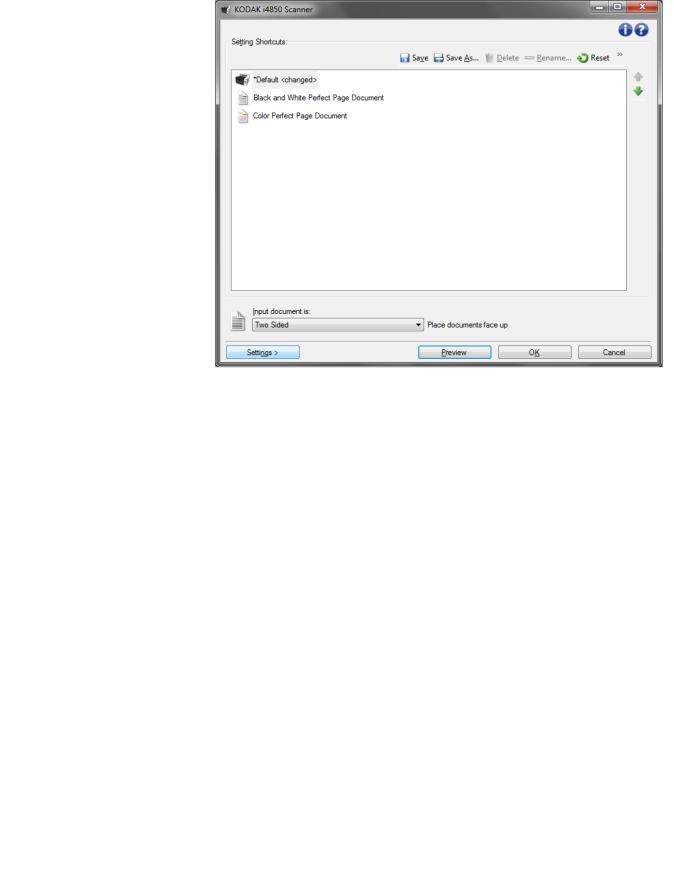
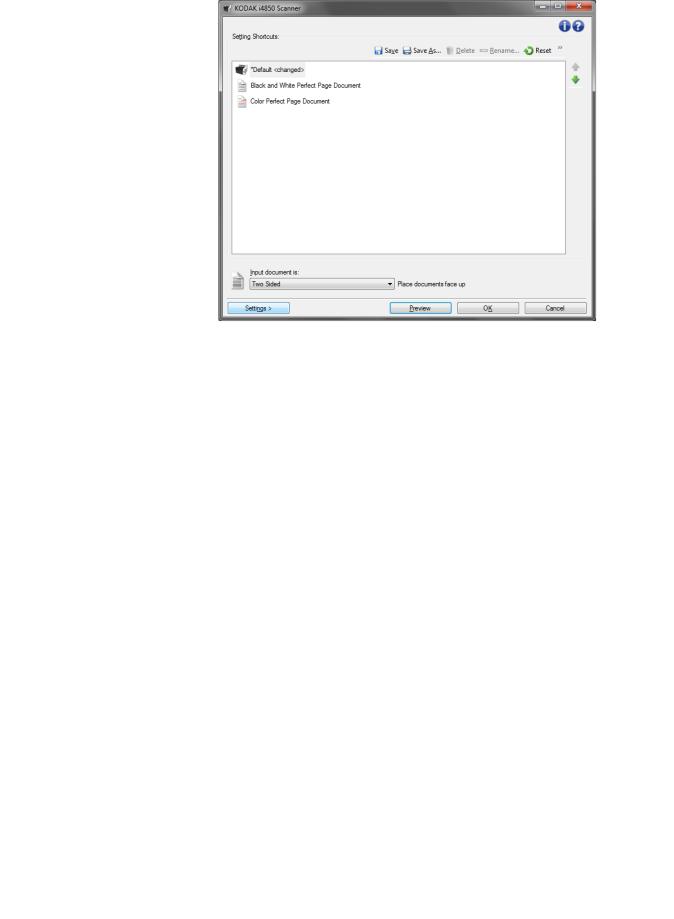
The main Scanner window
The main Scanner window is the home window of the scanner’s user interface. You can scan by simply selecting a Setting Shortcut and then selecting OK/Scan.
Setting Shortcuts — provides a listing of the Setting Shortcuts currently set up. The supplied shortcuts are:
•Default — the scanner’s default settings
•Black and White Perfect Page Document
•Color Perfect Page Document
NOTE: If you have made changes to a Setting Shortcut and have not saved your changes, the Setting Shortcut will be appended with the text <changed>, and the name will be displayed in italics (e.g., *Default<changed>).
Input document is — allows you to select which sides of the document have information that you want an electronic image of.
•Two Sided: scans the front and back of the document.
•One Sided - Front: scans only the front side of the document.
•One Sided - Back: scans only the back side of the document.
NOTE: Be sure to place your documents face down in the input elevator.
A-61839/TWAIN July 2016 |
11 |

Icons
Save — saves any changes made to the selected Setting Shortcut.
Save As — displays the Save As window allowing you to save your current settings as a new Setting Shortcuts.
Delete — deletes the selected Setting Shortcut; you will be prompted for confirmation. This is only available for shortcuts you have created.
Rename — allows you to rename the selected Setting Shortcut. This is only available for shortcuts you have created.
Reset — allows you to undo any unsaved changes that have been made to the selected Setting Shortcut (e.g., name is in italics and appended with <changed>).
Restore — displays the Restore window allowing you to undo any changes that have been made to the shortcuts supplied with the scanner. This is only available when one or more supplied shortcuts have been changed or removed.
Import — imports a set of Setting Shortcuts by replacing all current shortcuts. When selected, you will be prompted for confirmation and the operating system’s File Open window is displayed allowing you to select the shortcut set you want to import.
Export — exports all the current Setting Shortcuts to a shortcut set. When selected, the operating system’s File Save window is displayed allowing you to select the folder and file name for the shortcut set.
Move Up — moves the selected Setting Shortcut up one position in the Setting Shortcut list. When you move a Setting Shortcut, it will stay in that position until you move it again.
Move Down — moves the selected Setting Shortcut down one position in the Setting Shortcut list.
NOTES:
•Delete, Rename, Restore, Import and Export are not available if the selected Setting Shortcut is being changed (e.g., name is in italics and appended with <changed>).
•When you move a Setting Shortcut, it will stay in that position until you move it again.
•If you want to transfer Setting Shortcuts to another PC: select Export on the PC that has the shortcuts you want to transfer and then select Import on the other PC.
-If you want to add a Setting Shortcut to an existing shortcut set: 1.Select Import to load the shortcut set.
2.Create the new Setting Shortcut.
3.Replace the shortcut set by selecting Export and save using the same name.
12 |
A-61839/TWAIN July 2016 |

Settings — displays the Image Settings window which allows you to make changes to the selected Setting Shortcut. From this window you can also access the Device settings and Diagnostic windows.
Preview — initiates a scan and then displays the Image Settings window with the scanned image placed in the preview area. The image displayed is a sample based on your current shortcut settings.
OK/Scan — when selected, you will be prompted to save any unsaved changes.
NOTE: If you don’t save, changes will remain in effect for the current scan session.
Cancel — closes the main Scanner window without saving any changes.
Information Icons
About: displays the scanners’ version and copyright information. The About dialog box also provides a link to the Kodak Alaris website to download the latest driver updates.
Help: displays help information for the window currently being displayed.
A-61839/TWAIN July 2016 |
13 |
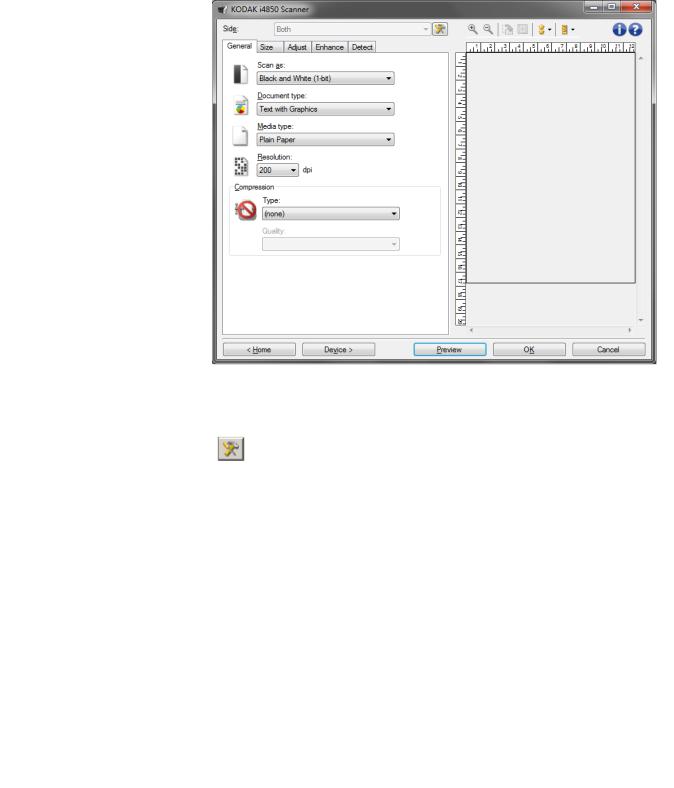
The Image Settings window
From this window you can define image processing options by using the available tabs. The values used in Image Settings are saved in the selected Setting Shortcut. The Image Settings window includes the following tabs: General, Size, Adjust, (color/grayscale and black and white), Enhance and Detect.
Side — allows you to select which side and image to configure (e.g., Front, Back, Both: Color (24-bit), etc.). All image settings will be applied to the selected image.
NOTE: The Side option is only available when advanced settings have been selected on the Advanced tab.
Advanced Image Setup: displays the Advanced tab.
14 |
A-61839/TWAIN July 2016 |
|
Toolbar buttons |
||
|
|
|
|
|
|
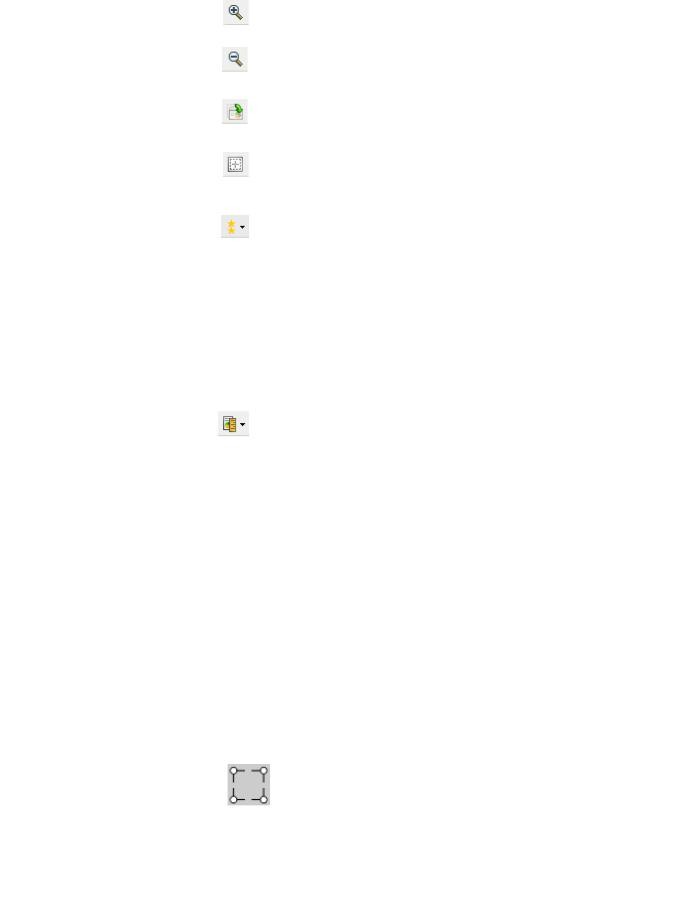
Zoom In: enlarges the image that is currently being |
|
|
|
displayed in the preview area. |
|
|
|
|
|
|
|
Zoom Out: reduces the image that is currently being |
|
|
|
displayed in the preview area. |
|
|
|
|
|
|
|
Rotate Outline: rotates the outline 90 degrees. |
|
|
|
NOTE: This is only available if the rotated outline fits in the |
|
|
|
scanner’s maximum width. |
|
|
|
|
|
|
|
Center Outline: adjusts the X origin of the outline such |
|
|
|
that the outline is centered within the scanner’s maximum |
|
|
|
width. |
|
|
|
|
|
|
|
Preview Quality: selects the quality of the scanning |
|
|
|
image. |
|
|
|
• Normal: displays acceptable image quality at a lower |
|
|
|
resolution. |
|
|
|
• High: displays the most accurate representation of the |
|
|
|
actual image. The image that is displayed in the preview |
|
|
|
area is a good representation of what the final image will |
|
|
|
look like. |
|
|
|
NOTE: Depending on the document content, you may |
|
|
|
need to zoom in to see a true representation of the |
|
|
|
image. |
|
|
|
|
|
|
|
Units: selects the unit of measurement for the scanner; |
|
|
|
this includes the preview area and any size-related |
|
|
|
options. The Units options are: Inches, Centimeters and |
|
|
|
Pixels. |
|
Preview area |
The preview area displays a sample image that is based on your |
||
|
current shortcut settings. An image will be displayed in this area after a |
||
|
preview scan has been performed. |
||
|
Outline — if you select Document: Manually Select or Image: Part of |
||
|
document on the Size tab, the preview area will also show the current |
||
|
Outline selections. If the outline does not align with your preview image, |
||
|
you may use the mouse to adjust the size and location of the outline. As |
||
|
the mouse cursor moves around the outline, the cursor will change |
||
|
indicating that you can adjust the outline by pressing and holding the |
||
|
left mouse button. |
||
|
• Move: place the mouse cursor within the outline to adjust the location |
||
|
of the outline. |
||
|
• Corner: place the mouse cursor over one of the corner graphics to |
||
|
adjust two sides at the same time. |
||
A-61839/TWAIN July 2016 |
15 |

•Side: place the mouse cursor over one of the side graphics to adjust that side.
•Rotate: place the mouse cursor over the rotate graphic to adjust the angle of the outline.
Home — returns you to the main Scanner window. Device — displays the Device Settings window.
Preview — initiates a scan and places the image in the preview area. The image displayed is a sample based on your current shortcut settings.
OK/Scan — when selected, you will be prompted to save any unsaved changes.
NOTE: If this button is OK, any unsaved changes will remain in effect for the current scan session.
Cancel — closes the main Scanner window without saving any changes.
Information Icons
About: displays the scanners’ version and copyright information. The About dialog box also provides a link to the Kodak Alaris website to download the latest driver updates.
Help: displays help information for the window currently being displayed.
16 |
A-61839/TWAIN July 2016 |
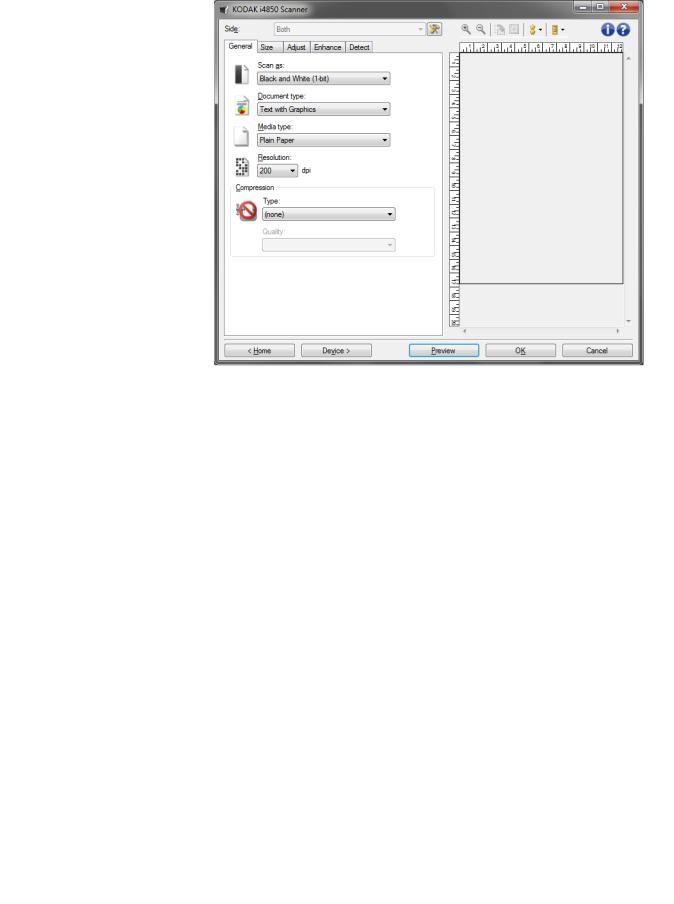
General tab |
The General tab contains commonly used image options. In most |
|
cases, you will not have to change options on other tabs. |
Scan as — allows you to select the electronic image format.
•Color (24-bit): produces a color version of your document.
•Grayscale (8-bit): produces a grayscale version of your document.
•Black and white (1-bit): produces a black and white version of your document.
NOTE: The Scan as option is only available when Images per side:
One is selected on the Advanced tab.
Document type — allows you to select the type of content on your documents.
•Text with Graphics: the documents contain a mix of text, business graphics (bar graphs, pie charts, etc.) and line art.
•Text: the documents contain mostly text.
•Text with Photographs: the documents contain a mix of text and photographs.
•Photographs: the documents contain mostly photographs.
A-61839/TWAIN July 2016 |
17 |

Media type — allows you to select the type of paper you are scanning, based upon the texture/weight. The options are: Plain Paper, Thin Paper, Glossy Paper, Card Stock, and Magazine.
Resolution — allows you to select the dots per inch (dpi), which is a determinant of a better quality image. It may also increase scanning time and image size. The options are: 100, 150, 200, 240, 250, 300, 400, 500 and 600 dpi.
Compression — allows you to reduce your electronic image size.
• Type: you can select to scan images into several different formats.
NOTE: The Group-4 option is only available for Scan as: Black and White (1 bit).
-(none): no compression, which may produce a large image size.
-Group-4: uses a CCITT standard to compress a black and white image, often used in conjunction with TIFF files.
-JPEG: uses JPEG techniques to compress a color/grayscale image.
•Quality — if you choose JPEG compression, select one of the quality options:
-Draft: maximum compression which produces the smallest image size.
-Good: a fair amount of compression but still produces acceptable image quality.
-Better: some compression which produces decent image quality.
-Best: minimal compression which produces very good image quality.
-Superior: the least amount of compression which produces the largest image size.
18 |
A-61839/TWAIN July 2016 |
Loading...