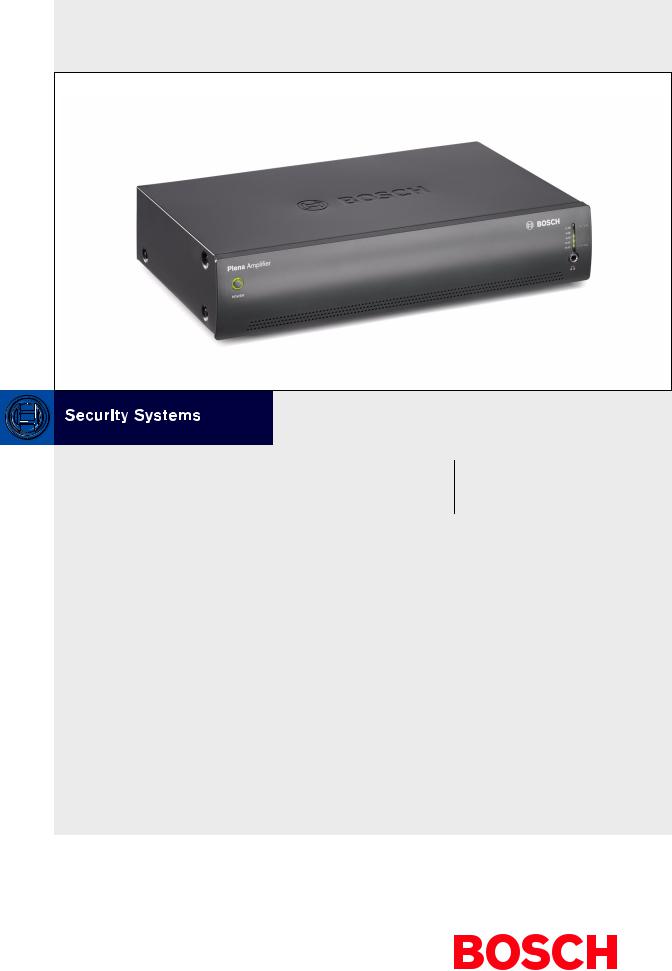
Bosch PLE-1P120-US, PLE-1P240-US User Manual

Plena Easy Line Power Amplifier
Installation and User Instructions
en PLE-1P120-US
PLE-1P240-US

Plena Power Amplifier | Installation and User Instructions | Important safeguards |
en | 2 |
|
|
Important safeguards
Alerts on the apparatus
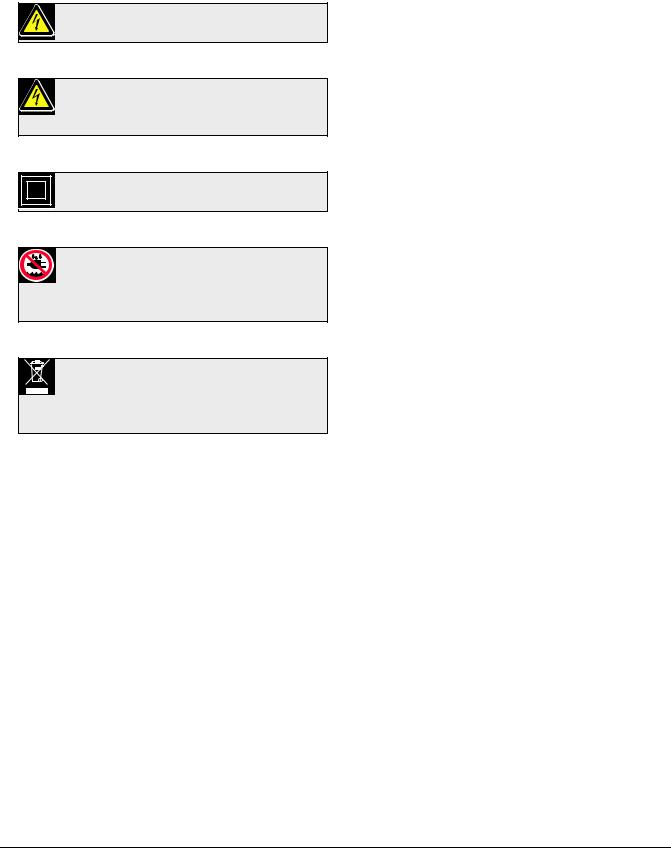
This symbol found on the apparatus indicates hazards arising from dangerous voltages.
This symbol found on the apparatus indicates the user should read all safety statements found in the operating instructions.
This symbol found on the apparatus indicates double insulation.
Warning
To reduce the risk of fire or electrical shock, do not expose this apparatus to rain or moisture.
This symbol found on the apparatus indicates that the apparatus must be placed in a separate collection facility for electronic waste and not disposed with household waste.
1Read instructions - All the safety instructions for use should be read before the system is operated.
2 Retain instructions - The safety instructions and operating instructions should be retained for future reference.
3 Heed warnings - All warnings on the unit and in the operating instructions should be adhered to.
4Follow instructions - All operating instructions and instructions for use should be followed.
5Cleaning - Unplug system units from the mains outlet before cleaning. Do not use liquid cleaners or aerosol cleaners. Use only a dry cloth for cleaning.
6Attachments - Do not use attachments not recommended by the product manufacturer as they may cause hazards.
7Water and Moisture - Do not use this unit near water, for example near a bathtub, washbowl, kitchen sink, or laundry basket, in a wet basement, near a swimming pool, in an unprotected outdoor installation or any area which is classified as a wet location.
8Accessories - Do not place this unit on an unstable stand, tripod, bracket or mount. This unit may fall, causing serious injury to a person and serious damage to the unit. Use only a stand, tripod, bracket or mount recommended by the manufacturer, or sold with the product. Any mounting of the unit should follow the manufacturer's instructions, and should use a mounting accessory recommended by the manufacturer. An appliance and cart combination should be moved with care. Quick stops, excessive force, and uneven surfaces may
cause the appliance and cart combination to overturn.
9Ventilation - Openings in the enclosure, if any, are provided for ventilation and to ensure reliable operation of the unit and to protect it from overheating. These openings must not be blocked or covered. The unit should not be placed in a built-in installation unless proper ventilation is provided or the manufacturer's instructions have been adhered to. Maintain a minimum distance of 2 inch (50 mm) around the front, the rear, and the sides of the unit for sufficient ventilation.
10Heat sources - Do not install the unit near any heat sources such as radiators, stoves, or other apparatus that produce heat (including amplifiers).
11Open flames - No open flames, such as lighted candles, should be placed on the unit.
12Power sources - Units should be operated only from the type of power source indicated on the marking label. If you are not sure of the type of power supply you plan to use, consult your appliance dealer or local power company. For units intended to operate from battery power, or other sources, refer to the "Installation and User Instructions".
13Grounding or polarisation - This unit may be equipped with a polarised alternating current line plug (a plug having one blade wider than the other). This plug will fit into the power outlet only one way. This is a safety feature. If you are unable to insert the plug fully into the outlet, try reversing the plug. If the plug still fails to fit, contact your electrician to replace your obsolete outlet. Do not defeat the safety purpose of the polarised plug. Alternatively, this unit may be equipped with a 3-wire grounding type plug having a third (grounding) pin. This plug will only fit into a grounding-type power outlet. This is a safety feature. If you are unable to insert the plug into the
Bosch Security Systems | 2008-02 | PLE-1P120-US, PLE-1P240-US en

Plena Power Amplifier | Installation and User Instructions | Important safeguards |
en | 3 |
|
|
outlet, contact your electrician to replace your obsolete outlet. Do not defeat the safety purpose of the grounding-type lug.
14Power-Cord Protection - Power supply cords should be routed so that they are not likely to be walked on or pinched by items placed upon or against them, paying particular attention to cords and plugs, convenience receptacles, and the point where they exit from the appliance.
15Overloading - Do not overload outlets and extension cords as this can result in a risk of fire or electrical shock.
16Object and Liquid Entry - Never push objects of any kind into this unit through openings as they may touch dangerous voltage points or short-out parts that could result in a fire or electric shock. Never spill liquid of any kind on the unit.
17Servicing - Do not attempt to service this unit yourself as opening or removing covers may expose to dangerous voltage or other hazards. Refer all servicing to qualified service personnel.
18Damage Requiring Service - Unplug the unit from the outlet and refer servicing to qualified service personnel under the following conditions:
•When the power-supply cord or plug is damaged.
•If liquid has been spilled, or objects have fallen into the unit.
•If the unit has been exposed to rain or water.
•If the unit does not operate normally by following the instructions for use. Adjust only those controls that are covered by the instructions for use, as an improper adjustment of other controls may result in damage and will often require extensive work by a qualified technician to restore the units to their normal operation.
•If the unit has been dropped or the unit has been damaged.
•When the unit exhibits a distinct change in performance; this indicates a need for service.
19Replacement Parts - When replacement parts are required be sure the service technician has used replacement parts specified by the manufacturer or parts which have the same characteristics as the original part. Unauthorised substitutions may result in fire, electric shock or other hazards.
20Safety Check - Upon completion of any service or repairs to the units, ask the service technician to
perform safety checks to determine that the unit is in proper operating condition.
21Lightning - For added protection of the units during a lightning storm, or when it is left unattended and unused for long periods of time, unplug it from the wall outlet and disconnect the cable system. This will prevent damage to the unit due to lightning and power-line surges.
22Disconnection - To completely disconnect this unit from the AC mains, disconnect the power supply cord plug from the AC receptacle. The mains plug of the power supply cord shall remain readily operable to be able to disconnect power from the unit.
23Before installing or operating this product, always read the Safety Instructions, which are available as a separate document (9922 141 7014x). These instructions are supplied together with all equipment that can be connected to the mains.
Bosch Security Systems | 2008-02 | PLE-1P120-US, PLE-1P240-US en

Plena Power Amplifier | Installation and User Instructions | Important safeguards |
en | 4 |
|
|
American Users
Note
This equipment has been tested and found to comply with the limits for a Class B digital device, pursuant to part 15 of the FCC rules. These limits are designed to provide reasonable protection against harmful interference in a residential installation.
This equipment generates, uses, and can radiate radio frequency energy and, if not installed and used in accordance with the instructions, may cause harmful interference to radio communications. However, there is no guarantee that interference will not occur in a particular installation. If this equipment does cause harmful interference to radio or television reception, which can be determined by turning the equipment OFF and ON, the user is encouraged to try to correct the interference by one or more of the following measures:
•Reorient or relocate the receiving antenna.
•Increase the separation between the equipment and the receiver.
•Connect the equipment into an outlet on a circuit different from that to which the receiver is connected.
•Consult the dealer or an experienced radio/TV technician for help.
Canadian Users
Note
This Class B digital device complies with Canadian ICES-003.
Cet appareil numérique de classe B est conforme à la norme NMB-003 du Canada.
Thank you for choosing a Bosch Security Systems product!
Bosch Security Systems | 2008-02 | PLE-1P120-US, PLE-1P240-US en

Plena Power Amplifier | Installation and User Instructions | Table of contents |
en | 5 |
|
|
Table of contents
|
Important safeguards ................................................................................................................................................... |
2 |
||
|
Table of contents ........................................................................................................................................................... |
5 |
||
1. |
Introduction .................................................................................................................................................................... |
7 |
||
1.1 |
Purpose ..................................................................................................................................................................................... |
7 |
||
1.2 |
Digital document ..................................................................................................................................................................... |
7 |
||
1.3 |
Intended audience .................................................................................................................................................................. |
7 |
||
1.4 |
Related documentation .......................................................................................................................................................... |
7 |
||
1.5 |
Alerts .......................................................................................................................................................................................... |
7 |
||
1.6 |
Icons ........................................................................................................................................................................................... |
7 |
||
|
1.6.1 |
Note icons ........................................................................................................................................................................... |
7 |
|
|
1.6.2 Caution, Warning, and Danger icons ........................................................................................................................... |
7 |
||
1.7 |
Conversion tables ................................................................................................................................................................... |
8 |
||
2. |
Description ..................................................................................................................................................................... |
9 |
||
2.1 |
The Plena product range ....................................................................................................................................................... |
9 |
||
2.2 |
Contents of box ....................................................................................................................................................................... |
9 |
||
2.3 |
The Plena Power Amplifier .................................................................................................................................................... |
9 |
||
2.4 |
Controls, connectors and indicators ............................................................................................................................... |
11 |
||
|
2.4.1 |
Front panel ....................................................................................................................................................................... |
11 |
|
|
2.4.2 |
Rear panel ........................................................................................................................................................................ |
12 |
|
3. |
Installation ................................................................................................................................................................... |
13 |
||
3.1 |
Unpack unit ............................................................................................................................................................................ |
13 |
||
3.2 |
Install unit in rack (optional) ............................................................................................................................................... |
13 |
||
3.3 |
Check settings/connections .............................................................................................................................................. |
13 |
||
3.4 |
Connect unit to mains ......................................................................................................................................................... |
13 |
||
4. |
Connections and settings ........................................................................................................................................ |
15 |
||
4.1 |
Connecting inputs ................................................................................................................................................................ |
15 |
||
|
4.1.1 |
DC supply (battery) ........................................................................................................................................................ |
15 |
|
|
4.1.2 |
70 V input ......................................................................................................................................................................... |
16 |
|
4.2 |
Connecting speakers .......................................................................................................................................................... |
17 |
||
|
4.2.1 |
Constant voltage loudspeakers ................................................................................................................................... |
17 |
|
|
4.2.2 |
Low impedance loudspeakers ..................................................................................................................................... |
17 |
|
5. |
Operation ..................................................................................................................................................................... |
19 |
||
5.1 |
Switch on and off ................................................................................................................................................................. |
19 |
||
|
5.1.1 |
Switch on ......................................................................................................................................................................... |
19 |
|
|
5.1.2 |
Switch off ......................................................................................................................................................................... |
19 |
|
6. |
Technical data ............................................................................................................................................................. |
21 |
||
6.1 |
Electrical ................................................................................................................................................................................. |
21 |
||
|
6.1.1 |
Mains power supply ....................................................................................................................................................... |
21 |
|
|
6.1.2 |
Battery power supply ..................................................................................................................................................... |
21 |
|
|
6.1.3 |
Power consumption ....................................................................................................................................................... |
21 |
|
|
6.1.4 |
Performance .................................................................................................................................................................... |
21 |
|
|
6.1.5 Line input - loop through output .................................................................................................................................. |
21 |
||
|
6.1.6 |
70 V input ......................................................................................................................................................................... |
21 |
|
|
6.1.7 Loudspeaker outputs 70 V* ......................................................................................................................................... |
21 |
||
|
6.1.8 Loudspeaker output 4 Ohm* ....................................................................................................................................... |
21 |
||
6.2 |
Mechanical ............................................................................................................................................................................. |
22 |
||
6.3 |
Environmental ........................................................................................................................................................................ |
22 |
||
Bosch Security Systems | 2008-02 | PLE-1P120-US, PLE-1P240-US en

Plena Power Amplifier | Installation and User Instructions | Table of contents |
en | 6 |
|
|
Intentionally left blank |
|
Bosch Security Systems | 2008-02 | PLE-1P120-US, PLE-1P240-US en

Plena Power Amplifier | Installation and User Instructions | Introduction |
en | 7 |
|
|
1 Introduction 1.6 Icons
1.1Purpose
The purpose of these Installation and User Instructions is to provide information required for installing, configuring and operating a Plena Power Amplifier.
1.2Digital document
These Installation and User Instructions are also available as a digital document in the Adobe Portable Document Format (PDF).
1.3Intended audience
These Installation and User Instructions are intended for installers and users of a Plena system.
1.6.1Note icons
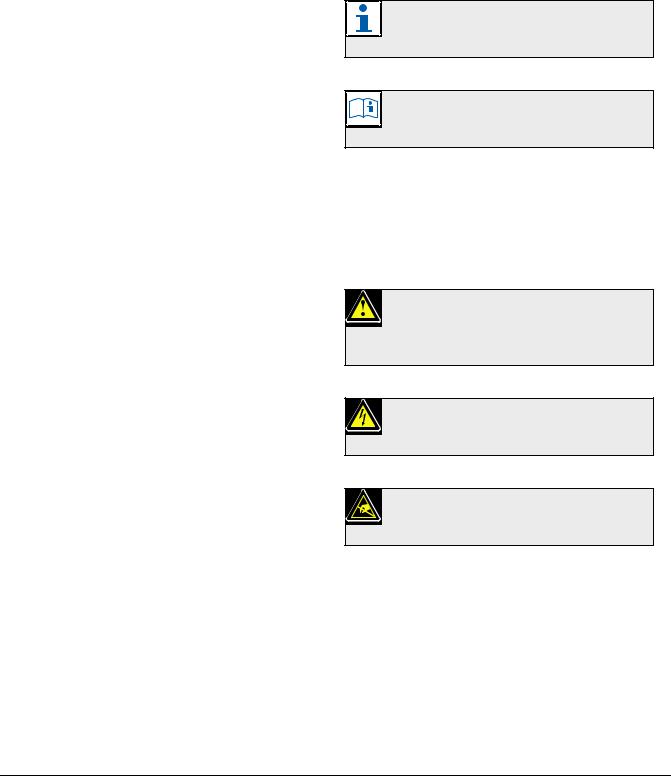
The icons used in combination with Notes provide extra information about the Note. See the following examples:
Note
General icon for notes.
Note
Consult the indicated source of information.
1.4Related documentation
Safety Instructions (9922 141 1036x).
1.5Alerts
Four types of alerts are used in this manual. The alert type is closely related to the effect that may be caused if it is not observed. These alerts - from least severe effect to most severe effect - are:
•Note
Alert containing additional information. Usually, not observing a note alert does not result in damage to the equipment or personal injuries.
•Caution
The equipment can be damaged if the alert is not observed.
•Warning
Persons can be (severely) injured, or the equipment can be seriously damaged, if the alert is not observed.
•Danger
Not observing the alert can result in death.
1.6.2Caution, Warning, and Danger
icons
The icons used in combination with Caution, Warnings, and Dangers indicate the type of hazard present. See the following examples:
Caution, Warning, Danger
General icon for Cautions, Warnings and
Dangers.
Caution, Warning, Danger
Icon for risk of electric shock.
Caution, Warning, Danger
Icon for risk of electrostatic discharge.
Bosch Security Systems | 2008-02 | PLE-1P120-US, PLE-1P240-US en

Plena Power Amplifier | Installation and User Instructions | Introduction |
en | 8 |
|
|
1.7Conversion tables
In this manual, SI units are used to express lengths, masses, temperatures etc. These can be converted to non-metric units using the following information.
table 1.1: Conversion of units of length
1 in = |
25.4 mm |
1 mm = |
0.03937 in |
1 in = |
2.54 cm |
1 cm = |
0.3937 in |
1 ft = |
0.3048 m |
1 m = |
3.281 ft |
1 mi = |
1.609 km |
1 km = |
0.622 mi |
table 1.2: Conversion of units of mass |
|
||
1 lb = |
0.4536 kg |
1 kg = |
2,2046 lb |
table 1.3: Conversion of units of pressure |
|
||
1 psi = |
68.95 hPa |
1 hPa = |
0.0145 psi |
Note
1 hPa = 1 mbar.
table 1.4: Conversion of units of temperature
° F = |
9 . ( ° C + 32) |
° C = |
5 |
. ( ° F 32) |
|||
° F = |
|
|
° C = |
|
|
|
|
5 |
|
9 |
|
|
|
||
|
|
|
|
|
|
|
|
Bosch Security Systems | 2008-02 | PLE-1P120-US, PLE-1P240-US en
 Loading...