


Owner's Guide
Spielanleitung
Mode d'emploi
Manual del Propietario
YAMAHA
Congratulations!
Thank you for purchasing a Yamaha PortaTone PSR-36. This PortaTone is an ultra-modern keyboard with a design based on the latest digital electronics technology.
To be sure you get maximum satisfaction, we suggest you follow
the steps in this manual carefully while actually playing the instrument.
Contents
Before playing . . . . . . . . . . . . . . . . . . . . . . . . . . . . . . . . . . . . 1 1. Nomenclature . . . . . . . . . . . . . . . . . . . . . . . . . . . . . . . . . 2
2. Playing back the Demonstration Music..........................................3
3. Starting to Play
(Orchestra Section) . . . . . . . . . . . . . . . . . . . . . . . . 4 4. Voice Editing . . . . . . . . . . . . . . . . . . . . . . . . . . . . . . . . 6
5.Using the Built-in Drummer (PCM/Stereo Rhythm Section) . . . . . 7
6.Creating Original Rhythm
|
Patterns (Custom Drummer) . . . . |
. .10 |
7. Adding Accompaniment |
|
|
|
(Auto Bass Chord Section) . . . . . . |
. 12 |
8. |
Chord Sequence Programming |
. 15 |
9. |
External Jacks . . . . . . . . . . . . . . . . . . . . . . . . . . . . |
. 17 |
10. |
Optional Accessories . . . . . . . . . . . . . . . . . |
. 19 |
11. About MIDI . . . . . . . . . . . . . . . . . . . . . . . . . . . . . . . . . . . |
19 |
|
12. Taking Care of Your PortaTone |
22 |
|
13. Specifications . . . . . . . . . . . . . . . . . . . . . . . . . . . . . . |
23 |
|
Before playing
Inserting Batteries
Remove the battery compartment cover on the bottom of the instrument and insert six 1.5V SUM-1 "D" size, R-20,
or equivalent alkaline batteries (sold separately), making sure that the polarities are placed as directed inside the compartment. Replace the cover, ensuring that it locks securely in place.
Optional power adaptors
Household current: Power Adaptor PA-4/ PA-40 is available for household current. No other adaptor is usable, so when you purchase a power adaptor please ensure that it is model PA-4/PA-40. Car Battery: Car Battery Adaptor CA-1 plugs into a car cigarette lighter socket.
1
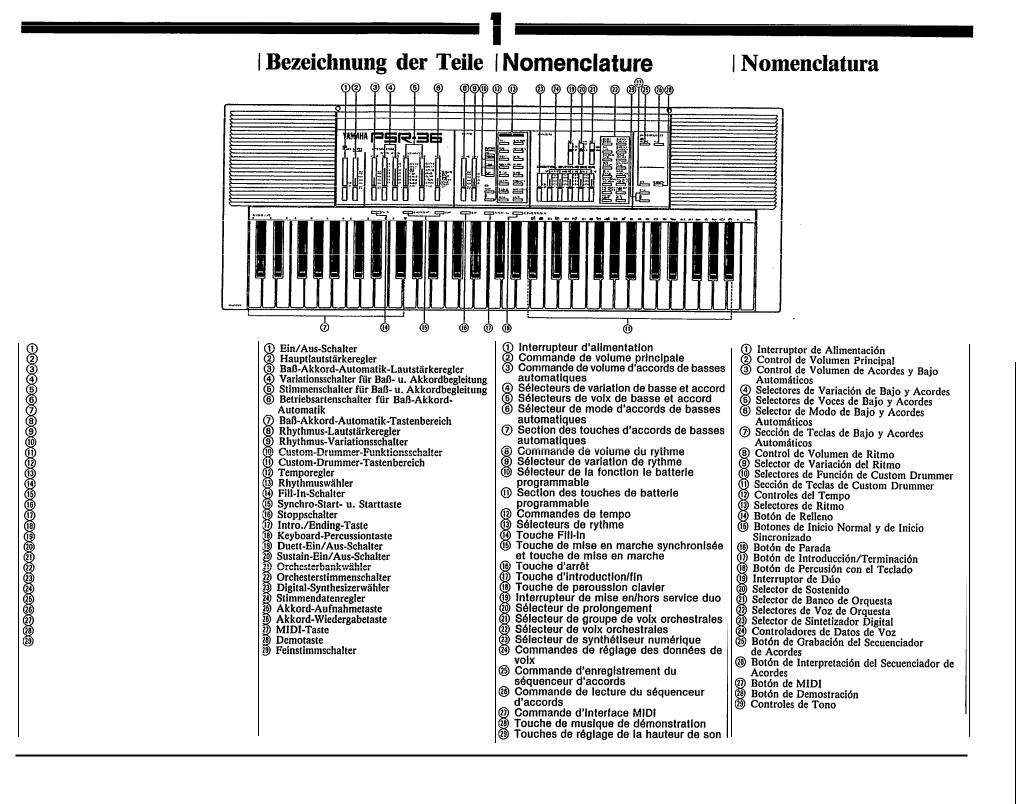
Nomenclature
Power Switch
Master Volume Control
Auto Bass Chord Volume Control
Bass & Chord Variation Selectors
Bass & Chord Voice Selectors
Auto Bass Chord Mode Selector
Auto Bass Chord Key Section
Rhythm Volume Control
Rhythm Variation Selector
Custom Drummer Function Selectors
Custom Drummer Key Section
Tempo Controls
Rhythm Selectors
Fill-in Button
Synchro Start and Start Buttons
Stop Button
Intro./Ending Button
Keyboard Percussion Button
Duet On/Off Switch
Sustain Selector
Orchestra Bank Selector
Orchestra Voice Selectors
Digital Synthesizer Selector
Voice Data Controllers
Chord Sequencer Record Button
Chord Sequencer Play Button
MIDI Button
Demonstration Button
Pitch Controls
2
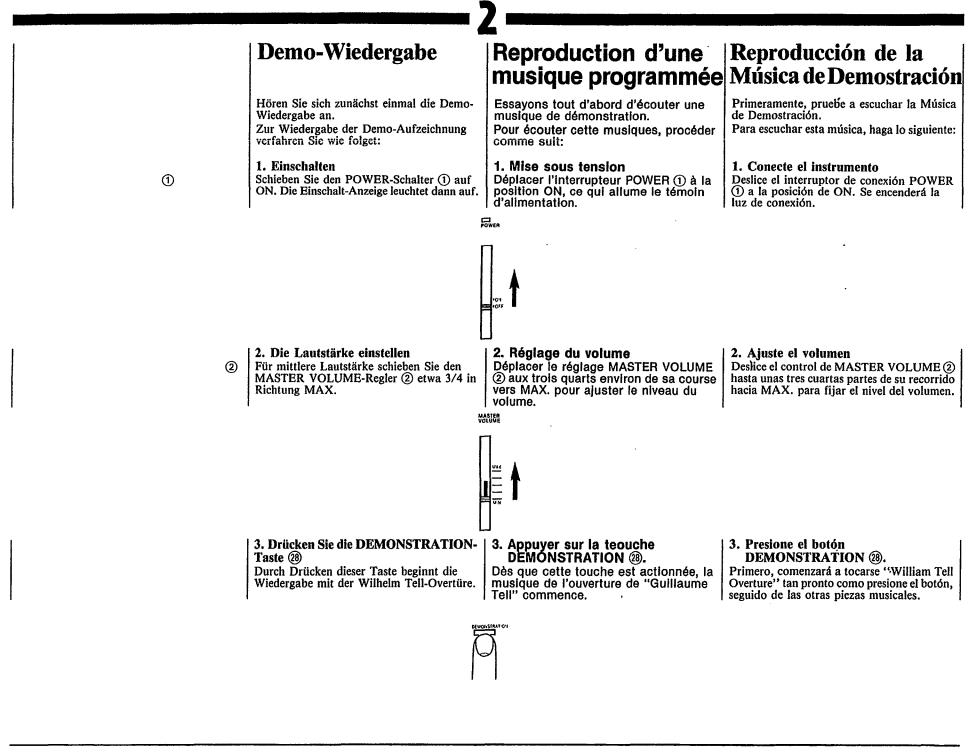
Playing back the Demonstration Music
First, try listening to the Demonstration Music.
To hear this music, do the following:
1. Switch on
Slide the POWER switch to the ON position. The power-on light will then illuminate.
2. Adjust the volume
Slide the MASTER VOLUME control about three-quarters of the way towards Max. to set the volume level.
3. Press the DEMONSTRATION button 
"William Tell Overture" will start to play as soon as you press this button.
3
To stop the music, press the STOP
button |
or the DEMONSTRATION |
button |
again. |
You can change the programmed voice, rhythm and tempo as you like.
However, you shouldn’t select a 3-Beat rhythm, since it would not match the demonstration piece.
Starting to play
Orchestra section
First, try the sounds in the Orchestra section, which is a fundamental part of this keyboard.
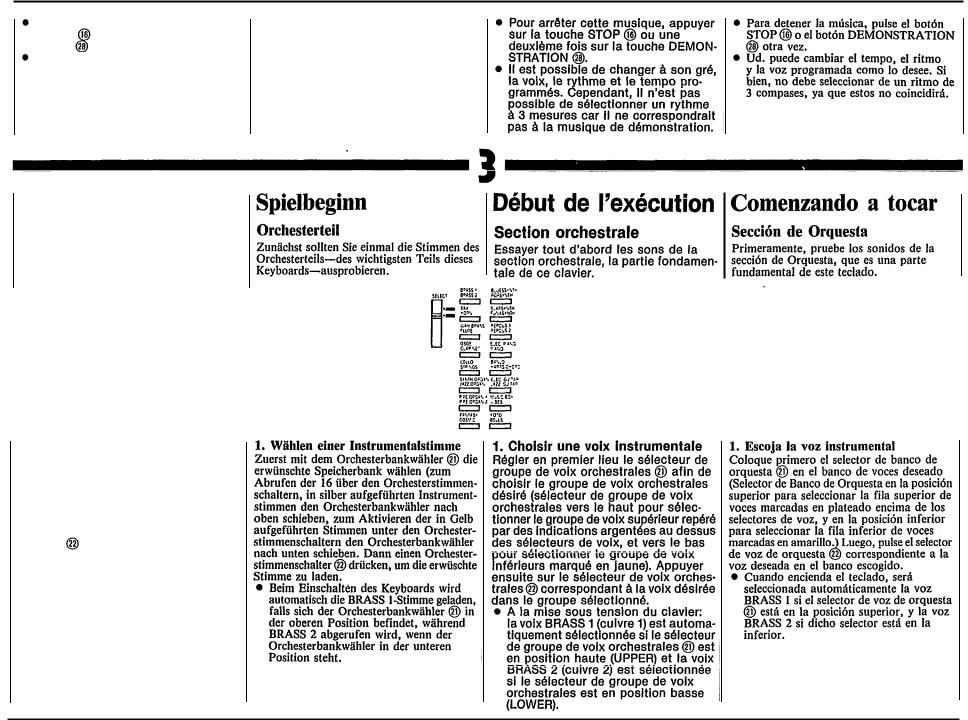
1. Choose an instrument voice
First set the Orchestra Bank selector for the desired bank of voices (Orchestra Bank selector in upper position to select upper row of voices labeled in silver above the voice selectors, lower position to select lower row of voices labeled in yellow.) Then press the Orchestra Voice
selector |
for the desired voice in the |
selected |
bank. |
• When you turn the keyboard ON, the BRASS 1 voice will automatically be selected if the Orchestra Bank selector  is set to the upper position, and the BRASS 2 voice will be selected if the Orchestra Bank selector is set to the lower position.
4

Notes:
1.Vibrato is automatically applied to voices which
benefit from application of this effect.
2.Be sure to set the Auto Bass Chord MODE selector  to the OFF position. When the selector is set to the SINGLE FINGER or
FINGERED position. the keys in the Auto Bass Chord key section  cannot be used for melody playing.
2.Try other voices
Make your selection from among the voices in the ORCHESTRA section 
Note:
The maximum number of notes that can be played simultaneously (normally twelve) will be reduced when the Auto Bass Chord, Duet and Digital Synthesizer are used. The minimum number of simultaneous notes is two.
3. Adding sustain
Slide the SUSTAIN selector  to its “1” or “2” setting, and notes will be sustained after you lift your fingers from the keys. SUSTAIN 1 produces a short sustain, SUSTAIN 2 produces a longer sustain.
Pitch control
The PITCH control function  enables you to fine-tune the keyboard for when you want to play in an ensemble. Each time
  is pressed, the pitch increases very slightly, up to a maximum of 50 cents above the preset level. Whenever
  is pressed, the pitch drops slightly,
also to a maximum of 50 cents.
Notes:
1.If you hold down one of the PITCH controls, the pitch will change continuously.
2.If you press both of the PITCH controls together,
the pitch will return to the preset level (A3= 440Hz).
5
Voice Editing
DIGITAL SYNTHESIZER
As one of the PSR-36’s special features, the Digital Synthesizer function allows you to expand the 32 orchestra voices to total of 100,000 different voices.
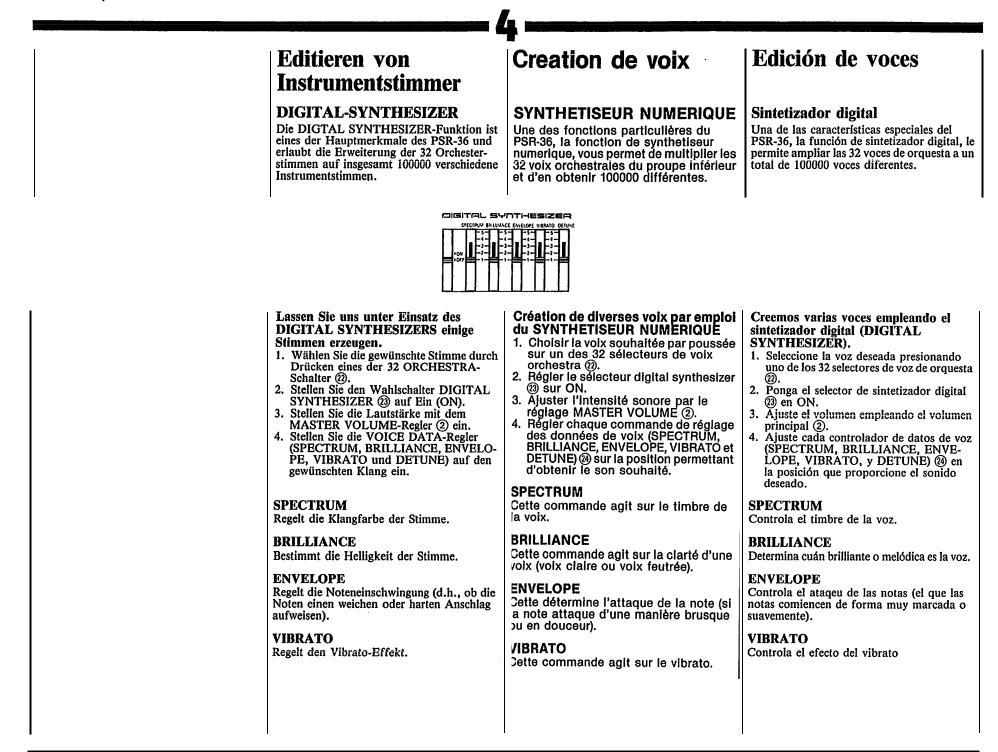
Let’s create various voices using DIGITAL SYNTHESIZER.
1.Select the desired voice by pressing one of the 32 Orchestra Voice selectors 
2.Set the Digital Synthesizer selector
 to ON.
3.Adjust the volume using the Master Volume control 
4.Set each Voice Data controller (SPECTRUM, BRILLIANCE, ENVELOPE, VIBRATO and DETUNE)
 to the position which results in the desired sound.
SPECTRUM
This controls the timbre or tone color of the voice.
BRILLIANCE
This determines how brilliant or mellow the voice is.
ENVELOPE
Controls the attack of the notes (whether the notes begin sharply or smoothly).
VIBRATO
This controls the vibrato effect.
6

DETUNE
Increasing the DETUNE setting produces a “thicker” multi-instrument type sound.
5. Now, let’s play some notes. By comparing the same voice in both the
ON and OFF settings of the Digital Synthesizer Selector you can distinguish the difference in timbre.
•The degree to which a voice changes varies with the selected voice.
Using the built-in drummer
PCM/Stereo rhythm section
Now it’s time to add a dynamic rhythm accompaniment to your melody.
1. Choose a rhythm
Pick the rhythm that best suits the music you’re going to play and press the corresponding Rhythm selector 
 When you turn the keyboard ON,
the DISCO rhythm is automatically selected.
7
 Loading...