


VisionPRO® Series with RedLINK™
Installation Guide
TM
Wired Directly to Equipment
Dual Powered - C Wire or Battery
(C wire or Wire Saver required to use RedLINK accessories)
OR
RedLINK to Equipment Interface Module
2 Wires for Power or Battery Only (no wires)
OR
RedLINK to TrueZONE Wireless Adapter
2 Wires for Power or Battery Only (no wires)

Reference to key features
Current display. Underlined label signifies the current display.
Mode control buttons. Use to change settings for Fan or System Heat/Cool.
Menu. Select options to: set schedules, view equipment status, change IAQ settings, access installer options*, etc.
 Current status. Shows system mode (heat/cool), outdoor temperature and humidity (with optional outdoor sensor).
Current schedule. Shows desired temperature and schedule status.
Indoor conditions. Shows indoor temperature and humidity.
Current Time.

 Alert Light. On when alert message is active or system is set to Em Heat. Flashes for battery-only power; on continuous for 24 VAC.
microSD Card Port. Use
card to load settings and dealer information.
* Password is the date code.
Getting started
Follow these basic steps to install this thermostat, link it with the wireless accessories, and set installer options.
1 Installing the thermostat
2 Powering optional RedLINK accessories
3 Performing initial setup
4 Finding your password (Date Code)
•To add or remove RedLINK accessories
•To make changes to Installer Setup
•To perform an Installer Test
2
Thermostat (back view)
|
|
|
|
|
|
RoHs Compliant |
||
|
|
|
|
|
|
Conformité RoHs |
||
|
|
|
|
|
|
Assembled in Mexico |
||
|
|
|
|
|
|
Assemblé au Mexique |
||
|
|
|
|
|
|
1324 |
|
|
|
|
|
|
|
|
|
|
|
|
|
|
|
|
|
1 |
|
|
|
|
|
|
|
|
TH8321R1001 Residential/Résidentiel 1-800-468-1502 http://yourhome.honeywell.com Commercial/Commerciale 1-888-245-1051 http://customer.honeywell.com Honeywell, Golden Valley, MN55422 |
|
|
Conformité RoHs |
|
Password |
||||||
RoHs Compliant |
|
|
|
|||||
Assembled in Mexico |
|
(Date Code) |
||||||
Assemblé au Mexique |
|
|||||||
|
|
|
||||||
1324 |
|
|
|
|
|
|
|
|
1 |
|
|
|
|
|
|
|
|
|
|
|
|
|
|
|
|
|
TH8321R1001 Residential/Résidentiel 1-800-468-1502 http://yourhome.honeywell.com Commercial/Commerciale 1-888-245-1051 http://customer.honeywell.com Honeywell, Golden Valley,55422MN |
|
|
|
|||||
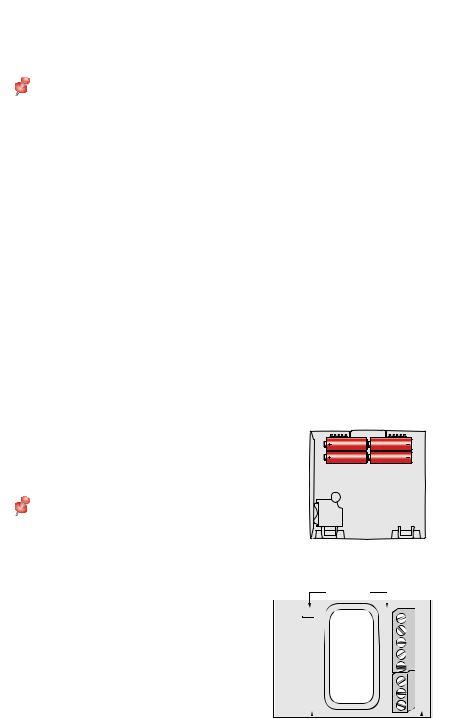
1 Installing the thermostat
Thermostat
Button
NOTE: For best RedLINK performance, mount thermostats at least 2 feet apart.
1.1 Separate wallplate from |
|
|
thermostat. |
|
|
Press button on top and pull to |
view) |
|
remove the wallplate. |
||
|
1.2 Mount wallplate as shown.
Mount new wallplate using screws and anchors included with the thermostat.
Drill 3/16-in holes for drywall. |
K |
S1 |
|
C |
S1 |
Drill 7/32-in holes for plaster.
Wallplate
1.3 Connect power.
1.3a Insert supplied AA alkaline batteries for primary or backup power.
NOTE: When the thermostat is |
|
|
NOT used with the Equipment |
|
|
Interface Module or the |
|
|
TrueZONE Wireless Adapter, a C |
Thermostat (back view) |
|
wire is required for RedLINK. |
||
|
||
1.3b For 24VAC primary power, |
CONVENTIONAL |
|
|
||
connect common side of |
|
|
transformer to C terminal. |
|
 HEAT PUMP
3
1.4Wire the thermostat.
Is the thermostat wired directly to the equipment?
•If the thermostat is wired directly to the equipment:
a Refer to the table and wiring diagrams on the next page.
b Turn on 24VAC NOW. 24VAC (C wire) is required to
connect RedLINK accessories.
•If the thermostat is used with an Equipment Interface Module or TrueZONE Wireless Adapter, power the thermostat using Rc and C terminals or with batteries.
NOTE: The relay outputs and inputs on the thermostat do not function when used with an Equipment Interface Module or TrueZONE Wireless Adapter.
1.5 Remove coin cell battery tab
1.5a Remove tab to activate coin cell battery.
NOTE: Coin cell battery saves time and date during a power loss.
1.6Mount thermostat on wallplate.
Align thermostat at bottom and snap into place as shown.
 CONVENTIONAL
 HEAT PUMP
 CONVENTIONAL
 HEAT PUMP
Coin |
REMOVE DURING INSTALLATION |
cell |
|
battery |
|
tab |
|
Wallplate
Thermostat
4
 Loading...