


STEREO CASSETTE TAPE DECK
DN-770R
OPERATING INSTRUCTIONS
IMPORTANT TO SAFETY
WARNING:
TO PREVENT FIRE OR SHOCK HAZARD, DO NOT EXPOSE THIS APPLIANCE TO RAIN OR MOISTURE.
CAUTION:
1.Handle the power supply cord carefully
Do not damage or deform the power supply cord. If it is damaged or deformed, it may cause electric shock or malfunction when used. When removing it from wall outlet, be sure to remove by holding the plug attachment and not by pulling the cord.
2.Do not open the top cover
In order to prevent electric shock, do not open the top cover. If problems occur, contact your DENON DEALER.
3.Do not place anything inside
Do not place metal objects or spill liquid inside the cassette tape deck. Electric shock or malfunction may result.
Please, record and retain the Model name and serial number of your set
shown on the rating label. |
|
Model No. DN-770R |
Serial No. |
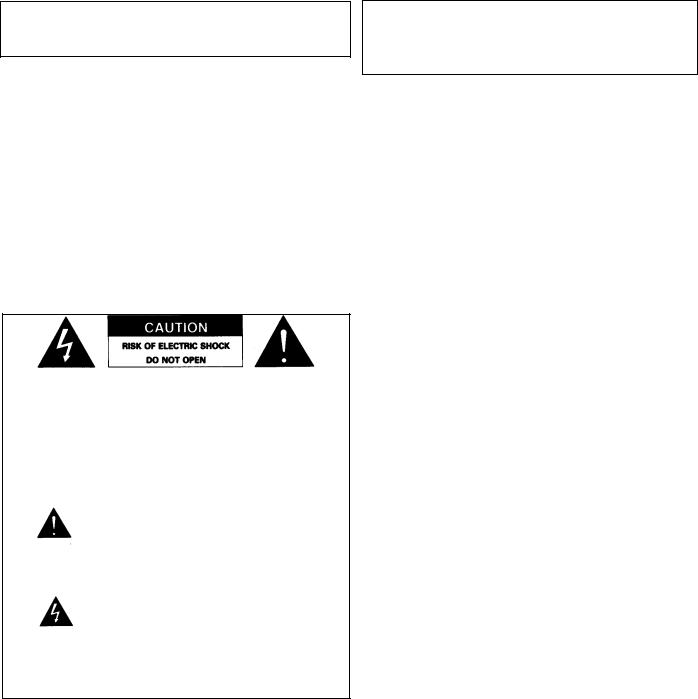
CAUTION: TO REDUCE THE RISK OF ELECTRIC SHOCK, DO NOT REMOVE COVER (OR BACK). NO USER SERVICEABLE PARTS INSIDE. REFER SERVICING TO QUALIFIED SERVICE PERSONNEL.
The lightning flash with arrowhead symbol within an equilateral triangle is intended to alert the user of the presence of uninsulated "dangerous voltage" within the product's enclosure that may be of sufficient magnitude to constitute a risk of electric shock to persons.
The exclamation point within an equilateral triangle is intended to alert the user of the presence of important operating and maintenance (servicing) instruction in the literature accompanying the appliance.
FOR U.S.A. & CANADA MODEL ONLY
CAUTION
TO PREVENT ELECTRIC SHOCK DO NOT USE THIS (POLARIZED) PLUG WITH AN EXTENSION CORD, RECEPTACLE OR OTHER OUTLET UNLESS THE BLADES CAN BE FULLY INSERTED TO PREVENT BLADE EXPOSURE.
2

SAFETY INSTRUCTIONS
1.Read Instructions – All the safety and operating instructions should be read before the applicance is operated.
2.Retain Instructions – The safety and operating instructions should be retained for future reference.
3.Heed Warning – All warnings on the applicance and in the operating instructions should be adhered to.
4.Following Instructions – All opeerating and use instructions should be followed.
5.Water and Moisture – The appliance should not be used near water – for example, near a bathtub, washbbowl, kitchen sink, laundry tub, in a wet basement, or near a swimming pool, and the like.
6.Carts and Stands – The appliance should be used only with a cart or stand that is recommended by the manufacturer.
6A. An appliance and cart combination should be moved with care. Quick stops, excessive force, and uneven surfaces may cause the applicance and cart
combination to overturn.
7.Wall or Ceiling Mounting – The appliance should be mounted to a wall or ceiling only as recommended by the manufacturer.
8.Ventilation – The appliance should be situated so that its location or position does not interfere with its proper ventilation. For example, the appliance should not be situated on a bed, sofa, rug, or similar surface that may block the ventilation openings; or, placed in a built-in installation, such as a bookcase or cabinet that may impede the flow of air through the ventilation openings.
9.Heat – The appliance should be situated away from heat sources such as radiators, heat registers, stoves, or other appliances (including amplifiers) that produce heat.
10.Power Sources – The appliance should be connected to a power supply only of the type described in the operating instructions or as marked on the appliance.
11.Grounding or Polarization – Precautions should be taken so that the grounding or polarization means of an appliance is not defeated.
FIGURE A
EXAMPLE OF ANTENNA GROUNDING
AS PER NATIONAL
ELECTRICAL CODE ANTENNA
LEAD IN
WIRE
GROUND
CLAMP
ANTENNA DISCHARGE UNIT
(NEC SECTION 810-20)
ELECTRIC
SERVICE
EQUIPMENT
GROUNDING CONDUCTORS (NEC SECTION 810-21)
GROUND CLAMPS
POWER SERVICE GROUNDING ELECTRODE SYSTEM
(NEC ART 250, PART H)
NEC - NATIONAL ELECTRICAL CODE
12.Power-Cord Protection – Power-supply cords should be routed so that they are not likely to be walked on or pinched by items placed upon or against them, paying particular attention to cords at plugs, convenience receptacles, and the point where they exit from the appliance.
14.Cleaning – The appliance should be cleaned only as recommended by the manufacturer.
15.Power Lines – An outdoor antenna should be located away from power lines.
16.Outdoor Antenna Grounding – If an outside antenna is connected to the receiver, be sure the antenna system is grounded so as to provide some protection against voltage surges and built-up static charges. Article 810 of the National Electrical Code, ANSI/NFPA 70, provides information with regard to proper grounding of the mast and supporting structure, grounding of the lead-in wire to an antenna-discharge unit, size of grounding conductors, location of antenna-discharge unit, connection to grounding electrodes, and requirements for the grounding electrode. See Figure A.
17.Nonuse Periods – The power cord of the appliance should be unplugged from the outlet when left unused for a long period of time.
18.Object and Liquid Entry – Care should be taken so that objects do not fall and liquids are not spilled into the enclosure through openings.
19.Damage Requiring Service – The appliance should be serviced by qualified service personnel when:
A.The power-supply cord or the plug has been damaged; or
B.Objects have fallen, or liquid has been spilled into the appliance; or
C.The appliance has been exposed to rain; or
D.The appliance does not appear to operate normally or exhibits a marked change in performance; or
E.The appliance has been dropped, or the enclosure damaged.
20.Servicing – The user should not attempt to service the appliance beyond that described in the operating instructions. All other servicing should be referred to qualified service personnel.
3
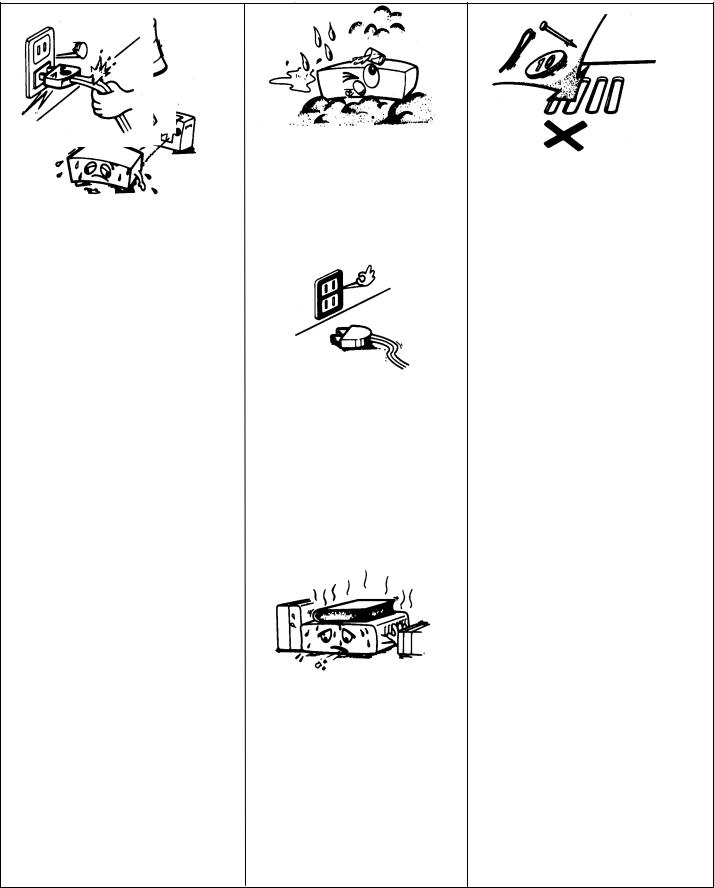
NOTE ON USE
Keep the set free from moisture, water, and dust.
Avoid high temperatures
Allow for sufficient heat dispersion when installed on a rack.
Do not let foreign objects in the set.
Handle the power cord carefully. Hold the plug when unplugging the cord.
Unplug the power cord when not using the set for long periods of time.
"(For sets with ventilation holes)
Do not obstruct the ventilation holes.
Do not let insecticides, benzene, and thinner come in contact with the set.
Never disassemble or modify the set in any way.
4

Thank you very much for purchasing the DENON component stereo cassette tape deck.
DENON proudly presents this advanced tape deck to audiophiles and music lovers as a further proof of DENON's non compromising pursuit of the ultimate in sound quality. The high quality performance and easy operation are certain to provide you with many hours of outstanding listening pleasure.
Please check to make sure the following items are included with |
||
the main unit in the carton: |
|
|
(1) |
Operating Instructions ......................................................... |
1 |
(2) |
Connection Cords ................................................................ |
2 |
(3) |
Remote control box connection wire ..................................... |
1 |
(4) |
Remote control box schematic diagram ................................ |
1 |
- TABLE OF CONTENTS - |
|
FEATURES ....................................................................................... |
5 |
CONNECTION ................................................................................... |
5 |
NAMES AND FUNCTION OF PARTS ................................................. |
6, 7 |
CASSETTE TAPES ............................................................................. |
7 |
AUTOMATIC TAPE SELECTION .......................................................... |
8 |
PLAYBACK ........................................................................................ |
8 |
RELAY PLAY ..................................................................................... |
9 |
TWIN OUTPUT ................................................................................. |
9 |
MUSIC SEARCH SYSTEM ................................................................... |
9 |
RECORDING ................................................................................... |
10 |
PROPER RECORDING LEVEL ............................................................ |
10 |
REC/REC MUTE AND REC PAUSE BUTTON ........................................ |
10 |
AUTO-STANDBY ............................................................................. |
11 |
TWIN RECORDING ......................................................................... |
11 |
RELAY RECORDING ........................................................................ |
11 |
DUBBING ....................................................................................... |
12 |
DECK A/B SELECT AND MEMORY STOP ............................................ |
13 |
DOLBY B AND C NOISE REDUCTION SYSTEM ................................... |
14 |
DOLBY HX-PRO HEADROOM EXTENSION SYSTEM ............................ |
14 |
MAINTENANCE ............................................................................... |
14 |
TROUBLESHOOTING ....................................................................... |
15 |
SPECIFICATIONS ............................................................................ |
15 |
WIRED REMOTE DIAGRAM............................................................... |
16 |
FEATURES
•Computer Controlled Mechanism
•Dual Power Supply
•Dolby HX-Pro Headroom Extension System (deck B only)
•Dolby B & C Noise Reduction Systems (A/B Independent)
•Computing Tape Counter with 4-Digit Readout and Memory Stop
•Music Search System
•FL Peak Level Meters
•Auto Tape Selector
•2-Speed Dubbing
•Relay Playback
•Twin Recording and Relay Recording
•19-inch Rack Mountable
•Speed Control of Approximately ±12% (A/B Independent)
•Accurate Music Search System
•Display Memory Back-up
•Twin Output
•Auto-standby
CONNECTION
Leave your entire system (including this cassette deck) turned off
all connections between the deck and other components have been completed.
• Connecting the Deck to an Amplifier (Mixer)
Before connecting the deck to your amplifier, please review your amplifier's instruction manual. Use the white plugs for the left channel and red plugs for the right channel.
• Tape Dubbing
Many stereo amplifiers and receivers have tape dubbing circuitry so that tape duplication can be performed between two or more tape decks. Review your amplifier's instruction manual for a full explanation of this mode of operation.
•Connecting Headphones
To listen through headphones, plug your headphones into the PHONES jack.
•Installation Precautions
If the deck is placed near an amplifier, TV or tuner, noise (induced hum) or beat interference may result, especially during FM or AM reception. If this occurs, place the deck further away from other components or reorient its position.
5
 Loading...