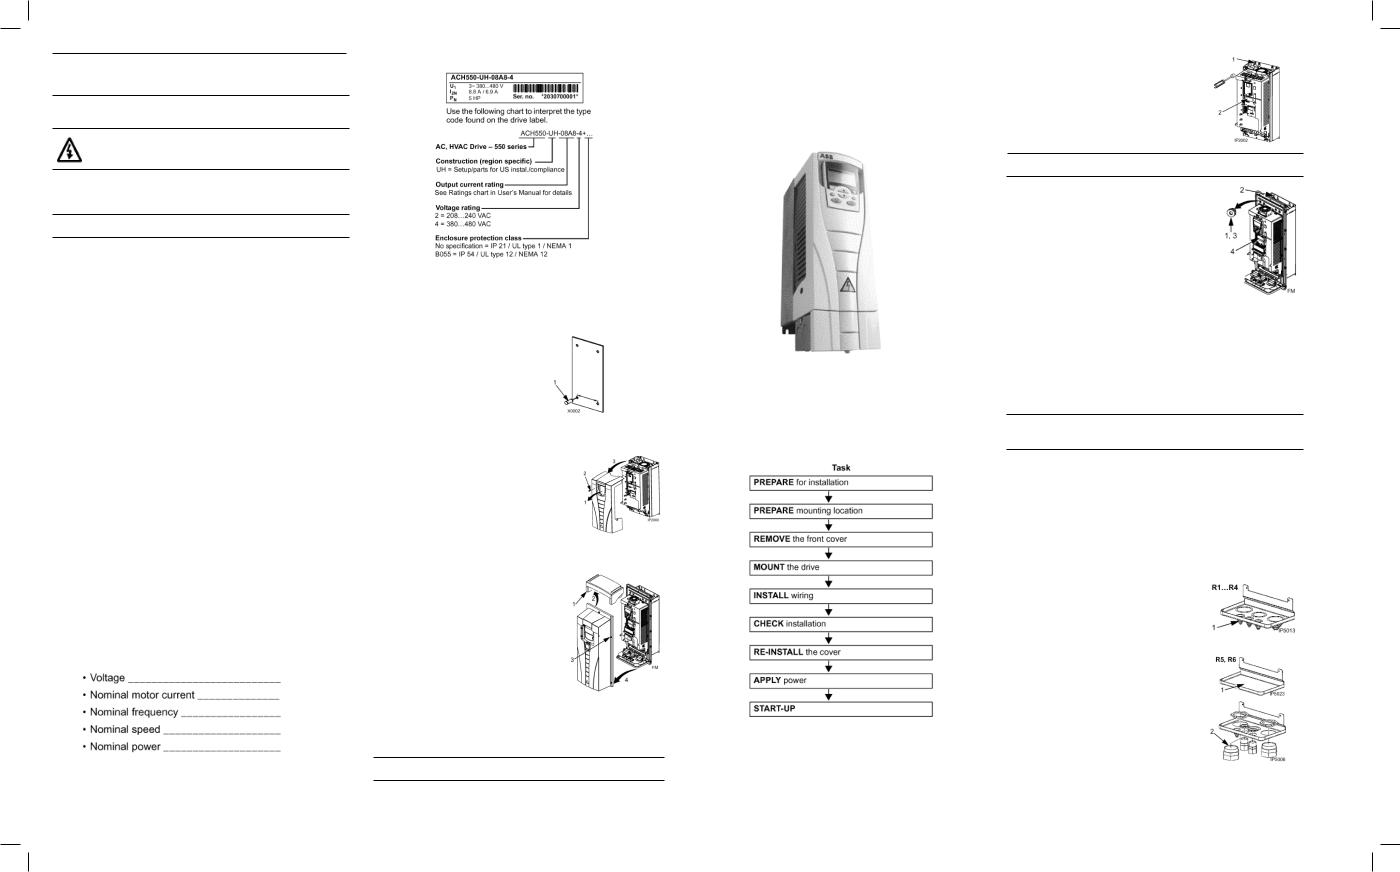
ABB ACH550-UH Quick Start Guide

Note! This guide does not provide detailed installation, safety or operation instructions. See the ACH550
User’s Manual for complete information.
1. Prepare for Installation
Warning! The ACH550 should ONLY be installed by a qualified electrician.
Unpack the Drive
Note! Lift ACH550 by its chassis and not by its cover.
1.Unpack the drive.
2.Check for any damage.
3.Check the contents agains the order / shipping label.
Check
-Motor compatibility - Motor type, nominal current, frequency, and voltage range must match drive specifications.
-Suitable environment - Drive requires heated, indoor controlled environment that is suitable for the selected enclosure.
-Wiring - Follow local codes for wiring, circuit protection, and EMC requirements.
Refer to User’s Manual and confirm that all preparations are complete
Tools Required
Screwdrivers, wire stripper, tape measure, mounting screws or bolts, drill, and conduit hole punch (R5 and R6, IP 54 / UL
Type 12 drives only).
Collect Motor Data
Collect the following motor data from the motor nameplate for later use in the ACH550 startup:
Drive Identification
2. Prepare the Mounting Location
The drive requires a smooth, vertical, solid surface, free from heat and moisture, with free space for air flow - 200 mm (8 in) above and below, and 25 mm (1 in)
around the sides of the drive.
1.Mark the mounting points.
2.Drill the mounting holes.
3.Remove the Front Cover
IP 21 / UL Type 1
1.Remove the control panel, if attached
2.Loosen the captive screw at the cover’s top.
3.Pull near the top to remove the cover.
IP 54 / UL Type 12
1.If hood is present: Remove screws (2) holding hood in place.
2.If hood is present: Slide hood up and off of the cover.
3.Loosen the capitve screws around the edge of the cover.
4.Remove the cover.
4. Mount the Drive
IP 21 / UL Type 1
Note! Lift the ACH550 by its metal chassis.
1. Position the ACH550 onto the mounting screws or bolts and securely tighten in all four corners.
DriveIT Low Voltage AC Drives
Quick Start Guide
ACH550-UH Drive
Overview
The installation of the ACH550 adjustable speed AC drive follows the outline below.
Application
This guide provides quick reference for installing ACH550-UH drives.
2. Non-English speaking locations: Add a warning sticker in the appropriate language over the existing warning on the top of the module.
IP 54 / UL Type 12
Note! Lift the ACH550 by its metal chassis.
The holes provided for access to the drive mounting slots require rubber plugs.
1.As required for access, remove the rubber plugs. Push plugs out from the back of the drive.
2.Position the ACH550 and securely tighten in all four corners.
3.Re-install rubber plugs.
4.Non-English speaking locations: Add a warning sticker in the appropriate language over the existing warning on the top of the module.
5.Install the Wiring
Note! Use separate conduit runs for input power, motor and control wiring.
General Wiring - IP 21 / UL Type 1
1.Install thin-wall conduit clamps (not supplied) in the conduit/ gland box.
2.Install conduit/gland box.
General Wiring - IP 54 / UL Type 12
1.Depends on frame size:
Frame sizes R1 - R4: Remove and discard the cable seals where conduit will be installed. (The cable seals are coneshaped, rubber seals on the bottom of the drive.
Frame sizes R5 - R6: Use punch to create holes for conduit connections as needed.
2.For each conduit run, install water tight conduit connectors (not supplied).
3AUA0000004594 REVC
Effective: 09/04/2007
Supersedes: 02/26/2004
 Loading...