


DR4200
Models DR4200, DR4300, and
DR4500 Recorders
Replacement Instruction
Chart Hub Kit (30756150-001)
Document Number Form: 44-45-33-60C
Effective: 6/07
Supersedes: 7/00
Kit Contents This Chart Hub Replacement Kit contains the following parts:
Description Quantity
• Allen wrench 1, 5 mm
• Chart hub ass’y, tamper resist.
• Chart hub ass’y, large diam.
• Compression spring
• Chart hub ass’y, small diam.
Summary Enclosed is a new chart hub kit with parts required to replace the chart
1
1
1
1
1
hub in a DR4200, DR4300, or DR4500 recorder. Use the following
procedures, as appropriate, to replace the existing chart hub assembly.
WARNING
Never access components inside the case, or remove or
install any connectors, with power applied.
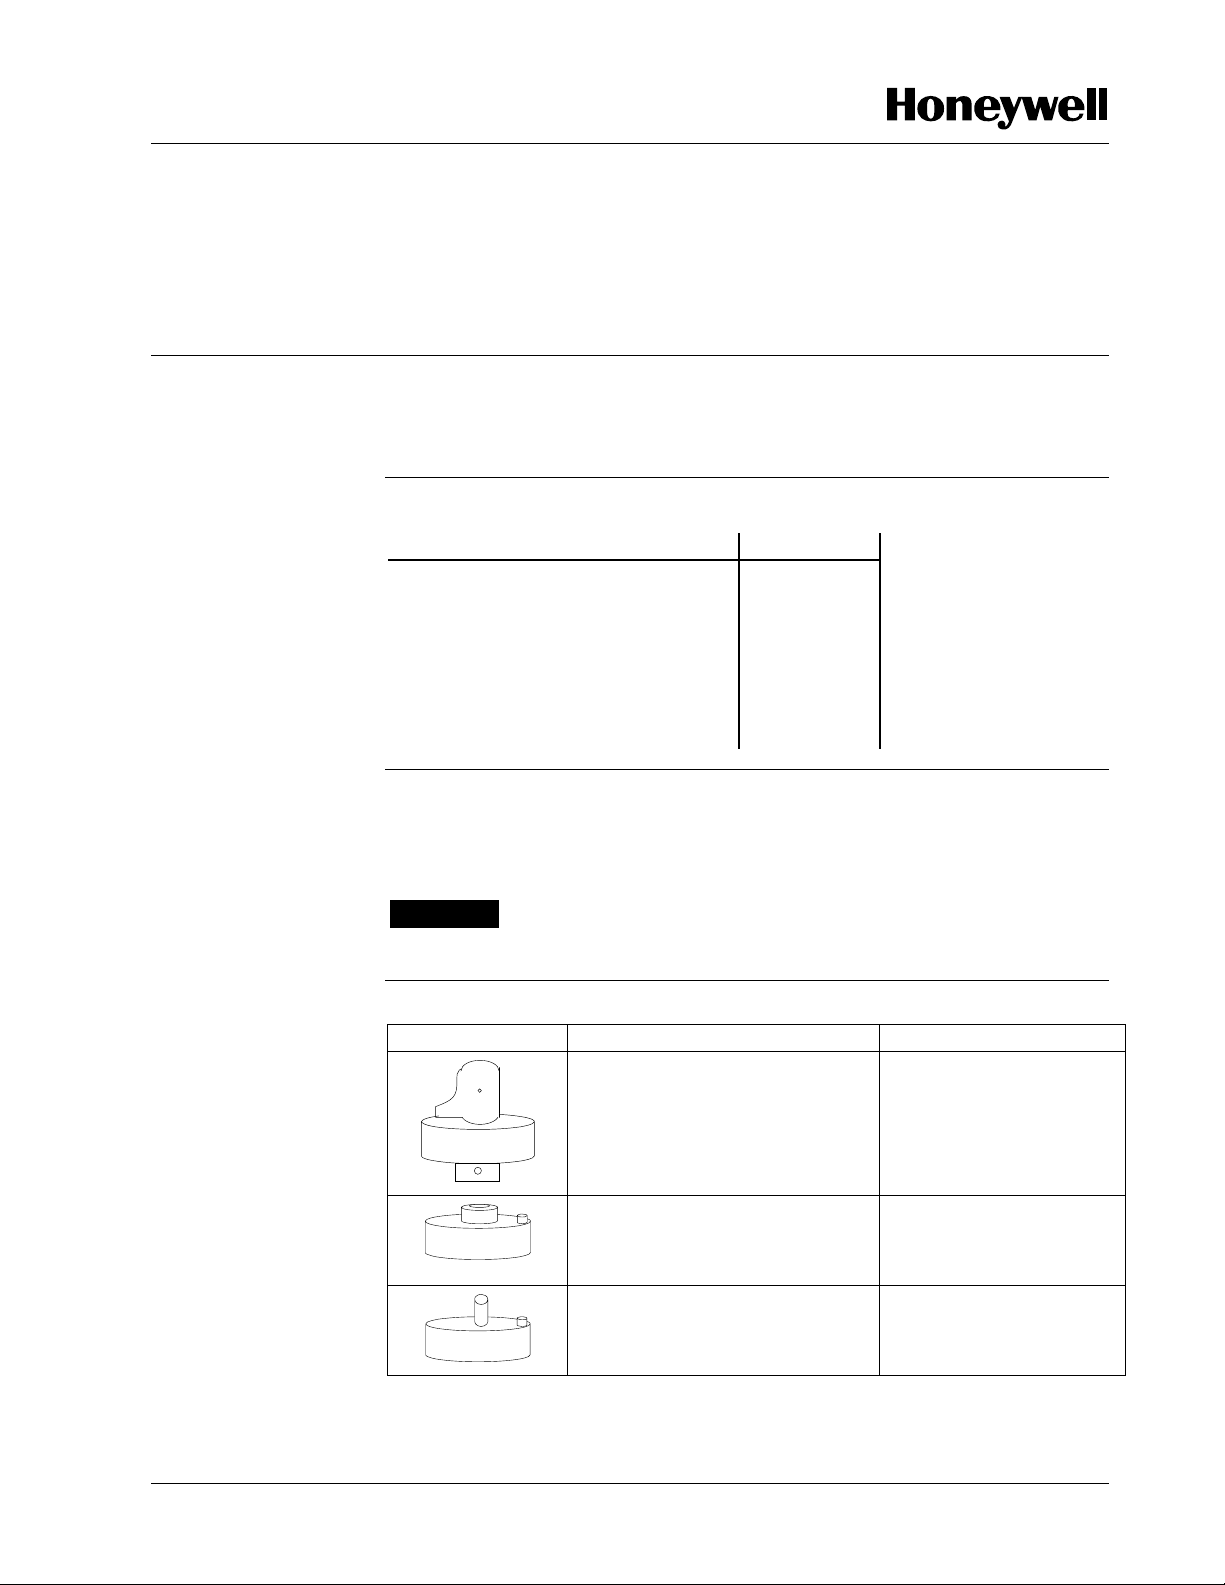
Chart hub types
Chart Hub Type Description How to intall
Hub used with ink pens and
preprinted charts when
approval bodies or process
Slide hub down to
bottom of motor shaft
and tighten set screw.
inspectors require tamper
proof operation.
Standard hub used on all
DR4500/DR4300/DR4200
Push hub onto motor
shaft.
recorders.
Hub used with ink pens and
preprinted charts that have a
small center hole.
44-45-33-60C Page 1 of 4
Push hub onto motor
shaft.
Kit Instruction, continued
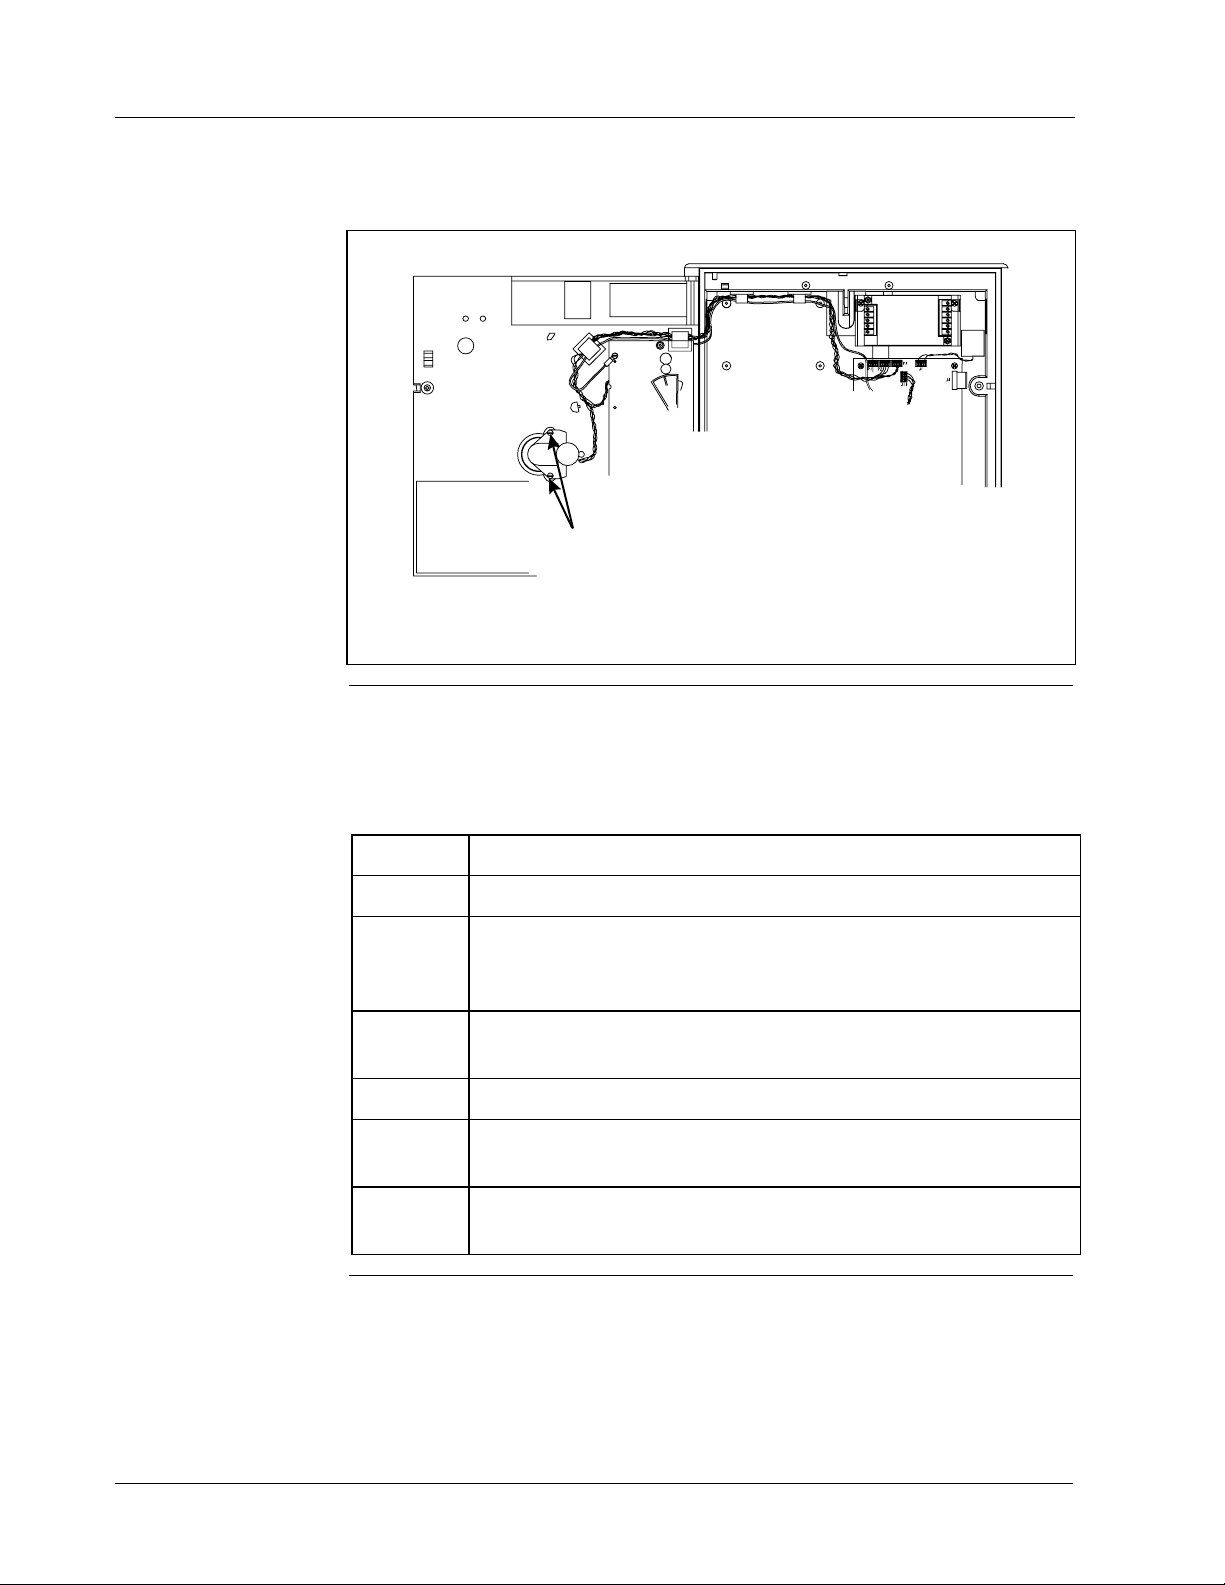
Component Location
for DR4200/DR4300 installation procedure.
Refer to Figure 1 for the component locations and Table 1 for the
Screws
24240
Figure 1 – Component Location
DR4200/DR4300 Follow the procedure in Table 1 to replace the existing chart hub
Procedure assembly in your recorder.
Table 1 –
Chart Hub Assembly Replacement for DR4200/DR4300 Recorders
Step Action
1
2
Open the chart door and swing the chart plate out.
Remove chart hub (front of chart plate) and chart motor (rear
of chart plate) by removing screws. Save screws. Pull hub
off the motor.
3
Select the chart hub from the kit that matches the one you
removed.
4
Attach hub to motor. Refer to chart hub types on page 1.
5
Hold motor in place and adjust chart hub flush with platen
and centered in platen opening.
6
Re-install motor with screws. Ensure that chart hub rotates
freely and does not bind.
Page 2 of 4 44-45-33-60C
 Loading...