


EC933X
COFFEE MAKER Instructions for use
B1 |
B17 |
B16 |
B14 |
B12 |
|
B15 |
B13 |
B11 |
|
|
|
B10
B9
B2 |
B3 |
B4 |
B5 |
B6 |
B7 |
B8 |
|
|
|
|
|
|
|
C4 |
C5 |
C6* |
C1 |
|
|
C2 |
|
|
C3 |
|
C9 |
|
|
|
C7 |
|
C8 |
2

A1 |
A2 |
A3 |
|
A23 |
|
|
|
|
|
|
A4 |
|
|
|
A5 |
|
|
|
A6 |
A22 |
|
|
A9 |
A21 |
|
|
A7 |
|
|
|
|
|
|
|
A8 |
|
|
A10 |
|
A15 |
|
A13 |
A12 |
A16 |
|
|
A11 |
A17 |
|
|
|
A18 |
|
|
|
A19 |
|
|
|
A20 |
|
|
A14 |
|
3 |
|
|
1 |
5 |
9 |
13 |
2 |
6 |
10 |
14 |
4 |
3 |
7 |
11 |
0,5 L |
15
MAX |
4 |
|
8 |
12 |
16 |
17 |
21 |
25 |
18 |
|
22 |
|
26 |
19 |
23 |
27 |
20
24 |
28 |
MAX |
|
29 |
30 |
31 |
32 |
5

Before using the appliance, always read the safety warnings.
This appliance shall not be used by children. Keep the appliance and its cord out of reach of children.
1. DESCRIPTION
1.1Description of the appliance
(page 3 - A ) |
|
A1. |
Beans container lid |
A2. |
Beans container |
A3. |
Cup tray |
A4. |
Steam dial |
A5. |
Hot water spout |
A6. |
Steam spout |
A7. |
Cappuccino maker selection ring |
A8. |
Cappuccino maker |
A9. |
Cappuccino maker connection nozzle |
A10. |
Cup grille for espresso |
A11. |
Cup grille for glasses or mugs |
A12. |
Drip tray grille |
A13. |
Drip tray |
A14. |
Drip tray water level indicator |
A15. |
Water tank lid |
A16. |
Water tank extraction handle |
A17. Water tank |
|
A18. |
Water softener filter housing |
A19. |
Power cord connector socket |
A20. Main switch (ON/OFF) |
|
A21. |
Boiler outlet |
A22. |
Coffee mill outlet (tamper station) |
A23. |
Presser lever |
1.2 Description of control panel
(page 3 - B )
B1. ON/Standby button
B2. Ground coffee quantity dial
B3. "X2" button: to use the 2 coffees Easy Clean filter B4. Rinse button
B5. "OK" button: to deliver the beverage/confirm
B6. Hot water button
B7. "My" button: to customise beverage quantity
B8. Mode selector dial:
•Espresso
•Long Black
•Coffee
•Descaling B9. Descale light
B10. Steam ready light
B11. Overtemperature light
B12. Energy saving light
B13. General alarm light
B14. Beans container empty/no beans container light
B15. No water light
B16. Pressing light
B17. Pressure gauge
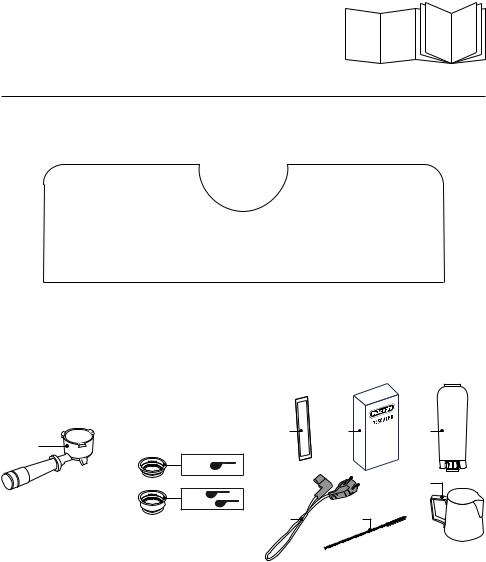
1.3Description of the accessories
(page 2 - C ) C1. Filter holder
C2. Easy Clean filter 1 coffee
C3. Easy Clean filter 2 coffee
C4. "Total Hardness Test" indicator paper
C5. Descaler
C6. Water softener filter (*if present)
C7. Power cord
C8. Tube brush
C9. Milk jug
2. PREPARING THE APPLIANCE
Wash all accessories with warm water and washing-up liquid, then proceed as follows:
1.Insert the beans container (A2) in the coffee mill (fig. 1);
2.Insert the drip tray (A13) complete with cup grill (A11) and drip tray grille (A12) (fig. 2);
3.Extract the water tank (A17) (fig. 3) and fill with fresh clean water, taking care not to exceed the MAX level (fig. 4).
4.Put the tank back in the appliance.
Important Never operate the appliance without water in the tank or without the tank.
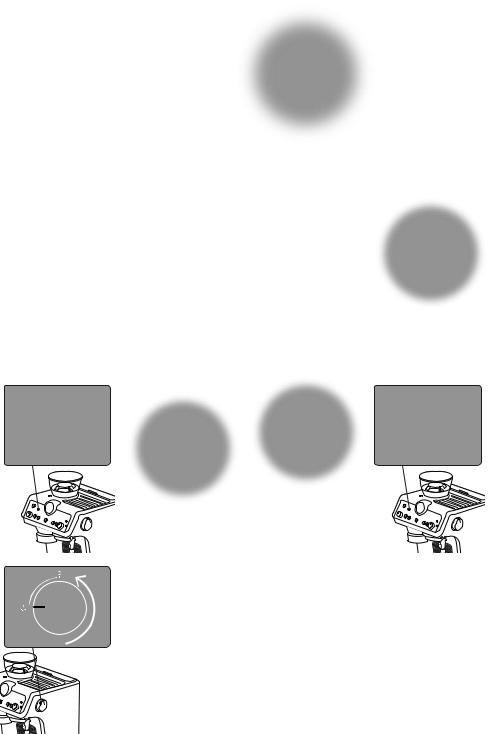
3.SETTING UP THE APPLIANCE
1.Plug the power cord connector (C7) into the socket (A19) at the back of the appliance (fig. 5), then plug the plug into the mains socket. Make sure the main switch (A20) at the back of the appliance is pressed and in the I position (fig. 6);
2.The  light (B6) corresponding to the button comes on and the
  light (B15) flashes to indicate that you need to deliver water to fill the circuit (fig. 7);
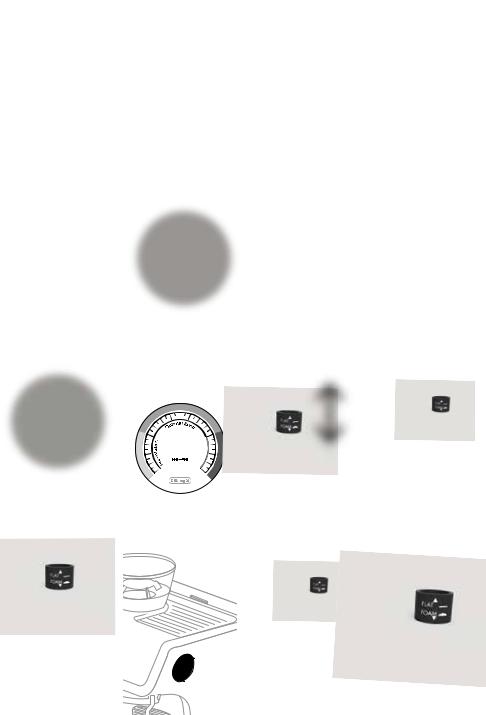
3.Place a container with a minimum capacity of 100 ml under the hot water spout (A5) and cappuccino maker (A8) (fig. 8);
4.Press the button (B6) corresponding to the 
 light (fig.
9). Delivery begins and stops automatically. Empty the container.
Before using the machine, you must rinse the internal circuits. Proceed as follows:
5.Attach the filter holder (C1) complete with filter to the appliance. To attach correctly, align the filter holder handle
6
 Loading...