


AXIS P5654-E Network Camera
User Manual

AXIS P5654-E Network Camera |
|
Table of Contents |
|
Product overview . . . . . . . . . . . . . . . . . . . . . . . . . . . . . . . . . . . . . . . . . . . |
3 |
Find the device on the network . . . . . . . . . . . . . . . . . . . . . . . . . . . . . . . . |
4 |
Access the device . . . . . . . . . . . . . . . . . . . . . . . . . . . . . . . . . . . . . . . . . . . . . . . |
4 |
Secure passwords . . . . . . . . . . . . . . . . . . . . . . . . . . . . . . . . . . . . . . . . . . . . . . . |
4 |
Setup . . . . . . . . . . . . . . . . . . . . . . . . . . . . . . . . . . . . . . . . . . . . . . . . . . . . . |
5 |
Need more help? . . . . . . . . . . . . . . . . . . . . . . . . . . . . . . . . . . . . . . . . . . . . . . . . |
5 |
Image quality . . . . . . . . . . . . . . . . . . . . . . . . . . . . . . . . . . . . . . . . . . . . . . . . . . . |
5 |
Streaming and storage . . . . . . . . . . . . . . . . . . . . . . . . . . . . . . . . . . . . . . . . . . . |
7 |
Overlays . . . . . . . . . . . . . . . . . . . . . . . . . . . . . . . . . . . . . . . . . . . . . . . . . . . . . . . |
9 |
Pan, tilt, and zoom (PTZ) . . . . . . . . . . . . . . . . . . . . . . . . . . . . . . . . . . . . . . . . . . |
9 |
Events . . . . . . . . . . . . . . . . . . . . . . . . . . . . . . . . . . . . . . . . . . . . . . . . . . . . . . . . |
10 |
Applications . . . . . . . . . . . . . . . . . . . . . . . . . . . . . . . . . . . . . . . . . . . . . . . . . . . . |
12 |
Troubleshooting . . . . . . . . . . . . . . . . . . . . . . . . . . . . . . . . . . . . . . . . . . . . |
13 |
Reset to factory default settings . . . . . . . . . . . . . . . . . . . . . . . . . . . . . . . . . . . |
13 |
Check the current firmware . . . . . . . . . . . . . . . . . . . . . . . . . . . . . . . . . . . . . . . |
13 |
Upgrade the firmware . . . . . . . . . . . . . . . . . . . . . . . . . . . . . . . . . . . . . . . . . . . . |
13 |
Technical issues, clues and solutions . . . . . . . . . . . . . . . . . . . . . . . . . . . . . . . . |
14 |
Performance considerations . . . . . . . . . . . . . . . . . . . . . . . . . . . . . . . . . . . . . . . |
15 |
Specifications . . . . . . . . . . . . . . . . . . . . . . . . . . . . . . . . . . . . . . . . . . . . . . |
17 |
LED indicators . . . . . . . . . . . . . . . . . . . . . . . . . . . . . . . . . . . . . . . . . . . . . . . . . . |
17 |
SD card slot . . . . . . . . . . . . . . . . . . . . . . . . . . . . . . . . . . . . . . . . . . . . . . . . . . . . |
17 |
Buttons . . . . . . . . . . . . . . . . . . . . . . . . . . . . . . . . . . . . . . . . . . . . . . . . . . . . . . . |
17 |
Connectors . . . . . . . . . . . . . . . . . . . . . . . . . . . . . . . . . . . . . . . . . . . . . . . . . . . . |
17 |
2

AXIS P5654-E Network Camera
Product overview
Product overview
1Hook for safety wire
2Mounting screws (x3)
3Network connector (PoE+)
4Ground screw
5SD memory card slot
6Control button
7Status LED indicator
8Power button
9Dome
3

AXIS P5654-E Network Camera
Find the device on the network
Find the device on the network
To find Axis devices on the network and assign them IP addresses in Windows®, use AXIS IP Utility or AXIS Device Manager. Both applications are free and can be downloaded from axis.com/support.
For more information about how to find and assign IP addresses, see the document How to assign an IP address and access your device on the device page at axis.com.
Access the device
1.Open a browser and enter the IP address or host name of the Axis device.
If you have a Mac computer (OS X), go to Safari, click Bonjour and select the device from the drop-down list. To add Bonjour as a browser bookmark, go to Safari > Preferences.
If you do not know the IP address, use AXIS IP Utility or AXIS Device Manager to find the device on the network.
2.Enter the username and password. If you access the device for the first time, you must set the root password. See
Set a secure password for the root account on page 4 .
3.The live view page opens in your browser.
Secure passwords
Important
Axis devices send the initially set password in clear text over the network. To protect your device after the first login, set up a secure and encrypted HTTPS connection and then change the password.
The device password is the primary protection for your data and services. Axis devices do not impose a password policy as they may be used in various types of installations.
To protect your data we strongly recommend that you:
•Use a password with at least 8 characters, preferably created by a password generator.
•Don’t expose the password.
•Change the password at a recurring interval, at least once a year.
Set a secure password for the root account
Important
The default administrator username is root. If the password for root is lost, reset the device to factory default settings.
1.Type a password. Follow the instructions about secure passwords. See Secure passwords on page 4 .
2.Retype the password to confirm the spelling.
3.Click Create login. The password has now been configured.
4
AXIS P5654-E Network Camera
Setup
Setup
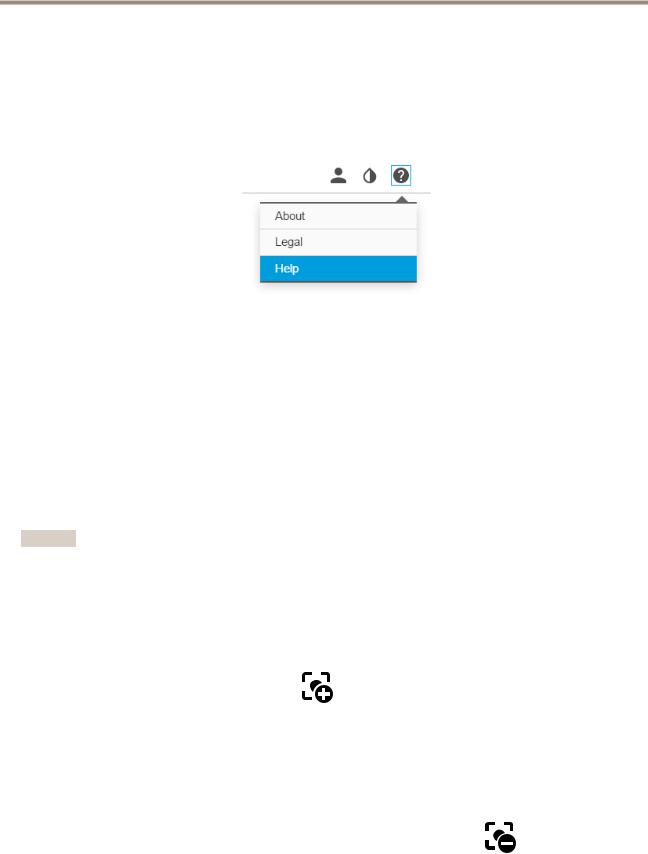
Need more help?
You can access the built-in help from the device’s webpage. The help provides more detailed information on the device’s features and their settings.
Image quality
Adjust the focus faster with focus recall areas
To save the focus settings at a specific pan/tilt range, add a focus recall area. Each time the camera moves into that area it recalls the previously saved focus. It’s enough to cover half of the focus recall area in the live view.
We recommend the focus recall feature in the following scenarios:
•When there is a lot of manual operation in live view, for example with a joystick.
•Where PTZ preset positions with manual focus are not efficient, for example movements where the focus setting changes continuously.
•In low-light scenarios, where the autofocus is challenged by the lighting conditions.
Important
•The focus recall overrides the camera’s autofocus at the specific pan/tilt range.
•A preset position overrides the focus setting saved in the focus recall area.
•The maximum number of focus recall areas is 20.
Create a focus recall area
1. Pan, tilt, and zoom into the area where you would like to have focus.
As long as the focus recall button shows a plus |
, you can add a focus recall area in that position. |
2.Adjust the focus.
3.Click the focus recall button.
Delete a focus recall area
1. Pan, tilt, and zoom into the focus recall area you want to delete.
The focus recall button toggles to minus when the camera detects a focus recall area.
5

AXIS P5654-E Network Camera
Setup
2. Click the focus recall button.
Handle scenes with strong backlight
Dynamic range is the difference in light levels in an image. In some cases the difference between the darkest and the brightest areas can be significant. The result is often an image where either the dark or the bright areas are visible. Wide dynamic range (WDR) makes both dark and bright areas of the image visible.
1.Go to Settings > Image > Wide dynamic range.
2.If required, turn on WDR.
3.Use the Local contrast slider to adjust the amount of WDR.
Image without WDR.
Image with WDR.
Note
WDR may cause artifacts in the image.
Find out more about WDR and how to use it at axis.com/web-articles/wdr.
Hide parts of the image with privacy masks
Create a privacy mask to hide a part of the image:
1.Go to Settings > Privacy mask.
2.Click New.
6
 Loading...