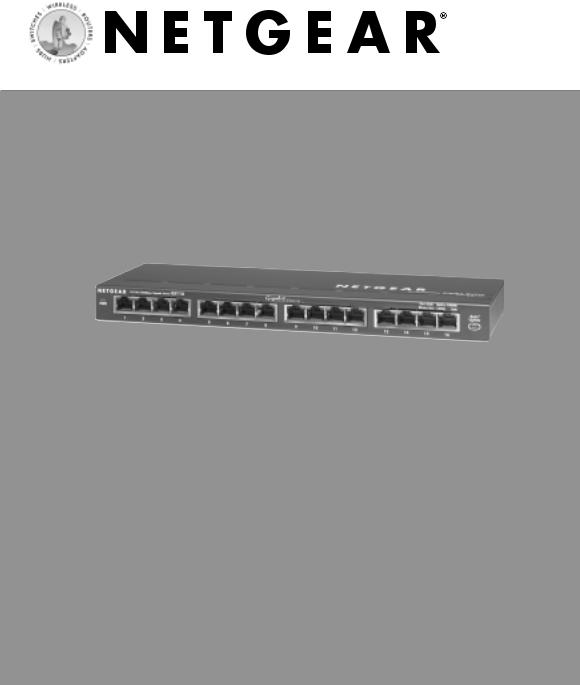
NETGEAR GS116, GS116NA User Manual

16-port Gigabit Switch
10/100/1000 Mbps GS116
Installation Guide

Introduction
The NETGEAR® 16-port Gigabit Switch Model GS116 provides you with a low-cost, reliable, high-performance switch to connect up to sixteen different Ethernet-enabled devices (such as computers, file servers and routers) at blazing Gigabit Ethernet speeds.
GS116 16-port 10/100/1000 Mbps Gigabit Switch
The 16-port Gigabit Switch Model GS116 enables you to build a small network that gives you 10, 100, or 1000 Mbps access to other devices on the network. It provides a full, dedicated 1000 (or 100, or 10 Mbps) connection between two devices. If a device has full-duplex capability, the GS116 switch provides a 2000 Mbps (or 200, or 20 Mbps) connection. This means the GS116 can instantly move even very large files across your network. As an added benefit, this switch works with both Windows and Macintosh computers.
Ethernet cables come as either straight-through or crossover cables—depending on whether you’re connecting to a device (computer, server, or printer) or networking equipment (hub, switch, or router). With the Auto Uplink™ feature, you don’t have to worry about which one you use. Each port on the GS116 switch automatically configures itself correctly when you plug in a device’s cable.
Installation Overview
Estimated Time: 5–10 minutes
1.Unpack the box and verify the contents.
2.Prepare to install the switch.
3.Install the switch and connect the other devices.
1 Unpack the Box and Verify the Contents
|
Gigabit Switch |
|
Wall-mount |
|
hardware |
Installation guide, |
Power adapter |
Warranty/Support |
|
informaton card |
|
When you open the box, verify that you received everything. The package includes:
•16-port Gigabit Swtich GS116
•AC power adapter
•Wall-mounting screws
•GS116 Installation Guide (this document)
•Warranty/support information card
If you don’t have everything listed above, see the support information card for contact information. If you’re missing the support information card itself, get contact information at www.NETGEAR.com in the Technical Support section.
2 Prepare to Install the Switch
Decide where you want to place the switch. Find a flat horizontal surface — such as a table, desk or shelf. The switch comes with wall-mounting screws. You’re welcome to use the screws if you want to hang the switch in an open space on a wall.
1 |
2 |
 Loading...