


LASERJET PRO CM1415fn
COLOR MFP
EN
DE
ES
CS
NL
NO
SV
Installation Guide |
FR |
Guide d'installation |
Installationshandbuch |
IT |
Guida di installazione |
Guía de instalación |
CA |
Guia d'instal·lació |
Průvodce instalací |
DA |
Installationsvejledning |
Installatiehandleiding |
FI |
Asennusopas |
Installeringsveiledning |
PT |
Guia de instalação |
Installationshandbok |
TR |
Yükleme Kılavuzu |
AR
1
15 - 32.5°C |
22.6 kg |
(59 - 90.5°F) |
49.8 lb |
|
|
20% - 70% |
|
(23 |
608 |
|
|
. |
|
|
|
9 |
|
|
|
inches) |
mm |
|
|
|
(1 |
|
mm |
|
7. |
|
|
|
|
4 |
i |
|
|
|
nc |
|
|
|
hes) |
|
inches) |
.6 |
|
(31 |
|
EN |
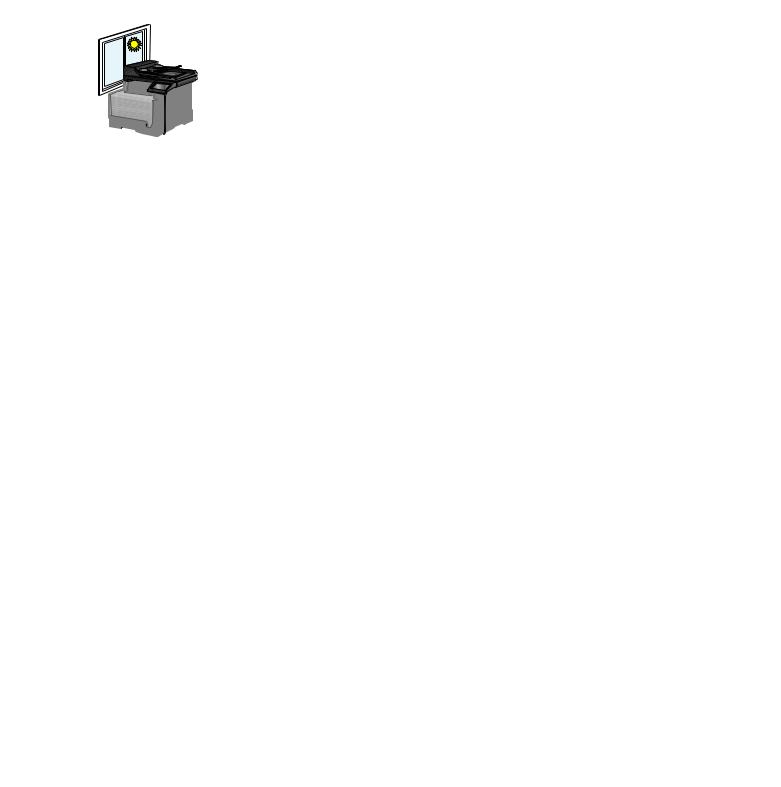
Select a sturdy, well-ventilated, dust-free area, away from direct sunlight to position the product. |
FR |
Choisissez un endroit stable, bien ventilé, à l’abri de la poussière, non exposé aux rayons directs du soleil pour placer le produit. |
DE |
Stellen Sie das Gerät an einem gut belüfteten, staubfreien Ort auf einem stabilen Untergrund auf. |
IT |
Per posizionare il prodotto, scegliere un'area ben ventilata, lontana dalla luce diretta del sole e poco esposta alla polvere. |
ES |
Seleccione un lugar sólido, bien ventilado, sin polvo y alejado de la luz solar directa en el que colocar el producto. |
CA |
El producte s’ha de col·locar en una superfície estable, ben ventilada, sense pols i lluny de la llum del sol directa. |
CS |
Na umístění zařízení vyberte stabilní, dobře odvětrávané a bezprašné místo mimo přímé sluneční světlo. |
DA |
Placer produktet i et stabilt, godt udluftet, støvfrit område uden direkte sollys. |
NL |
Kies een stevige, goed geventileerde, stofvrije plek niet in direct zonlicht om het apparaat te plaatsen. |
FI |
Sijoita laite tukevalle alustalle pölyttömään paikkaan, johon aurinko ei paista suoraan ja jossa on hyvä ilmanvaihto. |
NO |
Plasser produktet på et stabilt, godt ventilert og støvfritt sted, borte fra direkte sollys. |
PT |
Escolha uma área limpa, arejada, resistente e longe da luz solar direta para posicionar o produto. |
SV |
Placera enheten på ett stabilt underlag på en plats utan damm och med god ventilation, där den inte utsätts för direkt solljus. |
TR |
Ürünü yerleştirmek için sağlam, iyi havalandırmalı, tozsuz ve doğrudan güneş ışığı almayan bir alan seçin. |
AR
2
HPLaserJet
EN |
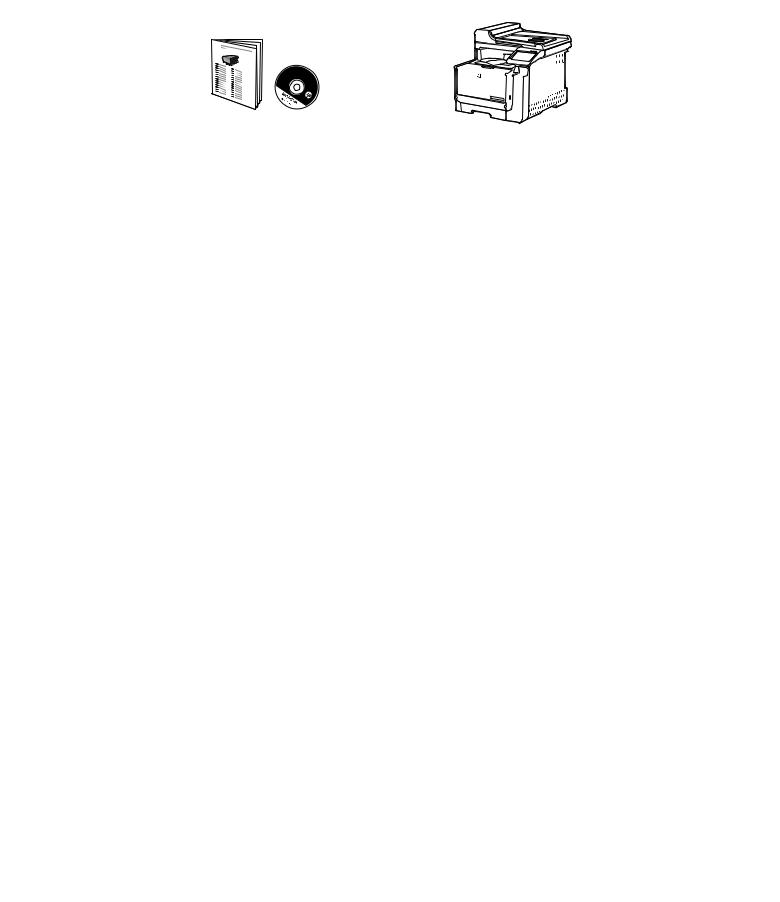
Product Requirements |
|
|
• |
Power outlet |
|
• |
A-to-B type USB cable or Network cable |
|
• |
Telephone connection for fax |
DE |
Produktanforderungen |
|
|
• |
Netzsteckdose |
|
• |
A-to-B USB-Kabel oder Netzwerkkabel |
|
• |
Telefonanschluss für Fax |
ES |
Requisitos del producto |
|
|
• |
Toma de alimentación |
|
• |
Cable USB de tipo A a B o cable de red |
|
• |
Conexión de teléfono para fax |
CS |
Požadavky produktu |
|
|
• |
Elektrická zásuvka |
|
• |
USB kabel typu AB nebo síťový kabel |
|
• |
Telefonní připojení pro fax |
NL |
Apparaatvereisten |
|
|
• |
Stopcontact |
|
• |
USBof netwerkkabel van het type A-naar-B |
|
• |
Telefoonaansluiting voor fax |
NO |
Produktkrav |
|
|
• |
Strømuttak |
|
• |
USB-kabel av typen A til B eller nettverkskabel |
|
• |
Telefonforbindelse for faksfunksjonen |
SV |
Produktkrav |
|
|
• |
Eluttag |
|
• |
USB-kabel av A-till-B-typ eller nätverkskabel |
|
• |
Telefonanslutning för fax |
FR
IT
CA
DA
FI
PT
TR
Exigences du produit
•Prise de courant
•Câble USB A-to-B ou câble réseau
•Connexion téléphonique pour le télécopieur
Requisiti del prodotto
•Presa di alimentazione
•Cavo USB di tipo A-to-B o cavo di rete
•Collegamento telefonico per fax
Requisits del producte
•Presa de corrent
•Cable USB de tipus A-to-B o de xarxa
•Connexió telefònica per al fax
Produktkrav
•Stikkontakt
•A-til-B-type USB-kabel eller netværkskabel
•Telefonforbindelse til fax
Laitteen vaatimukset
•Pistorasia
•A-B-tyypin USB-kaapeli tai verkkokaapeli
•Puhelinlinja faksia varten
Requisitos do produto
•Tomada de alimentação
•Cabo USB do tipo A a B ou cabo de rede
•Conexão telefônica para fax
Ürün Gereksinimleri
•Güç prizi
•A’dan B’ye türü USB kablosu veya Ağ kablosu
•Faks için telefon bağlantısı
AR

3
1 |
2 |
3 |
||||||
|
|
|
|
|
|
|
|
|
|
|
|
|
|
|
|
|
|
|
|
|
|
|
|
|
|
|
|
|
|
|
|
|
|
|
|
|
|
|
|
|
|
|
|
|
|
|
|
|
|
|
|
|
|
4 |
5 |
6 |
7 |
8 |
9 |
|
|
|
|
|
|
10 |
11 |
12 |

4 |
|
|
|
1 |
2 |
3 |
4 |
EN |
. Connect the power cord between the product and a grounded AC outlet, and turn on the product. Make sure your power source |
|
|
is adequate for the product voltage rating. The voltage rating is on the product label. The product uses either 100127 Vac or |
|
|
|
|
|
|
220240 Vac and 50/60 Hz. Caution: To prevent damage to the product, use only the power cord that is provided with the |
|
|
product. Caution: Do not connect USB now. Wait until the software prompts you. |
|
. Connect the phone cord for fax. A country/region specific adapter for the RJ11 telephone cord may be required to connect to the |
|
|
|
telephone jack. |
|
. Wired network connections only: Connect the network cable to the product and to the network. |
|
FR |
. |
Reliez le produit à la prise reliée à la terre à l'aide du cordon d'alimentation, puis mettez le produit sous tension. Assurez-vous |
|
que votre source d'alimentation est adaptée à la tension nominale du produit. La tension nominale est indiquée sur l'étiquette |
|
|
|
|
|
|
du produit. Le produit utilise 100-127 Vac ou 220-240 Vac et 50/60 Hz. Attention ! Pour éviter tout endommagement du |
|
|
produit, utilisez uniquement le câble fourni avec le produit. Attention ! Ne branchez pas le câble USB tout de suite. Attendez les |
|
|
instructions du logiciel. |
|
. Connectez le cordon de téléphone au télécopieur. Un adaptateur spécifique à un pays/une région pour le cordon de téléphone |
|
|
|
RJ11peut être requis pour se connecter à la prise téléphonique. |
|
. Connexions réseau filaire uniquement : Reliez le produit au réseau à l'aide du câble réseau. |
|
DE |
. |
Schließen Sie das Gerät mit einem Netzkabel an einer geerdeten Steckdose an, und schalten Sie das Gerät ein. Stellen Sie sicher, |
|
dass Ihre Stromquelle für die Betriebsspannung des Geräts geeignet ist. Die Betriebsspannung finden Sie auf dem Geräteetikett. |
|
|
|
|
|
|
Das Produkt verwendet 100-127 VAC oder 220-240 VAC und 50/60 Hz. Achtung: Um Schäden am Gerät zu vermeiden, |
|
|
verwenden Sie ausschließlich das Netzkabel, das im Lieferumfang des Geräts enthalten ist. Achtung: Schließen Sie das USB- |
|
|
Kabel jetzt noch nicht an. Warten Sie, bis Sie dazu aufgefordert werden. |
|
. Schließen Sie das Telefonkabel für das Fax an. Ein spezieller Adapter für ein Land/eine Region für die RJ11-Telefonschnur ist |
|
|
|
möglicherweise für den Anschluss an die Telefonbuchse erforderlich. |
|
. Nur für drahtgebundene Netzwerkverbindungen: Schließen Sie das Netzwerkkabel an das Gerät und das Netzwerk an. |
|
IT |
. |
Collegare il cavo di alimentazione al prodotto e alla presa CA con messa a terra, quindi azionare il prodotto. Accertarsi che la |
|
fonte di alimentazione sia adeguata all'indicazione della tensione del prodotto. L'indicazione della tensione si trova sull'etichetta |
|
|
|
|
|
|
del prodotto. È possibile utilizzare il prodotto con un voltaggio di 100-127 V CA o di 220-240 V CA e a 50/60 Hz. Attenzione: |
|
|
per evitare danni al prodotto, utilizzare solo il cavo di alimentazione fornito con il prodotto stesso. Attenzione: non collegare il |
|
|
cavo USB. Attendere la richiesta del software. |
|
. Collegare il cavo telefonico per il fax. Per collegare il cavo del telefono RJ11 alla presa telefonica, utilizzare un adattatore |
|
|
|
specifico per il proprio paese/regione. |
|
. Solo connessioni a reti cablate: collegare il cavo di rete al prodotto e alla rete. |
|
ES |
. |
Conecte el cable de alimentación al producto y a un enchufe de CA con toma de tierra; a continuación, encienda el producto. |
|
Asegúrese de que la fuente de alimentación es adecuada para el voltaje del producto. La especificación del voltaje se encuentra |
|
|
|
|
en la etiqueta del producto. El producto utiliza 110-127 VCA o 220-240 VCA y 50/60 Hz. Precaución: Para evitar daños al producto, utilice sólo el cable de alimentación que se proporciona con el mismo. Precaución: No conecte aún el cable USB. Espere hasta que el software se lo solicite.
. Conecte el cable de teléfono para fax. Puede que se requiera un adaptador específico de país/región para el cable del teléfono RJ11 para conectarlo a la toma de teléfono.
. Sólo para conexiones en red con cables: Conecte el cable de red al producto y a la red.
 Loading...