


Ariston FO 87.1/E, FO 87.1/E IX, FO 87 C.2/E, FO 87 C.2/E IX, FO 87 C.2/E TD IX Instruction booklet
...FO 87.1/E
FO 87.1/E IX
FO 87 C.2/E
FO 87 C.2/E IX
FO 87 C.2/E TD IX
FO 97 C.1/E
FO 97 C.1/E IX
New oven “7 Chefs” |
13 |
Instructions for installation and use |

Congratulations on choosing an Ariston appliance, which you will find is dependable and easy to use. We recommend that you read the instructions in this owner’s manual carefully before use for the best performance and to extend the life of your appliance, as it will provide you with all the instructions you require to ensure its safe installation, use and maintenance. Always keep this owner’s manual close to hand since you may need to refer to it in the future. Thank you.
Close-up view
A 
 H
H
G 
 F
F
A.Control Panel
B.Cooking mode selection knob
C.Cooking temperature selection knob
D.Electronic programmer - Allows you to programme the desired cooking mode by selecting the cooking time
and the end cooking time. It can also be used as a timer.
F.Dripping Pan or Baking Sheet
G.Oven Rack
H.Guides for sliding the racks or dripping pan in and out
 A
A
B |
D |
C |
8
7 


 A
A  9
9
1 |
2 |
3 |
4 |
5 |
6 |
1.Oven Light
2.Clock adjustment
3.Timer adjustment
4.End cooking time
5.Cooking time
6.Setting confirmation
7.Timer indicator
8.Pre-heating (m flashing) or cooking (m on) under way indicator
9.Programming complete indicator
13

How to use your appliance
The 7 Cuochi oven combines the advantages of traditional convection ovens with those of the more modern fan assisted models in a single appliance.
It is an extremely versatile appliance that allows you to choose easily and safely between 7 different cooking modes. The various features offered by the oven are selected by means of selector knob “B” situated on the control panel.
Notice: The first time you use your appliance, we recommend that you set the thermostat to the highest setting and leave the oven on for at least half an hour with nothing in it, with the oven door shut. Then, open the oven door and let the room air. The odour that is often detected during this initial use is due to the evaporation of substances used to protect the oven during storage and until it is installed.
Setting the digital clock
The time can only be set on the clock when knob “B” is in position 0.
After the appliance has been connected to the power supply, or when the power has gone out, the clock display will automatically reset to 0:00 and begin to blink. 0.00.
Turn knob C to set the hours and then press OK to confirm. Turn knob C again to set the minutes and then press OK to confirm the time definitively. Any changes can be made by pressing button 2 and following the above procedure.
Timer Feature
The timer does not control the starting or stopping of the oven, it merely sounds a buzzer when the time is up and can be interrupted at any time just by pressing a button. To set the timer, press button 3, adjust it using knob C and
then press the OK button to confirm. The nicon will remind
you the timer is on.
Once the countdown is over, a buzzer will sound, and will stop doing so after 1 minute or if you press any button whatsoever.
The oven light
It can be turned on at any time with the oven turned off, simply by pressing button 1.
Cooling ventilation
In order to reduce the temperature of the exterior of the oven, a cooling fan generates a flow of air that can be heard exiting between the oven door and the control panel.
Note: When cooking is done, the fan stays on until the oven cools down sufficiently.
Note: In “Fast cooking” mode, the fan comes on automatically only when the oven is hot.
Reminder: the appliance is fitted with a diagnosis system which detects any malfunctions.The user is informed of the latter by messages such as “Fn m” that come up on the display (n and m = single digit numbers).In these cases, you need to call for technical assistance as the oven is faulty.
How To Use Your Oven
Turn knob B to select the desired cooking mode.The oven will immediately start the pre-heating phase, during which
the icon mwill flash on the display, and the cooking tem-
perature associated with the mode selected will be displayed: should this value not be the one you desire, you can modify it simply by turning knob C.
Once pre-heating is complete, an acoustic signal will sound and the icon m will come on permanently, and at this
stage you can place the food to be cooked inside the preheated oven.
Note: the FAST COOKING and GRILL modes do not include a pre-heating phase. Please remember that you can always do the following when cooking is under way:
•change the cooking mode by turning knob “B”;
•change the temperature by turning knob “ C”;
•programme the cooking time and end cooking time (see paragraph entitled “Programming the cooking mode”).
•stop it at any time by setting knob “B” back to 0.
Note: For safety reasons, a cooking time of 2 hours is set for each cooking mode by default. Should this time fail to be adjusted, the oven will be automatically turned off once this time is up.
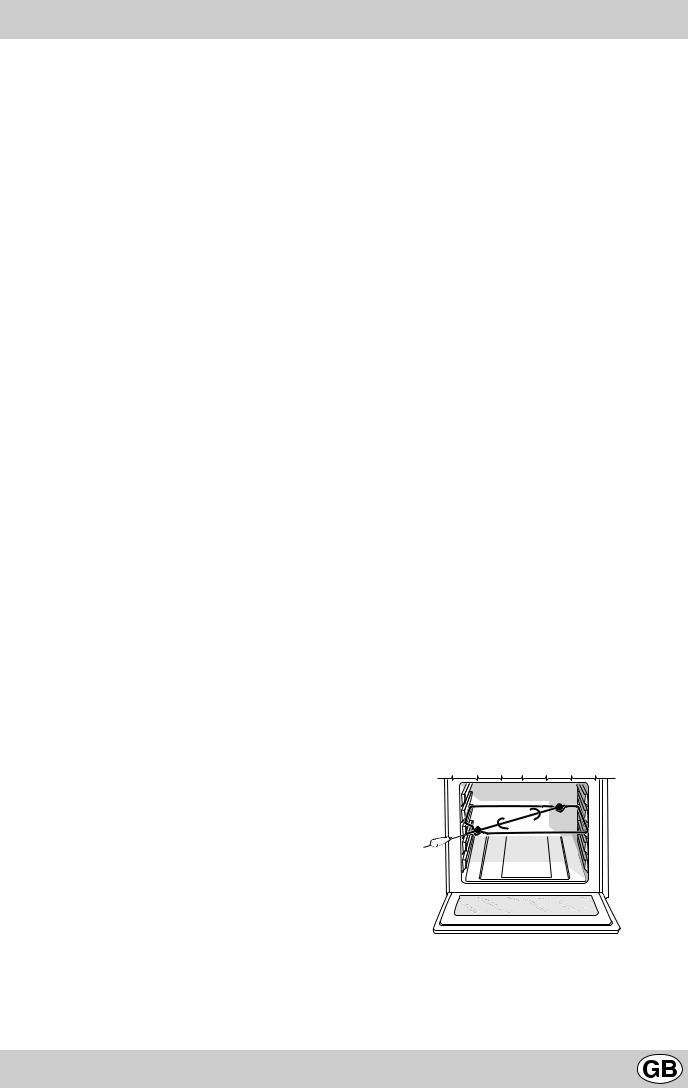
Notice: Place the oven tray provided on the bottom shelf of the oven to prevent any sauce and/or grease from dripping onto the bottom of the oven only when grilling food or when using the turnspit (only available on certain models). For all other types of cooking, never use the bottom shelf and never place anything on the bottom of the oven when it is in operation because this could damage the enamel coating. Always place your cookware (dishes, aluminium foil, etc.etc.) on the grid provided with the appliance inserted especially along the oven guides.
Convection Oven a
Position of thermostat knob “C”: Between 40°C and 250°C . On this setting, the top and bottom heating elements come on. This is the classic, traditional type of oven which has been perfected, with exceptional heat distribution and reduced energy consumption.The convection oven is still unequalled when it comes to cooking dishes made up of several ingredients, e.g. cabbage with ribs, local stockfish recipes, tender veal with rice, etc.Excellent results are achieved when preparing meat-based dishes as well: braised meats, stew, goulash, game, ham etc. which need to cook slowly and require basting or the addition of liquid. It nonetheless remains the best system for baking cakes and pastries as well as fruit and cooking casseroles. When cooking in convection mode, use only one rack, as the temperature would not be distributed evenly on several racks. Using the different rack heights available, you can balance the amount of heat between the top and the bottom of the oven. Select from among the various rack heights based on whether the dish needs more or less heat from the top.
Multi-Cooking Mode b
Position of thermostat knob “C”: Between 40°C and 250°C . The heating elements and the fan come on alternately.Since the heat remains constant and uniform throughout the oven, the air cooks and browns food uniformly over its entire surface. With this mode, you can also cook various dishes at the same time, as long as their respective cooking temperatures are the same. A maximum of 2 racks can be used at the same time, following the instructions in the section entitled: “Cooking On More Than One Rack”.
This cooking mode is particularly recommended for dishes requiring a gratin finish or for those requiring considerably prolonged cooking times, such as for example:lasagne, pasta
14
bakes, roast chicken and potatoes, etc… Moreover, the excellent heat distribution makes it possible to use lower temperatures when cooking roasts. This results in less loss of juices, meat which is more tender and a decrease in the loss of weight for the roast. The Multi-cooking mode is especially suited for cooking fish, which can be prepared with the addition of a limited amount of condiments, thus maintaining their flavour and appearance. Excellent results can be attained when cooking vegetable-based side dishes like courgettes, aubergines, peppers, etc.
Desserts:this mode is also perfect for baking leavened cakes. Moreover, this mode can also be used to thaw quickly white or red meat and bread by setting the temperature to 80 °C. To thaw more delicate foods, set the thermostat to 60°C or use only the cold air circulation feature by setting the thermostat to 0°C.
Grill 2
Position of thermostat knob “C”: Between 50% and 100%. The top heating element and the turnspit (where present) come on.
The extremely high and direct temperature of the grill makes it possible to brown the surface of meats and roasts while locking in the juices to keep them tender. The grill is also highly recommended for dishes that require a high temperature on the surface: such as beef steaks, veal, rib steak, filets, hamburgers etc...
Always leave the oven door ajar during cooking, except when using the turnspit.
Some grilling examples are included in the “Practical Cooking Advice” paragraph.
Turn knob “C” and the display will indicate the different energy percentages which represent the minimum (50%) and maximum (100%) settings.
Gratin T
Position of thermostat knob “C”: Between 40°C and 250°C . The top heating element, the fan and the turnspit (where present) come on.
This combination of features increases the effectiveness of the unidirectional thermal radiation of the heating elements through forced circulation of the air throughout the oven.This helps prevent food from burning on the surface, allowing the heat to penetrate right into the food. Excellent results are achieved with kebabs made with meats and vegetables, sausages, ribs, lamb chops, chicken in a spicy sauce, quail, pork chops, etc.
All“gratin”cooking must be done with the oven door shut.
The “gratin” mode is ideal for cooking grouper steaks, tuna, swordfish, stuffed cuttlefish etc.
Pizza Mode w
Position of thermostat knob “C”: Between 40°C and 250°C . The bottom and circular heating elements, as well as the fan, will come on. This combination rapidly heats the oven due to the large amounts of power used by the appliance (2800 W), which results in the production of considerable heat coming prevalently from the bottom.
The pizza mode is ideal for foods requiring high temperatures to cook, like pizzas and large roasts. Only use one oven tray or rack at a time. However, if more than one is used, these must be switched halfway through the cooking process.
Baking Mode u
Position of thermostat knob “C”: Between 40°C and 250°C . The rear heating element and the fan come on, guaranteeing delicate heat distributed uniformly throughout the oven.
This mode is ideal for baking and cooking delicate foods - especially cakes that need to rise - and for the preparation of certain tartlets on 3 shelves at the same time. Here are a few examples: cream puffs, sweet and savoury biscuits, savoury puffs, Swiss rolls and small portions of vegetables au gratin, etc…..
“Fast cooking” Mode v
Position of thermostat knob “C”: Between 40°C and 250°C . The heating elements and the fan come on, guaranteeing constant heat distributed uniformly throughout the oven.
This mode is especially recommended for cooking prepacked food quickly (as pre-heating is not necessary), such as for example: frozen or pre-cooked food) as well as for a few “home-made” dishes.
The best results when cooking using the “Fast cooking” mode are obtained if you use one cooking rack only (the second from the bottom), please see the table entitled “Practical Cooking Advice”.
“Defrosting” Mode U
Position of thermostat knob “C”: any
The fan located on the bottom of the oven makes the air circulate at room temperature around the food. This is recommended for the defrosting of all types of food, but in particular for delicate types of food which do not require heat, such as for example: ice cream cakes, cream or custard desserts, fruit cakes. By using the fan, the defrosting time is approximately halved. In the case of meat, fish and bread, it is possible to accelerate the process using the “multi-cooking” mode and setting the temperature to 80° - 100°C.
The turnspit (only available on certain models) To start the turnspit, proceed as follows:
a)place the oven tray on the 1st rack;
b)insert the special turnspit support on the 3rd rack and position the spit by inserting it through the special hole into the turnspit at the back of the oven;
c)start the turnspit using knob “B” to select setting 2 / T.
15
 Loading...