


iMac (Slot Loading)
Memory (SDRAM DIMM)
Installation Instructions
Be sure to follow the instructions in this sheet carefully. Failure to follow
these instructions could result in damage to your equipment and may void
your warranty.
Installing memory in your computer requires four basic steps:
• Turn off the computer.
• Open the SDRAM DIMM access door.
• Install the new memory module in its slot.
• Close the access door.
Note:
A video version of the installation instructions is available at
http://www.info.apple.com/installparts
Tools Required
• Flat-blade screwdriver or coin.
Electrostatic Discharge (ESD)
Static electricity , a normal and natural phenomenon, builds up on y our body
as you walk around. You experience an electrostatic discharge (ESD) when
you touch an object and feel a spark. ESD can cause damage to the
internal components of your computer.
To avoid ESD damage, read and follow all instructions. If a grounding wrist
strap is included with your memory, refer to the instructions included for
how to ground and use the strap.
About Memory
The iMac (Slot Loading) computer uses standard PC-100 DIMMs with the
following specifications:
• PC-100 Synchronous DRAM (SDRAM)
• 64-bit wide,168-pin module
• maximum of 16 memory devices on the DIMM
• unbuffered; do not use registered or buffered Synchronous DRAM
(SDRAM)
• maximum height of 50 mm
There are two DIMM slots accessible from the bottom of the computer. Use
a coin, like a quarter, to release the access panel and install the DIMM or
DIMMs.
Installing the Memory
1 Turn your computer off by choosing Shut Down from the Special menu.
2 Unplug all cables, except the power cord, from your computer.
±
WARNING:
disconnect the telephone line from the internal modem port before you
open the access door. This prevents electric shock.
If your internal modem is connected to a telephone line,
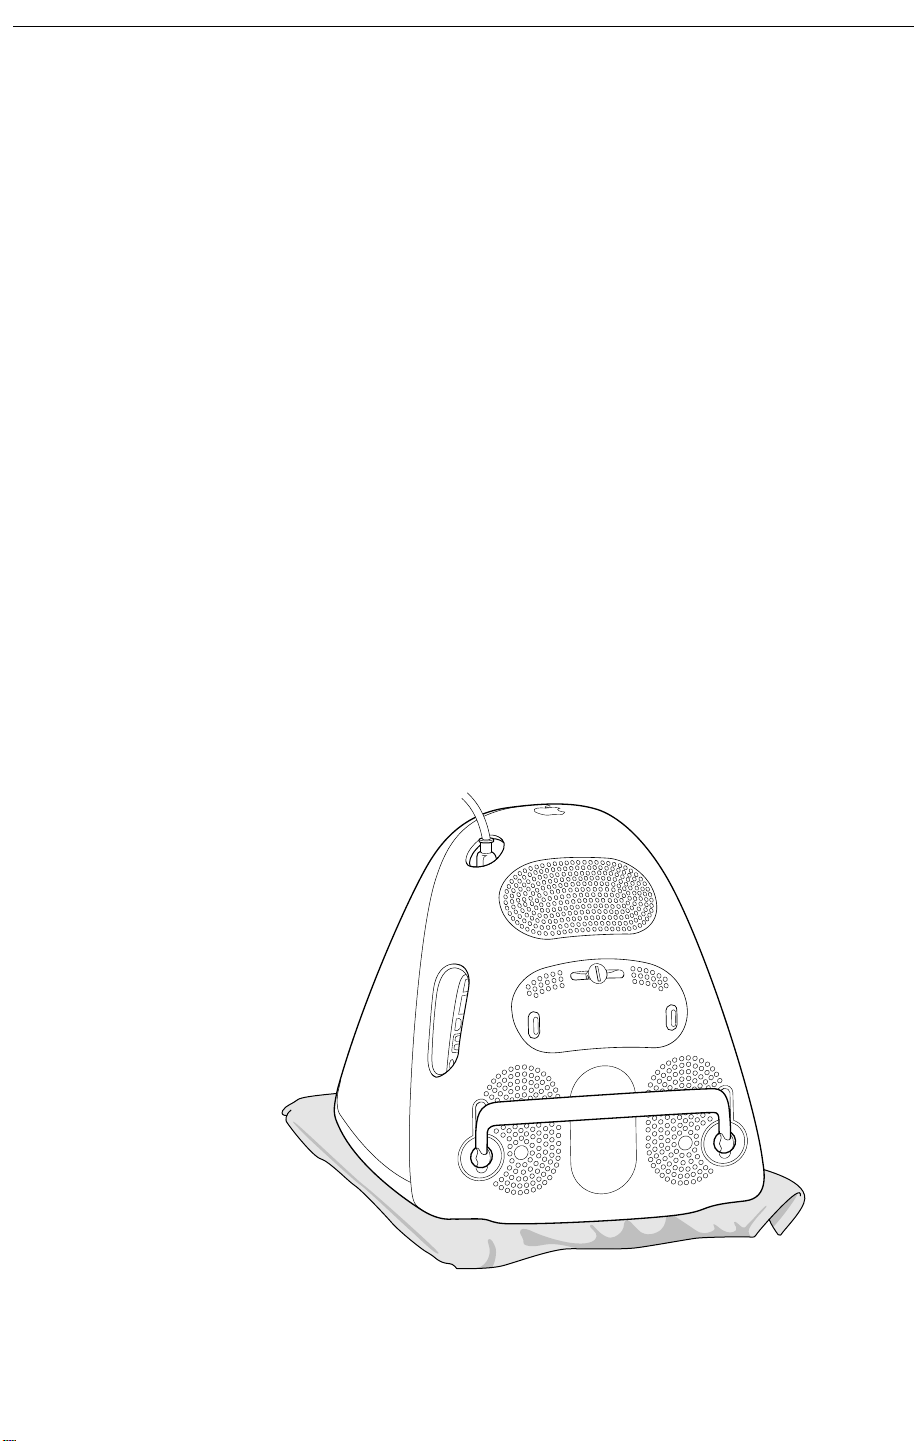
3 Turn the computer so the screen is facing down.
2
- iMac (Slot Loading)
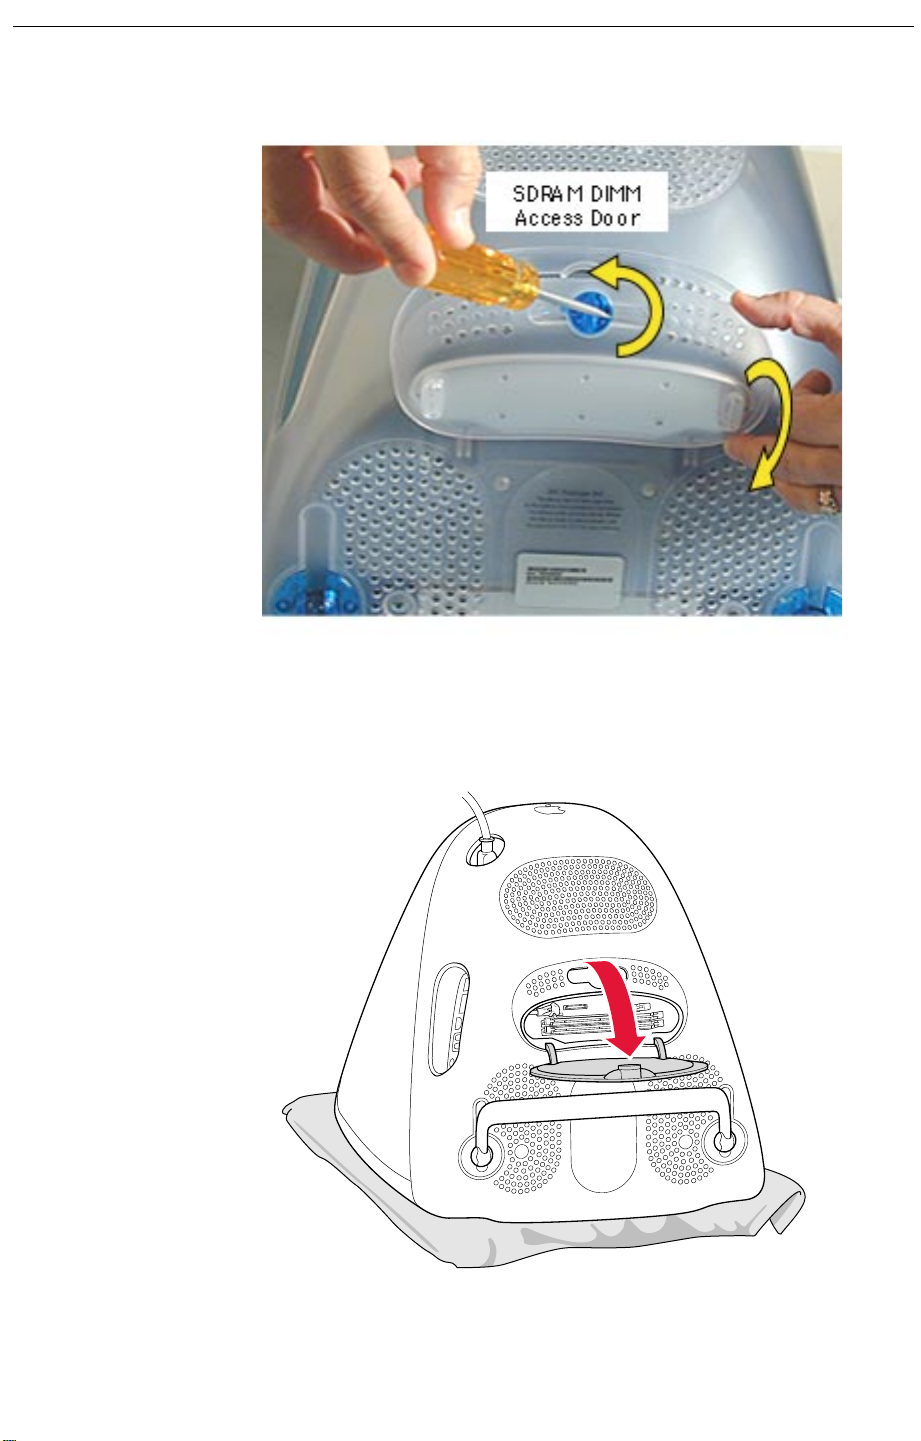
4 Use a coin or screwdriver to turn the latch on the access door.
5 Open the access door.
iMac (Slot Loading) -
3

6 Touch the metal shield that is visible inside the recessed latch area
before touching any components on the main logic board. This helps
protect the computer from damage caused by electostatic discharge.
Important:
touching the port access covers before you touch any parts or install any
components inside the computer. To avoid static electricity b uilding bac k up
in your body, do not walk around the room until you have completed your
installation and closed the computer.
7 Disconnect the power cord from the computer.
8 Remove the SDRAM DIMM from its static-proof bag, taking care not to
touch the gold connectors or chips.
Note:
open.
To avoid electrostatic discharge, always ground yourself by
Insert the memory module into one of the two slots, whichever is
4
- iMac (Slot Loading)

9 Push the ejector tabs on the slots outward and down so they are in the
open position. The module is designed to fit into the slot only one way.
10 Align the notches on the memory module with the small notches inside
the slot. Push down the DIMM until it snaps into place.
iMac (Slot Loading) -
5

11 Use a coin or screwdriver to close the latch on the access door.
12 Gently turn the computer right side up.
13 Reconnect the cables you disconnected from your computer.
14 Press the power button on the front of the computer to turn it on.
Repackaging the DIMM
If you are replacing memory as part of the Customer Installable Parts
program (rather than upgrading memory), repackage the SDRAM DIMM
you removed from the computer in the static-proof bag and box that you
received with the replacement SDRAM DIMM. Seal the box with the tape
included, and affix the return label.
6
- iMac (Slot Loading)

Apple Computer, Inc.
© 2000 Apple Computer, Inc. All rights reserved.
Under the copyright laws, this document may not be copied, in whole or in
part, without the written consent of Apple.
The Apple logo is a trademark of Apple Computer, Inc., registered in the
U.S. and other countries. Use of the “keyboard” Apple logo (Option-Shift-K)
for commercial purposes without the prior written consent of Apple may
constitute trademark infringement and unfair competition in violation of
federal and state laws.
Every effort has been made to ensure that the information in this document
is accurate. Apple is not responsible for printing or clerical errors.
Apple Computer, Inc.
1 Infinite Loop
Cupertino, CA 95014-2084
408-996-1010
http://www.apple.com
Apple, the Apple logo, Mac , Macintosh, and the Mac logo are trademarks of
Apple Computer, Inc., registered in the U.S. and other countries.
Power Mac is a trademark of Apple Computer, Inc.
iMac (Slot Loading) -
7
 Loading...