

Poly-Tex Enthusiast 6x4 Extension Kit User Manual
ASSEMBLY INSTRUCTIONS
ASSEMBLY INSTRUCTIONS
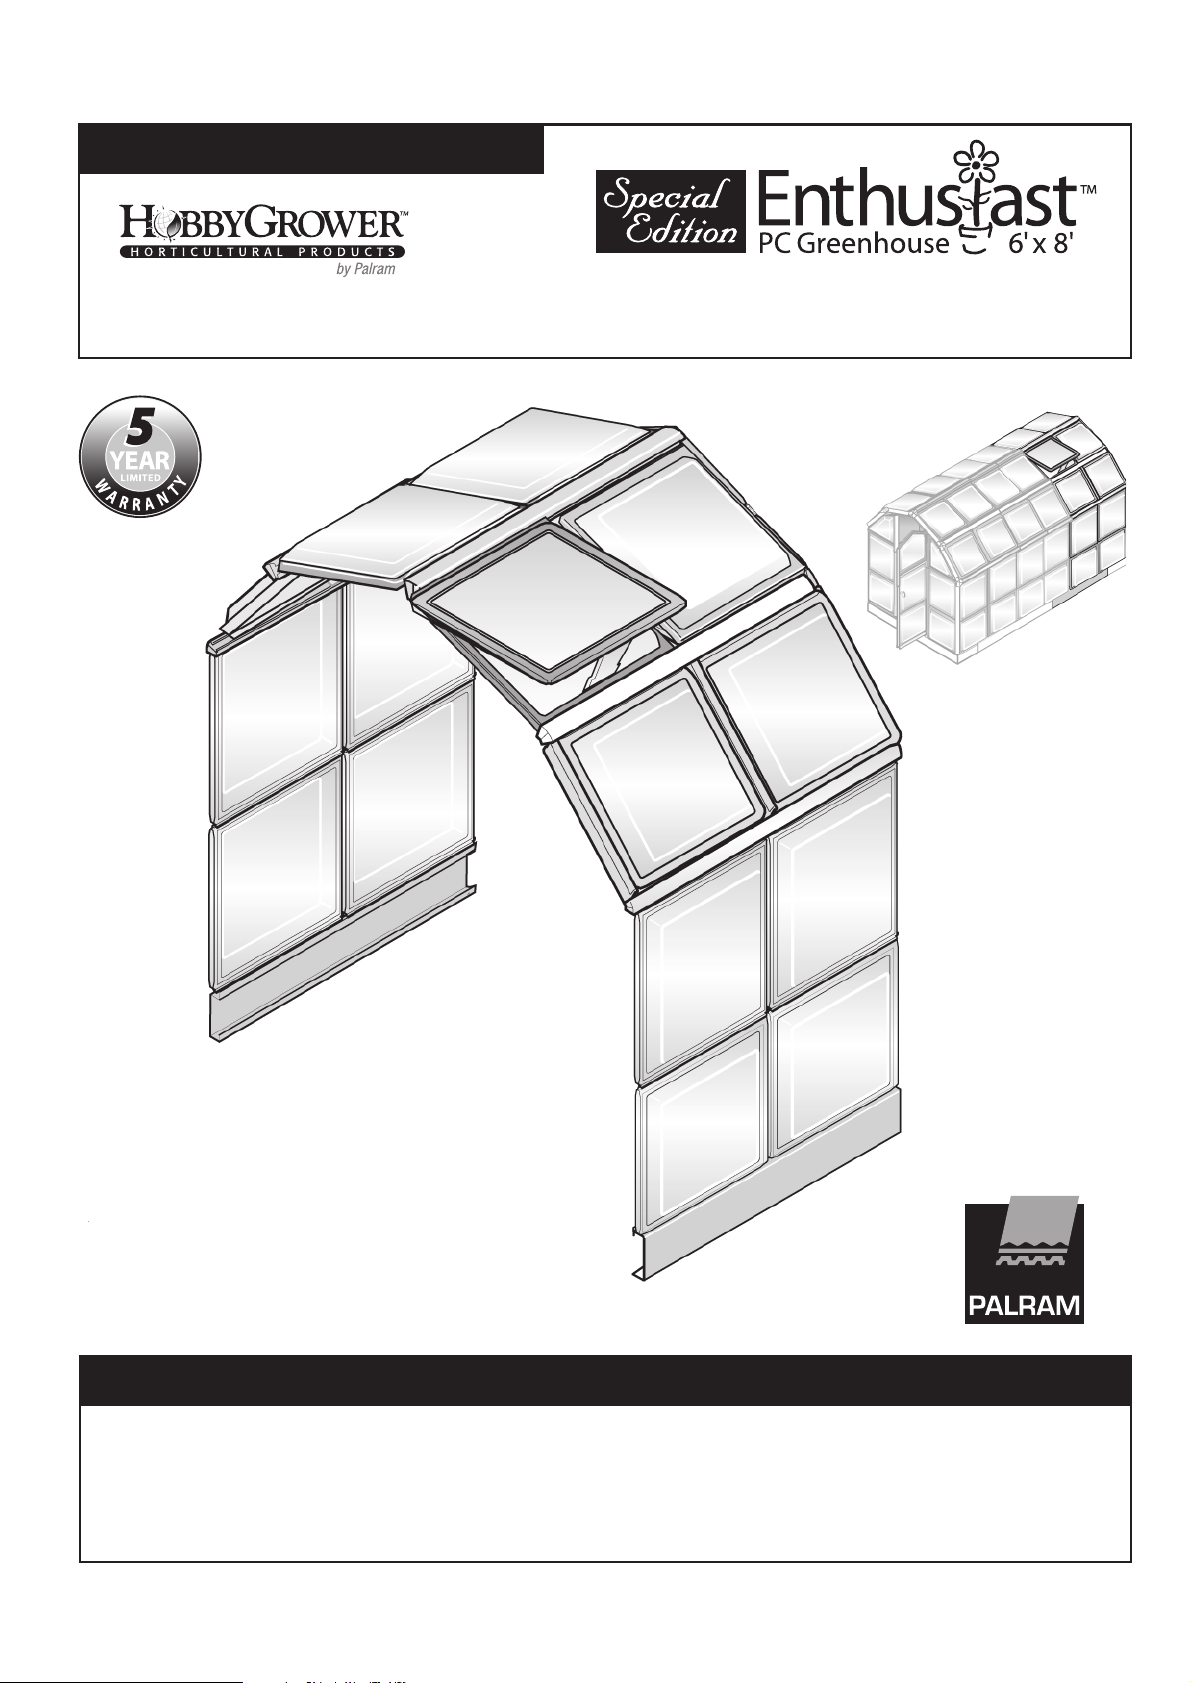
6'x4' Extension Kit
Ent Ext vSEP_21_05
Manufactured by:
Overall Dimensions (Approx.)
Including base
49" L x 76" W x 82.7" H
IMPORTANT!!!
Please read these instructions carefully before you start to assemble this greenhouse.
To save time and will ensure proper assembly, follow the step-by-step instructions carefully in order.
New or revised instructions may be available for download at hobbygrower.com, or if you would like
to view a breif general assembly video to gain a basic understanding of how the structure is constructed,
visit http://www.hobbygrower.com, then click on the Assembly tab.
SAFETY ADVICE
We strongly recommend the use of work gloves during assembly as aluminium profiles may have sharp edges.
Do not attempt to assemble the greenhouse in windy or wet conditions.
Take special care not to touch overhead power cables with the aluminium profiles.
Always wear shoes and safety goggles when working with extruded aluminium.
Dispose of all plastic bags safely - keep them out of reach of small children.
The greenhouse must be positioned and fixed on a flat level surface.
Do not lean against or push the greenhouse during construction.
Keep children away from the assembly area - the aluminium profiles may have sharp edges.
Do not position your greenhouse in an area exposed to excessive wind.
Do not attempt to assemble this greenhouse if you are tired, have taken drugs or alcohol or if you are prone to dizzy spells.
If using a step ladder ensure that you follow the manufacturers safety advice.
If using power tools always follow the manufacturers instructions.
Hot items such as recently used grills, blowtorches etc. must not be stored in the greenhouse.
Ensure there are no hidden pipes or cables in the ground before inserting the ground stakes.
GENERAL ADVICE
This is a multi-part assembly. Allow at least 180 minutes to assemble from start to finish.
Selecting a site - choose a sunny level position for your greenhouse away from overhanging trees.
It is advisable to use a lubricant to ease connection between aluminium profiles and panels.
The component parts should be checked and laid out in an orderly way, close at hand.
Keep all small parts (screws etc.) in a bowl so they do not get lost.
Note that the door is hinged on the right hand side and therefore opens to the right.
You can opt to use the base brackets supplied to anchor your greenhouse to a concrete floor or you can use the base
supplied.
We strongly advise you to keep the special white protective covers on the side panels and first line of roof panels until the
greenhouse is fully assembled. You should however remove the white protective covers from the very top roof panels,
as it will be very difficult to remove them afterwards.
Keep roof clear of snow and leaves.
CARE & MAINTENANCE
TOOLS & EQUIPMENT REQUIRED
When your greenhouse needs a clean, use a mild detergent solution and rinse with cold clean water.
DO NOT use acetone, abrasive cleaners or other special detergents to clean the clear panels.
When opening the greenhouse door do not pull the handle fiercely.
TOOLS & EQUIPMENT REQUIRED
Silicone Sealant & Applicator
Tape measure
Work gloves
Plastic or rubber mallet
Lubricant
Crosshead screwdriver
Bradawl
Drill
2mm metal drill bit
Wrench 10 mm
If help is required seek professional advice within store.
Scissors
Step ladder
Spirit level
Large hammer
See over for contents
1
 Loading...