


AC1888
Whirlpool AC1888, AE0789, AE0989, AE1289, AE1889 Owner's Instructions Manual
...
AC0788
AC0988
AC1288
AC1888
AE0789
AE0989
AE1289
AE1889
AC0788
AC0988
AC1288
AC1888
AE0789
AE0989
AE1289
AE1889
N
N
N
N
N
N
N
N
Thank you for choosing Whirlpool air conditioner. Our design is based on the best efficiency and the lowest noise operation and it can
keep the room comfortable. Please read this operating manual carefully before operating the unit and keep it for consultation.
CONTENTS
Function
Operating condition
Installation
and Installation
Notes for installation
Structure mechanism
Part identification
Air direction adjustment
Air conditioner opperation
Remote control operation procedure
Operation procedureCare and maintenance
Operation tips
Caution
1
2
3
5
6
6
7
10
13
14
Care and maintenance
Trouble shooting guide
After service
15
16
17
Function and working temperature range.
1
Introduction
Window type room air conditioners of Whirlpool can regulate the room temperature,dry
the room. It is convenient for your work,study and life. It can be widely used in residence,
shop, hotel, office, library and laboratory, and so on.
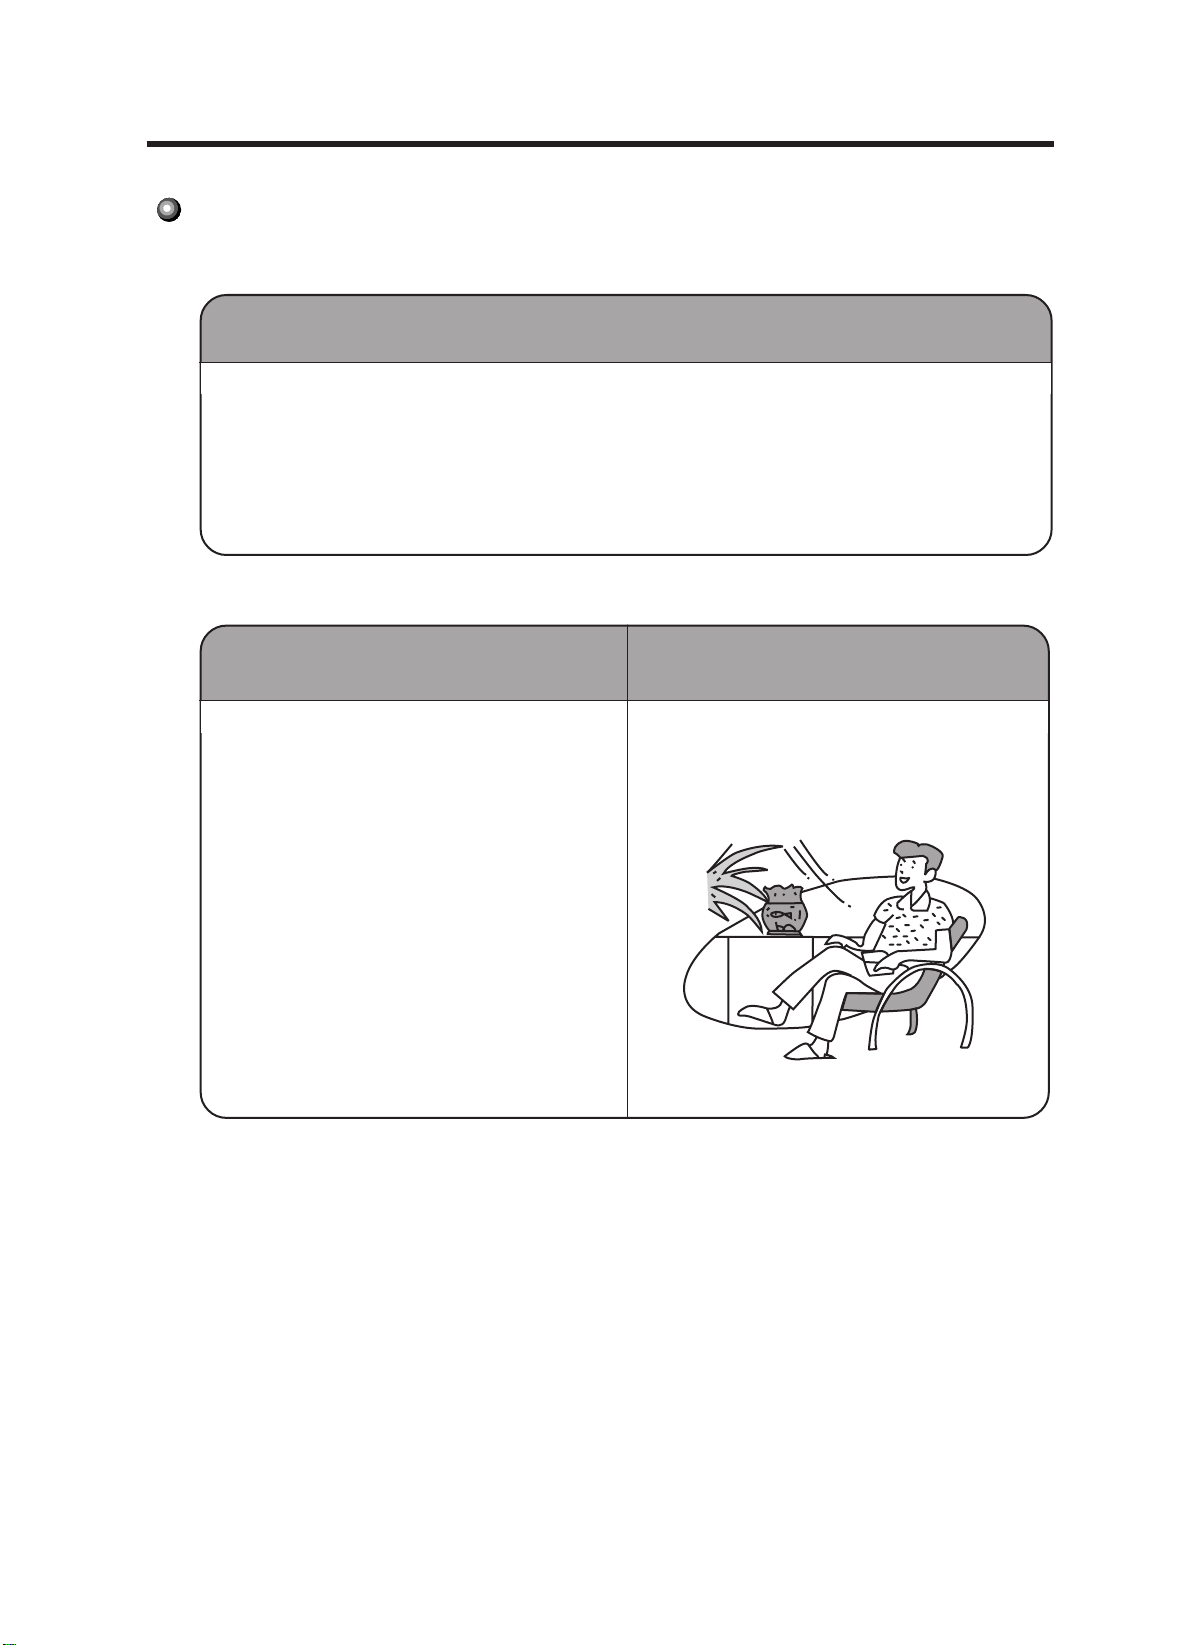
Cooling in summer
In hot summer, Air conditioner can cool down
room air by transferring heat out.
Dehumidifying in rainy or
humid season
Without reducing room temp, air conditioner
can dehumidify and make room air dry and
comfortable.
Operating Condition
2
Please operate air conditioner in the correct conditions as following.
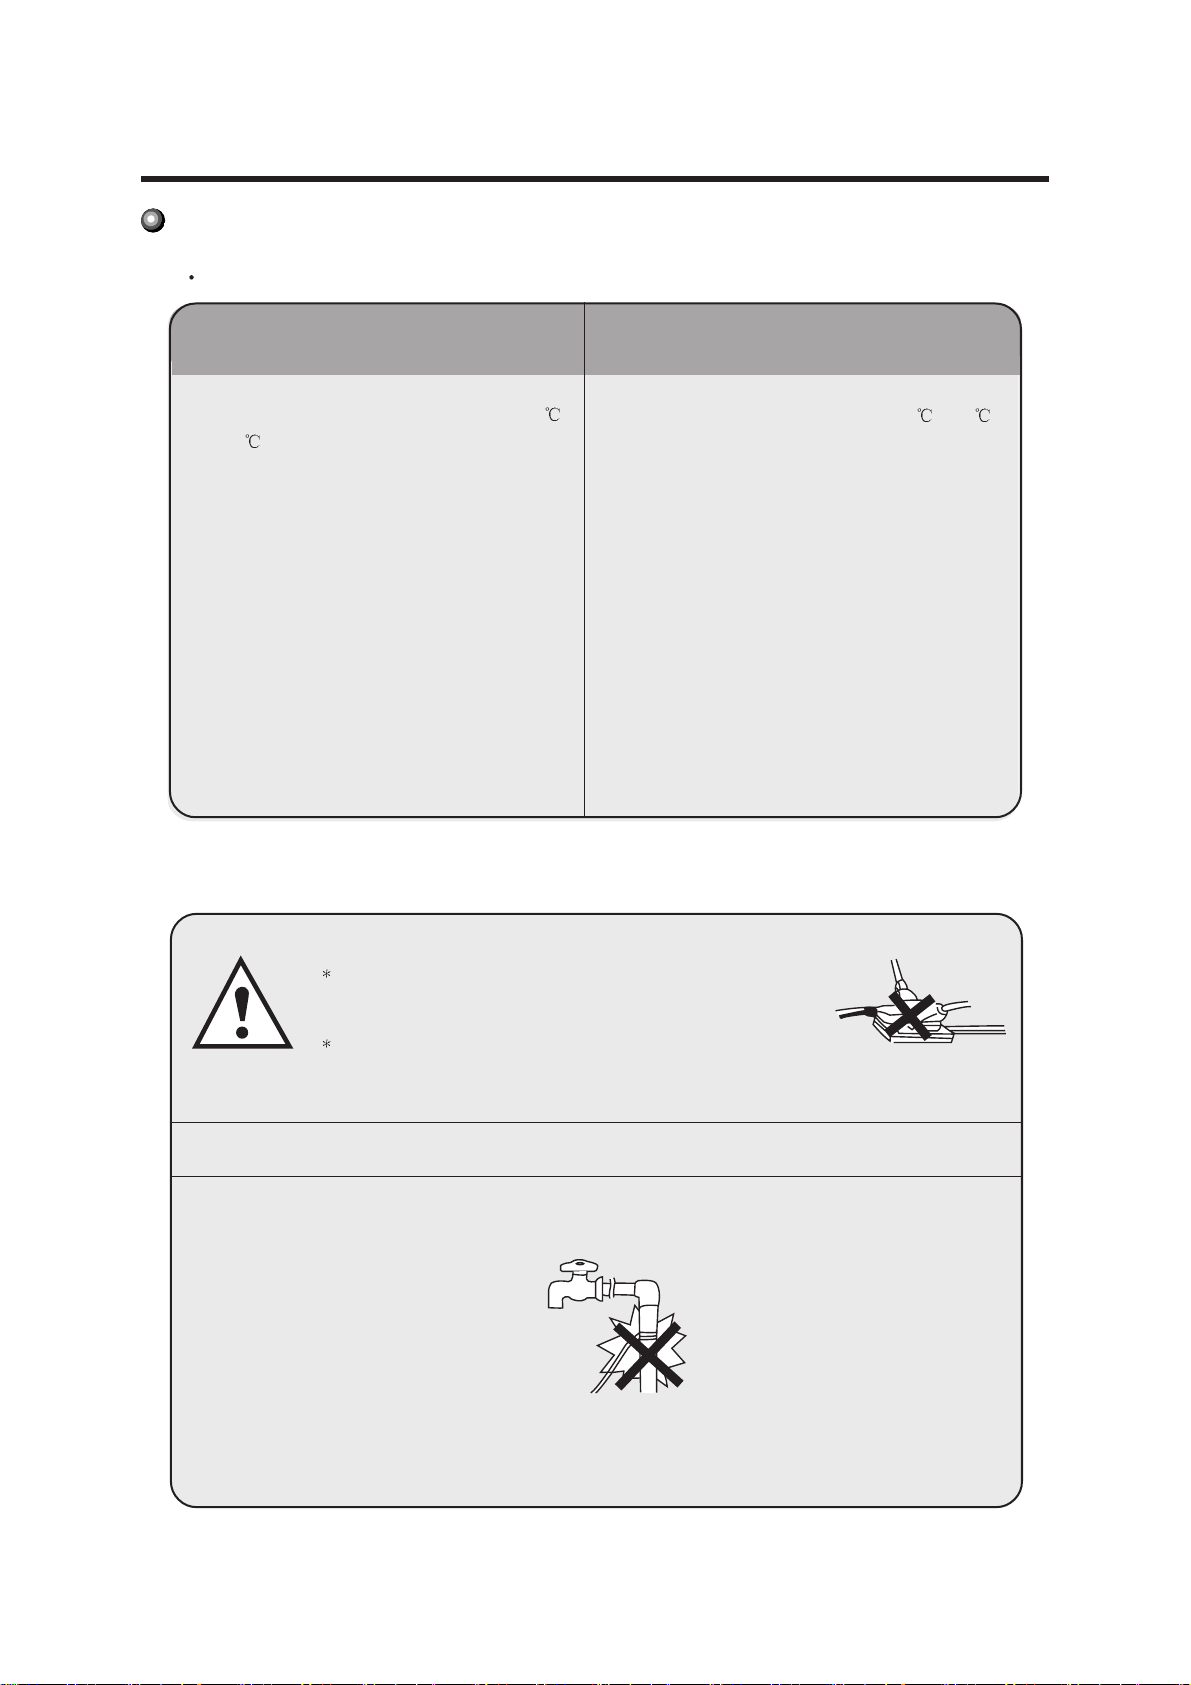
COOL mode operation
Outdoor temperature should be in range of 21
to 52 , otherwise it is possible for air conditioner
to breakdown.
Room humidity should be lower than 90% .
Otherwise, it is possible for air conditioner to dew
at air conditioner surface and even drop water after
running for so much time. But this maybe normal.
Power requirement
DRY mode operation
Outdoor temperature should be in range of 21
otherwise it is possible for air conditioner to breakdown.
to 52 ,
The ground must be connected.
Special socket must be used. Furthermore, the socket and wiring
must conform to the wiring regulations. And the earthing method
must be reliable.
In fixed circuit, there must be electricity leakage protection switch
of enough power capacity and air switch with enough space.
Earth wire To ensure the reliable earthing, please do not connect earth wire to the following places:
Water pipe
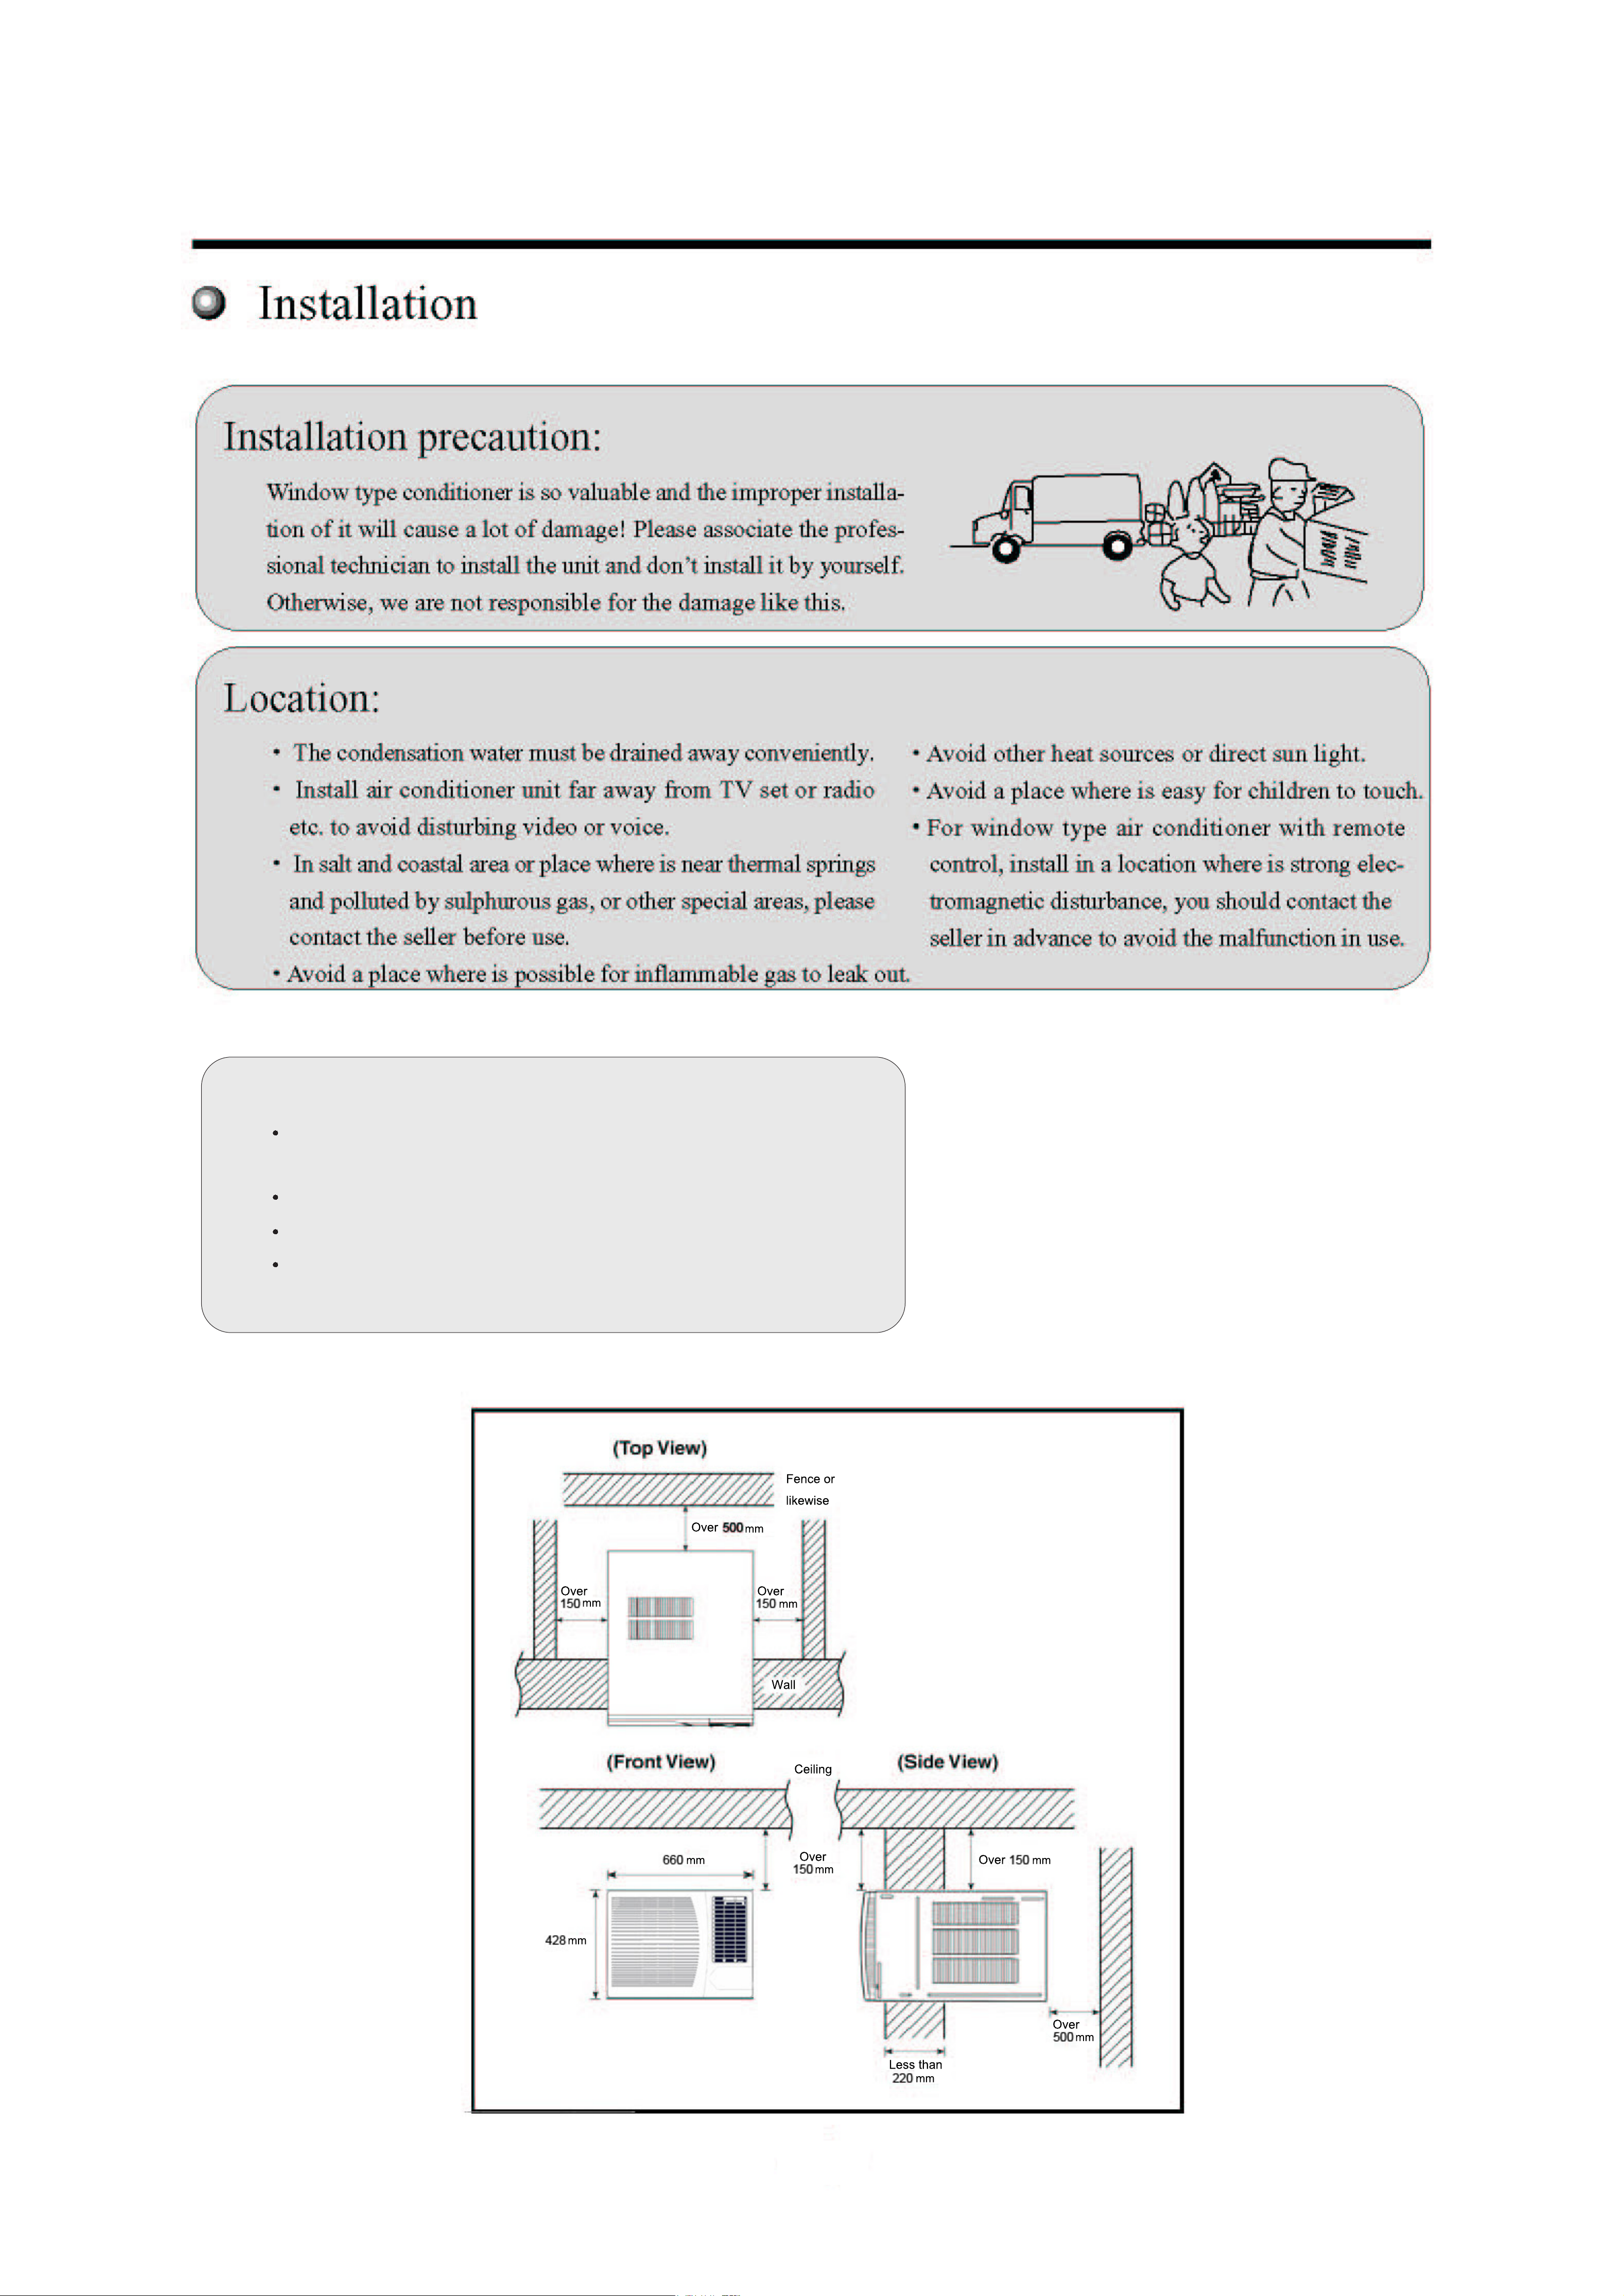
How to install:
Choose a location where there are no any obstacle surrounding
the unit.
Prepare the installation hole slightly bigger than unit size.
Choose the installation space according to the following diagram.
The distance of obstructions from window unit inside should be
upper 300mm, lower 1500mm, left 500mm, right 500mm,
front1500mm.
3
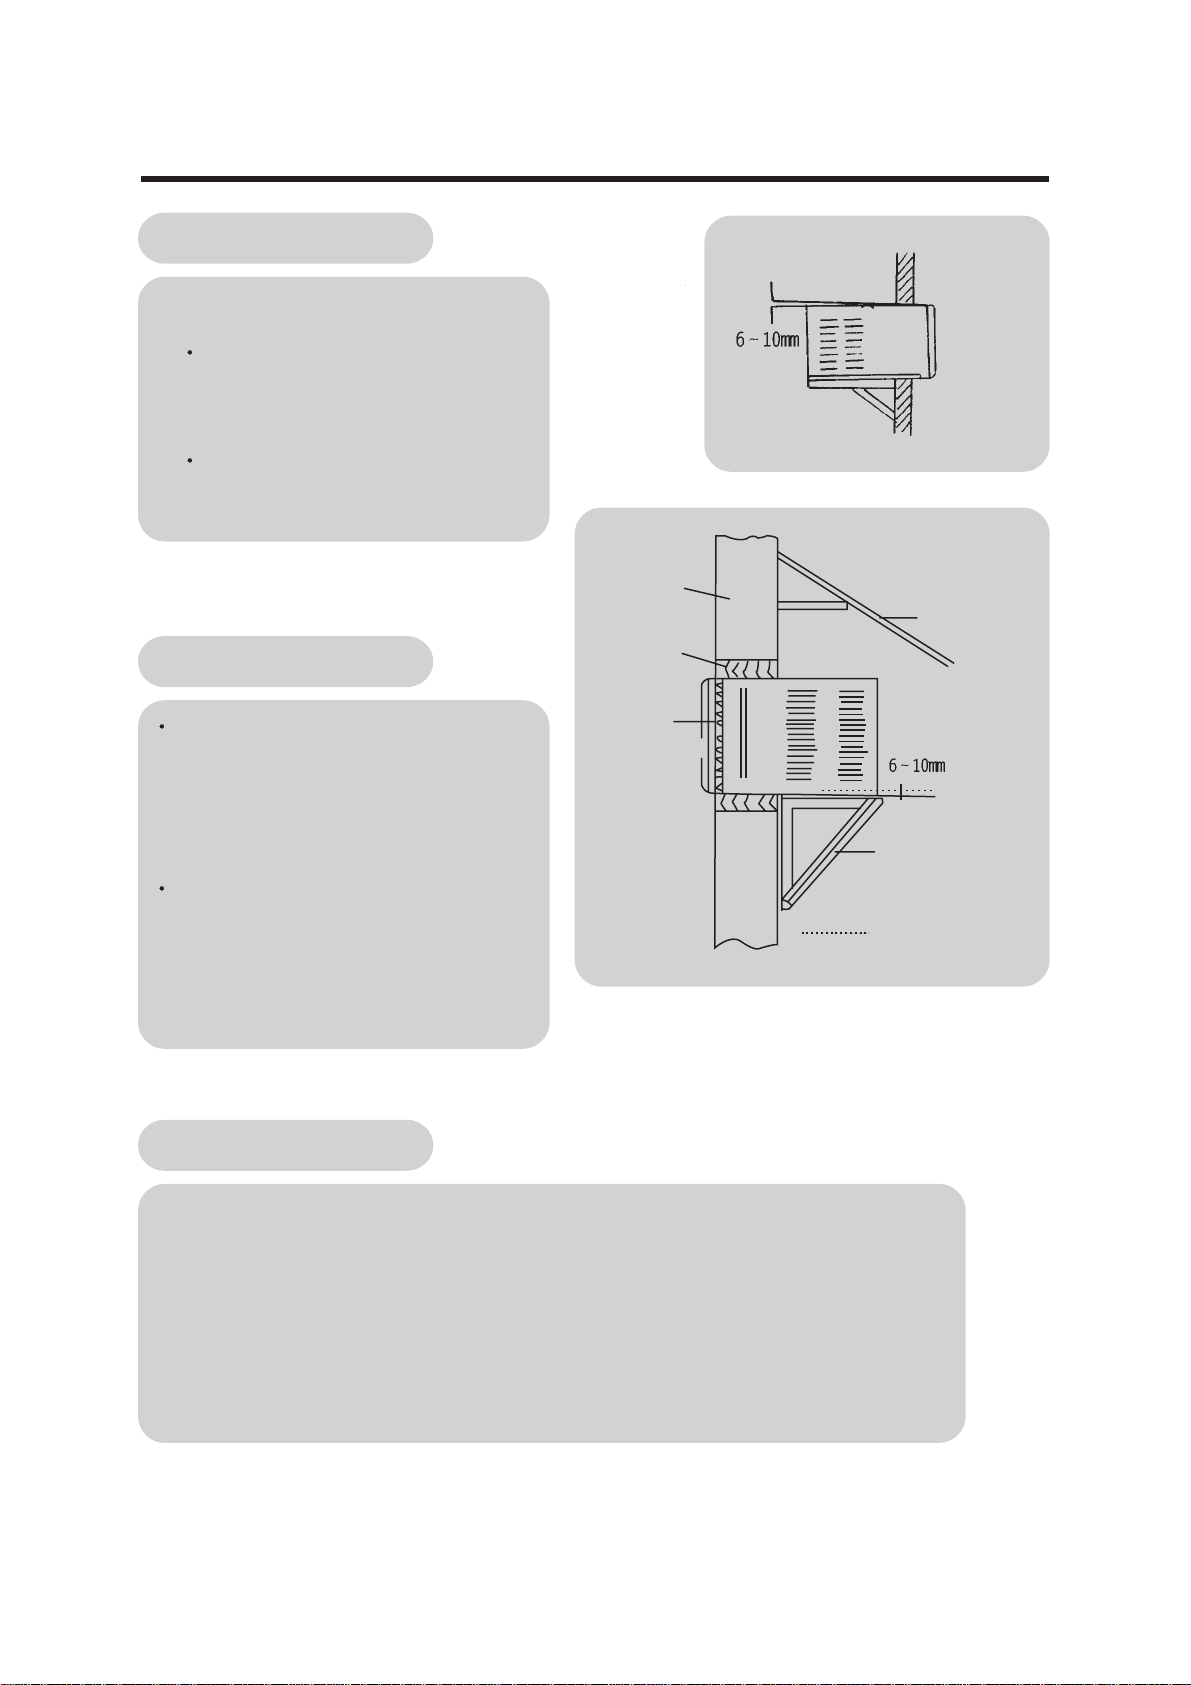
Installation procedure:
4
1) Remove the sticker from the front panel.
2) Put the unit into the installation hole.
When installing the unit, it should be slanted
down to the back to avoid the enlargement of
noise or vibration. (Slant between 6-10mm.)
(Shown at right figure.)
The installation place should be strong enough
to avoid the enlargement of noise or vibration.
3) Fill up sews in the cabinet with sponge or foam.
Installation assistance:
Horizontal line
Wall
Sunshade board
Wooden frame
Use iron support
The installation hole should be strong enough to
support the air conditioner. If it cannot, iron support has to be used outdoors.
Iron support should be fixed on the building (Shown
at right figure.)
Use sunshade board
Air conditioner should avoid anything to be dropped
into it and avoid direct sunshine. If there is no cover
on it, you should contact the seller for installing
the sunshade board. When installing the sunshade
board, don’t let it block the air inlet at the side grille.
Rubber plate
Support
Horizontal line
Drain water:
To get the maximum cooling efficiency, the air conditioner is designed to splash the condensation water on the
condenser coil.
If the splashing sound annoys you, you can provide an outside drain by using the following procedure, which
may however cause a small loss of performance.
1. Slide out the chassis from the cabinet.
2. Remove the rubber plug from the body base plate.
3. Install the drain pan to the corner of the cabinet with 2 screws.
4. Connect the drain hose to the outlet on the drain pan bottom.
5. Slide the chassis into its original place in the cabinet.
 Loading...