Whirlpool 4392067 Instruction Sheet

INSTRUCTION SHEET
4392067 Dryer Repair Kits
for Use on 27" Dryers Including 27" Over/Under
wWARNING
Electrical Shock Hazard
Disconnect power before servicing.
Replace all panels before operating.
Failure to do so can result in death or electrical shock.
This kit is for dryers with lint screen located inside the dryer.
3.Remove three (3) screws located at the back of the dryer top. See Figure 2.
Lint
screen Remove screws
Figure 2
27" Dryer Instructions
In order to service the parts contained in this kit, the top and front panel must be removed.
To remove top
1.Disconnect power or unplug dryer.
2.Remove the screw from each end cap that holds the console to the top. Some models will have end cap trim pieces that will have to be removed first. Flip console out of the way. See Figure 1.
Lift tabs up and out of slots
Figure 1
4.Slide top forward to release from front clips and rear tabs. See Figure 3.
Slide forward to release tabs
Figure 3
(continued)
© Whirlpool Corporation 2000 |
Instruction Sheet 279944 6/00 |
(All Rights Reserved) |
1 |

Front panel removal
1.Remove toe panel by locating the two (2) toe panel release clips located approximately 4" in from each side. Use a bladed screwdriver to release clips.
See Figure 4.
Figure 4
2.Remove left and right door springs.
3.Remove lint screen.
4.Remove sensor wire at bottom of front panel, if applicable. Disconnect the door switch wires.
5.Remove two (2) screws attaching the lint duct to the dryer, remove lint duct.
6.Remove two (2) screws at the bottom and the two (2) screws at the top of the front panel. Lift up and remove the front panel. See Figure 5.
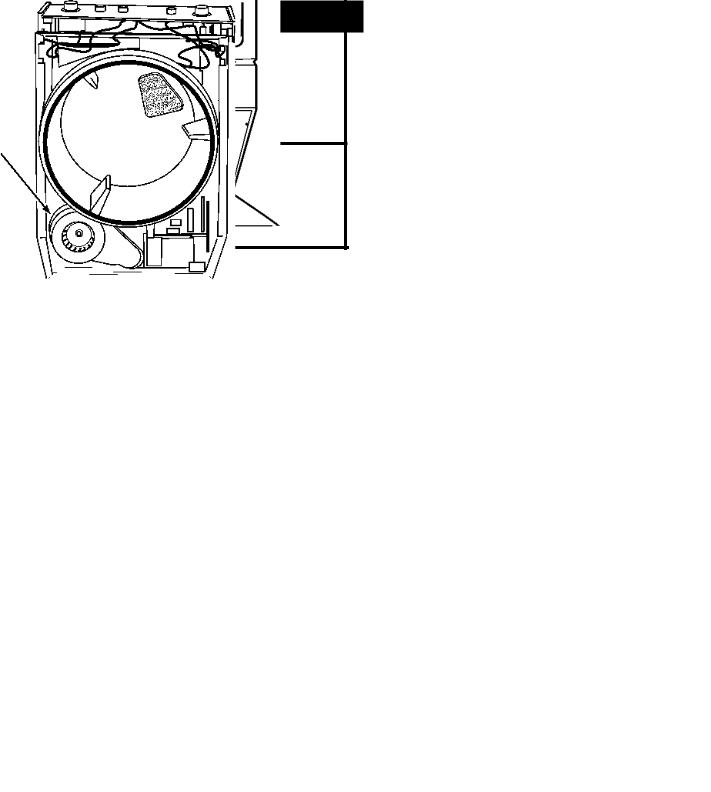
Blower housing
Figure 5
Drum Removal
1.If belt is not broken, remove belt from metal motor pulley.
NOTE: Drum must be supported when removing belt.
2.Remove the drum from the dryer.
3.Vacuum accumulated lint inside the dryer, taking care not damage or disconnect any wiring from electrical parts.
Installation procedures using parts in this kit
1.Remove triangular rings from roller shaft by using a screwdriver to pry the rings off the shaft. Remove rollers and the remaining triangular rings.
2.Remove triangular ring from the idler pulley shaft and remove pulley.
3.Install new rings and rollers.
4.Install new pulley and ring. New triangular rings are provided in kit.
Reassembling the dryer
1.Place the new belt around the drum with the grooves facing the drum.
wWARNING
Fire Hazard
Never operate dryer without rear drum seal in place.
Align rear drum seal as shown below.
Failure to follow these instructions can result in death or fire.
2.Install the drum; make sure it is resting on the support rollers and that the rear seal is flared on the bulkhead.
3.Pass the free loop of the belt under the idler pulley. The belt is then looped over the motor pulley.
4.Reassemble the front panel to the cabinet. Ensure the front seal is flared on the backside of the front panel. Make sure door switch wiring is connected to the door switch on front panel. Reconnect sensor wire. Check the wiring and make sure it is free from the revolving drum. Reinstall the four (4) screws that attach the front panel to the cabinet.
5.Reassemble the dryer.
6.Reconnect power or plug in dryer.
(continued)
279944 |
2 |

27" Over/Under Instructions
wWARNING
Electrical Shock Hazard
Disconnect power before servicing.
Replace all panels before operating.
Failure to do so can result in death or electrical shock.
In order to service the parts contained in this kit, the front panel must be removed.
Front panel removal
1.Disconnect power or unplug dryer.
2.Remove lower transition panel by removing three (3) screws. See Figure 6.
Remove
screws
Figure 6
3.Remove lower panel by locating the two (2) release clips located approximately 4" in from each side. Use putty knife to release the clips. See Figure 7.
4.Remove the lint screen.
Clips
Figure 7
5.Remove the air duct assembly by removing two (2) screws.
6.Remove three (3) screws on the top front of the dryer.
7.Remove the control panel and lay on top of dryer.
8.Disconnect the wires from the door switch.
9.Remove the front panel by removing four (4) screws.
Drum removal
1. Remove blower wheel access cover. See Figure 8.
Blower wheel access cover
Figure 8
(continued)
3 |
279944 |
 Loading...