


KWT 1603 Vi
Operating and Installation Instructions
Wine Storage Unit
To prevent accidents and appliance damage read these instructions
before installation or use.
M.-Nr. 09 920 680en - US, CA

Contents
IMPORTANT SAFETY INSTRUCTIONS.................................4
Guide to the wine storage unit .......................................7
Before use .......................................................9
Before using for the first time..........................................9
Turning the appliance On/Off .........................................9
Settings.........................................................10
Using the settings .................................................10
Custom settings ...................................................11
Turning the button sound On/Off ......................................12
Turning off for longer periods of time ..................................13
Alarm...........................................................14
Temperature alarm ................................................14
Door alarm .......................................................14
Optimum temperature and air quality ................................15
Setting the temperature .............................................15
Humidity.........................................................19
Storing wine .....................................................21
Wooden racks ....................................................21
Bottle display rack .................................................22
Maximum capacity.................................................22
Display lighting ...................................................23
Defrosting .......................................................24
Cleaning and care ................................................25
Cleaning the interior................................................26
Ventilation slits ....................................................26
Door seals .......................................................26
Active charcoal filters ..............................................26
Changing the light bulbs ............................................27
Frequently asked questions ........................................28
Causes of noises .................................................30
After sales service ................................................31
Caring for the environment.........................................34
2

Contents
Installation ......................................................35
Climate Range ....................................................35
Installation site ....................................................36
Base............................................................36
Furniture/fixtures ..................................................36
Custom door panels ...............................................37
Installation options .................................................38
Adjusting the door opening angle (optional accessory) ....................39
Dimensions......................................................40
Installation ......................................................44
Before you begin ..................................................44
RemoteVision module installation .....................................46
Home Security System (HSS) ........................................48
Preparing the installation niche .......................................49
Sliding the appliance into the installation niche ..........................52
Aligning the appliance..............................................53
Attaching the appliance to the installation niche..........................54
Preparing the custom door ..........................................56
Attaching and aligning the custom door front ............................58
Electrical connection..............................................63
RemoteVision (optional accessory) ..................................64
Accessing the RemoteVision control panel ..............................65
Contact details ..................................................67
3
IMPORTANT SAFETY INSTRUCTIONS
When using the appliance, follow
basic safety precautions, including
the following:
Read all instructions before
installation and use to prevent
accidents and machine damage.
This appliance is intended for
residential use only. Use only as
described in this Operating manual.
Only use the appliance for its
intended purpose.
This appliance complies with current
safety requirements. Improper use
of the appliance can lead to
personal injury and material
damage.
Keep these operating instructions in
a safe place and pass them on to
any future user.
Warning: At an altitude of more than
8200 ft (2500 m) the glass door can
break. Danger of injuries.
Electrical safety
Before installation, make sure that
~
the voltage and frequency listed on the
data plate correspond with the
household electrical supply. This data
must correspond to prevent injury and
machine damage. Consult a qualified
electrician if in doubt.
Before installation or service,
~
disconnect the power supply to the
work area by unplugging the unit,
"tripping" the circuit breaker or
removing the fuse.
Do not use an extension cord to
~
connect this appliance to electricity.
Extension cords do not guarantee the
required safety of the appliance
(e.g., danger of overheating).
Be certain your appliance is
~
properly installed and grounded by a
qualified technician. To guarantee the
electrical safety of this appliance
continuity must exist between the
appliance and an effective grounding
system. It is imperative that this basic
safety requirement be met. If there is
any doubt, have the electrical system of
the house checked by a qualified
electrician.
Only connect power to the
~
appliance when all installation work is
complete.
4

IMPORTANT SAFETY INSTRUCTIONS
Installation
This appliance is top-heavy and
must be secured to prevent the
possibility of tipping forward.
Keep the door closed until the
appliance is completely installed
and secured per installation
instructions.
This appliance must be installed
~
and connected in compliance with the
installation instructions.
Installation and repair work should
~
be performed by a Miele authorized
service technician. Work by unqualified
persons could be dangerous and may
void the warranty.
Do not operate any appliance with a
~
damaged cord or plug, or if the
appliance has been damaged in any
manner. Contact Miele’s Technical Service Department.
This appliance must not be used in
~
a non-stationary location (e.g. on a
ship).
Do not install the appliance in a
~
room with too low an ambient
temperature, e.g., a garage, as this
may lead to the appliance switching off
for longer periods so that it cannot
maintain the required temperature.
Use
This appliance is not designed for
~
commercial use. It is intended for use in
domestic households and in similar
working and residential environments
such as:
– shops, offices and similar work
environments
– by customers in hotels, motels, Bed
& Breakfasts or similar residential
environments.
This appliance is not intended for
~
outdoor use.
Persons who lack physical, sensory
~
or mental abilities, or experience with
the machine should not use it without
supervision or instruction by a
responsible person.
To reduce the risk of injury, do not
~
allow children to play in, on or near the
appliance, especially in the door hinge
area.
Do not store or use gasoline or other
~
flammable vapors and liquids in the
vicinity of this or any other appliance.
Do not use any oils or grease on the
~
door seal, as these will cause the seal
to deteriorate and become porous with
time.
Do not block the ventilation gaps in
~
the plinth or the top of the appliance
housing unit as this would impair the
efficiency of the appliance, increase the
electricity consumption and could
cause damage to the appliance.
5

IMPORTANT SAFETY INSTRUCTIONS
Never use a steam cleaner to clean
~
the appliance. Pressurized steam could
damage electrical components and
cause a short circuit.
Do not use any electrical equipment
~
inside the appliance. Danger of injury.
The following applies to
stainless steel appliances:
Do not use sticky notes, transparent
~
adhesive tape, masking tape or other
types of adhesive on the coated
surface of the appliance door. These
will damage the surface, causing it to
lose its soil resistant protective coating.
The high-quality surface coating of
~
the appliance door is susceptible to
scratches. Even a magnet can cause
damage.
Disposal of your old appliance
Before disposing of an old
~
appliance, first make the door latch or
lock unusable.
Your old refrigerator may have a
~
cooling system that used CFCs
(chlorofluorocarbons). CFCs are believed
to harm stratospheric ozone.
If you intentionally release this CFC
refrigerant, you can be subject to fines
and imprisonment under provisions of
environmental legislation. Make sure the
CFC refrigerant is removed and disposed
of by a qualified technician.
SAVE THESE
INSTRUCTIONS
Take off the door.
~
Leave the shelves in place so that
~
children may not easily climb inside.
Consult with your municipal policy
~
on recycling.
Be careful not to damage any part of
~
the pipework while awaiting disposal
by:
- puncturing the refrigerant
channels in the evaporator.
- bending any pipework.
- scratching the surface coating.
Splashes of refrigerant can damage the
eyes.
6
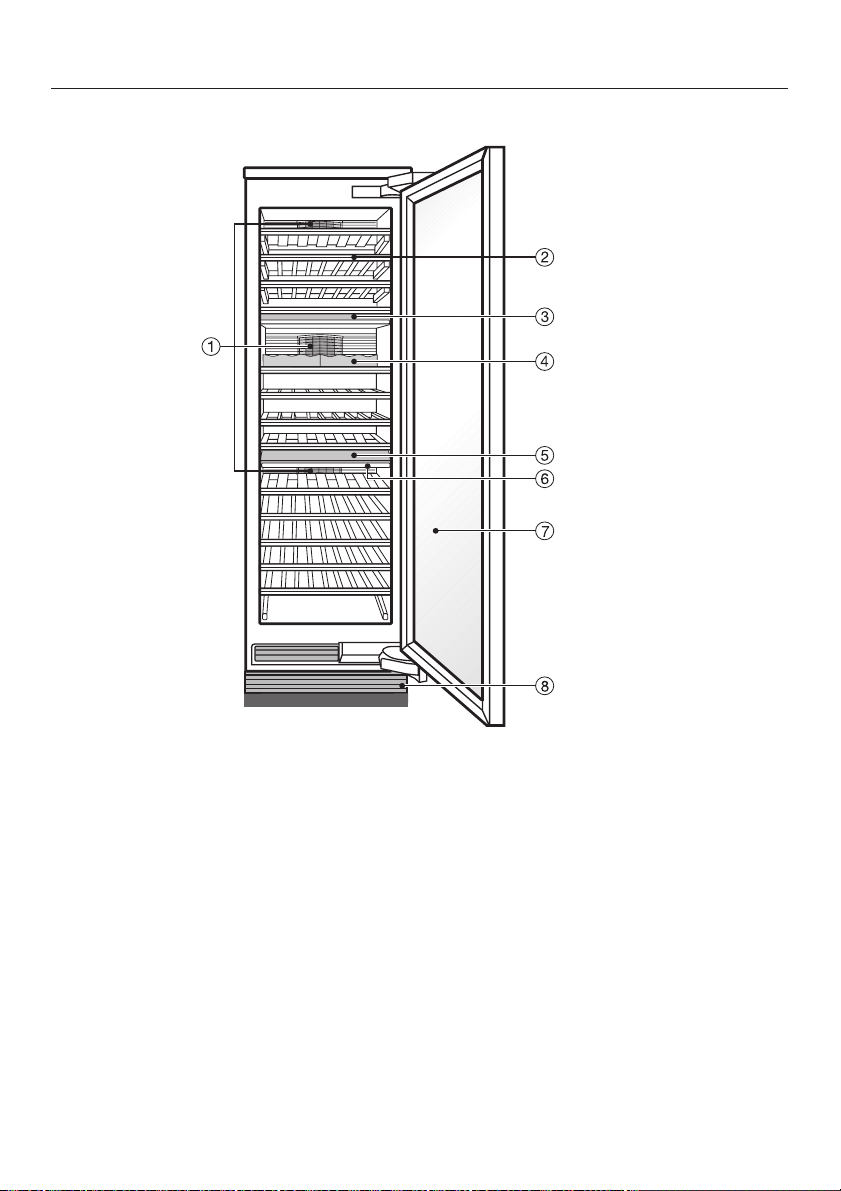
Guide to the wine storage unit
a Circulation fans / Active charcoal filter
b Wooden racks
c Insulation panel to separate the upper and middle temperature zones
d Bottle display rack
e Control panel / Insulation panel to separate the middle and lower temperature
zones
f Main switch to turn the appliance On/Off
g Glass door with UV filter
h Connection (behind the ventilation gap) for the Home Security System (HSS)
7
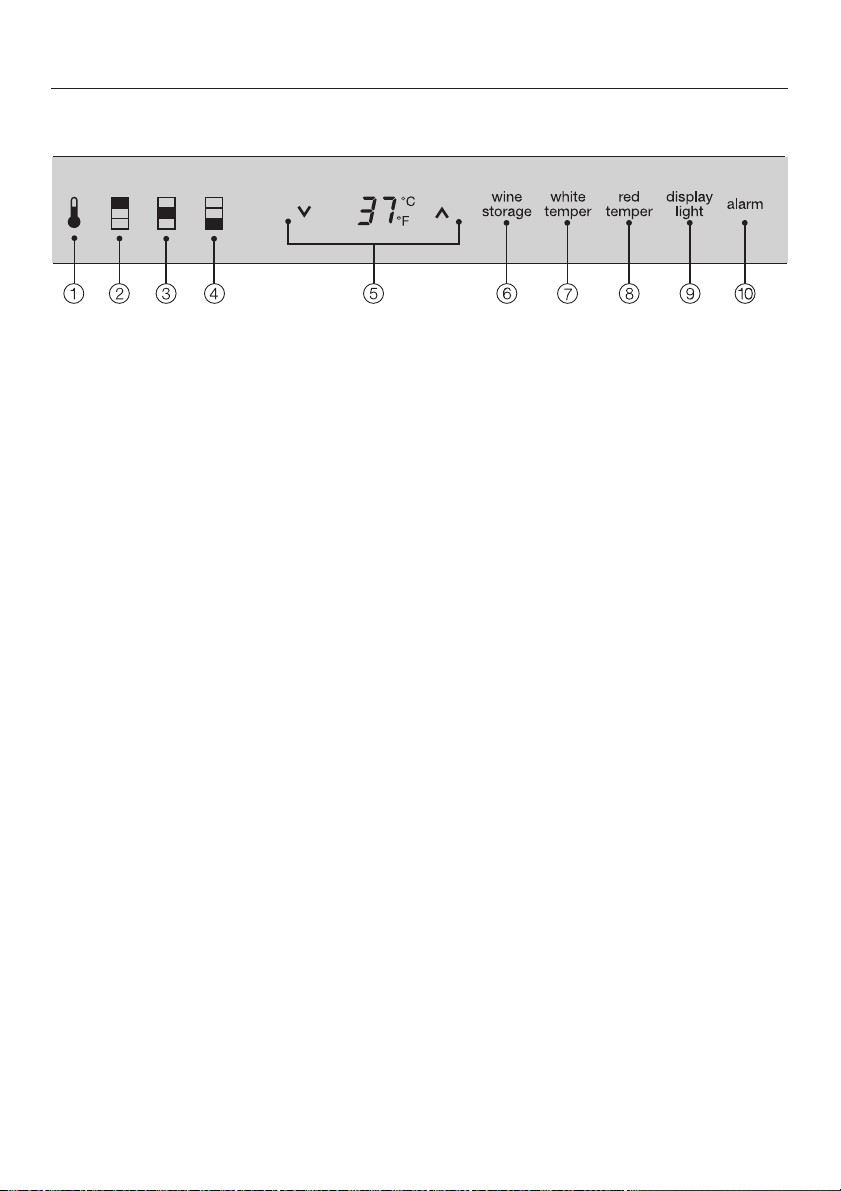
Guide to the wine storage unit
Control panel
a Access button
b Upper temperature zone
c Middle temperature zone
d Lower temperature zone
e Temperature display:
Allows you to set the temperature
(X colder; Y warmer)
and
set the duration of the display
lighting
(X shorter; Y longer)
f Long-term wine storage
g Short-term storage of white wine at a
moderate temperature
h Short-term storage of red wine at a
moderate temperature
i On/Off sensor button for the display
lighting
j Off sensor button for the temperature
and/or door alarm*
* only visibly when the relevant function
is activated
8
Before use
Before using for the first time
^ Clean the inside of the appliance and
the accessories with a mild solution
of warm water and liquid dish soap.
Dry with a soft cloth.
If the appliance was transported or
laid horizontally for any reason,
allow it to stand vertical for at least 8
hours before turning it on. Failure to
do so will affect the functioning of
the appliance.
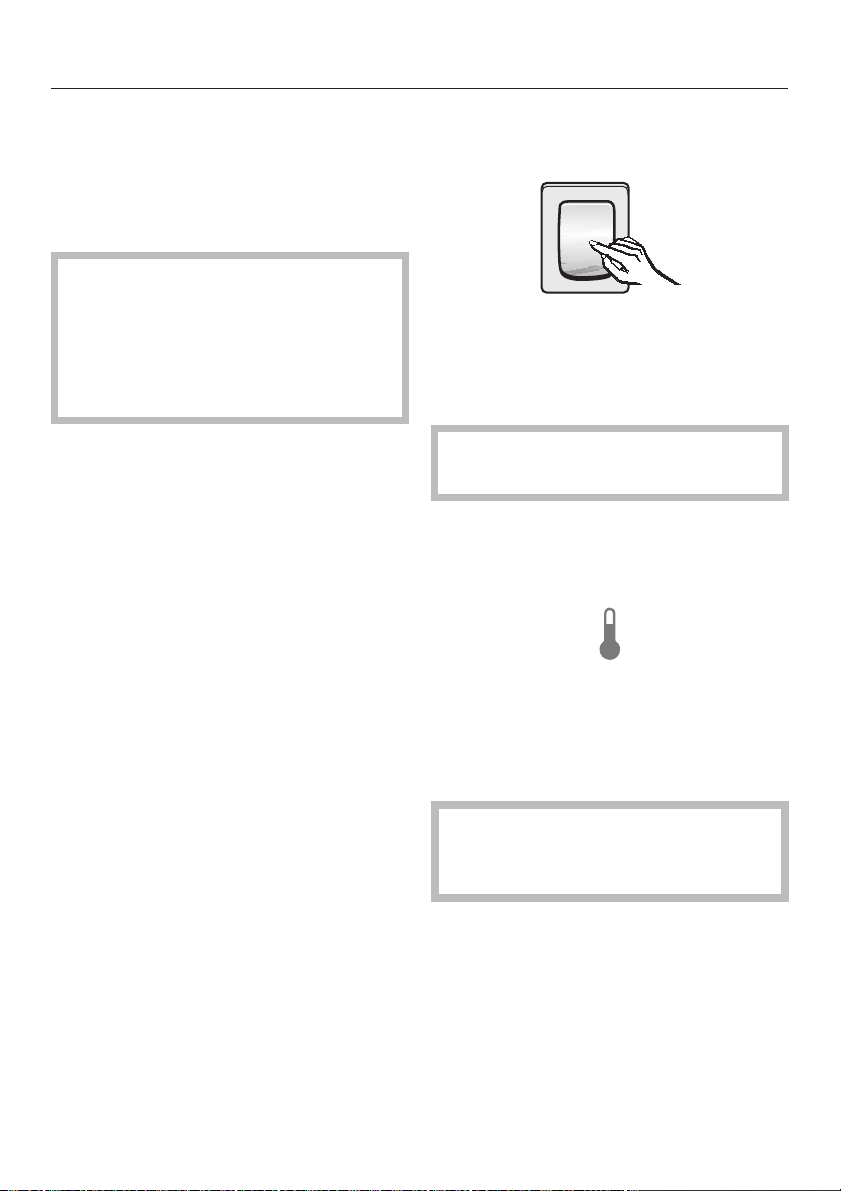
Turning the appliance On/Off
^ Open the appliance door.
^ Turn the appliance On/Off with the
main switch.
The main switch is located on the
right-side underneath the control panel.
All three zones are switched on or
off together.
Once on, the appliance begins cooling.
When the door is open, the interior
lights come on.
The access button will light in the
control panel.
The preset temperatures (factory
settings) are reached after a few hours.
,
Turning off the appliance with
the main switch does not safely
isolate it from the power supply.
9
Settings
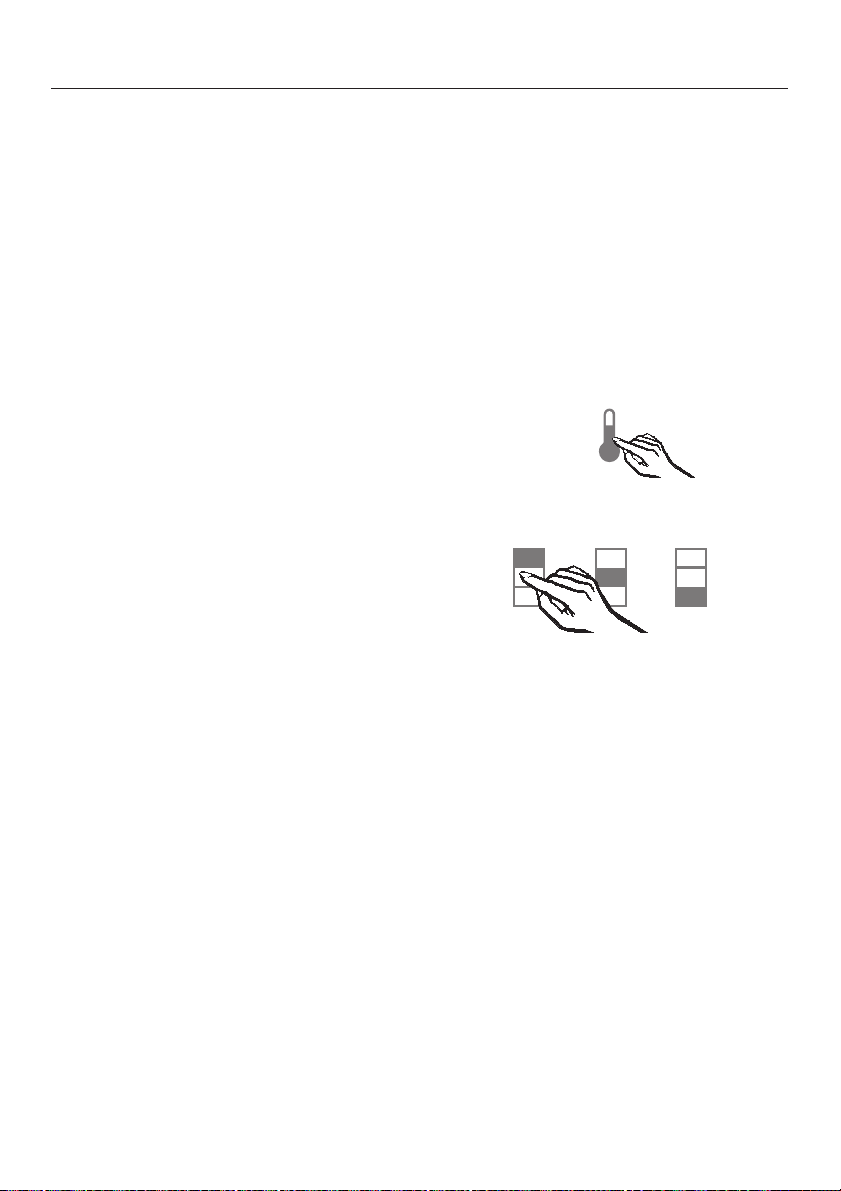
Using the settings
This appliance is operated with the use
of touch keys activated by a finger.
– An available button will appear white.
– A selected button will appear yellow..
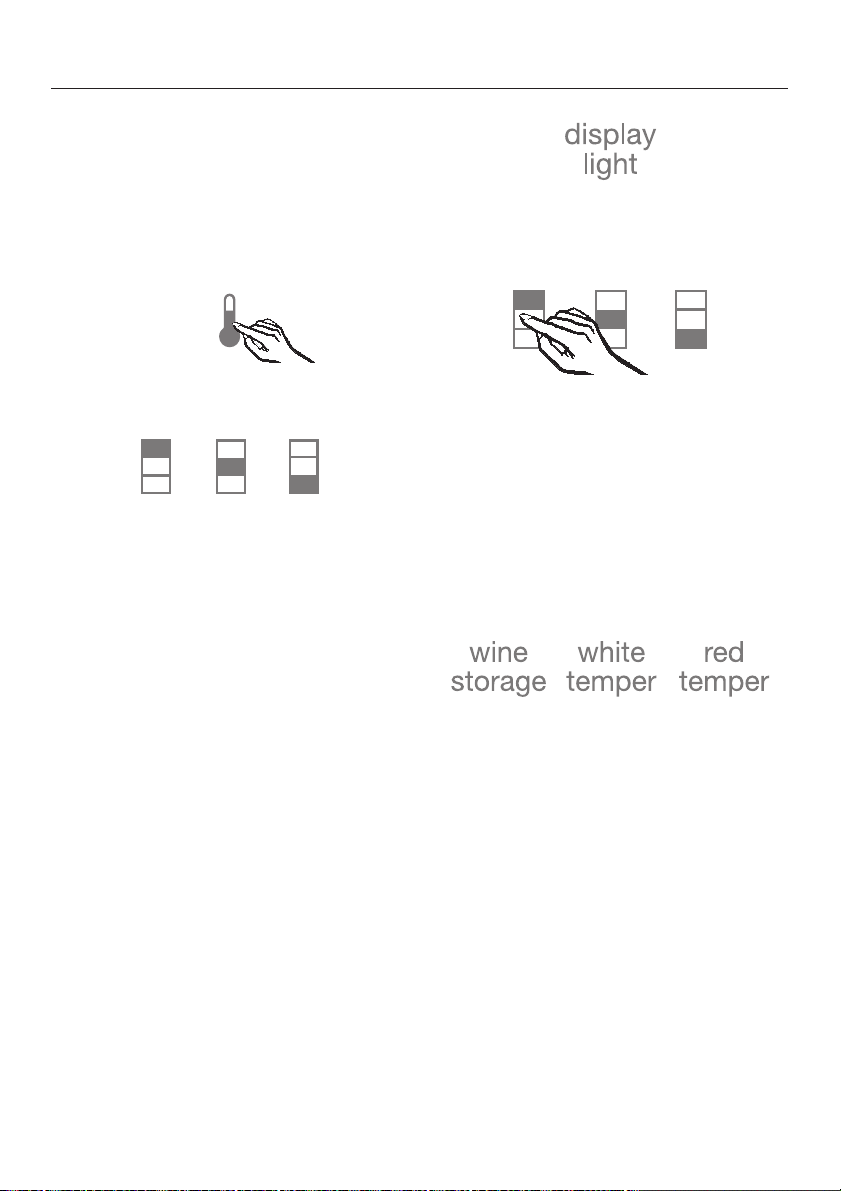
^ To turn the display lighting on or off
when the door is closed, touch the
"display light" sensor button.
^ Touch the access button so it turns
yellow.
On the control panel you will now see
the sensor buttons of the three
temperature zones.
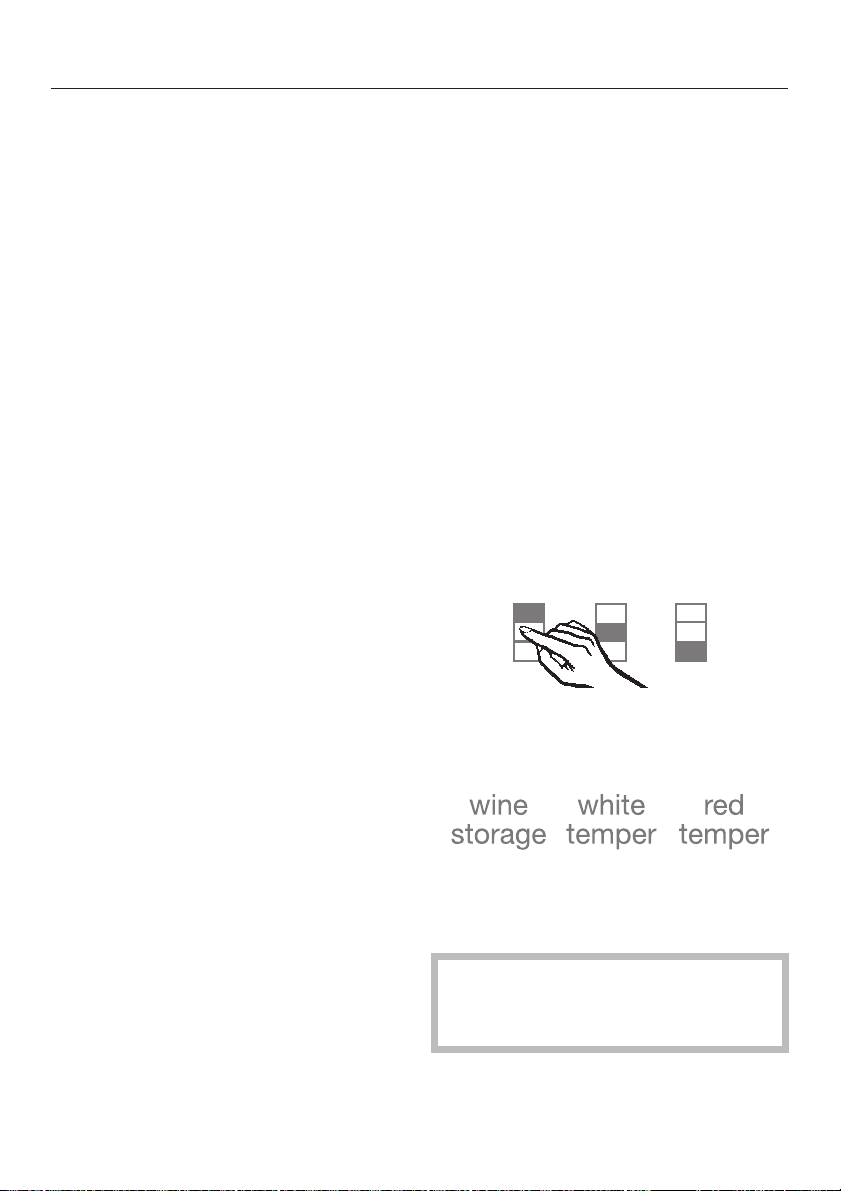
The factory (default) settings for the
temperature zones are as follows:
– upper temperature zone:
red temper.
– middle temperature zone:
white temper.
– lower temperature zone:
wine storage.
^ To change the settings, touch the
sensor button for the temperature
zone you wish to set.
The selected sensor button appears
yellow.
You can now select from the following
settings for the selected zone(s) or
change the pre-set temperature(s) as
desired.
For more information on setting the
temperature see "Optimum temperature
and air quality".
10
Settings
^ To de-select a temperature zone
touch the sensor button for that
particular zone so that it turns white,
or select another sensor button.
^ To leave the settings menu, touch the
access button "p" so it turns white.
The last settings entered are stored.
The sensor buttons for the three
temperature zones disappear from the
control panel.
Even if you do not touch the access
button, the electronics will switch back
to normal after about 1 min.
Custom settings
In the custom settings mode you can
select and change functions. The
function possibilities are described in
the respective chapters of this manual.
Function Display text
Temperature
°C-°F
RemoteVision
Module settings
(optional accessory)
Button sound on/off =
Exit Custom Settings
mode
Humidity settings §
†
;
;
11
Settings
Turning the button sound
On/Off
If you prefer the buttons to be silent
when touched, the button sound can be
turned off.
^ Touch the access button "p"soit
turns yellow.
^ Touch the sensor button for any
temperature zone so it turns yellow.
^ Note the position of the X button, but
do not touch.
^ Touch the access button "p" again so
it turns white.
Only the access button "p" is visible.
^ Place one finger on the position of
the X button and hold (the X button
will not be visible).
^ While holding down the X button,
press the access button "p" once.
Keep holding the X button down until
the following appears in the display
(approx. 5 seconds).
^ Tap the X button until = appears in
the display.
^ Touch the access button "p"to
confirm.
^ By touching the X button, you can
choose between:
= 0 : Button sound is off
= 1 : Button sound is on
= – : Return to menu.
^ Touch the access button "p"to
confirm the setting.
^ Tap the X button until you see ; in
the display.
^ Touch the access button "p".
You have now left the Custom settings
mode.
12
When you are in the Custom settings
mode the door alarm is turned off
automatically. Once the door is
closed it is reactivated.

Turning off for longer periods
of time
If the appliance is not going to be used
for an extended time (for example,
during a vacation) some precautions
should be taken.
^ Turn the appliance off at the main
switch
^ Unplug the appliance
^ Clean the interior
^ Leave the doors open to prevent
odors
Settings
13
Alarm
The appliance is equipped with an
alarm system, to ensure that the
temperature does not rise unnoticed
because of energy loss or an open
door.
The alarm system is always
operational, it does not need to be
turned on.
Temperature alarm
If the temperature becomes too warm,
an alarm sounds, the "alarm" indicator
turns red and flashes. At the same time
the affected zone flashes in the display.
If you use the Home Security
System, a temperature alarm will
also trigger your security alarm.
Once the temperature alarm is
turned off, the security alarm will
also shut off.
The alarm will sound and the display
will flash if:
Turning the temperature alarm Off
^ To turn the alarm off early, press
the "alarm" sensor button.
The alarm signal turns off. The "alarm"
indicator remains red and the
corresponding appliance zone
continues to flash until the alarm
condition is corrected.
Door alarm
If the appliance door is left open for
over 5 minutes, an alarm signal will
sound and the "alarm" indicator will light
up.
Once the door is shut again the alarm
will stop and the 'alarm' indicator will go
out.
Turning the door alarm Off
– too much warm air flows into the
appliance, for example when bottles
are being loaded, re-arranged, or
unloaded.
– a large number of bottles are being
stored for the first time.
– the power fails.
As soon as the alarm condition is
corrected, the alarm signal turns off
and the affected zone stops flashing in
the display. The "alarm" indicator goes
out.
14
^ To turn the alarm off early, press
the "alarm" sensor button. The "alarm"
indicator and signal will turn off.
Optimum temperature and air quality
Wine will continue to mature depending
on the surrounding conditions. The
length of time which wine can be kept
in good condition will therefore depend
not only on the temperature but also on
the air quality.
The wine storage unit provides a
constant temperature, increased
humidity and an odor-free environment,
creating the best possible storage
conditions for your wine.
Temperature
Wine can be stored at temperatures
between 41°F and 64°F (5 - 18°C). If
you would like to store red and white
wines together, choose a temperature
between 50°F and 54°F (10 - 12 °C).
Most white wines are palatable at this
temperature. It is best to take red wine
out of the appliance about 2 hours
before drinking. Open the wine to allow
it to breathe and to develop its aroma.
After 2 hours, red wine will be at the
correct temperature for drinking.
Storage temperatures above 72°F
(22°C) will cause wines to mature too
quickly. By contrast, wine should not be
stored below 41°F (5°C), since it will not
mature fully at this low temperature.
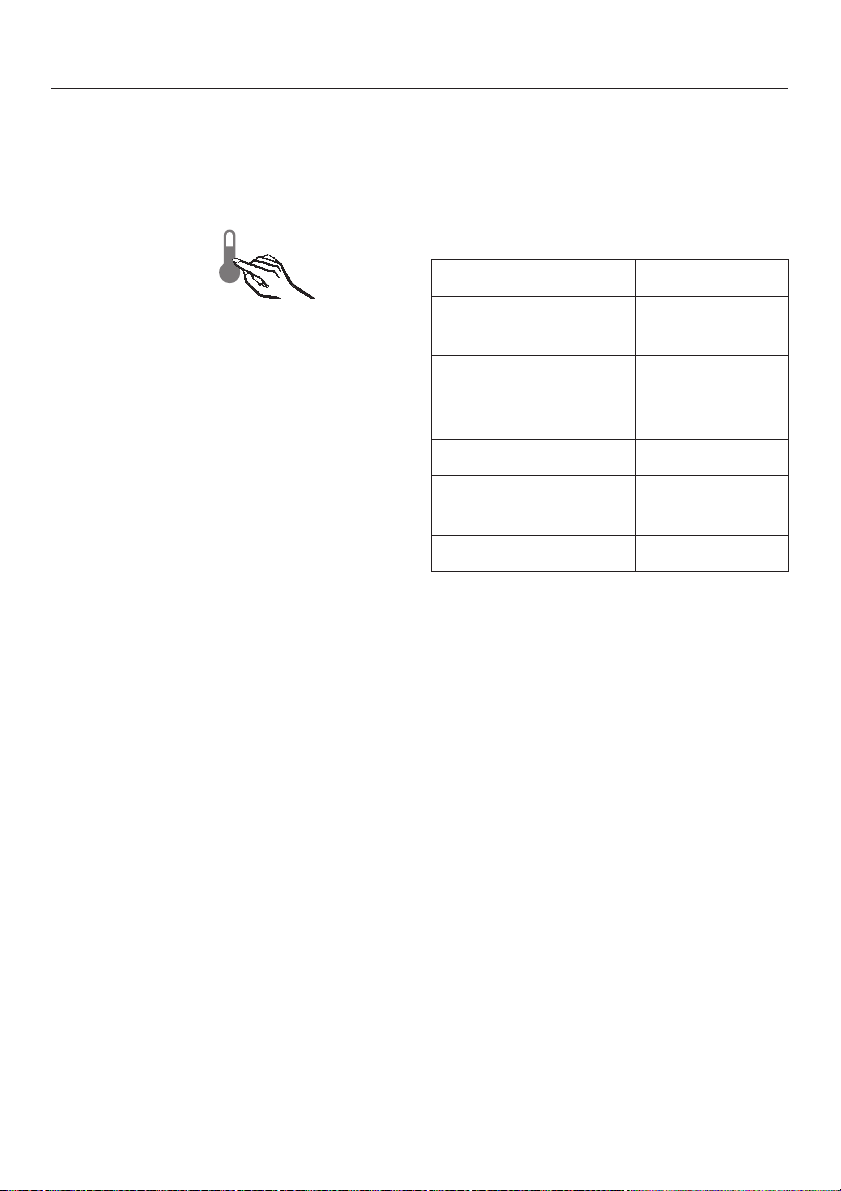
Setting the temperature
The factory (default) settings for the
temperature zones are as follows:
The upper temperature zone is set for
optimal red-wine storage:
Red temper 61°F (16°C)
The middle temperature zone is set for
optimal white-wine storage:
White temper 50°F (10°C)
The lower temperature zone is intended
for wine storage in general.
Wine storage 52°F (11°C)
You can change the "purpose" of the
zones as you wish.
For example, you can store white wine
in the upper temperature zone, as long
as you adjust the temperature
accordingly:
^ Tap the sensor button for the desired
temperature zone, so that it turns
yellow.
Fluctuations in temperature put wine
under stress and interrupt the maturing
process. Therefore, it is important to
maintain a constant temperature.
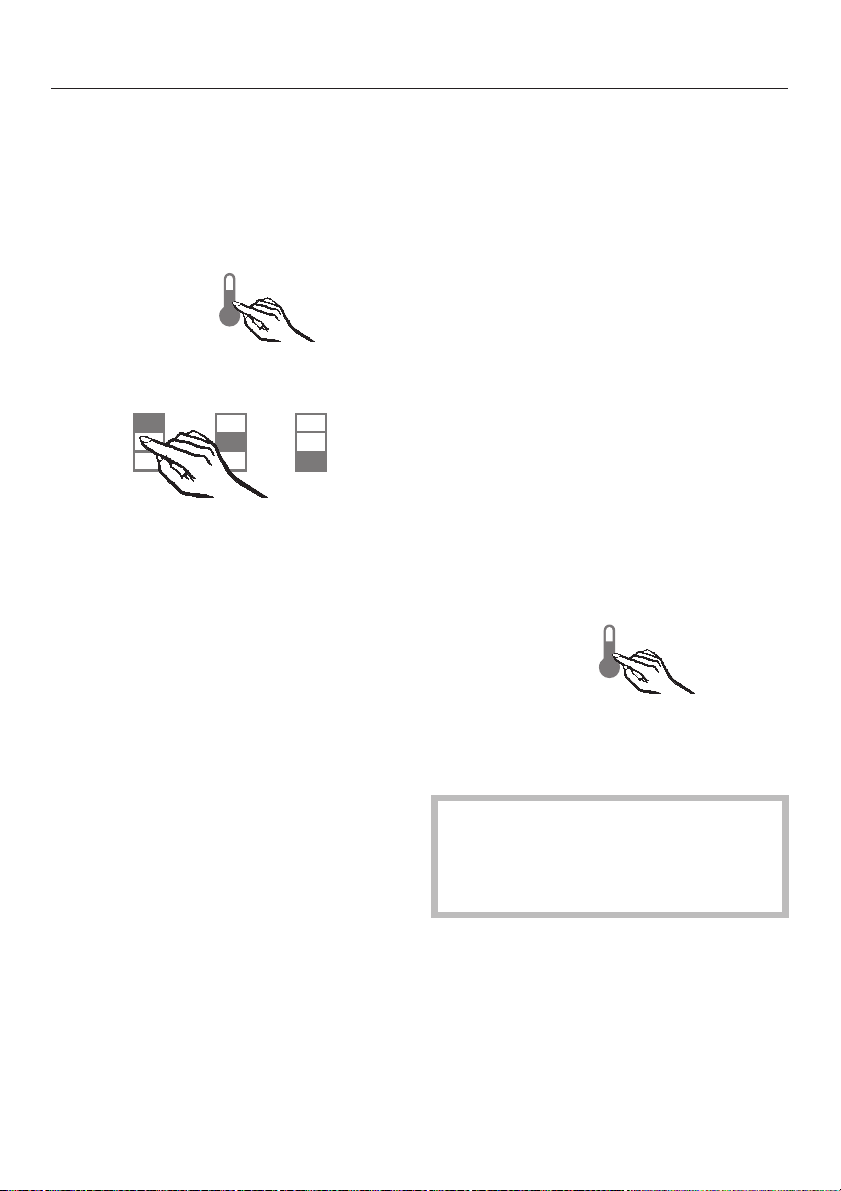
^ Select the preferred temperature
setting so that the sensor button turns
yellow.
The setting "white temper" is not
available in the lower temperature
zone.
15
Optimum temperature and air quality
Temperatures can be independently
set in all three zones.
The unit comes factory pre-set for white
wine, red wine, and wine storage.
The temperatures can be changed as
desired.
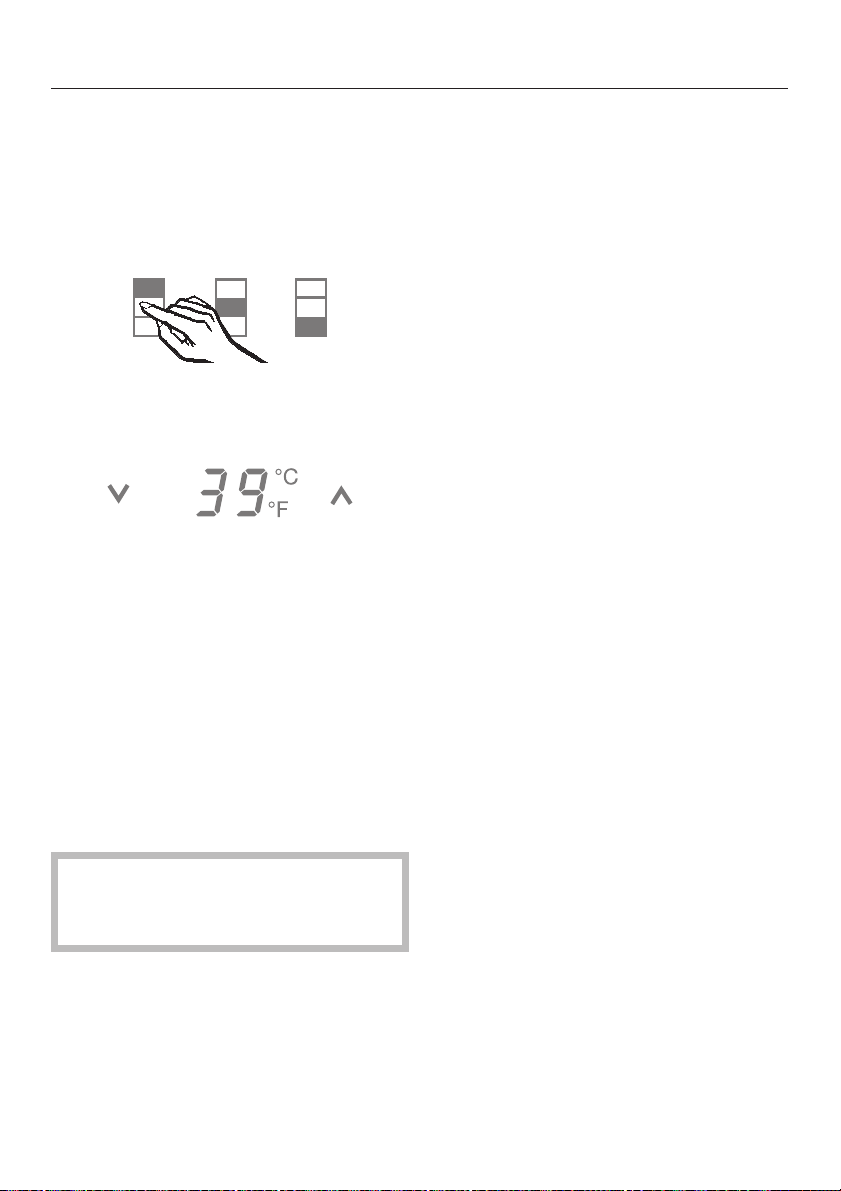
^ Select the temperature zone you
would like to change the temperature
in.
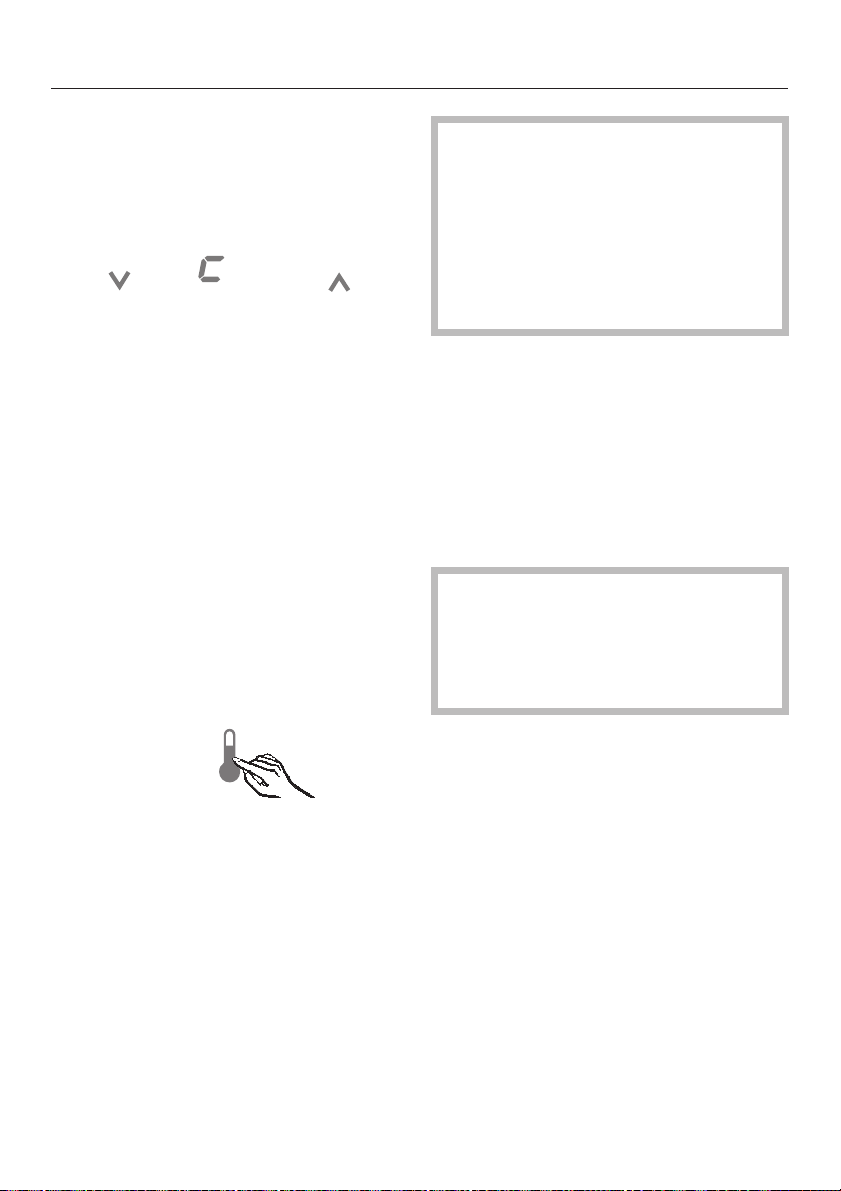
Use the X and Y buttons next to the
temperature display to set the
temperature warmer or colder.
– The temperature will change in 1°
increments.
Once you have adjusted the
temperature, check the temperature
after a few hours. It will take this long
for the appliance to reach the
temperature. If, after this time, the
temperature is still too high or too low, it
should be adjusted again.
Temperature ranges
– upper temperature zone
3°C to 18°C or
37°F to 64°F.
– middle temperature zone
3°C to 18°C or
37°F to 64°F.
– lower temperature zone
8°C to 18°C or
46°C to 64°F.
– Hold the button down to change the
value continuously.
– When the lowest or highest
temperature is reached the
corresponding arrow will no longer
appear in the display.
The factory-suggested temperature
for the selected zone appears in
yellow.
16

Optimum temperature and air quality
Insulation panels for thermal
separation
The unit has two fixed insulation panels,
to divide the interior into the three
different temperature zones. This
allows you to store three different types
of wine, such as red wine, white wine
and champagne.
The correct serving temperature is
crucial for the taste and therefore your
enjoyment of the wine.
The following temperatures are
recommended for the different types of
wine:
Red wine: 57°F to 64°F
(14 °C to 18°C)
Rosé: 50°F to 54°F
(10 °C to 12 °C)
White wine: 46°F to 54°F
(8 °C to 12 °C)
Sparkling wine: 45°F to 48°F
(7 °C to 9 °C)
Temperature display
The temperature display on the
control panel always shows the
required temperature.
The temperature display will flash if
the temperature in one of the zones is
too high or too cold.
Tap the X and Y sensor buttons to
raise/lower the temperature 1°, or hold
them down to move through the
temperature range more quickly.
Champagne: 41°F to 45°F
(5 °C to 7 °C)
17
Optimum temperature and air quality
Temperature unit
(Fahrenheit/Celsius)
The temperature can be displayed in
degrees Fahrenheit (°F) or Celsius (°C).
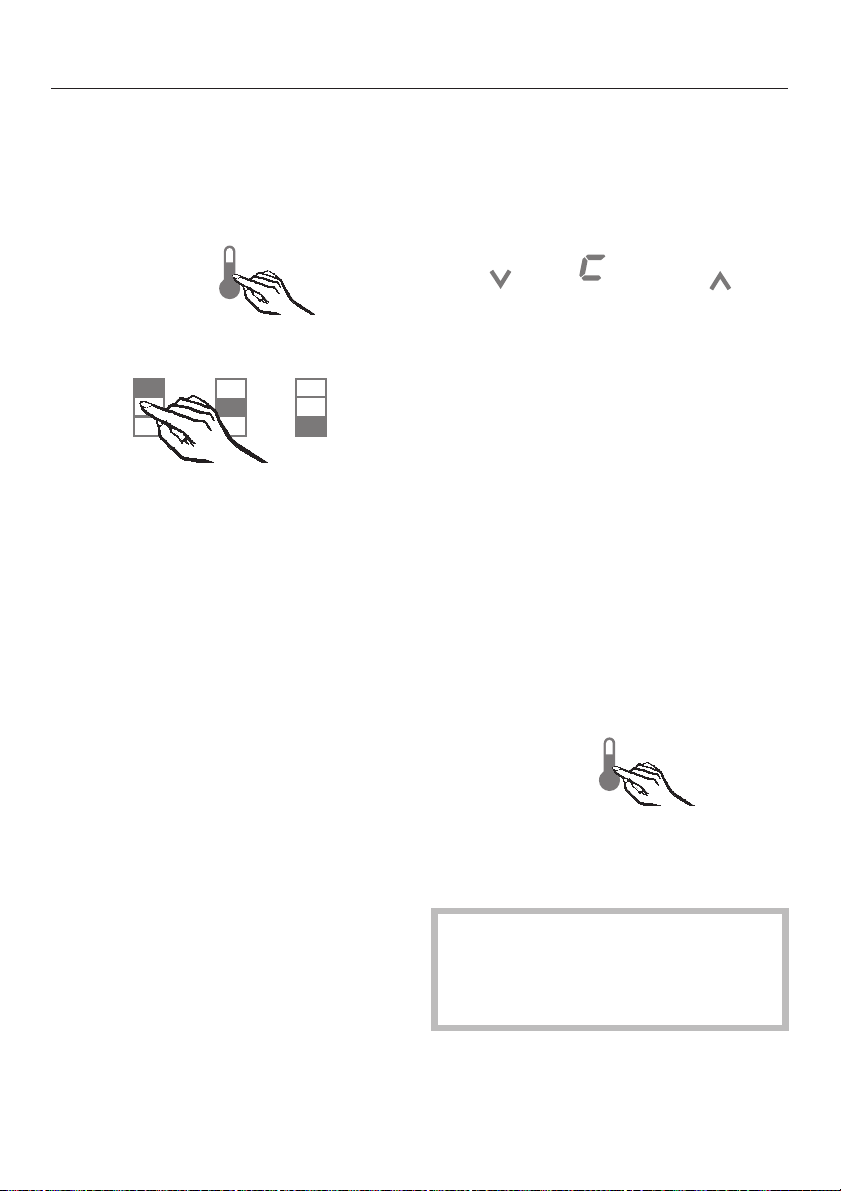
^ Touch the access button "p"soit
turns yellow.
^ Touch the sensor button for any
temperature zone, so that it turns
yellow.
^ Note the position of the X button, but
do not touch.
^ Touch the access button "p" again so
it turns white.
Only the access button "p" is visible.
^ Place one finger on the position of
the X button and hold (the X button
will not be visible).
^ While holding down the X button,
press the access button "p" once.
Keep holding the X button down until
the following appears in the display
(approx. 5 seconds).
^ Tap the X button until † appears in
the display.
^ Touch the access button "p"to
confirm.
^ By touching the X button you can
select either Fahrenheit or Celsius for
the temperature display.
†0: Fahrenheit
†1: Celsius
† –: return to menu
^ Touch the access button "p"to
confirm the setting.
^ Tap the X button until a ; appears in
the display.
18
^ Touch the access button "p".
You have left the Custom settings
mode.
When you are in the Custom settings
mode the door alarm is turned off
automatically. Once the door is
closed it is reactivated.
Optimum temperature and air quality
Humidity
In a conventional refrigerator, the
humidity levels are too low for storing
wines. High humidity levels (60 - 70 %)
are very important for the storage of
wine, so that the corks remain moist.
Under low humidity, the corks dry out
from the outside and can no longer seal
the bottles properly. This is why wine
bottles should always be stored lying
down, so that the wine can keep the
corks moistened from within. If air
enters the bottle, a wine will inevitably
spoil.
Tip: Wine bottles should stand upright
for at least two hours before serving, or,
better still whole day long, to enable
sediment to settle to the bottom of the
bottle.
Setting the humidity level
The unit comes factory pre-set to high
humidity.
If you would like to use the wine unit for
long-term storage, it is recommended
that you select the higher humidity. The
interior climate will then correspond
with the conditions in a wine cellar.
Humidity is raised or lowered for all
temperature zones simultaneously.
^ Touch the access button "p"soit
turns yellow.
^ Tap the sensor button for any
temperature zone so it turns yellow.
^ Note the position of the X button, but
do not touch.
^ Touch the access button "p" again so
it turns white.
Only the access button "p" is visible.
^ Place one finger on the position of
the X button and hold (the X button
will not be visible).
19
Optimum temperature and air quality
^ While holding down the X button,
press the access button "p" once.
Keep holding the X button down until
the following appears in the display
(approx. 5 seconds).
If you have selected a higher
humidity setting, the fans will cut in.
This is to ensure that the humidity is
uniformly distributed throughout the
interior.
Whenever the unit door is opened,
the fans will automatically switch off
temporarily.
^ Tap the X button until 0 appears in
the display.
^ Touch the access button "p"to
confirm.
^ By touching the X button you can
either increase or decrease the
humidity inside the unit.
o0: lower humidity
o1: higher humidity
o –: return to menu.
^ Touch the access button "p"to
confirm the setting.
^ Tap the X button until a ; appears in
the display.
^ Touch the access button "p".
You have left the Custom settings
mode.
When you are in the Custom settings
mode the door alarm is turned off
automatically. Once the door is closed
it is reactivated.
Air filtering with an active
charcoal filter
External air passes through the filter
before entering the unit.
The active charcoal filter ensures that
only clean, odor-free air enters the unit,
creating additional protection against
odor contamination.
The filter will need to be changed
periodically, or when odors are
present in the unit. See "Cleaning
and Care - Active charcoal filter" for
more information.
20
Storing wine
Storage tips
– Always unpack bottles – do not store
wine in crates or boxes.
– Always lay bottles on their side for
storage. This keeps the corks moist
from the inside, preventing air from
entering.
– Store similar wine varieties beside
each other on the same shelf, to
avoid restacking and the need to
disturbed other bottles.
– Before serving, rosé and red wine
bottles should spend at least two
hours upright and open, to reach
optimal drinking temperature.
Sparkling wine and champagnes
should be chilled briefly in the
refrigerator before serving.
– Remember that wine should always
be cooled to slightly lower than the
ideal serving temperature, as the
temperature increases by 1° to 2° as
soon as it is poured into a glass.
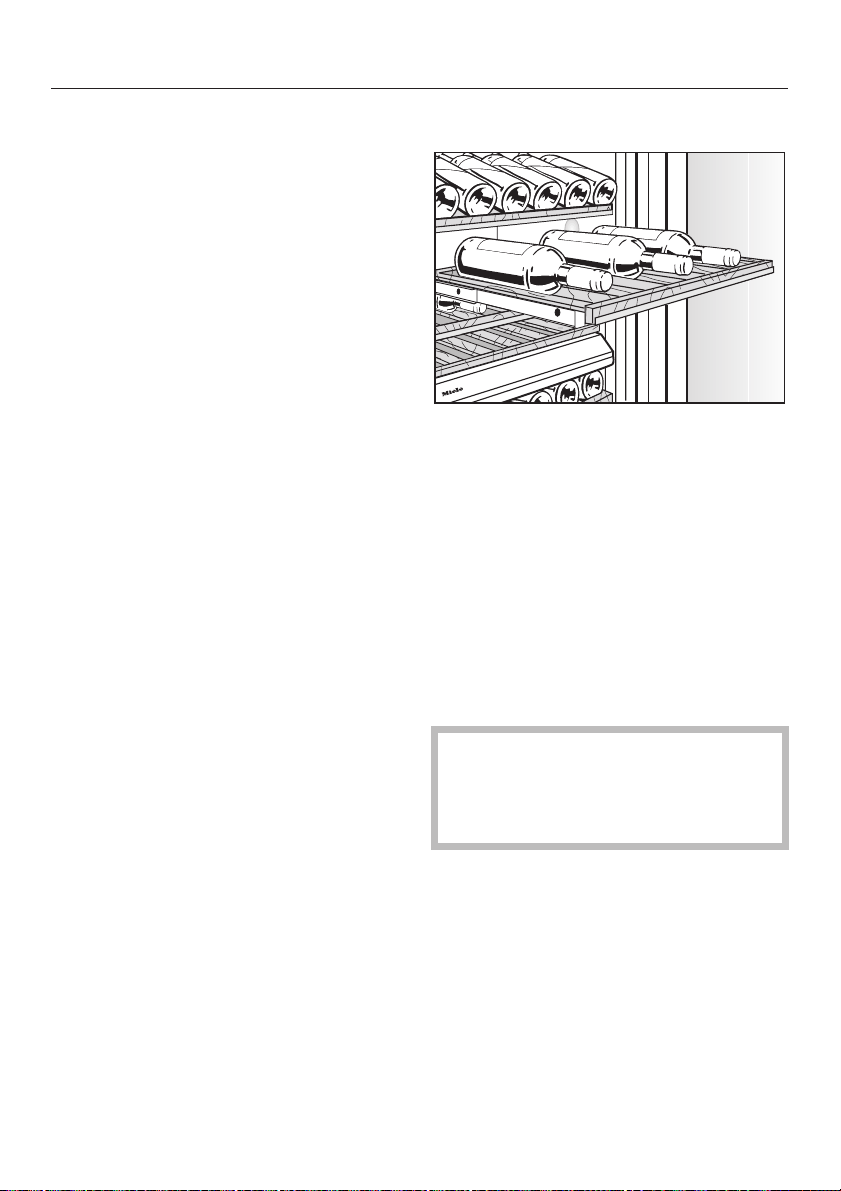
Wooden racks
For convenient removal and addition of
bottles, the wooden racks can be
pulled out on rails.
The wooden racks can also be
completely removed.
^ Pull out the empty wooden rack
(along with the rails) as far as the
stop, then lift it up and out.
^ To replace the racks, set them on the
extended rails so that they click into
place.
Be sure that the ventilation slits at
the rear of the unit are not blocked.
They are essential for the unit to
operate properly.
21
 Loading...