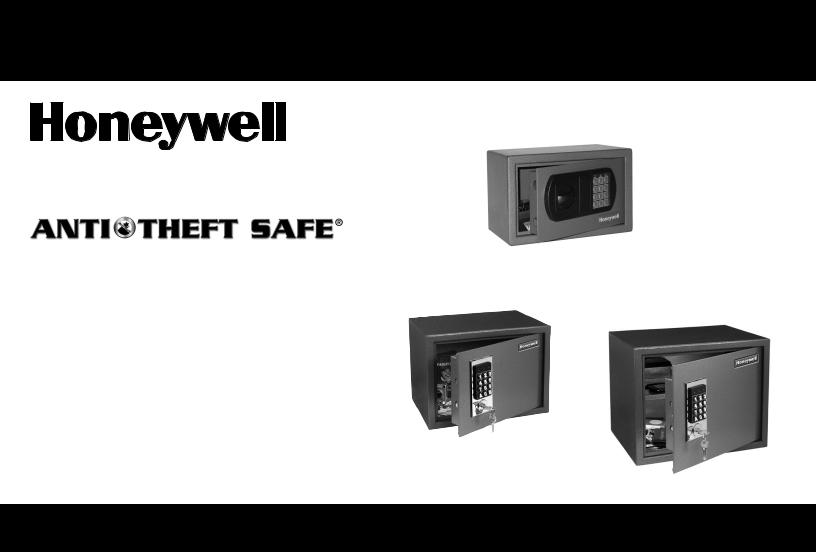
Honeywell 2025, 2025E, 2072, 2072E, 2073 User Manual
...
Model / Modèle / Modelo / Modell
2025, 2025E / 2072, 2072E / 2073, 2073E
COFFRE-FORT ANTI-EFFRACTION CAJA FUERTE ANTIRROBO
SAFE MIT DIEBSTAHLSCHUTZ ANTIDIEFSTAL BRANDKAST
Read These Instructions Very Carefully!
Lire ces instructions très attentivement!
¡Sírvase leer estas instrucciones cuidadosamente! Bitte lesen Sie diese Anleitung genau durch! Lees deze instructies zorgvuldig door!
Operation & Installation Guide
HME-HAS-DC5-072007
English
Français
Español
Deutsch
Nederlands

Important
Welcome to the HONEYWELL Family of Products
Your safe will provide years of safe and secure storage for your valuables.
For security:
•Do not remove the Serial Number Tag from the side of the safe.
•Set a new Passcode immediately.
•Store the keys and Passcode away from the safe.
The factory set Passcode for your safe is:
1 5 9 A Important: You must always press letter A Passcode.
Your Anti-Theft safe™ Includes
▲ 4 |
“AA” Batteries |
▲ Removable Shelf (Model 2072) |
|
▲ 1 |
Emergency Override Key / 2 Entry Keys |
▲2 |
Emergency Override Keys (Model 2025) |
▲ Protective floor mat |
|
▲Instruction manual |
|
after entering
(Models 2072 / 2073)
English
Overview |
|
|
4 |
5 |
|
|
|
|
|
||||
|
|
|
|
|
||
|
|
|
|
|
|
|
|
3 |
|
|
|
|
|
|
|
4 |
|
|
|
|
2 |
|
|
1 |
|
|
|
|
1 |
|
|
2 |
3 |
|
|
|
|
|
|
|
|
|
2072 / 2073 |
|
|
|
2025 |
|
1. |
Key lock |
|
1. |
Opening knob |
|
|
2. |
Digital keypad |
|
2. |
Override Key Lock cover |
||
3. |
Red/Yellow/Green Lights |
|
3. |
Digital keypad |
||
4. |
Safe door |
|
4. |
Red/Yellow/Green Lights |
||
|
|
|
5. |
Safe door |
|
|
|
|
|
|
|
|
|
1

Opening Your Safe |
Programming your |
Closing and Securing |
||
The Passcode set at the factory is 159A. |
Personal Passcode |
your Safe |
||
Use this Passcode the first time you |
You can program your own Passcode. For |
Do not over-fill the safe or obstruct the |
||
open the safe. |
||||
your security, change the factory-set |
door from completely closing. |
|||
1. Enter the Passcode on the keypad. |
||||
Passcode (159A) immediately. |
Closing the Door: |
|||
The green LED lights. |
|
|||
|
1. Close the safe door. |
|||
2. Model 2025 - Turn the opening knob |
Setting Your Passcode: |
|||
|
|
|||
(Fig. 1) within 5 seconds, to the right |
1. Press 159A (factory preset Passcode) |
2. Model 2025 - To lock the safe, turn |
||
(Fig. 2) and pull the door open. If you |
and open the door. |
|
the opening knob to the left (Fig. 6). |
|
take no action within 5 seconds, the |
2. Locate the red button on the inside lower |
3. Models 2072/2073 - To lock the Safe, |
||
safe automatically relocks. |
edge of the door (Fig. 8). |
|||
|
turn the Entry Key to left (Fig. 7) and |
|||
3. Models 2072/2073 - Insert the Entry |
3. Press the button; then release it and you will |
|
||
|
remove key. |
|||
hear a beep. |
|
|||
Key into the key lock (Fig. 3), turn to |
|
|
||
the right (Fig. 4), and pull the door open. |
4. Now press between 3 and 8 numbers that |
4. To re-open, enter your Passcode. |
||
If you take no action within 5 seconds, |
you wish to use as a Passcode, and |
|
|
|
the safe automatically relocks. |
confirm by pressing the letter “B”. Be sure |
Security Lockout: |
||
4. If batteries fail or you forget the Passcode, |
to write them down immediately, so you |
|||
The safe is designed to lock-out the |
||||
don’t forget how to open the safe. |
||||
entry to the safe can be made using the |
keypad if the wrong Passcode is |
|||
5. Your Passcode alone will now open the Safe; |
||||
Emergency Override Key. |
entered multiple times. |
|||
The factory preset Passcode will no longer |
||||
|
|
|
||
Emergency Override Key: |
open the Safe. |
• |
After 3rd error: 20 second lock-out |
|
6. To open the Safe, push the numbers you |
||||
• |
3 more errors: 5 minute lock-out |
|||
Model 2025 - Remove the override lock |
have selected followed by the letter “A”. |
|||
• |
3 more errors: 1 hour lock-out |
|||
|
||||
cover (Fig. 5), insert Emergency Override |
|
You can always use the Emergency |
||
Key, turn to the right and pull door open. |
|
Override Key to open the safe. See |
||
|
|
|||
Models 2072/2073 - Insert Emergency |
|
Opening Your Safe for instructions. |
||
Override Key into the key lock (Fig. 7), |
|
|
|
|
turn to the left and pull door open. |
|
|
|
|
|
|
|
|
|
|
|
|
|
|
English |
2 |
 Loading...