


Guide 
Settings
Images
basic features.
CDI-E274-010

Flowchart and Reference Guides
The following guides are available. Refer to them as necessary according to the flowchart below.
|
|
|
|
|
|
|
|
|
|
http://web.canon.jp/ |
|
|
|
|
|
|
|
|
|
|
|
|
|
|
|
|
|
|
|
|
|
|
|
|
|
|
|
|
|
|
|
|
|
|
|
|
|
|
|
|
|
|
|
|
|
|
|
|
|
|
|
|
|
|
|
|
|
|
|
|
|
|
|
|
|
|
|
|
|
|
|
|
|
|
|
|
|
|
|
|
|
|
|
|
|
|
|
|
|
|
|
|
|
|
|
|
|
|
|
|
|
|
|
|
|
|
|
|
|
|
|
|
|
|
|
|
|
|
|
|
|
|
|
|
|
|
|
|
|
|
|
|
|
|
|
|
|
|
|
|
|
|
|
|
|
|
|
|
|
|
|
|
|
|
|
|
|
|
|
|
|
|
|
|
|
|
|
|
|
|
|
|
|
|
|
|
|
|
|
|
|
|
|
|
|
|
|
|
|
|
|
|
|
|
|
|
|
|
|
|
|
|
|
|
|
|
|
|
|
|
|
|
|
|
|
|
|
|
|
|
|
|
|
|
|
|
|
|
|
|
|
|
|
|
|
|
|
|
|
|
|
|
|
|
|
|
|
|
|
|
|
|
|
|
|
|
|
|
|
|
|
|
|
|
|
|
|
|
|
|
|
|
|
|
|
the included memory card. |
|
|
|
|
|
|
||||
|
|
|
|
|
|
Imaging/information-e.html |
||||
|
|
|
|
|
|
|
|
|
|
|
In this guide, the Basic Camera User Guide is called the Basic Guide, and the Advanced Camera User Guide is called the Advanced Guide.
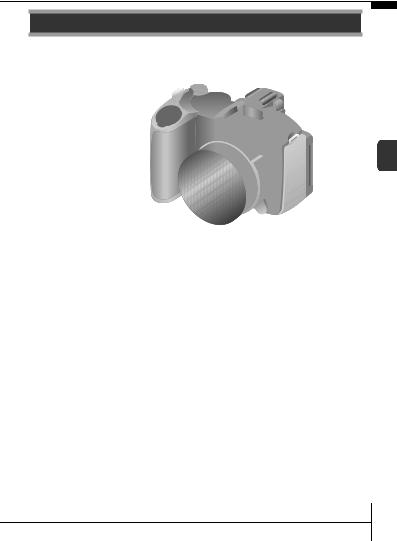
The Components Guide
Front View
l (Macro) Button (p. 16)
mLens
nRing Release Button (Advanced Guide p. 169)
1
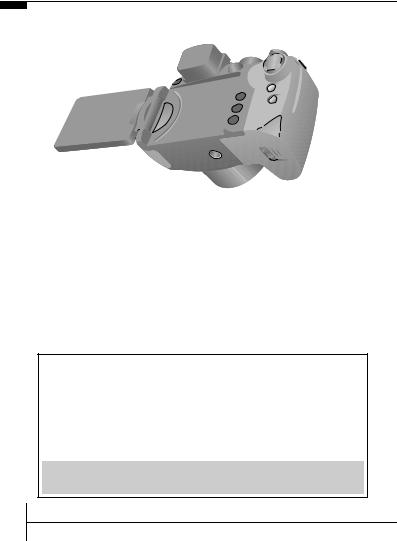
Back View
In order to avoid dropping the camera, we recommend attaching the neck strap before using the camera.
2

Controls
nISO/ (Jump) Button (Advanced Guide pp. 80, 107) oFUNC. (Function) /
 (Single Image Erase) Button
(p. 21, Advanced Guide p. 26)
3

Attaching/Removing the Lens Cap
Squeeze both sides of the lens cap (a), and remove (b).
4

Preparations
1. Installing the batteries.
incorrectly.
 See the Advanced Guide: Handling the Memory Card (p. 161).
 See the Advanced Guide: Formatting Memory Cards (p. 37).
5

To Remove the Memory Card
Push the memory card with your finger until the memory card clicks and then release it.
function).
* The Reverse Display function can be set to off.
 See the Advanced Guide: Rec. Menu (p. 29).
6

3.Fold the LCD monitor back against the camera body until it clicks into place.
When the LCD monitor clicks into place, the image will display normally
7

First Time Settings
Setting the Date/Time
1. Turn the camera on (a) in Shooting mode
the SET button.
The display language can also be set in the Set up menu (p. 22).
8
Shooting
Shooting (Still Images)
 See the Advanced Guide: Setting the Image Stabilizer Function (p. 44).
ÎSee the Advanced Guide: Shooting Hard-to-Focus Subjects (Focus Lock, AF Lock, Manual Focus) (p. 73).
9
 Loading...