


MTR101

Copyright 2013, Samson Technologies Corp.
v2
Samson Technologies Corp.
45 Gilpin Ave
Hauppauge, NY 11788
www.samsontech.com

ENGLISH
ESPAÑOLITALIANO FRANÇAISDEUTSCHE
MTR101 Studio Condenser Microphone
3
Introduction
Thank you for purchasing the Samson MTR101 studio condenser microphone.
Samson has a long history of developing high-quality microphones for live and
recording applications. The MTR series is our latest and most advanced line of
microphones featuring stunning sound reproduction and innovative design.
The MTR101 will quickly become your favorite tool in the studio, whether captur-
ing vocals, acoustic or electric instruments. The microphone features an extended
flat frequency response ensuring accurate, linear reproduction of your music. With
its wide dynamic range and handling high sound pressure levels, the MTR101
excels at picking up everything from very soft, to loud thunderous sounds.
For additional isolation from unwanted noises, you can use the optional MSM1
shockmount (included with the MTR101A). The revolutionary new design also
allows for the optional MPF1 pop filter to be mounted directly to the microphone
(included with the MTR101A) making setup a breeze.
In these pages, you’ll find a detailed description of the features of the MTR101,
as well as instructions for its setup and use, and full specifications. If your
microphone was purchased in the United States, you’ll also find a warranty card
enclosed—don’t forget to fill it out and mail it in so that you can receive online
technical support and so that we can send you updated information about this
and other Samson products in the future. Also, be sure to check out our website
(www.samsontech.com) for complete information about our full product line.
We recommend you keep the following records for reference, as well as a copy of
your sales receipt.
Serial number: ________________________________________________
Date of purchase: ______________________________________________
Dealer name: __________________________________________________
With proper care and maintenance, your MTR101 will operate trouble-free for
many years. Should your microphone ever require servicing, a Return Authoriza-
tion (RA) number must be obtained before shipping the microphone to Sam-
son. Without this number, the unit will not be accepted. Please call Samson at
1-800-3SAMSON (1-800-372-6766) for an RA number prior to shipping your
unit. Please retain the original packing materials and, if possible, return the unit
in its original carton. If your MTR101 was purchased outside of the United States,
contact your local distributor for warranty details and service information.
4
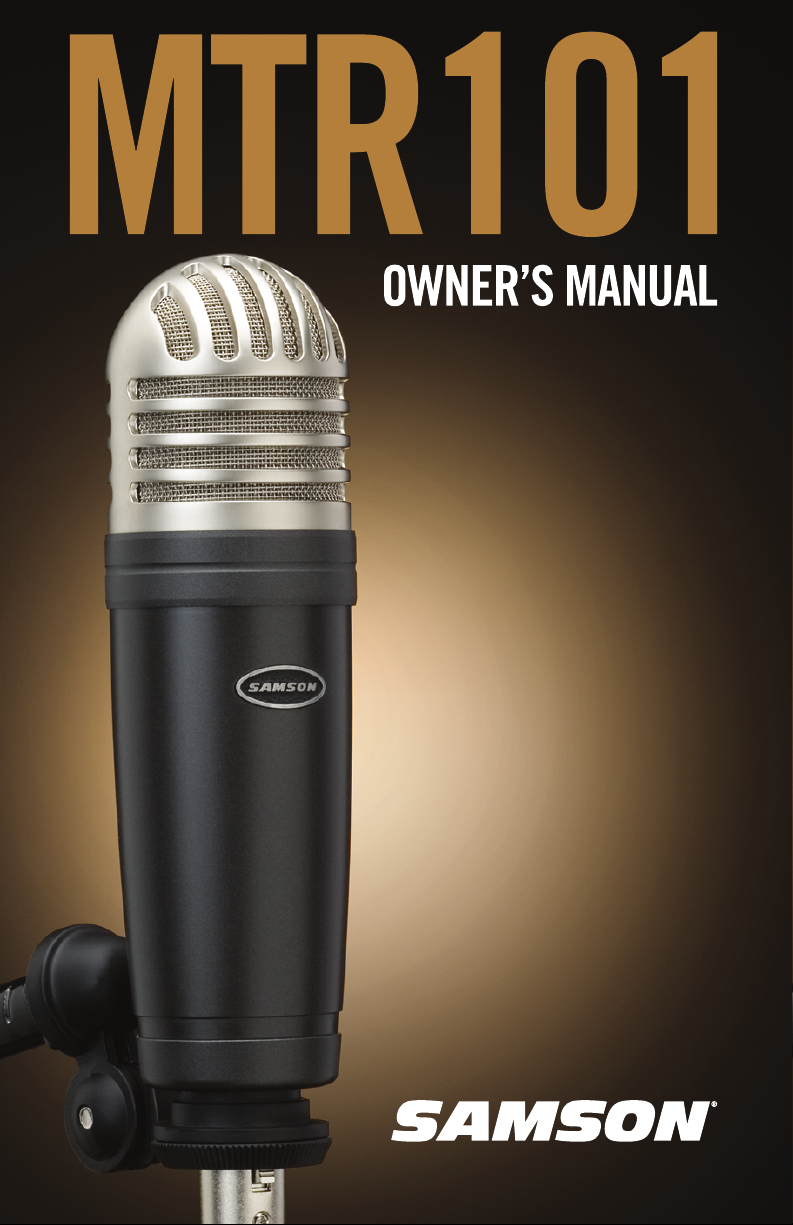
Optional Accessories
• Swivel*
• MSM1 shockmount
†
• MPF1 Pop filter
†
* Included with MTR101 standard pack
†
Included with MTR101A microphone pack
Features
• Large diaphragm studio condenser
• 1” capsule with 3-micron diaphragm
• Smooth and transparent sound reproduction
• Cardioid pick-up pattern
• 48 volt phantom power operation
• Internal capsule shock mounting
• Extended smooth frequency response
• Durable die cast construction
• Gold-plated XLR connector

ENGLISH
ESPAÑOLITALIANO FRANÇAISDEUTSCHE
MTR101 Studio Condenser Microphone
5
Powering
Setting the Microphone Level
The MTR101 is a condenser microphone and therefore requires 48V phantom
power. Phantom power is provided by a mixer’s preamplifier channel or if neces-
sary, an external phantom power supply and sent to the microphone along a bal-
anced microphone cable.
To ensure the longevity of your equipment, and is good mixing etiquette, always
turn down the master fader and monitor controls to zero when switching the phan-
tom power on or off.
Poor microphone performance can be attributed to phantom power issues. If you
notice that the microphone is exhibiting reduced signal output, increased noise, or
decreased headroom (distortion), there may be an issue with the phantom power
supply or the microphone cables.
When connecting the MTR101 to a mixer, use a balanced cable and be sure that
the input is balanced and connected to a channel that is set for microphone level.
Also, be sure that the phantom power is engaged. Most mixers and recorders of
reasonable quality will offer a microphone input with mic trim (usually called Trim
or Gain) control. The purpose of the mic trim control is to optimize the amount of
good signal over any noise that may be associated with the mixer’s electronics. A
good mic pre with trim will have a peak or clip indicator. To set an optimal level
on the mic, place the MTR101 in front of the desired sound source and slowly
raise the mic trim control until you see the PEAK LED light up. Then, turn the mix
trim control down until the LED does not light any more. For most applications,
the ideal setting is to set the trim control as high as possible without lighting the
peak indicator.
An important characteristic of any microphone is its directionality or polar pattern.
There are three basic classifications of polar patterns:
Omnidirectional - captures sound from all directions
Bidirectional (figure-8) - captures sound directly in front and back of the micro-
phone while rejecting sound on the left and right sides
Unidirectional (cardioid) - captures sound in front of the microphone and rejects
sound from the sides and back
The MTR101 is a unidirectional microphone which allows for better separation of
instruments in the studio, and picks up more of the instrument sound in relation
to the sound of the room. See the section on “Microphone Placement” on page
6 for some considerations when placing the microphone in different recording
applications.
Polar Pattern
6
In order to maximize the quality of the sound you are capturing, you must pay
careful attention to the placement of your MTR101 and how it is positioned for
the instrument or vocalist. The MTR101 is a unidirectional microphone, so it
exhibits a phenomenon known as “proximity effect” which is a resulting change in
the frequency response of a microphone based on the position of the microphone
capsule relative to the sound source. In order to get the best frequency response,
start by pointing the microphone directly on axis with the sound source. You can
change the sound characteristics that the microphone picks up by changing the
position of the microphone. Rotating the microphone away (off-axis) from the
sound source will decrease the sensitivity to higher frequencies. Experimentation
and experience is the best way to find out what sounds best for your recordings.
Below are some tips for when setting up and using your MTR101 in typical ap-
plications.
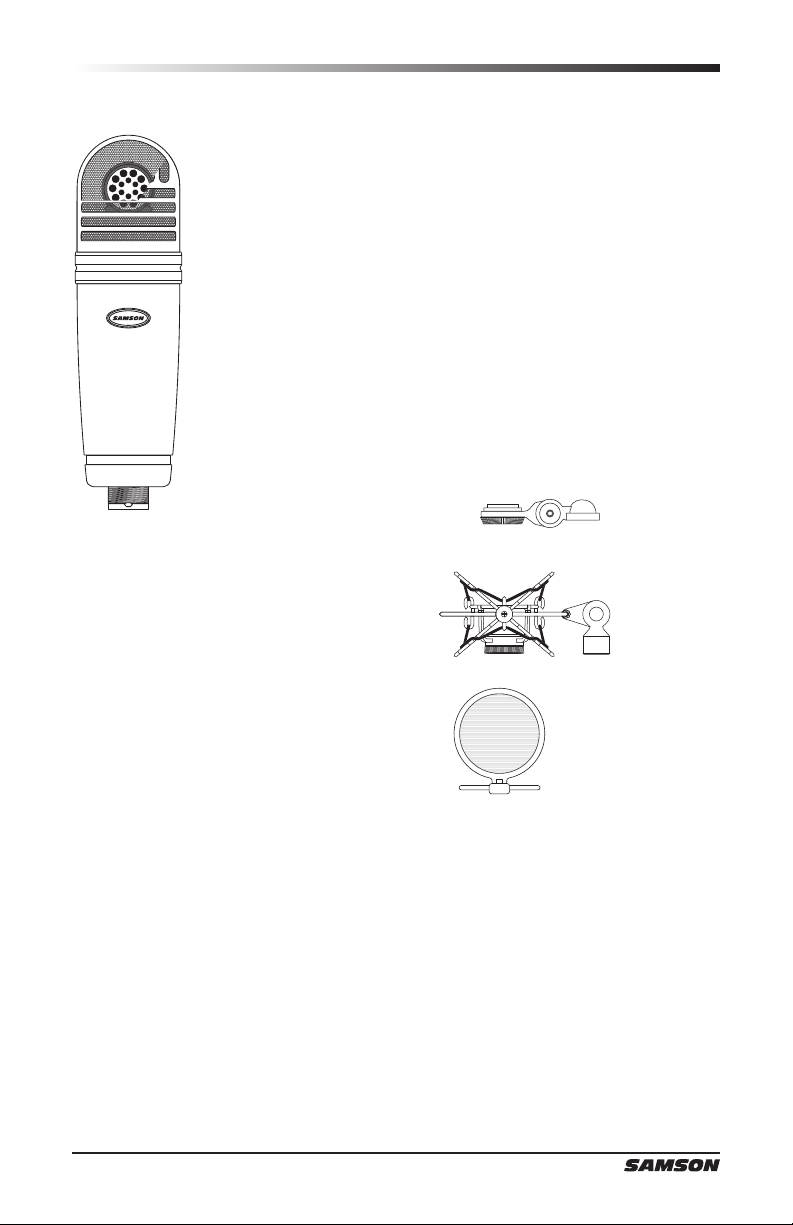
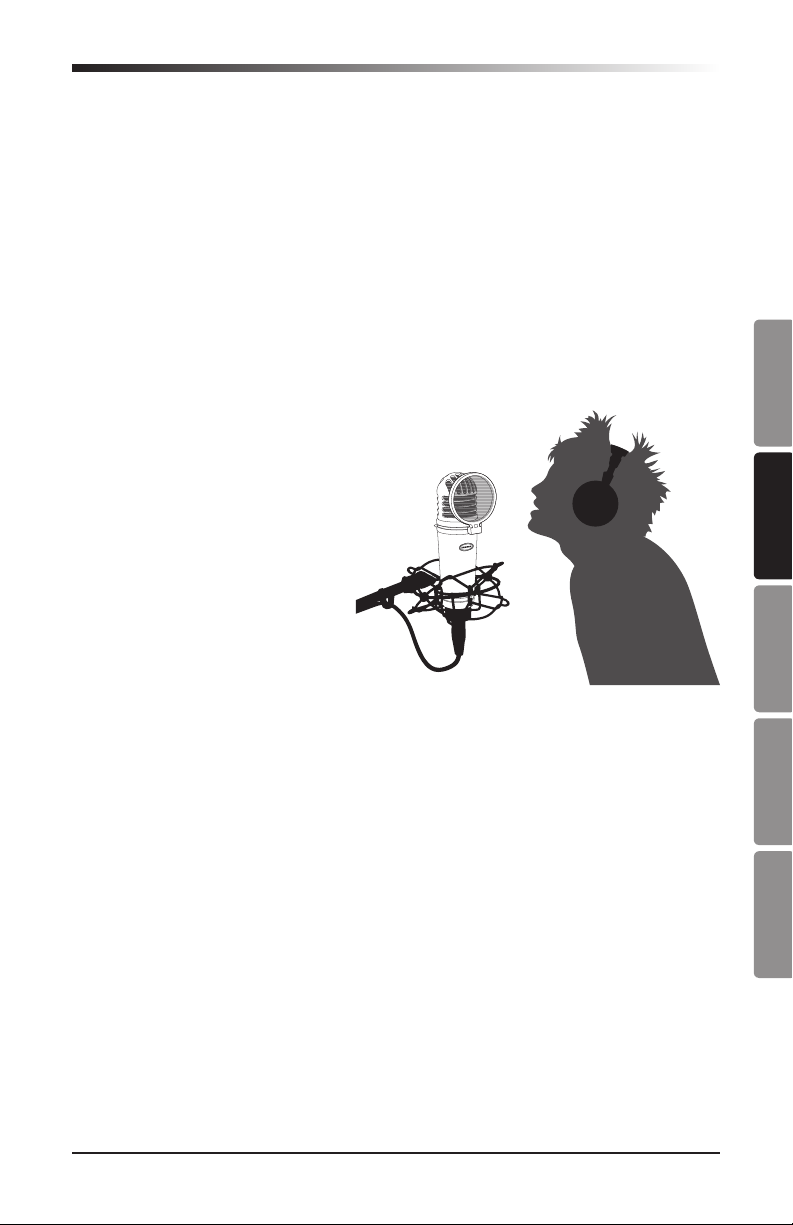
Vocals
Position the microphone directly in
front of the artist so that the micro-
phone grille is between 6 and 24
inches away. The closer the vocalist
moves to the microphone, the more
the bass or low response increases.
As the vocalist moves away from
the microphone, the tone becomes
more natural as the low frequency
rolls off. To achieve the fullest
sound, the vocalist should aim the
microphone center line towards their mouth. If some consonants such as ‘P’ and
‘S’ seem to jump up in level, rotate the microphone a little bit away from the art-
ist so that sound arrives at the microphone slightly off-center. If space allows, it is
preferable to prevent these peaks through the use of an external pop filter like the
MPF1 pop filter. If recording a group of singers, ensure that they position them-
selves around the front of the microphone close to one another.
Acoustic Guitar
There are a variety of ways that the MTR101 can be used to mike an acoustic
guitar. Optimal microphone placement will depend on the type of instrument, and
what kind of sound you’re looking to capture. It may be necessary to experiment
with various positions to achieve full and balanced tone. When miking a stan-
dard steel string acoustic, it is suggested that you begin with the microphone at
a distance of 6–12 inches from the sound hole, positioned slightly off-axis, and
pointing towards the edge of the fingerboard. From this position, moving the mi-
crophone towards the sound hole will cause the mic to capture more low frequen-
cies. If, instead, you wish to capture more high-end, or to remove any unwanted
booming sound, move the microphone toward the fingerboard. Unlike a steel
string acoustic guitar, the sound of a nylon string acoustic guitar that is played by
Microphone Placement

ENGLISH
ESPAÑOLITALIANO FRANÇAISDEUTSCHE
MTR101 Studio Condenser Microphone
7
Microphone Placement
finger picking is usually naturally warmer. To record an even, full tone, it is sug-
gested that you begin by positioning the microphone 3–6 inches above the center
of the bridge. This will help emphasize the higher frequencies and pick up the
attack sound of the finger picking. If the microphone is picking up too much low
frequency from the sound hole, move the microphone so that it is slightly off-axis
from the guitar. If you have a pair of MTR101 microphones, try one positioned at
the fingerboard and the second over the bridge of the guitar, or have one micro-
phone positioned close to the guitar and the second a few feet away to pick up
the sound of the room, blending the two sources together.
Piano
The piano is a very challenging instrument to capture, and there are numerous
microphone techniques that can be used. For close-miking the piano, position
the MTR101 just inside the piano, centered between the soundboard and the
open lid. The closer you move the microphone toward the instrument the more
low frequencies the microphone will pick up. For an ambient recording like that
used in a classical performance, position the microphone outside the piano,
facing into the open lid. For a more contemporary ensemble sound, place two
MTR101 microphones in the piano, positioning one over the bass strings and one
over the high strings at a distance of 6–12 inches apart. When miking an upright
piano with a single microphone, position the microphone just above and in front
of the piano with the top open, centered over the instrument. If you have a pair of
MTR101 microphones, position the microphones over the open top of the piano
with one microphone over the bass strings and one over the high strings. You can
also position two mics in front of the kickboard area approximately 8 inches over
the bass and high strings.
Overhead Drum Kit
Thanks to its extended high frequency response and fast transient response, the
MTR101 performs outstandingly when used as an overhead cymbal microphone.
You can position one MTR101 on a boom mic stand directly above the kit point-
ing from front to back. For stereo miking, use two MTR101 microphones placed
over the drum set at a distance of three to five feet. You can experiment with the
exact placement depending on the size of the room and whether you’re looking
for an ambient or close-miked sound. In general, when miking a drum kit, it’s a
good idea to start with the overhead mics. Even though you use the overhead mics
mostly for the cymbals, you can get the entire kit to sound great with just one
overhead. Using overhead mics, it is easier to simply turn up your individual mics
for more attack and thickness in the overall sound.
8
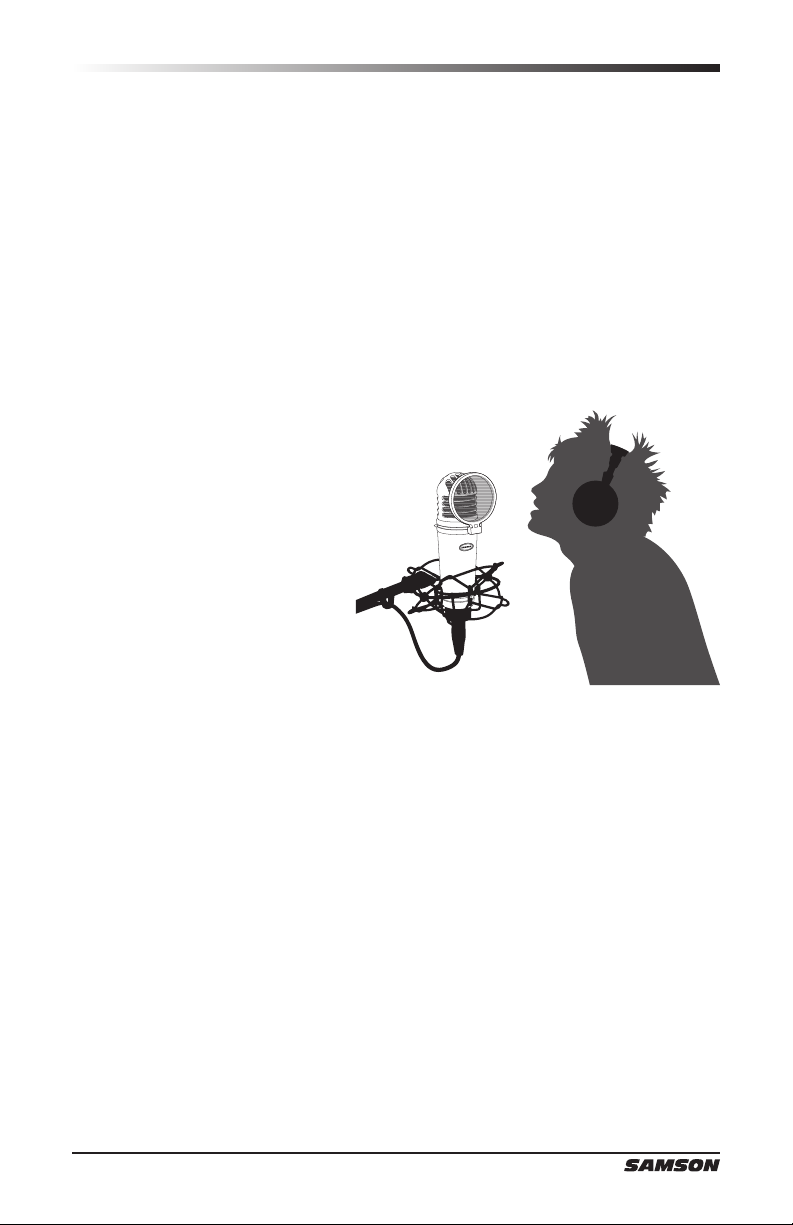
To isolate the MTR101 from external vibrations and prevent unwanted noises that
are transmitted through the stand, the microphone can be fitted on the custom-
designed MSM1 spider shockmount. Follow the steps below to install the micro-
phone into the shockmount.
• Affix the shockmount onto a micro-
phone stand or boom arm. The
shockmount angle can be adjusted
by loosening the thumb screw near
the stand connection.
Note: Do not adjust the angle of
the shockmount without loosening
the thumb screw. If you do this, the
shockmount may be damaged and
you may void your warranty.
• Install the MTR101 into the MSM1
by fitting the microphone into the
center of the web, positioning the
MTR101 onto the bottom mounting
plate with the Samson logo facing
forward.
• Secure the MSM1 by rotating the
threaded collar clockwise until tight.
• Loosen the thumb screw to adjust
the angle of the microphone and
position the MTR101 to the desired
location. Once set, tighten the
thumbscrew to secure the micro-
phone in place.
Note: Be careful not to cross-thread
or over-tighten the threaded collar or
thumb screw.
Shockmount (optional)
ENGLISH
ESPAÑOLITALIANO FRANÇAISDEUTSCHE
MTR101 Studio Condenser Microphone
9
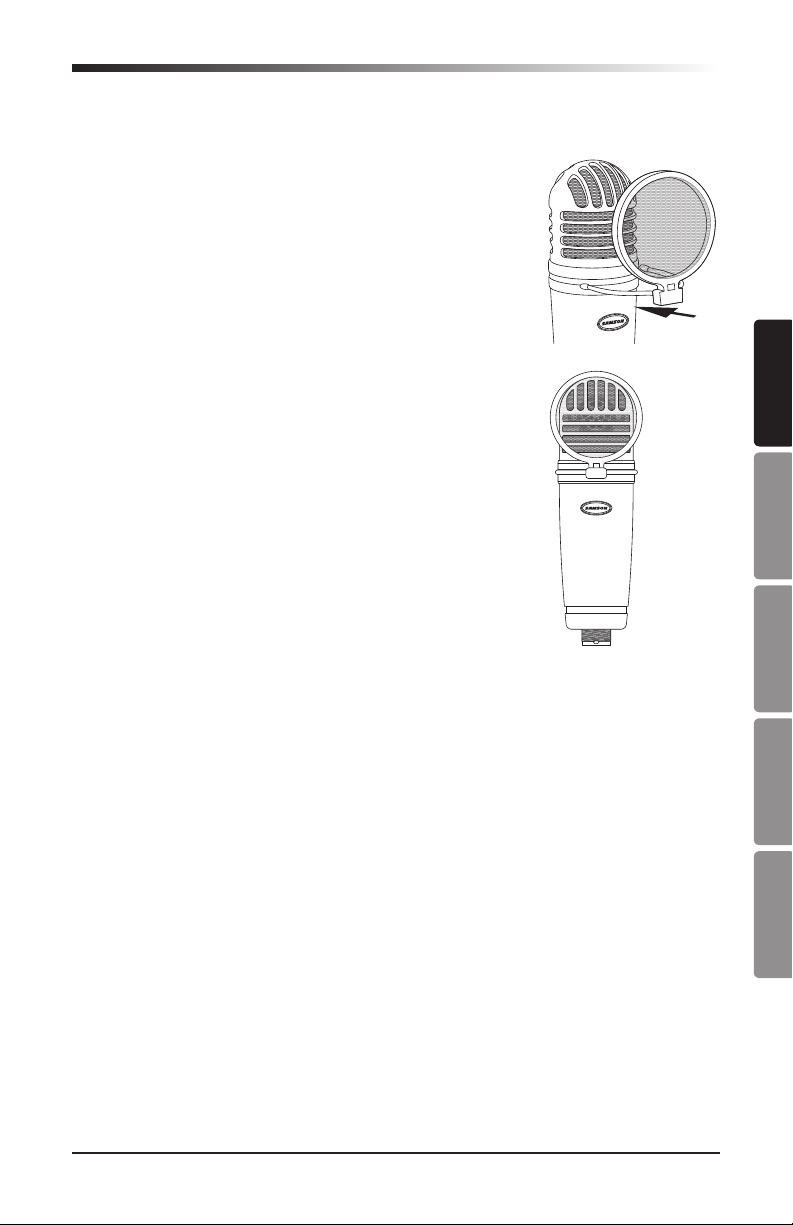
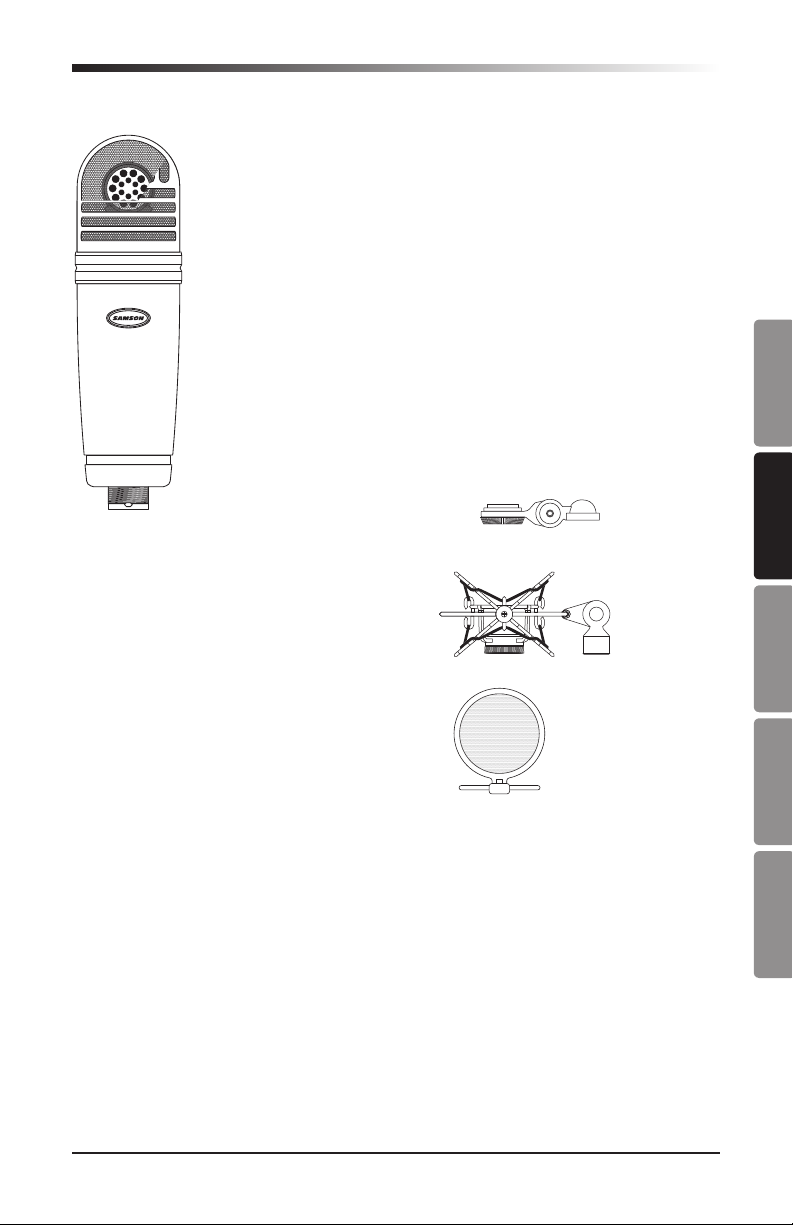
Pop Filter (optional)
Sometimes when recording vocals certain plosive con-
sonants (like hard “P” and “B” sounds) overload the
input of the microphone which causes clipping and adds
distortion to your recording. It is advisable to use a pop
filter to reduce the effect of the blasts of air from vocal-
ists when pronouncing words that include these hard
consonant sounds. The pop filter also helps to protect
the microphone element from moisture. The MTR101
features a unique design that enables the MPF1 pop
filter to be mounted directly to the microphone.
To attach the MPF1 pop filter to the microphone line up
the pop filter with the groove underneath the grill and
press on until the legs snap onto the microphone body.
10
Transducer Type . . . . . . . . . . . . . . Condenser
Polar Pattern. . . . . . . . . . . . . . . .Cardioid
Frequency Response . . . . . . . . . . . . 20Hz–20kHz
Sensitivity . . . . . . . . . . . . . . . . . -33dB ±3dB (0dB=1V/Pa 1kHz)
Equivalent self noise . . . . . . . . . . . . 16dB
Dynamic Range . . . . . . . . . . . . . . 121dB
Signal-to-noise . . . . . . . . . . . . . . .78dB
Output Impedance . . . . . . . . . . . . . 50Ω ±30% (at 1kHz)
Maximum SPL . . . . . . . . . . . . . . . 137dB
Powering. . . . . . . . . . . . . . . . . .48V phantom power
Connector . . . . . . . . . . . . . . . . . 3-pin, gold plated XLR
Dimensions . . . . . . . . . . . . . . . . ø54mm x 189.9mm
Weight. . . . . . . . . . . . . . . . . . .460g
At Samson, we are continually improving our products, therefore specifications
and images are subject to change without notice.
Technical Specifications
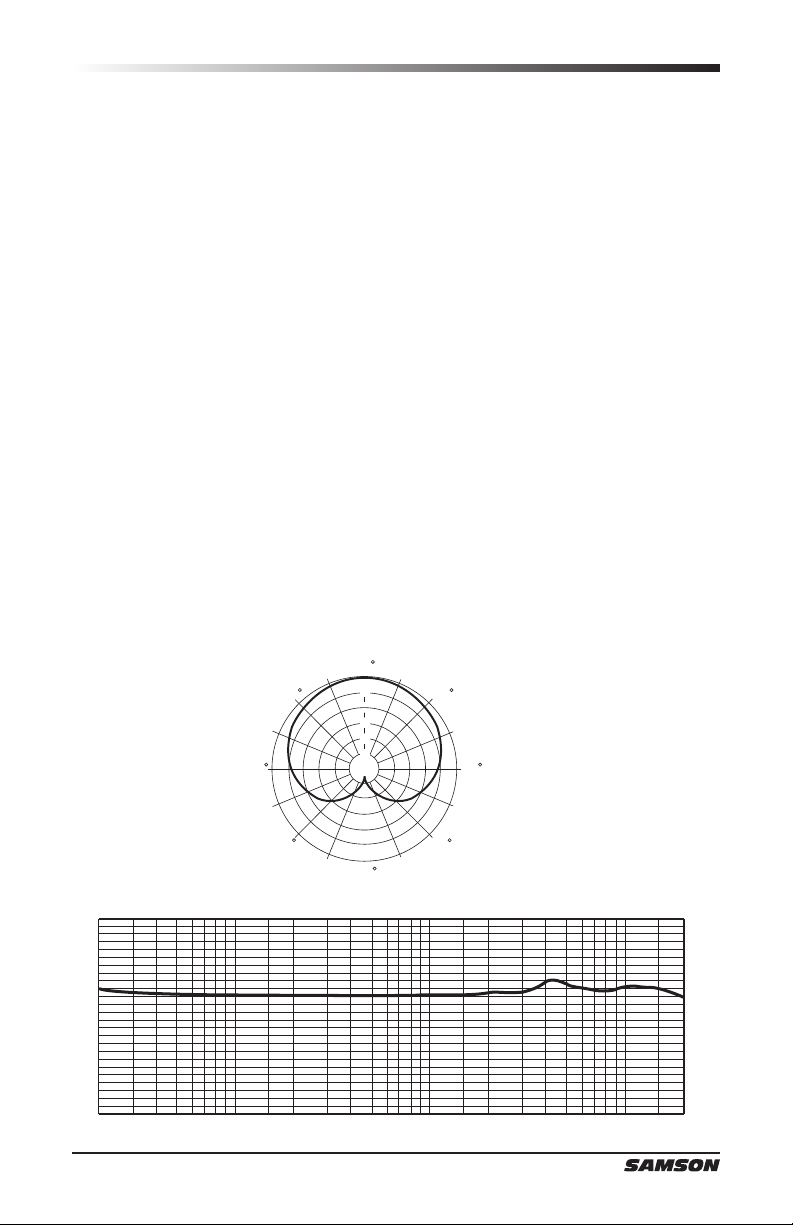
dB
10
0
-10
-20
20000 Hz100005000200010005002001005020
5
10
15
20
dB
25
45
45
90 90
135 135
180
0
Frequency Response
Polar Pattern


12
Introduction
Merci d’avoir choisi le micro à condensateur studio Samson MTR101. Samson
possède de nombreuses années d'expérience dans la création de micros de la plus
grande qualité pour les enregistrements ou les concerts. La série MTR est notre
gamme de micros la plus avancée, offrant une qualité sonore exceptionnelle et
une conception innovante.
Le MTR va rapidement devenir votre meilleur allié du studio, que vous souhaitiez
enregistrer du chant, ou des instruments acoustiques ou électriques. Le micro
offre une réponse étendue en fréquence plate pour assurer une reproduction
fidèle et linéaire de votre musique. Grâce à sa plage de fréquence étendue et à sa
capacité à traiter des niveaux sonores élevés, le MTR101 capture parfaitement les
sons, qu'ils soient faibles ou élevés.
Pour une meilleure isolation contre les bruits indésirables, utilisez la suspension
anti-chocs MSM1 (incluse avec le MTR101A). Grâce à la nouvelle conception du
micro, il est possible d'installer le filtre anti-bruit MPF1 en option directement sur
le micro (inclus dans le MTR101A), très facilement.
Dans ce mode d’emploi, vous trouverez une description détaillée des fonctions
du MTR101, les instructions pour sa mise en œuvre, son utilisation, ainsi que
les caractéristiques techniques. Si vous avez acheté votre micro aux USA, vous
trouverez une carte de garantie — remplissez-la et
renvoyez-la pour bénéficier de l’assistance en ligne et pour recevoir les informa-
tions sur les produits Samson. Pensez également à consulter notre site Internet
(www.samsontech.com) pour obtenir des informations détaillées sur toute notre
gamme de produits.
Nous vous recommandons de garder les références suivantes pour toute référence
ultérieure ainsi qu'une copie de votre preuve d'achat.
Numéro de série: ________________________________________________
Date d'achat: ___________________________________________________
Nom du revendeur: _______________________________________________
Avec un entretien adapté et une ventilation suffisante, votre MTR101 vous donne-
ra satisfaction pendant de très nombreuses années. Pour faire réparer votre micro,
vous devez tout d’abord obtenir un numéro de retour auprès de Samson. Sans ce
numéro, l’appareil ne sera pas accepté. Appelez Samson au : 1-800-3SAMSON
(1-800-372-6766) pour obtenir ce numéro avant de renvoyer votre unité. Conser-
vez, si possible, l’emballage d’origine afin de l’utiliser en cas de retour. Si vous
avez acheté ce micro hors des USA, contactez votre distributeur pour obtenir les
détails sur la garantie et le service après vente.
ENGLISH
FRANÇAISDEUTSCHEESPAÑOLITALIANO
MTR101 Micro de studio à condensateur
13
Accessoires
• Swivel*
• Support MSM1
†
• Filtre anti-bruit MPF1
†
*Inclus dans le MTR101 de base
†
Inclus dans le micro MTR101A de base
Caractéristiques
• Micro à condensateur de studio à large diaphragme
• Capsule 1" avec diaphragme 3 microns
• Reproduction fidèle et transparente
• Polarité hyper-cardioïde
• Alimentation fantôme 48 Volts
• Suspension interne anti-choc
• Réponse en fréquence étendue
• Fabrication en alliage robuste
• Connecteur XLR plaqué-or

14
Mise sous tension
Réglage du niveau du signal
Le MTR101 est un micro à condensateur, ce qui implique qu’il nécessite une alimentation
fantôme de 48V. Les préamplificateurs de console de mixage dispose d'une alimentation de
ce type. Une alimentation fantôme externe peut également être utilisée si nécessaire. Le
MTR101 reçoit alors son alimentation par le câble micro équilibré.
Pour maximiser la durée de vie de votre matériel et maintenir de bonnes performances, veillez
à toujours éteindre le Fader principal et l'écran lorsque vous allumez ou éteignez l'alimenta-
tion fantôme.
Si les performances de votre micro ne sont pas satisfaisantes, cela peut être dû à un problème
au niveau de l'alimentation fantôme. Si vous remarquez que votre micro présente une baisse
au niveau de la sortie de signal, des bruits ou une plus petite marge de sécurité (distorsion),
cela peut être dû à un problème au niveau de l'alimentation fantôme ou des câbles du micro.
Lorsque vous connectez le MTR101 à l’entrée d’une console, utilisez un câble
équilibré et assurez-vous que cette entrée est bien à niveau micro. Veillez éga-
lement à ce que l’alimentation fantôme soit activée. La plupart des consoles et
des enregistreurs de qualité sont équipés d’entrée micro avec réglage du gain
(généralement appelé Trim ou Gain) Ce réglage de gain vous permet d’optimiser le
niveau du signal micro par rapport au bruit de fond induit par l’électronique de la
console. Un bon préamplificateur micro est en outre équipé de témoins d’écrê-
tage. Pour obtenir un niveau micro idéal, placez le MTR101 en face de la source
à enregistrer et augmentez progressivement le gain jusqu’à ce que le témoin
PEAK s’allume. Baissez ensuite très légèrement le gain de sorte que le témoin
reste éteint. Sur la plupart des consoles, le résultat optimal est obtenu en réglant
le gain le plus haut possible sans que le témoin le témoin PEAK ne s’allume.
La caractéristique essentielle d’un micro est sa directivité. On distingue ainsi trois
catégories :
les micros omni-directionnels, bi-directionnels et uni-directionnels.
Les micros bi-directionnels (figure 8) captent les sons provenant de l’avant et de
l’arrière du micro et atténuent les sons latéraux (gauche, droite)
Les micros uni-directionnels (cardioïdes) ne captent que les sons reçus de face.
Le MTR101 est un micro uni-directionnel qui offre une meilleure séparation des
instruments en studio et permet de faire ressortir ce que vous souhaitez entendre
en fonction de l'acoustique de la pièce. Se référer au chapitre de la page «Pla-
cement du micro» on page 15 pour positionner correctement le micro lors
d'activités d'enregistrement différentes.
Directivité
ENGLISH
FRANÇAISDEUTSCHEESPAÑOLITALIANO
MTR101 Micro de studio à condensateur
15
Le positionnement du MTR101 par rapport à l’instrument ou au chanteur que
vous enregistrez influence directement la qualité sonore finale. Le MTR est un
micro uni-directionnel, il est donc très sensible à un phénomène connu sous le
nom “d’effet de proximité”, qui se caractérise par une variation de la réponse
en fréquence du micro en fonction de la position de la capsule par rapport à la
source sonore. Afin d'obtenir la meilleure réponse en fréquence, pointez un micro
cardioïde en direction de la source sonore. Vous pouvez changer les caractéris-
tiques sonores du micro en modifiant sa position. Lorsque vous désaxez le micro
par rapport à la source, la sensibilité aux fréquences aiguës est particulièrement
atténuée. Rien ne saurait remplacer l’expérience dans le domaine de la prise de
son. Vous trouverez ci-dessous des conseils pour installer votre MTR101 pour des
applications normales.
Chant
Placez le micro devant le chanteur
de façon à ce que la grille soit à
une distance d'environ 10 à 25 cm.
Plus le chanteur se rapproche du
micro, plus les basses augmentent.
Lorsque le chanteur s'éloigne du
micro, le son devient plus naturel
avec l'atténuation des basses fré-
quences. Pour un son optimal, le
chanteur doit diriger le micro vers
sa bouche et le tenir couché. Si
certaines consonnes, telles que P
et S, ne sont pas claires, éloignez légèrement le micro du chanteur de façon à
ce que le son soit légèrement dévié en arrivant dans le micro. Si vous possédez
un espace suffisamment grand, il est préférable de prévenir ces pics en utilisant
un filtre anti-bruit externe, comme le filtre MPF1. Pour enregistrer un groupe de
chanteurs, demandez-leur de se placer devant et derrière le micro, tout près les
uns des autres.
Guitare acoustique
Vous pouvez utiliser le MTR101 avec une guitare acoustique de différentes fa-
çons. Le positionnement du micro dépend du type d'instrument que vous utilisez
et de l'effet recherché. Il est peut-être nécessaire d'essayer différentes positions
pour obtenir un son clair et équilibré. Lorsque vous enregistrez un instrument
à cordes d'acier standard, placez le micro à une distance de 6-12" de l'instru-
ment, légèrement désaxé et dirigez-le vers le bord du manche. Depuis cette
position, si vous rapprochez le micro de l'instrument, il capturera davantage de
basses fréquences. Si, en revanche, vous souhaitez capturer davantage de hautes
fréquences, ou supprimer les sons caverneux, rapprochez le micro du manche.
Contrairement aux acoustiques à cordes acier, les guitares classiques à cordes
nylon jouées en Picking offrent une sonorité naturellement plus chaude. Pour
enregistrer un son équilibré, commencez par placer le micro 3-6 pouces au-des-
Placement du micro
 Loading...