


 Loading...
Canon imagePRESS Server A2000, imagePRESS Server A3000, imagePRESS Server Q1, imagePRESS Server-T1 User Manual
Fiery JDF Connector Workflow Collaboration
Installation Manual for Trueflow Suite Edition

Contents
Preface............................................................................................................................................................. |
|
3 |
|
Displays Used in This Manual..................................................................................................................... |
3 |
||
Trademarks..................................................................................................................................................... |
3 |
||
Copyright........................................................................................................................................................ |
|
3 |
|
1. |
Installation of JDF Connector............................................................................................................... |
4 |
|
|
1-1. Installing JDF Connector software.............................................................................................................. |
4 |
|
|
1-2. |
Selecting Language............................................................................................................................................ |
6 |
|
1-3. Start of Installation Wizard.............................................................................................................................. |
6 |
|
|
1-4. |
Selecting Install Component......................................................................................................................... |
7 |
|
1-5. |
License Agreement............................................................................................................................................. |
7 |
|
1-6. |
Selecting detailed Setup.................................................................................................................................. |
8 |
|
1-7. |
Start of Installation............................................................................................................................................... |
8 |
2. |
Registering New Fiery Server............................................................................................................. |
10 |
|
|
2-1. |
Registering Fiery Server................................................................................................................................. |
10 |
|
2-2. |
Login Setting........................................................................................................................................................ |
12 |
|
2-3. JDF Device ID Setting...................................................................................................................................... |
12 |
|
|
2-4. |
Auto Submit Setting........................................................................................................................................ |
13 |
|
2-5. |
Media Setting....................................................................................................................................................... |
13 |
|
2-6. Checking connection to Fiery Server..................................................................................................... |
15 |
|
3. |
Changing/Deleting Connection Setting of Fiery Server............................................................... |
17 |
|
|
3-1. Changing settings of registered Fiery Server..................................................................................... |
17 |
|
|
3-2. |
Deleting Fiery Server........................................................................................................................................ |
17 |
4. |
Setting up print options in Command WorkStation..................................................................... |
18 |
|
|
4-1. |
Installing Command WorkStation............................................................................................................ |
18 |
|
4-2. Operation on Command WorkStation.................................................................................................. |
18 |
|
5. |
Hot Folders............................................................................................................................................. |
30 |
|
6. |
Trouble Shooting.................................................................................................................................. |
30 |
|

Preface
Thank you for purchasing this Canon product. Please read this manual thoroughly before operating the product in order to familiarize yourself with its capabilities, and to make the most of its many functions. After reading this manual, store it in a safe place for future reference.
Displays Used in This Manual
Unless otherwise noted, the screen shots used in this manual show the imagePRESS C7000VP and imagePRESS Server A3100 connected to the Trueflow Suite Edition.
Differences across the copier/printer to which the product is connected are noted wherever appropriate.
Functions that are unavailable due to a particular combination of accessories and optional equipment are not displayed on the web browser. Therefore, screen shots of computer operation screens used in this manual may differ from the ones you actually see, depending on the model or options that come with your machine.
Trademarks
Other product and company names herein may be the trademarks of their respective owners.
Copyright
Copyright 2008 by Canon Inc. All rights reserved.
No part of this publication may be reproduced or transmitted in any form or by any means, electronic or mechanical, including photocopying and recording, or by any information storage or retrieval system without the prior written permission of Canon Inc.

1. Installation of JDF Connector
1-1. Installing JDF Connector software
Install the JDF Connector software using "EFI Fiery JDF Connector SOFTWARE & DOCUMENTATION V1.6" CD in the media pack that accompany with imagePRESS Server.
The following table lists the minimum system requirements.
|
CANON |
|
|
SCREEN |
|
|
|
|
|
|
|
|
|
Host Machine |
PS Controller |
Fiery JDF |
EFI Hot |
Hot Folder Input |
|
FJC Input |
Connector |
Folder |
|
||||
|
|
|
|
|
||
|
|
|
|
|
|
|
|
imgaePRESS Server A3000/A2000 |
v1.5.2SP1 |
2.2041 |
V501.TF101 |
|
V501.TF101 |
|
|
|
|
|
|
|
imagePRESS C7000VP |
imgaePRESS Server A3000/A2000 |
v1.5.2SP1 |
2.2041 |
V501.TF101 |
|
V501.TF101 |
|
|
|
|
|
|
|
|
imgaePRESS Server A3100/A2100 |
v1.6 |
2.4011 |
V501.TF103 |
|
V501.TF103 |
|
|
|
|
|
|
|
imagePRESS C6000VP |
imgaePRESS Server A3100/A2100/A1100 |
v1.6 |
2.4011 |
V501.TF103 |
|
V501.TF103 |
|
|
|
|
|
|
|
imagePRESS C6000 |
imgaePRESS Server A3100/A2100/A1100 |
v1.6 |
2.4011 |
V501.TF101 |
|
V501.TF101 |
|
|
|
|
|
|
|
imagePRESS C1 |
imgaePRESS Server Q1/T1 |
N/A |
2.2041 |
V501.TF101 |
|
N/A |
|
|
|
|
|
|
|

The following shows the table of function combination applicable with the respective JDF connector version.
Function |
JDF Connector FJC1.5.2SP1 |
JDF Connector FJJC1.6 |
Trueflow |
Check with CWS |
|
|
|
|
|
|
|
1-sided/2-sided print |
OK |
OK |
OK |
OK |
|
|
|
|
|
|
|
Staple setting |
OK |
OK |
N/A |
OK |
|
|
|
|
|
|
|
Punch setting |
OK |
OK |
N/A |
OK |
|
|
|
|
|
|
|
Saddle stitching |
OK |
OK |
N/A |
OK |
|
|
|
|
|
|
|
Paper cassette setting |
OK |
OK |
N/A |
OK |
|
|
|
|
|
|
|
Paper description setting |
OK |
OK |
N/A |
OK |
|
|
|
|
|
|
|
Delivery slot setting |
OK |
OK |
N/A |
OK |
|
|
|
|
|
|
|
Delivery surface setting |
OK |
OK |
N/A |
OK |
|
|
|
|
|
|
|
Color mode setting |
OK |
OK |
N/A |
OK |
|
|
|
|
|
|
|
Number of copy sets setting |
OK |
OK |
OK |
OK |
|
|
|
|
|
|
|
Collate |
OK |
OK |
OK |
OK |
|
|
|
|
|
|
|
Shift sort per specified No. of |
OK |
OK |
N/A |
OK |
|
copy sets |
|||||
|
|
|
|
||
|
|
|
|
|
|
Print No. of copy sets |
OK |
OK |
N/A |
OK |
|
|
|
|
|
|
|
BOX&Hold |
OK |
OK |
N/A |
OK |
|
|
|
|
|
|
|
Trimming (on one side) |
OK |
OK |
N/A |
OK |
|
|
|
|
|
|
|
Tandem delivery |
OK |
OK |
N/A |
OK |
|
|
|
|
|
|
|
Screening |
OK |
OK |
OK |
OK |
|
|
|
|
|
|
|
Printing tab on tab paper |
OK |
OK |
N/A |
OK |
|
|
|
|
|
|
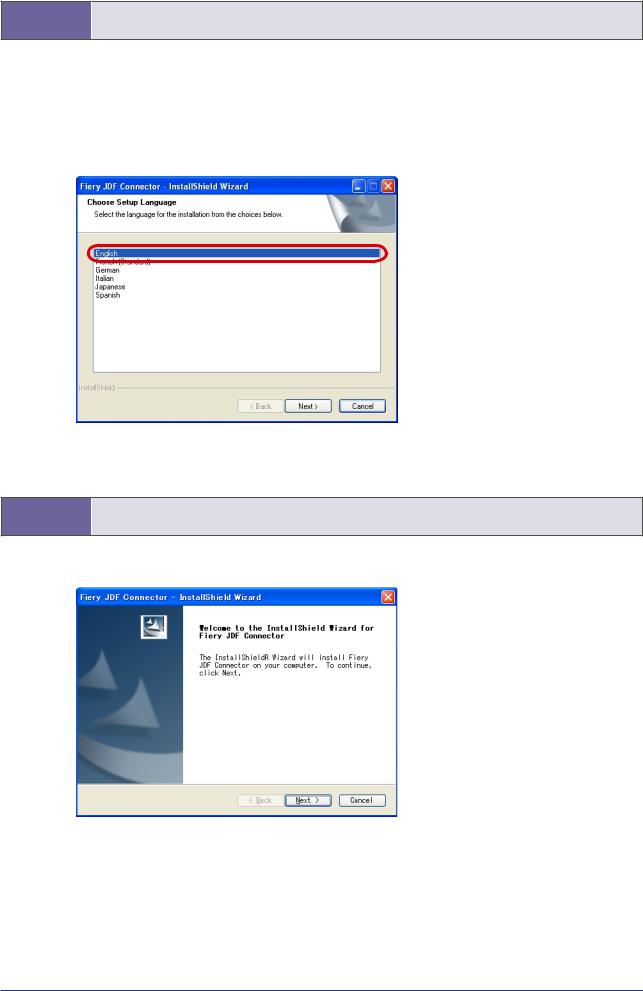
1-2. Selecting Language
Click “jdf connector-setup.exe” in the CD.
When starting Installer, the screen displays the dialog box for language selection. The displayed language on UI changes according to the language selected (the function is the same).
The language selected here can be switched later by changing the setting on Client UI (the Client PC needs to be restarted after changing the setting).
1-3. Start of Installation Wizard
Click Next to proceed.

1-4. Selecting Install Component
Default setting installs JDF Connector Client only.
In the case of installing JDF Connector Server, select the checkbox for JDF Connector Server.
If there is no connectable JDF Connector Server, both JDF Connector Server and JDF Connector Client need to be installed.
(*In the case of installing Client only, see the later description)
1-5. License Agreement
After checking the License description, select “I accept the terms of the license agreement” if you agree the terms, and then click Next to proceed.
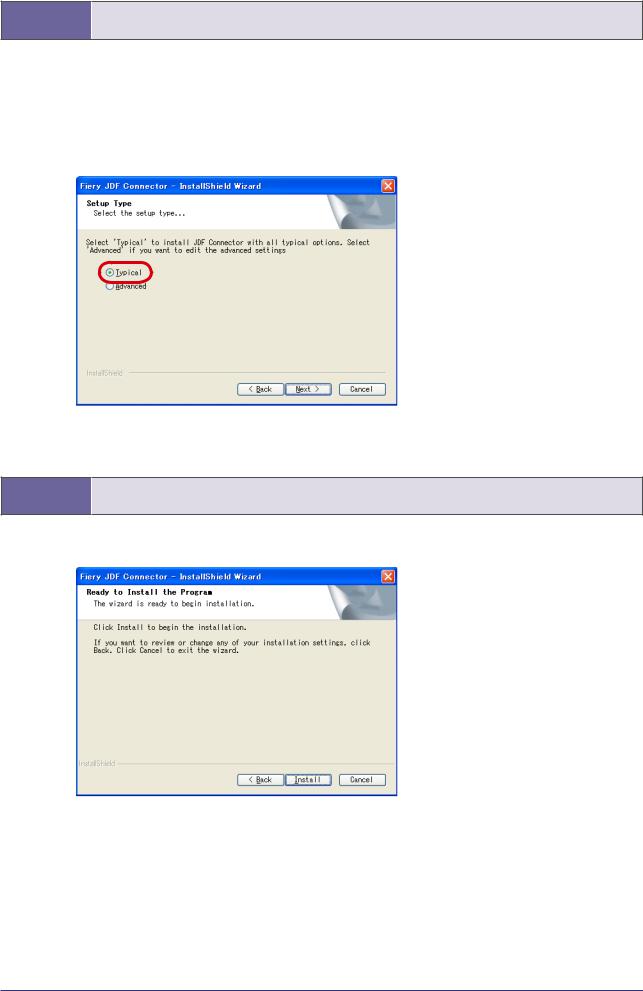
1-6. Selecting detailed Setup
In the case of customizing Installation destination of the program or File location of the database, select “Advanced”.
Items to be set in “Advanced” can be modified on JDF Connector UI, too.
We recommend selecting Typical because the setting customization is not required when installing both the Server and the Client on the same PC.
1-7. Start of Installation
If there is no change in the setting so far, click Install to start installation.
Restart the system after installation is completed.
Installation work is complete now.
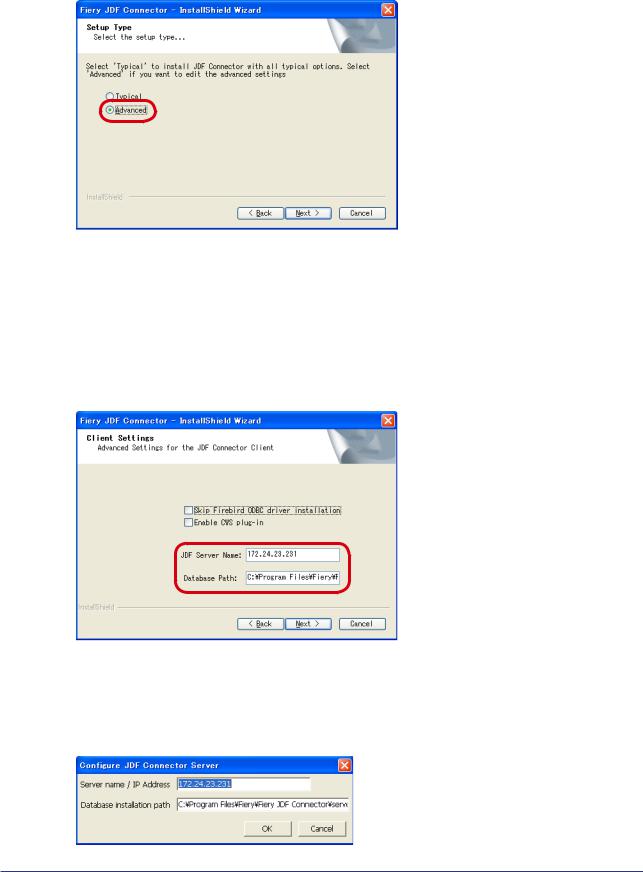
*In the case of installing JDF Connector Client only
In the case of installing JDF Connector Client to connect to existing JDF Connector Server, clear the checkbox for Server in Select Components dialog box to perform installation in step “1-4. Selecting Install Component”.
Select “Advanced” in step “1-6. Selecting detailed Setup”.
In Client Settings dialog box, specify the IP address of JDF Connector Server to connect in JDF Server Name field.
Also specify Database Path in which the database was simultaneously installed with Server. Be sure to specify the absolute path of JDFCONNECTOR.GDB file in Server PC. (To check the database, after starting Client on Server-installed PC, see the displayed dialog box by selecting the following: Configure → JDF Connector Server).
The Server to connect can be specified on UI after starting Client.
Specify Server in the dialog box to be displayed by selecting the following: Configure → JDF Connector Server.

2. Registering New Fiery Server
2-1. Registering Fiery Server
Select the following to start JDF Connector Client: Start Menu → Programs → Fiery → Fiery JDF Connector Client
On Client UI, select the following to make connection setting with Fiery Server: Configure > Printer Devices.
Configure Printer Devices dialog box is displayed. Click New (as this is a new entry).
10
Available Servers dialog box is displayed. Specify Fiery Server to connect.
Once Auto Search tab is open, the system automatically starts searching to display a list of connectable Fiery
Servers. Select the server to connect and click Add.
If connectable Server is not found in AutoSearch, Server can be specified manually with Manual tab. Select Manual tab to enter IP address of Fiery Server in Server IP address field.
11

2-2. Login Setting
After succeeding in connecting to the specified Fiery Server, make Login setting to Server in Login To Server dialog box.
If System Administrator’s login password is set in Fiery server, specify the System Administrator’s password in “Administrator password” field.
Click Next.
2-3. JDF Device ID Setting
Printer Device Properties dialog box is displayed.
JDF Device ID to be set here determines JMF URL that is the destination when sending JDF job from JDFgenerated application.
Click Next. (No need to change the setting although User can change JDF Device ID into any characters).
12
Loading...