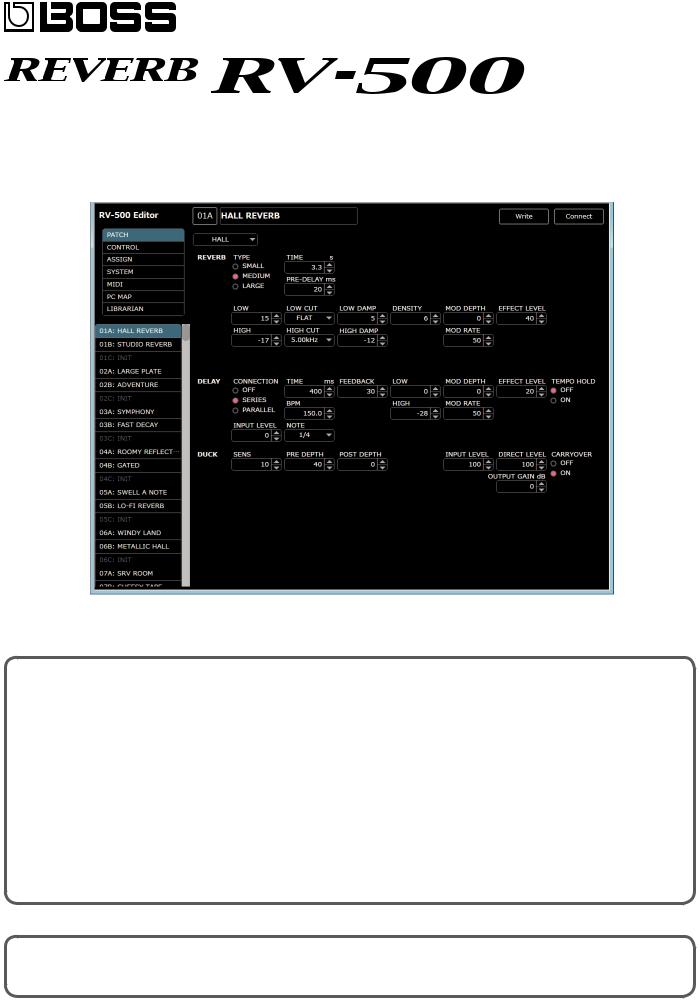
Boss RV-500 User Manual

RV-500 Editor Owner’s Manual
Overview
This software provides the following functionality.
55 Editing the RV-500's PATCH, BANK, CONTROL, ASSIGN, SYSTEM, MIDI, and PC MAP parameters 55 Managing the RV-500’s patches (LIBRARIAN)
55 Backing up all of the RV-500’s patches (LIBRARIAN IMPORT/EXPORT)
Supported operating systems
Windows 7/8/8.1/10
OS X 10.10/10.11, macOS 10.12
Required items
A commercially available USB 2.0 cable
RV-500 Ver 1.02 or later
Note
55 Don’t operate the RV-500 while RV-500 Editor is communicating with the RV-500 unit. |
|
Copyright © 2017 ROLAND CORPORATION |
|
Roland, BOSS are either registered trademarks or trademarks of Roland Corporation in the United States and/or other countries. |
02 |
Company names and product names appearing in this document are registered trademarks or trademarks of their respective owners. |

Installing RV-500 Editor
Windows Users
1.Unpack the Zip file.
2.Double-click "RV-500 Editor Installer.exe."
Installation begins.
3.Proceed with installation as directed by the install screens.
4.When the screen indicates “Completing the RV-500 Editor Setup Wizard,” click the [Finish] button.
Mac Users
1.Unpack the Zip file.
2.Double-click "RV-500 Editor Installer.pkg."
Installation begins.
3.Proceed with installation as directed by the install screens.
4.When the screen indicates “The installation was successful. The software was installed.,” click the [Close] button.
Uninstalling RV-500 Editor
Windows Users
1. Click the Windows [Start] button, and then click [Control Panel].
The control panel appears.
2.Click [Uninstall a Program] or [Programs and Features].
3.Double-click [RV-500 Editor].
Uninstallation begins.
4.Proceed with uninstallation as directed by the uninstall screen.
5.When the screen indicates “RV-500 Editor was successfully removed from your computer,” click the [OK] button.
Mac Users
1.In the Finder menu, click [Go], and then click [Applications].
2.From the “BOSS” folder, drag and drop the “RV-500 Editor” file into the trash.
2

Initial Settings
Connecting to a Computer
Using a commercially available USB 2.0 cable, connect the USB port of your computer with the USB port of the RV-500.
Making Settings in RV-500 Editor
1. Double-click the RV-500 Editor icon to start the software.
Wait until the software has finished starting. The “Connect” dialog box appears.
2. For MIDI IN and OUT, select “RV-500.”
3. Click the [OK] button.
If connections are correct, the editor automatically starts communicating with the RV-500.
The connection settings you select here are automatically saved on the computer. The next time you start the software, connection occurs automatically.
If you want to reconnect, click the [Connect] button (p. 4). The "Connect" dialog box appears.
3
 Loading...