


 Loading...
VE-500 Editor Owner’s Manual
Overview
This software provides the following functionality.
55 Editing the VE-500’s PATCH and SYSTEM parameters 55 Managing the VE-500’s patches (LIBRARIAN)
55 Backing up all of the VE-500’s patches (LIBRARIAN IMPORT/EXPORT)
Required items
A commercially available Micro USB cable
VE-500
Note
55 Don’t operate the VE-500 while VE-500 Editor is communicating with the VE-500 unit. 55 Do not use a charging-only Micro USB cable. This type of cable cannot transfer data.
© 2018 Roland Corporation |
|
Roland, BOSS are either registered trademarks or trademarks of Roland Corporation in the United States and/or other countries. |
01 |
Company names and product names appearing in this document are registered trademarks or trademarks of their respective owners. |

3.Proceed with installation as directed by the install screens.
4.When the screen indicates “Completing the VE-500 Editor Setup Wizard,” click the [Finish] button.
1.Unpack the Zip file.
2.Double-click “VE-500 Editor Installer.pkg.”
3.Proceed with installation as directed by the install screens.
4.When the screen indicates “The installation was successful. The software was installed.,” click the [Close] button.
Uninstalling VE-500 Editor
Windows Users
1. Click the Windows [Start] button, and then click [Control Panel].
The control panel appears.
2.Click [Uninstall a Program] or [Programs and Features].
3.Double-click [VE-500 Editor].
Uninstallation begins.
4.Proceed with uninstallation as directed by the uninstall screen.
5.When the screen indicates “VE-500 Editor was successfully removed from your computer,” click the [OK] button.
Mac Users
1.In the Finder menu, click [Go], and then click [Applications].
2.From the “BOSS” folder, drag and drop the “VE-500 Editor” file into the trash.
2
Initial Settings
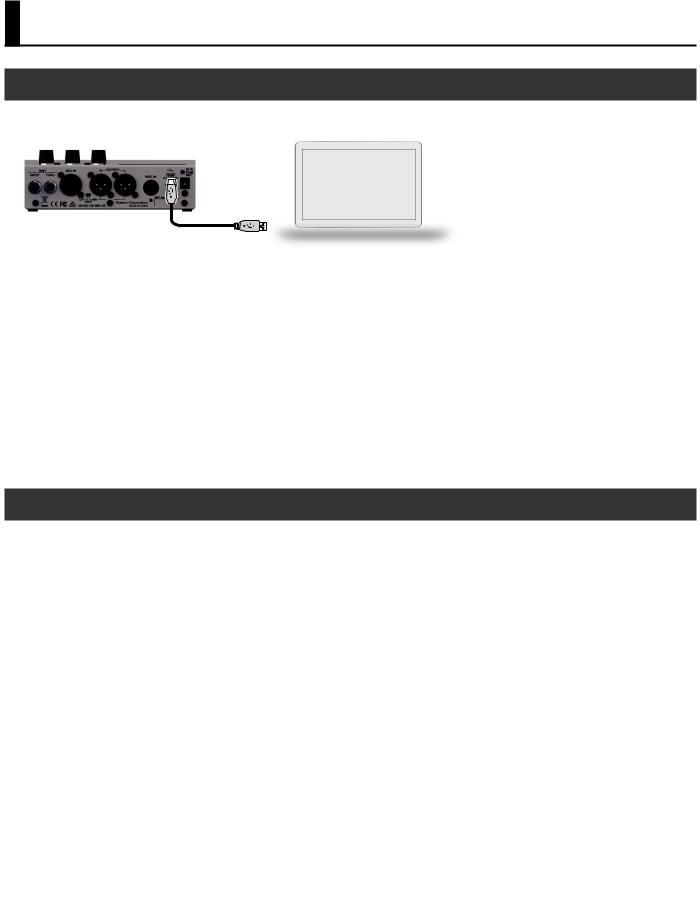
Connecting to a Computer
Using a commercially available Micro USB cable, connect the USB port of your computer with the MICRO USB port of the VE-500.
Note
You must install the USB driver before connecting to a computer.
Please download the USB driver from the BOSS website. Install this special driver before making a USB connection.
Download the USB driver from the BOSS website. For details, refer to Readme.htm which is included in the download.
&https://www.boss.info/support/
The program you need to use, and the steps you need to take to install the USB driver will differ depending on your computer setup, so please carefully read and refer to the Readme.htm file that comes with the download.
Making Settings in VE-500 Editor
1. Double-click the VE-500 Editor icon to start the software.
Wait until the software has finished starting. The “Connect” dialog box appears.
2. For MIDI IN and OUT, select “VE-500.”
3. Click the [OK] button.
If connections are correct, the editor automatically starts communicating with the VE-500.
The connection settings you select here are automatically saved on the computer. The next time you start the software, connection occurs automatically.
If you want to reconnect, click the [Connect] button (p. 4). The “Connect” dialog box appears.
3
Loading...