


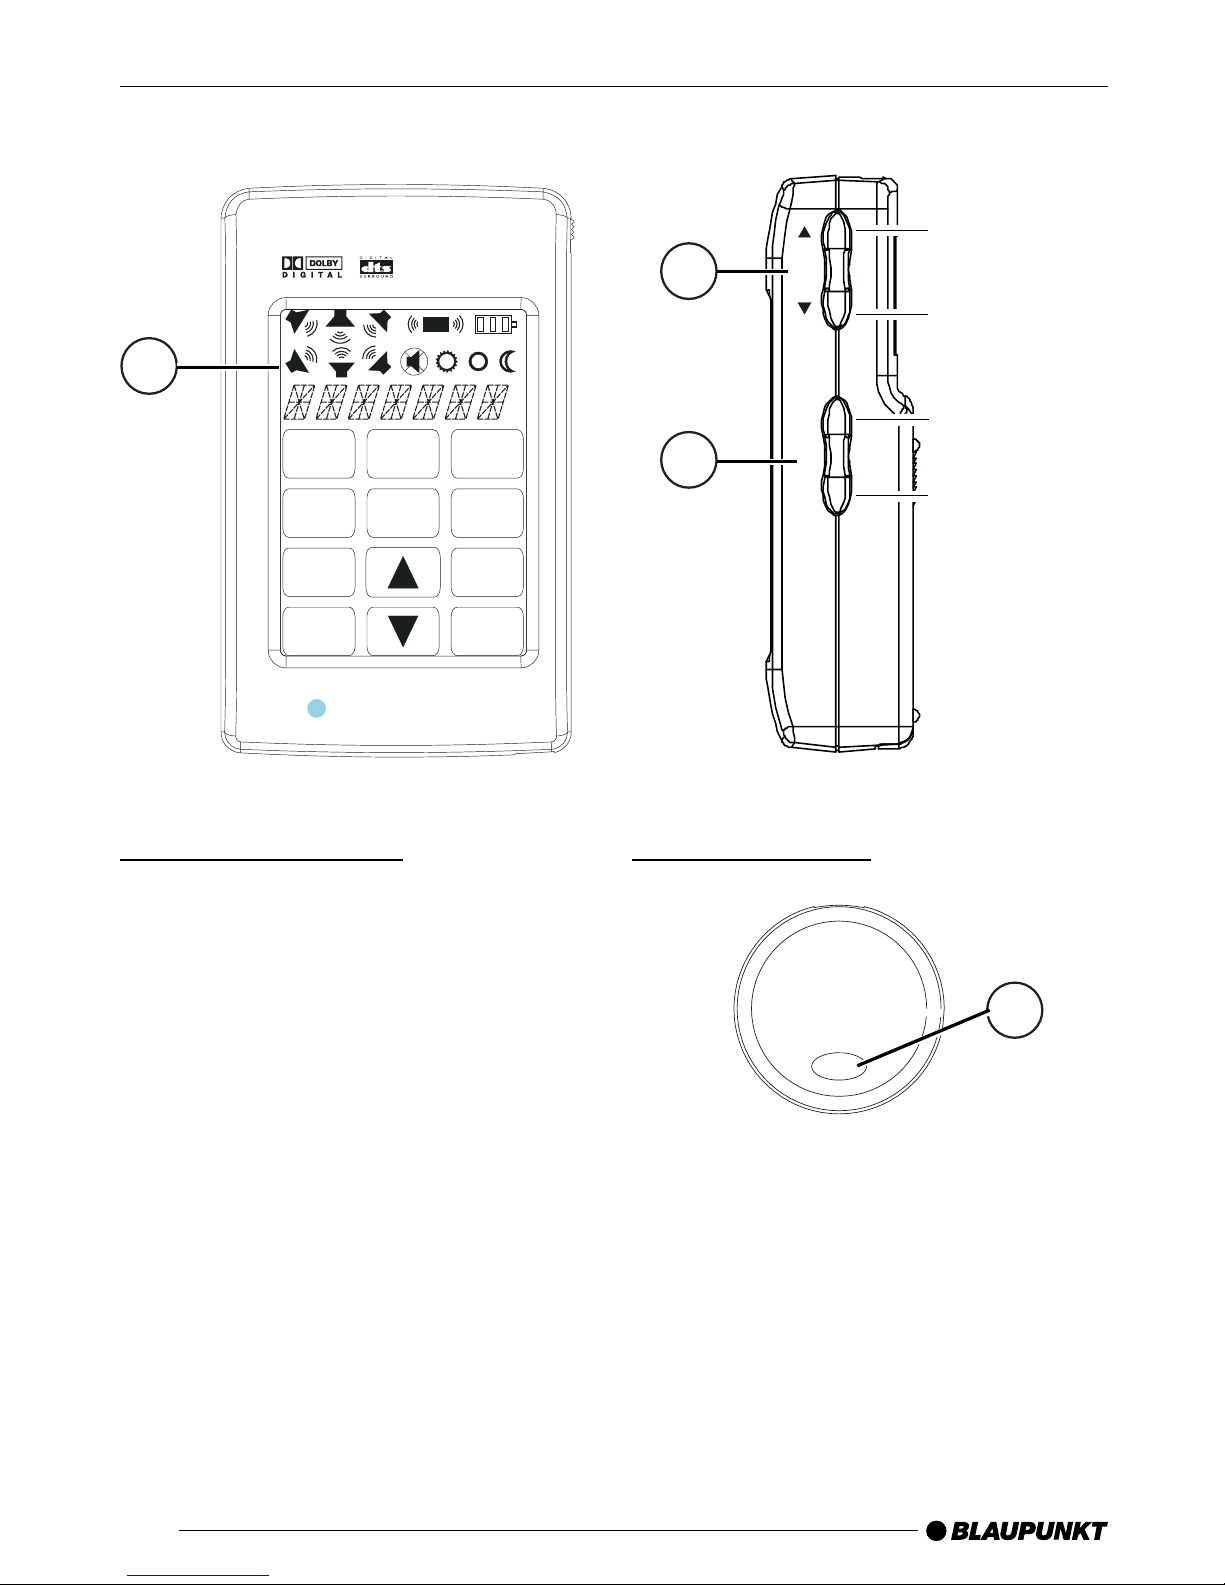
ODA SURROUND
Amplifier
ODA Surround 7 607 792 047
Bedienungs- und Einbauanleitung
Operating and installation instructions
Guide d’utilisation et de montage
Istruzioni d’uso e di installazione
Gebruiksaanwijzing en inbouwhandleiding
Bruks- och monteringsanvisning
Instrucciones de manejo e instalación
Instruções de serviço e de montagem
Betjenings- og monteringsvejledning
http://www.blaupunkt.com

15
ENGLISH
DEUTSCH
FRANÇAIS
ITALIANO
NEDERLANDS
SVENSKA
ESPAÑOL
PORTUGUÊS
DANSK
CONTENTS
Manufactured under licence from Dolby Laboratories. “Dolby”, “Pro Logic” and the double-D
symbol are trademarks of Dolby Laboratories.
Confidential, unpublished works, © 1992-1997
Dolby Laboratories, Inc. All rights reserved.
Manufactured under licence from Digital Theater Systems, Inc. US patent numbers
5.451.942, 5.956.674, 5.974.380 and
5.978.762. Other international patents and
applications for patents exist in addition to this.
“DTS” and “DTS Digital Surround” are
registered trademarks of Digital Theater Systems, Inc. © 1996, 2000 Digital Theater
Systems, Inc. All rights reserved.
General .................................. 16
Notes and trademarks ................... 16
Safety notices ............................... 16
Connections and controls ...... 17
Front of the device ........................ 17
Rear of the device ......................... 17
Remote control ...................... 18
Infrared transmitter ........................ 18
Infrared receiver ............................ 18
Display and controls ...................... 19
Functions ............................... 20
System factory defaults ................. 20
Gain control .................................. 20
Display menu................................. 21
Configuring the system .......... 21
User-defined settings
in the SETUP menu ....................... 21
1. Step: Selecting the input.......... 21
2. Step: Configuring
SURROUND SOUND ............. 21
3. Step: Configuring
the EQUALIZER ...................... 22
4. Step: Switching PRO LOGIC
on/off....................................... 22
5. Step: Configuring LISTEN
(dynamic range) ....................... 22
6. Step: Configuring BALANCE... 22
7. Step: Configuring DELAY ........ 22
8. Step: Configuring SPK SET
(loudspeakers) ......................... 22
9. Step: TEST TONE on/off ......... 23
10. Step: RESET
(resetting the system) .............. 23
Supplied parts ........................ 24
Specifications ........................ 24
ODA SURROUND (with Dolby
Digital and DTS decoder) .............. 24
Amplifier ........................................ 25
Dolby Digital, DTS and
Pro Logic Decoder ........................ 25
Installation.............................. 26
Safety notices ............................... 26
Installation and connection
instructions.................................... 26
Installing the infrared receiver ........ 26
Installing the control unit holder ..... 26
Fuse.............................................. 27
Connection examples .................... 27
Installation diagrams ........... 119
System connection 1 ................... 120
System connection 2 ................... 121

16
General
Thank you for deciding to use the Blaupunkt ODA Dolby Digital/DTS audio
system.
The Dolby Digital/DTS audio decoder
uses advanced digital technology like
Dolby Digital 5.1 and DTS Sound for
cinema-quality sound reproduction.
Additionally you are also provided with
Dolby Prologic I for use with analogue
sources.
We hope you enjoy using this new piece
of equipment.
Please read these operating instructions before using the equipment for
the first time.
The Blaupunkt editors are constantly
working on making the operating instructions clearer and easier to understand. However, if you still have any
questions on how to operate the equipment, please contact your dealer or the
telephone hotline for your country. You
will find the telephone numbers printed
at the back of this booklet.
We provide a manufacturer guarantee
for our products bought within the European Union. You can view the guarantee conditions at www.blaupunkt.de
or ask for them directly at:
Blaupunkt GmbH
Hotline
Robert-Bosch-Str . 200
D-31139 Hildesheim
Notes and trademarks
The information stated herein is subject
to change at any time without notice.
NOTES
No responsibility is accepted for the accuracy of the information contained herein or for the infringement of patents or
other third party’s rights. Nothing contained herein shall be construed as conferring by implication the right to utilisation of any license or any patent. All
trademarks stated herein are the property of the respective holders of the
rights.
Safety notices
Please observe the following safety
notices during installation and whilst
making the connections.
- If installation or maintenance is
carried out incorrectly , the vehicle’s
electronic systems might malfunction.
- Disconnect the negative terminal
of the battery! When doing so,
please observe the safety notices
provided by the vehicle manufacturer .
- When drilling holes, always make
sure that none of the vehicle’s components can be damaged in the
process.
- Depending on the vehicle model,
the conditions in your vehicle may
differ from the description provided here. We do not accept liability
for any damages caused by mistakes made during installation or
when making connections or for
any consequential damages.
I
f these instructions are not suitable for
your particular installation, please contact your Blaupunkt dealer, your vehicle
manufacturer or our telephone hotline.

17
ENGLISH
DEUTSCH
FRANÇAIS
ITALIANO
NEDERLANDS
SVENSKA
ESPAÑOL
PORTUGUÊS
DANSK
CONNECTIONS AND CONTROLS
: Preamplifier output for front chan-
nel left (FL)
; Preamplifier output for surround
channel left (SL)
< Preamplifier output for centre chan-
nel (CEN)
= Preamplifier output for front chan-
nel right (FR)
> Preamplifier output for surround
channel right (SR)
? Preamplifier output for subwoofer
channel (SUB)
Rear of the device
1 Connection for +/- and remote
2 Fuse (30 A)
Connections and controls
Front of the device
1 Power-on indicator (LED)
2 Connection for remote control
3 Digital input (optical)
4 Digital input (coaxial)
5 Gain control for Hi-Level input
6 Control for input sensitivity at AUX2
7 Control for input sensitivity at AUX1
8 Analogue input (AUX2)
9 Analogue input (AUX1)
Power
Control Out
Optical
Coaxial
Hi-Level
R
Aux1Aux2
Input Gain
Signal Input
Aux1
Aux2
Line out
FR
SR
SUB
CEN
SL
FL
L
234 56789:;<
=>
?
1
Speaker Out
CEN
FL
FR
SL
SR
Fuse 30A
REM
FR FL RR RL
Hi-Level In
DC 12V In
+
-
1 2 3
4
3 Loudspeaker connection
4 Connection for Hi-Level input
18
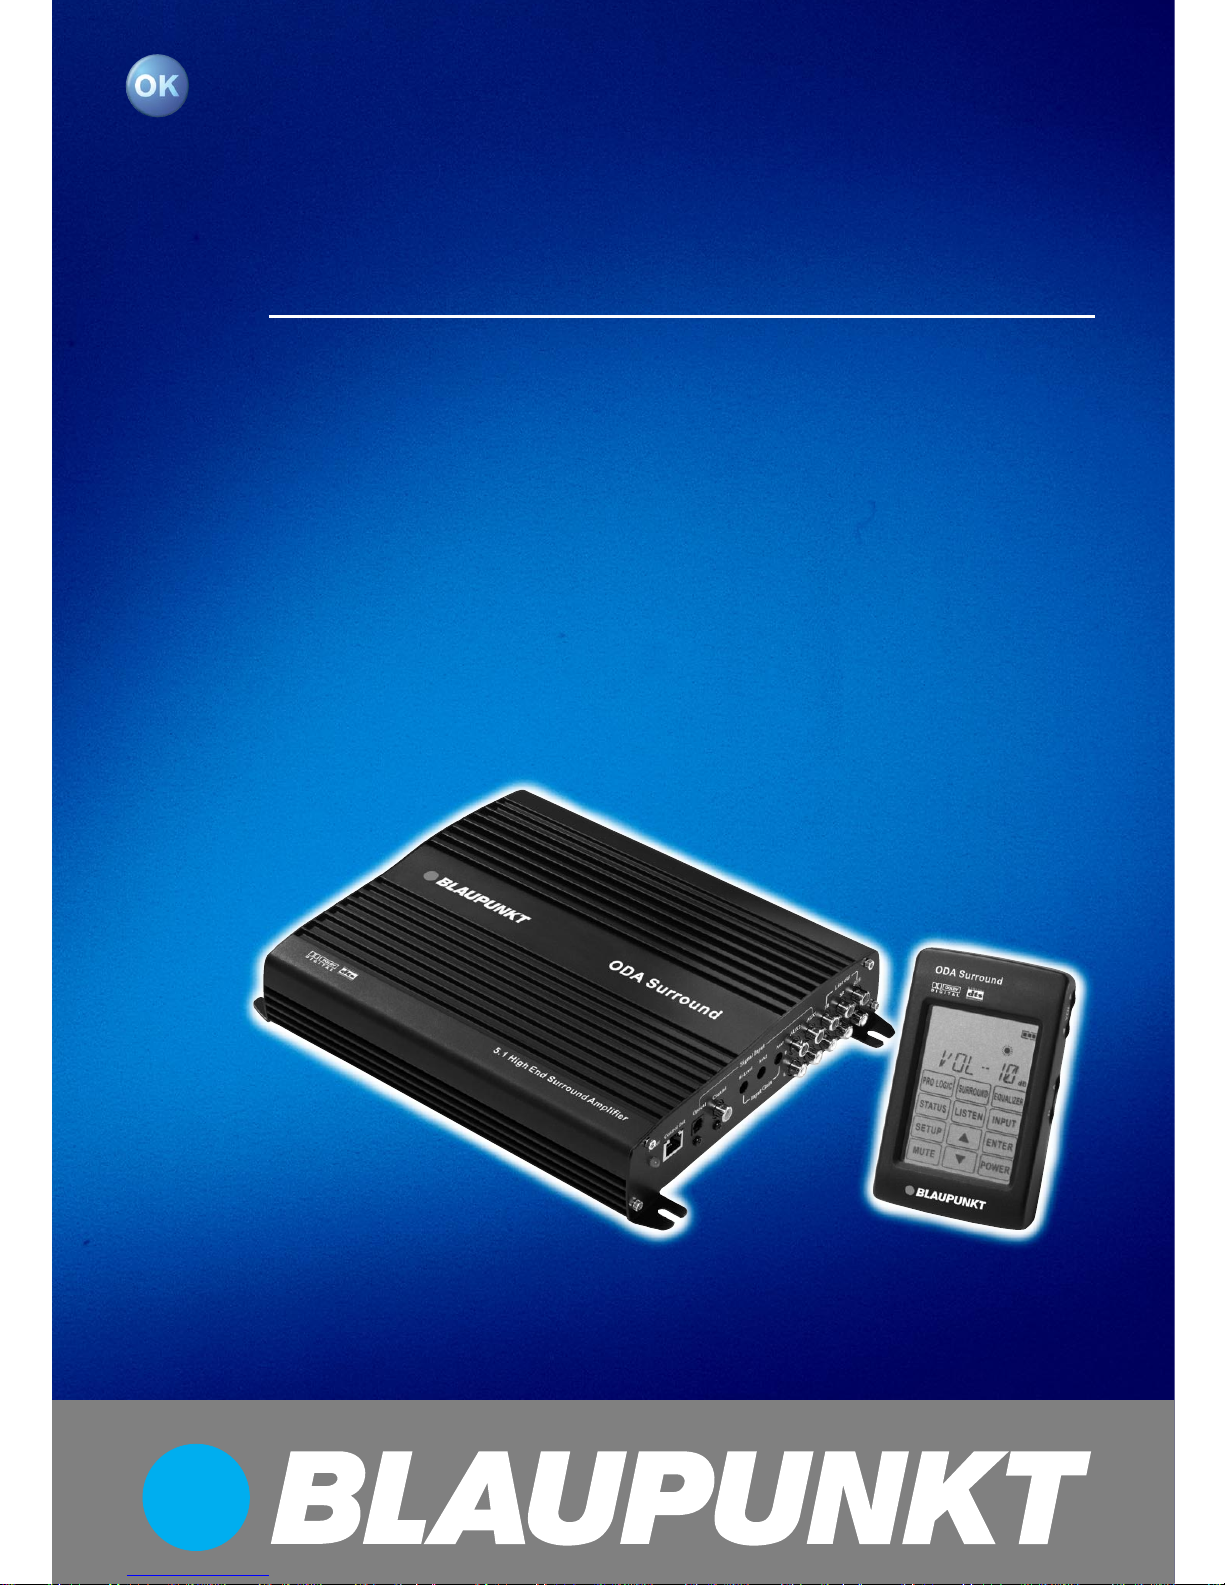
REMOTE CONTROL
Remote control
Infrared receiver
AUX1 / AUX2
OPT IN /
COA IN
Infrared transmitter
1 Display
2 Volume control
3 Selector switch for analogue / digi-
tal input
4 Mute switch
Battery compartment
You must insert the supplied batteries
before using the remote control for the
first time.
Slide open the battery compartment
cover in the direction indicated by the
arrow , and insert the batteries as shown
in the diagram (on the floor of the battery compartment).
4
Mute
1
VOL
A
D
3
2
UP
DOWN
BLAUPUNKT
SUB
SUB
L
C
R
SL
SL
S
S
SR
FT
dB
SETUP
MUTE POWER
ENTER
STATUS
LISTEN
INPUT
EQUALIZER
SURROUND
PRO LOGIC
ODA Surround
19
ENGLISH
DEUTSCH
FRANÇAIS
ITALIANO
NEDERLANDS
SVENSKA
ESPAÑOL
PORTUGUÊS
DANSK
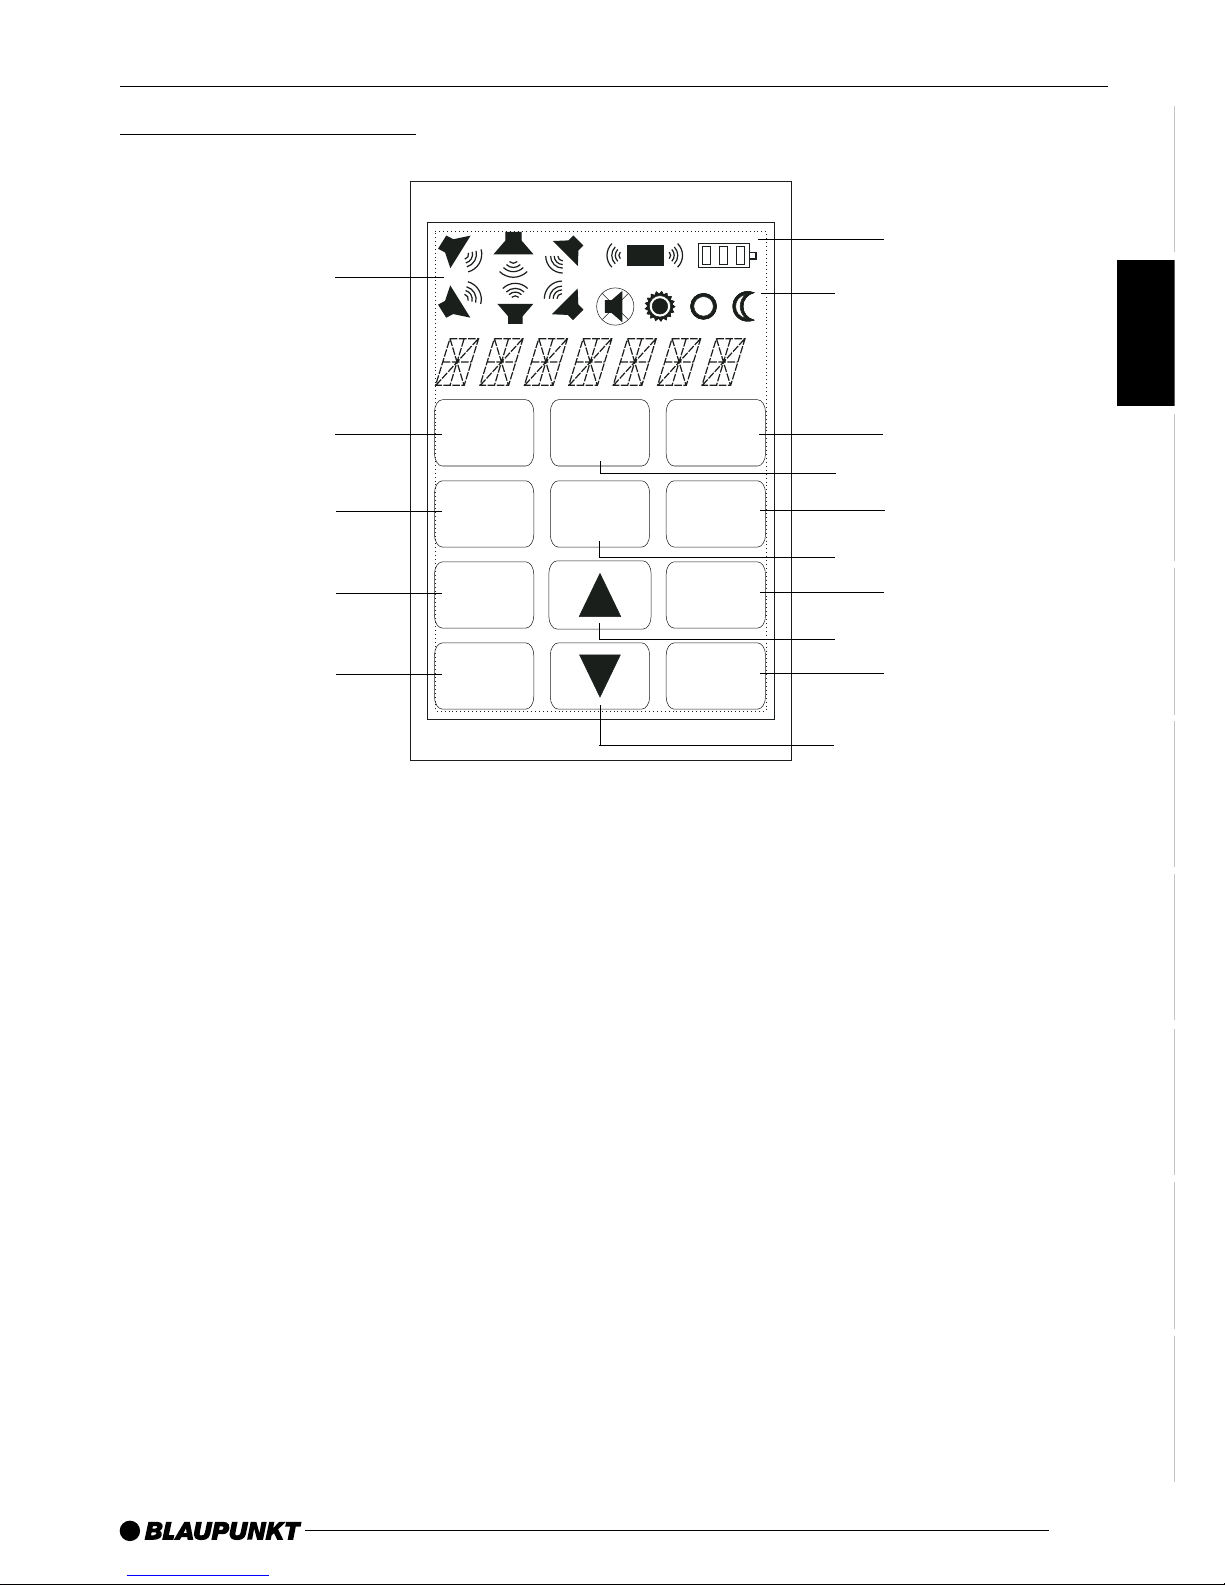
Display and controls
1 POWER on/off button
For the remote control.
2 ENTER button
Available when making user-defined changes to the system settings.
3 INPUT button
Configuration of the inputs.
4 EQUALIZER button
Configuration of the equalizer .
5 SURROUND button
Configuration of the surround
function.
6 LISTEN button
Configuration of the sound reproduction function.
7 UP arrow button.
8 DOWN arrow button.
9 PROLOGIC button
Dolby Digital/DTS on / off
: STATUS button
Displaying the source type, STEREO, DOLBY, DTS.
; SETUP button
User-defined settings in the SET UP menu.
< MUTE button
Mute switch
= Function indicators on the display
> Capacity indicator for the batte-
ries or rechargeable batteries
? Playback mode indicators (DAY,
EVENING/LATE NIGHT)
REMOTE CONTROL
2
3
4
1
SUB
L
C
R
SL
SL
S
S
SR
dB
SETUP
MUTE POWER
ENTER
STATUS LISTEN
INPUT
EQALIZER
SURROUND
PROLOGIC
5
6
7
8
9
:
;
<
=
>
?
 Loading...