


Provider guide
DreamStation
CPAP
CPAP Pro
Auto CPAP
BiPAP Pro
Auto BiPAP
IMPORTANT! Remove this guide before giving the device to the patient. Only medical professionals should adjust pressure settings.
This guide provides you with instructions on how to access and navigate the provider screens used to modify device settings. Refer to the User Manual for more information on using the DreamStation therapy devices.
The device is to be used only on the instruction of a licensed physician. The home care provider will make the correct pressure settings and device configurations including accessories,according to the health care professional’s prescription.
If you need to contact Philips Respironics directly, call the Philips Respironics Customer Service department at
1-800-345-6443 or 1-724-387-4000.
Accessing the Provider Mode Screens
Accessing Provider mode unlocks settings that cannot be modified by the user. To access Provider mode:
1.Supply power to the device. First, plug the socket end of the AC power cord into the power supply. Then plug the pronged end of the AC power cord into an electrical outlet that is not controlled by a wall switch. Finally, plug the power supply cord’s connector into the power inlet on the back of the device.
2.Once the device is powered, press and hold both the control dial and the Ramp button  on the device for at least 5 seconds.
Note: You may also setup an optional 4 digit PIN to enter Provider mode for additional security.Once setup,if the wrong PIN is entered too many times,you will have the option to reset the device or wait 15 minutes and try again.
3.You are now in Provider mode. You can choose between the following Provider mode screens.
Therapy Settings |
Comfort Settings |
Device Settings |
Info |
Patient Menu Return |
- 1 -

Navigating the Provider Mode Screens
The User Interface (UI) on this device allows you to adjust the device settings and view information about your therapy.The UI is comprised of the display screen and the control dial. Rotate the control dial in either direction to scroll through the menu options on the display screen.
Note: The display is not a touch screen.You must use the control dial to navigate the device menu.
To adjust a setting:
1.Rotate the control dial to your desired menu option.
2.Press the control dial to select that setting.
3.Rotate the control dial to change the setting.
4.Press the control dial again to save the change.
Note: The rotate dial icon  on any screen indicates to rotate the dial to perform an action.The click dial icon
  on any screen indicates to press the dial to perform an action.
Note: Pressing the dial when the down arrow  appears on any screen will take you to a sub-menu with more menu options. Pressing the dial when the up arrow
  appears on any sub-menu will return you back to the main menu. Note: The screens shown throughout this guide are examples for reference only. Actual screens may vary based upon device model and provider settings.
Provider Mode Screen Descriptions
The following sections will describe the options available from the Provider screens:
Therapy Settings, Comfort Settings, Device Settings, Info, Return to Patient Mode
Therapy Settings
Choosing this screen will take you to a sub-menu where you can adjust the device therapy modes and pressure settings.These settings are described here.
SampleTherapy Sub-Menu
Note: Not all settings shown here will display on the device.The display will vary based on therapy device model and device settings.
Icon |
Text |
Description |
|
|
|
CPAP |
Mode |
This screen displays the therapy mode setting. Depending on the therapy device |
C-Check |
|
model, you can select CPAP mode, CPAP-Check (C-Check) mode, Auto-CPAP |
|
(Auto) mode, Bi-Level mode, or Auto Bi-Level (AutoB) mode. |
|
Auto |
|
|
|
Note: CPAP-Check mode (C-Check) delivers CPAP therapy while automatically |
|
Bi-Level |
|
adjusting the pressure level to meet patient needs over the long term. Every 30 |
|
hours of therapy use, the therapy device evaluates patient obstructive respiratory |
|
AutoB |
|
|
|
disturbance index (ORDI) and increments pressure ± 1 cm H2O if needed. The range |
|
|
|
of adjustment that can be made over time is limited to ± 3 cm H2O of the CPAP- |
|
|
Check pressure setting, in 1 cm H2O increments. |
Opti-Start |
Opti-Start |
This feature starts an Auto-CPAP therapy session at a starting pressure that is closer |
|
|
to the previous session’s 90% pressure, in order to reduce the likelihood of any |
|
|
residual events at the beginning of a therapy session. You can enable or disable this |
|
|
feature. |
|
|
|
- 2 -
Icon |
Text |
Description |
|
|
|
EZ-Start |
EZ-Start |
This feature reduces the therapy pressure setting for the first few days of operation |
|
|
and gradually increases this setting until the prescription therapy pressure is reached. |
|
|
For fixed CPAP mode, the initial pressure will be reduced to half of the prescription |
|
|
CPAP pressure setting, but no lower than 5 cm H2O. For Auto CPAP mode, EZ-Start |
|
|
reduces the maximum Auto pressure to 1cm H2O above the minimum Auto pressure |
|
|
setting. For either mode, after each day of successful use (the therapy session was |
|
|
greater than 4 hours), the therapy pressure will increase by 1 cm H2O until the |
|
|
prescription pressure is reached. From that point forward, the therapy device would |
|
|
operate in normal CPAP, CPAP-Check, or Auto CPAP mode. If the patient has |
|
|
not reached their prescription pressure after 30 days of EZ-Start, then the therapy |
|
|
pressure will increase by 1 cm H2O per day until the prescription pressure is reached. |
|
|
You can enable or disable EZ-Start only if CPAP, CPAP-Check, or Auto CPAP mode |
|
|
is enabled. |
|
|
|
A-TRIAL |
A-Trial |
This Auto-Trial feature will enable the device to deliver Auto-CPAP therapy for a |
|
|
selectable number of days of patient use. You can enable or disable this feature. |
|
A-Trial Days |
This screen allows you to adjust the duration of the Auto-Trial feature in number |
|
|
of days. You can set this from 3 to 30 days. The default is 7 days. This setting only |
|
|
displays if Auto-Trial mode is available and enabled. When you reach the last available |
|
|
Auto-Trial period, the text for this selection will appear in red font. |
|
|
|
|
Auto Min |
This screen allows you to modify the Auto minimum pressure setting. You can adjust |
|
|
this setting from 4 cm H2O to the Auto maximum pressure setting. This setting only |
|
|
displays if Auto-CPAP mode is enabled or if the Auto-Trial feature is available and |
|
|
enabled. |
|
|
|
|
Auto Max |
This screen allows you to modify the Auto maximum pressure setting. You can adjust |
|
|
this setting from the Auto minimum pressure setting to 20 cm H2O. This screen only |
|
|
displays if Auto-CPAP mode is enabled or if the Auto-Trial feature is available and |
|
|
enabled. |
|
|
|
cmH O |
Pressure |
This screen allows you to adjust the CPAP pressure, or the CPAP-Check mode |
2starting pressure. If Auto-Trial mode was used, you can choose the 90% pressure setting determined from the Auto-Trial mode, or you can adjust this setting from 4
to 20 cm H2O. If the Auto-Trial mode was not used, this screen allows you to only adjust the pressure setting from 4 to 20 cm H2O.
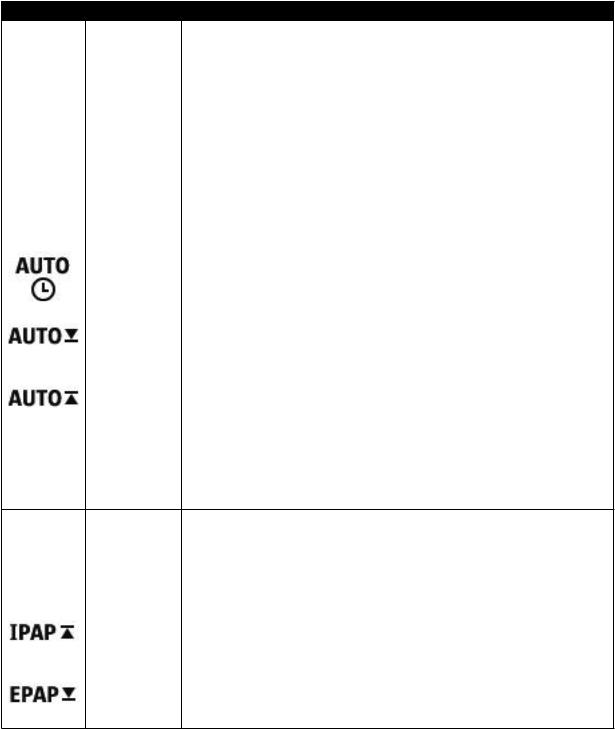
IPAP |
IPAP |
This screen allows you to modify the IPAP setting. The initial default setting is 20 cm |
|
|
H2O. You can adjust the setting from the EPAP setting to 25 cm H2O. This screen |
|
|
only displays if Bi-level mode is enabled. |
EPAP |
EPAP |
This screen allows you to modify the EPAP setting. The initial default setting is 4 cm |
|
|
H2O. You can adjust the setting from 4 cm H2O to the IPAP setting. This screen only |
|
|
displays if Bi-level mode is enabled. |
|
IPAP Max |
This screen allows you to modify the Maximum IPAP setting. The setting you specify |
|
|
here will be the maximum level of pressure applied during the inspiratory breath |
|
|
phase. You may adjust the setting from the Minimum EPAP setting to 25 cm H2O. This |
|
|
screen only displays if Auto Bi-level mode is enabled. |
|
EPAP Min |
This screen allows you to modify the Minimum EPAP setting. The setting specified |
|
|
here will be the minimum level of pressure applied during the expiratory breath |
|
|
phase. You may adjust the setting from 4 cm H2O to the Maximum IPAP setting. This |
|
|
screen only displays if Auto Bi-level mode is enabled. |
- 3 -
Icon |
Text |
Description |
|
|
|
|
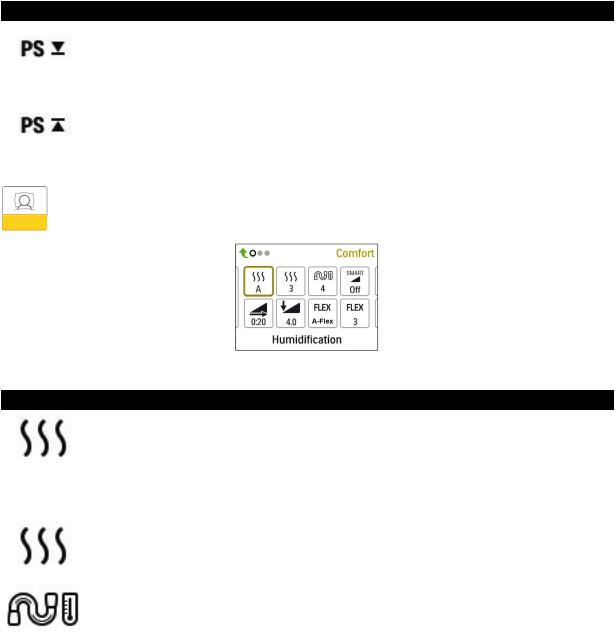
PS Min |
This screen allows you to modify the Minimum Pressure Support setting. This setting |
|
|
is the minimum difference that is permitted between IPAP and EPAP while Auto |
|
|
Bi-level therapy mode is active. You may adjust the setting from 0 cm H2O to the |
|
|
Maximum Pressure Support setting. This screen only displays if Auto Bi-level mode is |
|
|
enabled. |
|
|
|
|
PS Max |
This screen allows you to modify the Maximum Pressure Support setting. This setting |
|
|
is the maximum difference that is permitted between IPAP and EPAP while Auto |
|
|
Bi-level therapy mode is active. You may adjust the setting from 0 cm H2O to the |
|
|
minimum value of either 8 cm H2O, or the difference between Max IPAP and Min |
|
|
EPAP. This screen only displays if Auto Bi-level mode is enabled. |
Comfort Settings
Choosing this screen will take you to a sub-menu where you can adjust the humidification and pressure comfort settings.These settings are described here.
Sample Comfort Sub-Menu
Note: Not all settings shown here will display on the device.The display will vary based on therapy device model and device settings.
Icon |
Text |
Description |
|
|
|
|
Humidification |
This setting allows you to select the Humidification Mode being used.You can choose |
|
|
between Fixed or Adaptive (A) Humidification. If a heated tube is attached to the |
|
|
device, then the device will automatically switch to HeatedTube Humidification Mode. |
|
|
Fixed mode applies a constant heat on the humidifier heater plate. Under certain |
|
|
conditions and settings,this mode can allow condensation to occur in the tube. |
|
|
Adaptive mode adapts the heater plate temperature to the ambient conditions in the |
|
|
room,and is designed to not allow condensation to occur in the tube. |
|
|
|
|
Humidifier |
This setting allows you to choose the desired humidity setting for the humidifier: 0,1, |
|
|
2,3, 4 or 5. |
|
|
|
|
Tube |
This setting allows you to choose the desired temperature for the heated tube: 0, 1, |
|
Temperature |
2, 3, 4 or 5. |
|
|
|
- 4 -
 Loading...