


PRIMA OFFICIAL GAME GUIDE
Infiltration: LZ Is Hot
SITUATION: F.E.A.R. operative is en route to
Armacham with SFOD-D escort. F.E.A.R.
technical officer is on standby.
MISSION: The team will make a rooftop entry via
helicopter. Fettel remains top priority. F.E.A.R.
point man will try locating missing SFOD-D team.
INTERVAL 4
More Replicas may attack from the roof while you are in the reception
area. If so, use the desk for cover. When you grab everything you need
from the reception area, head out to the roof and turn right.
You may catch a Replica or two on the stairs. If so, toss a grenade down
to the walkway or hit them with headshots. If the stairs are empty, that
means more are waiting for you on the lower roof.
You may encounter
more Replicas on
the stairs.
Fettel has retreated to the Armacham headquarters building, taking a
good portion of his Replica army with him. Jankowski is still missing.
You and two SFOD-D soldiers are in pursuit, preparing to make a
rooftop landing at Armacham. From there, the three of you will go
down into the offices. The SFOD-D guys are psyched. “I live for this,”
one of them shouts. Ironically, both SFOD-D guys are killed as the
Blackhawk touches down on the roof.
You’re on your own, and a large squad of Replicas is attacking. At
least you’re one step closer to answers, provided you can survive long
enough to infiltrate and explore the building.
You and the SFOD-D
team are transported
to Armacham
headquarters, but only
one of you will make
it there.
OBJECTIVE:
INFILTRATE ARMACHAM FACILITY
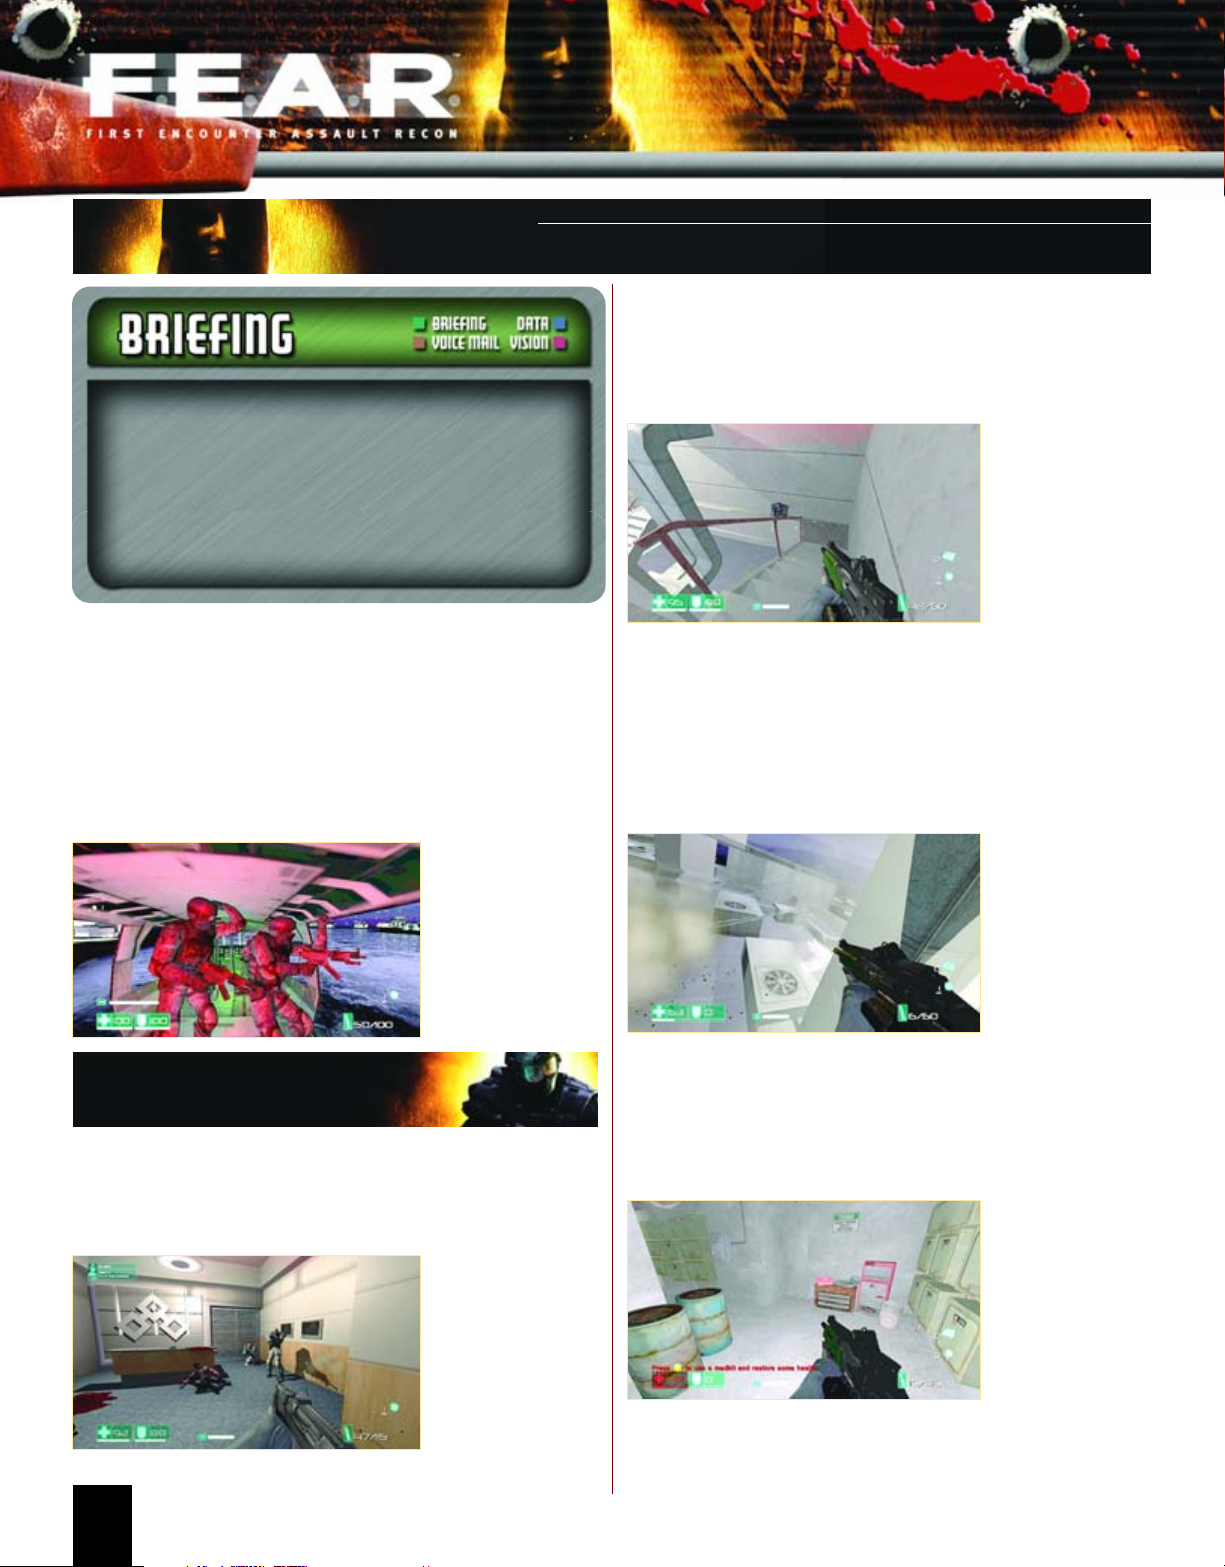
You touch down on the Armacham building’s roof. You’re taking fire from
all sides, so you need to get somewhere. Run to a pair of double doors
ahead, and attack the Replicas inside the reception area. Inside, you find
a med kit on the desk, some body armor on the couch, and an HV
Penetrator lying next to a dead ATC security guard.
Run to the reception
area, take out the
Replicas inside, then
search the room for
equipment.
52
As you get closer to the lower roof level, the remaining Replicas move
in. How many Replicas remain depends on whether they came after you
in the reception area or on the stairs, but there will be at least four, and
probably a few more. They take cover among the vents and low walls.
There’s only one access point to the walkway running between the
stairs, so make that your point of operations. There are ducts you can use
for cover, and you can also crouch behind the wall. The walkway’s
elevation gives you a height advantage as well. As you fight, watch your
right side—don’t let enemies sneak up on you.
Take cover on the
walkway between
the stairs and attack
the Replicas on the
lower roof.
When the lower roof is clear, head down the steps and turn left to find
the door into the building. Sweep the roof area for dropped weapons
before entering.
Inside the building are body armor and a med kit sitting on a tool box.
Rowdy Betters contacts you on the comm. He’s confused about
Jankowski. All his team members’ bodies have been accounted for. But
Jankowski is still missing.
Body armor and a
med kit are inside
the building.
After you pick up the equipment, turn left and follow the passage around
and down. Stop when you hear Replica chatter coming from a nearby
room. There’s a metal walkway ahead, and a small supply area to your left.
Enter the supply area for a med kit, then step out on the metal walkway.
Two Replicas guard this area. They start on the lower level but
occasionally patrol up to the walkway. They have plenty of places to take
cover on the lower level, so get them on the stairs as they ascend, if you
can, or wait until they are out in the open below and hit them with a
headshot. Shoot the power box on the lower level if either of the Replicas
gets near it.
A two-man Replica
patrol heads up to
investigate the roof.
Attack them from the
stairs and from the
elevated walkway.
Follow the walkway around and head down the stairs. When you reach
the bottom of the stairs, turn around. A small alcove next to the stairs
contains a Health Booster.
INTERVAL 4
Infiltration: LZ Is Hot
PRIMAGAMES.COM
Activate SlowMo,
then run into the hall
and attack the
Replicas.
THE CORRIDOR AND THE ROOM BEYOND ARE TIGHT SPACES WITH CONCRETE
WALLS. IF WILD SHOTS RAISE TOO MUCH DUST, BACK OUT OF THE AREA SO YOU
AREN’T BLINDED.
There are more Replicas in the room below. Get down the steps and
use the machines for cover. You can take out most of the Replicas as they
move through the small aisle between the wall and the machines. You
can also clean the room out with a grenade, although you may want to
save those. Some tough fights are coming up, so don’t waste your
grenades in a situation as straightforward as this.
HEALTH BOOSTER
Walk down the stairs from
the catwalk.
When you reach the
bottom, turn around.
Find a Health Booster
on a barrel.
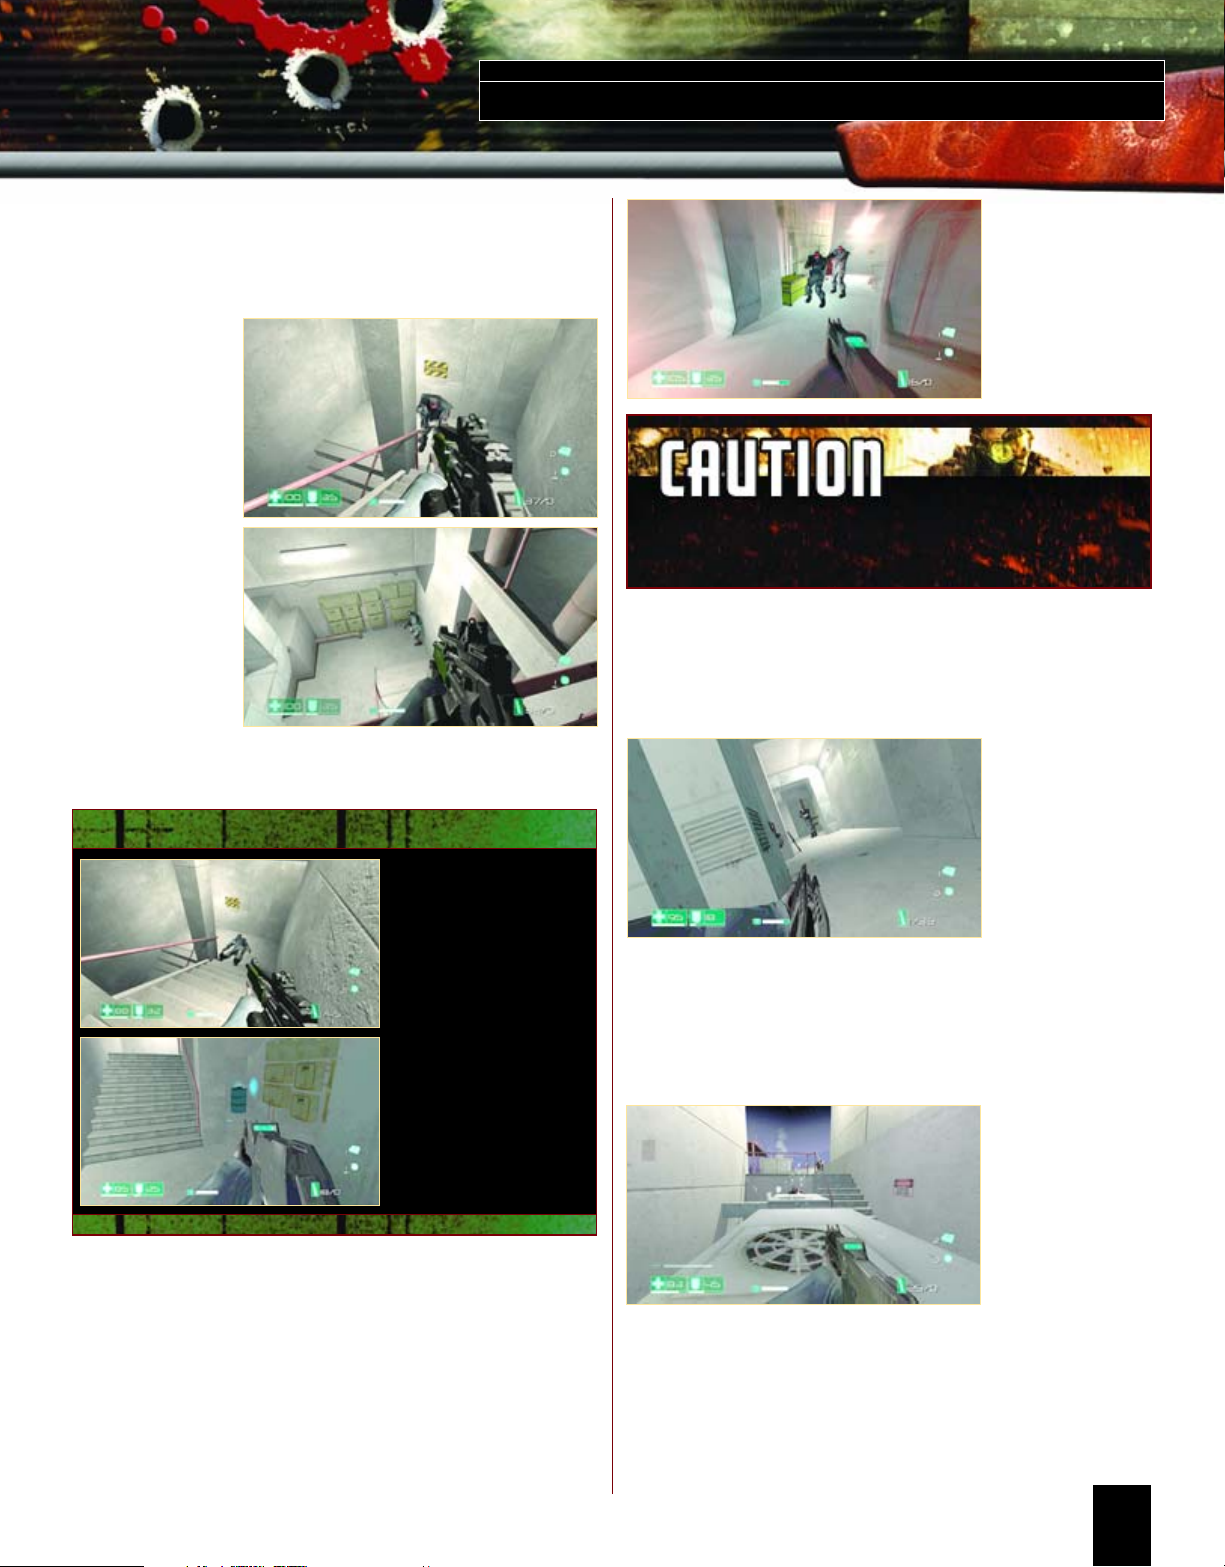
You hear more Replica radio chatter coming from nearby. Another
two-man team is stationed in the hall outside your current position. It’s a
dangerous choke point, because they are in position, and you need to
pass a live power box as you enter. You have two choices: Either take
cover and wait for them to come to you, or hurry into the hall with
SlowMo active, then turn right and blast the two Replicas with your
shotgun. If you don’t get them both with the first shot, fire again.
Move to the lower
level and use the
machines for cover.
When the room is clear, pick up the dropped weapons (primarily assault
rifles) and move forward to the red door. Open it and step out on to the roof.
A welcoming committee awaits outside. Two Replicas are in view on the
upper level. At least one will hop the railing and take cover behind the
ventilation duct nearby. Activate SlowMo and get them both, if you can,
then duck behind the duct closest to the door and wait for your SlowMo
to recharge.
Several Replicas
guard the roof.
Activate SlowMo and
attack the first two
you see.
Keep alert. Listen for approaching Replicas and look back and forth
while you wait to make sure no one sneaks up behind you. When your
SlowMo is full, move up the stairs. When you see an enemy, activate
SlowMo and take him with the assault rifle or, if he’s close, the shotgun.
53
PRIMA OFFICIAL GAME GUIDE
Lean around the wall
to target the explosive
barrel. Fire at it when
any of the nearby
Replicas approaches,
then finish off the
survivors.
The left and right passages lead to the same place. There are two med
kits to the right, so go that way. Be careful as you grab the second med
kit. It is right next to an explosive barrel, and if a Replica attacks you, it
may instantly kill you.
Instead of charging into the next room, back away. If a Replica spots
you, activate SlowMo to get away from the barrels. Otherwise, move back
and around to the other doorway. This leads to the same balcony, but
keeps you safely away from the barrels. The Replicas on the balcony
attack, so fire at the barrels nearby to take them out. They try to flank
you around the other side, so watch your back if you don’t get them both
before they move out of sight. When the Replicas are dead, wait for the
fire to die down, then move forward.
The balcony ahead
contains several
explosive barrels and
is guarded by
Replicas.
Move to the balcony’s far end and turn right. Continue around this
second balcony, and grab the equipment from the stack of materials.
There are body armor, fragmentation grenades, and weapons.
Walk to the gap in the railing and drop to the scaffold. Drop to the
scaffold’s second level, then drop to the floor. Grab the med kit from the
stack of wood. As you descend, Betters lets you know the rescue team
has given up on finding Jankowski at the warehouse.
Go through the short hall to the elevators, then take cover against the
wall. The next room is heavily guarded, and there are Replicas on both
the upper and lower levels. Take out the Replicas on the ground level,
and kill any on the balcony that come into view.
Take cover in the
doorway and attack
the Replicas in the
next room.
Move in and take cover against the crates near the doorway. Take out
any remaining Replicas on the balcony, and make sure the ground floor is
clear. The Replicas from the upper level may disappear and descend to
you, so be alert as you grab the body armor and weapons from the
middle of the room.
When the fighting stops, jump up the crates near the door through
which you entered. From the crates, jump to the ledge and follow it
around to the balcony.
Grab the equipment,
then jump up the
crates to the ledge.
Move along the edge
to the balcony and
go through the
double doors.
70
Jump from the gap in
the railing to the
scaffold, then to
the floor.
Grab any dropped weapons, then go through the double doors. There’s
more equipment in the next room: a med kit, proximity mines, and
weapons. Pick up everything you can use, then move around the corner.
A large group of Replicas guards the room below. You have the height
advantage, so keep moving and firing down on them. Hit the two
explosive barrels when Replicas are nearby. When the room below is
empty, grab the Reflex Booster from the balcony.

Use your height
advantage, and the
explosive barrels, to
take out the large
Replica squad
guarding the room
below.
REFLEX BOOSTER
INTERVAL 5
Extraction: Bishop
PRIMAGAMES.COM
Cross the walkway
and head down
the stairs.
Turn left at the elevators and go down the hall containing the Exit sign.
The hall leads to a stairway. Climb the stairway. As you reach the second
landing, you hear that Holiday and Bishop have reached the roof. The
stairs end here, but you can jump from a toolbox to the next landing.
Go up the wooden planks, and grab the med kit from the toolbox as
you pass by. When you reach the top landing, jump onto the toolbox and,
from there, jump to the scaffold. Walk across the wooden plank to the far
landing, then hop over the barrier to access the roof.
The Reflex Booster is in
plain sight on the balcony’s
far side. Grab it as you
fight the Replicas below.
Don’t drop from here unless you don’t mind taking damage. Instead,
return to the double doors through which you entered. Go through the
doors and turn right. Cross the walkway and head down the stairs.
If you left any Replicas alive when fighting from the balcony, they’ll be
in the vicinity. Proceed down the hall and into the next room. Grab the
body armor and weapons from the box in the corner, and collect the
ammunition from the dead soldiers on the lower level.
Proceed up, around,
and over the various
nonthreatening
obstacles in the
stairway to reach
the roof.
71

PRIMA OFFICIAL GAME GUIDE
G2A2 ASSAULT RIFLE
A good choice for almost any map, the assault rifle is strong at both
medium and close ranges. You’ll probably be outclassed by a shotgun on
very tiny maps, but on maps with a mix of indoor and outdoor areas, it’s a
great, versatile choice.
OTHER EQUIPMENT
In addition to big gun spawn points, other equipment (such as body
armor, med kits, and grenades) also spawns on the map, in specific
locations. It’s very important to learn the locations of these items. Armor
is possibly the most important, although proximity mines and remote
bombs are very valuable in multiplayer games. More than in single-player,
10MM HV PENETRATOR
Like the assault rifle, the Penetrator is a good, versatile gun. Its only
you can use remote bombs and proximity mines to set up ingenious traps
at high-traffic points (such as near big weapon spawns or health stations).
drawback is that it fires somewhat slower, so you can get outgunned
simply by being too slow. It’s very accurate, though, and has excellent
armor penetration. As an added benefit, the Penetrator has no muzzle
flash, making it a great weapon to use on dark maps or when hiding in
shadows, where the flash of your gun can alert enemies to your position.
ASP RIFLE
This is a good weapon for maps with elevated sniping points, but if you
take it you’re pretty much committing yourself to sniping. The ASP is a
difficult weapon to use in close quarters, because it’s fairly slow to fire. If
you want to snipe, though, take the ASP or look for a Type-7 on the map.
DUAL SM-15 MACHINE PISTOLS
This choice is only available on the Xbox 360. The dual machine pistols
are a good alternate to the RPL submachine gun. Slightly less deadly than
the assault rifle, but they’re a good alternate choice for players who
prefer the speed of the submachine gun to the power of the assault rifle.
games: the health station and the ammo station. The former slowly
regenerates your health while you stand near it, while the latter refills the
ammunition in your weapons. Using these stations is vital, but you leave
yourself very vulnerable while you do. They are generally in visible
locations, and staying put in multiplayer games (unless you’ve found a
safe sniping point) is generally a terrible idea.
DEATHMATCH AND ELIMINATION MAPS
Campus
LOWER AREA
8
6
4 4
4
4 4
USE PROXIMITY MINES OR REMOTE BOMBS TO SET TRAPS IN HIGHLY TRAFFICKED
AREAS OR NEAR COVETED ITEMS.
Multiplayer games also include two items not available in single-player
LEGEND
1
MP-50 Repeating Cannon
2
Type-7 Particle Weapon
3
MOD-3 Rocket Launcher
4
N6A3 Fragmentation Grenade
M77 Remote Bomb
5
AT-S Proximity Grenade
6
7
Med Kit
8
4 4
Body Armor
9
Ammo Station
10
Health Station
11
SlowMo Recharge
Letters represent routes from one
level to the next.
152
8
3
9
10
8
8
11
10
2
7
9
8
1

PRIMAGAMES.COM
Multiplayer
Campus is a favorite among Type-7 snipers. The map is primarily laid out
around a large courtyard, with several windows and balconies all looking
down on its two sections. The Type-7 spawns in enclosed walkway
running between the two sections of the closed walkway, so would-be
snipers often need to run a gauntlet of their own kind to grab it. With all
the attention paid to the center, though, the many hallways running
through the building are often left neglected, making it easy to sneak up
on a sniper from behind and take him or her out.
POINTS OF INTEREST
The windows overlooking the courtyard are the most strategic place to
situate yourself, though they do leave you, in most cases, open to attack
from behind. The window in the bottom corner of the larger courtyard
is easy to defend, with only a staircase leading up to it and no other
access points.
Windows overlooking the large courtyards are key strategic points for
snipers, who do very well on this map.
The smaller courtyard has fewer sniping points, with balcony in the
map’s middle of the being the best. This is the SlowMo spawn on this
map, however, and so it’s well-traveled in games with SlowMo enabled.
The balcony provides a good line of sight on the lower courtyard, though,
and on the MOD-3 rocket launcher, which spawns on the far side.
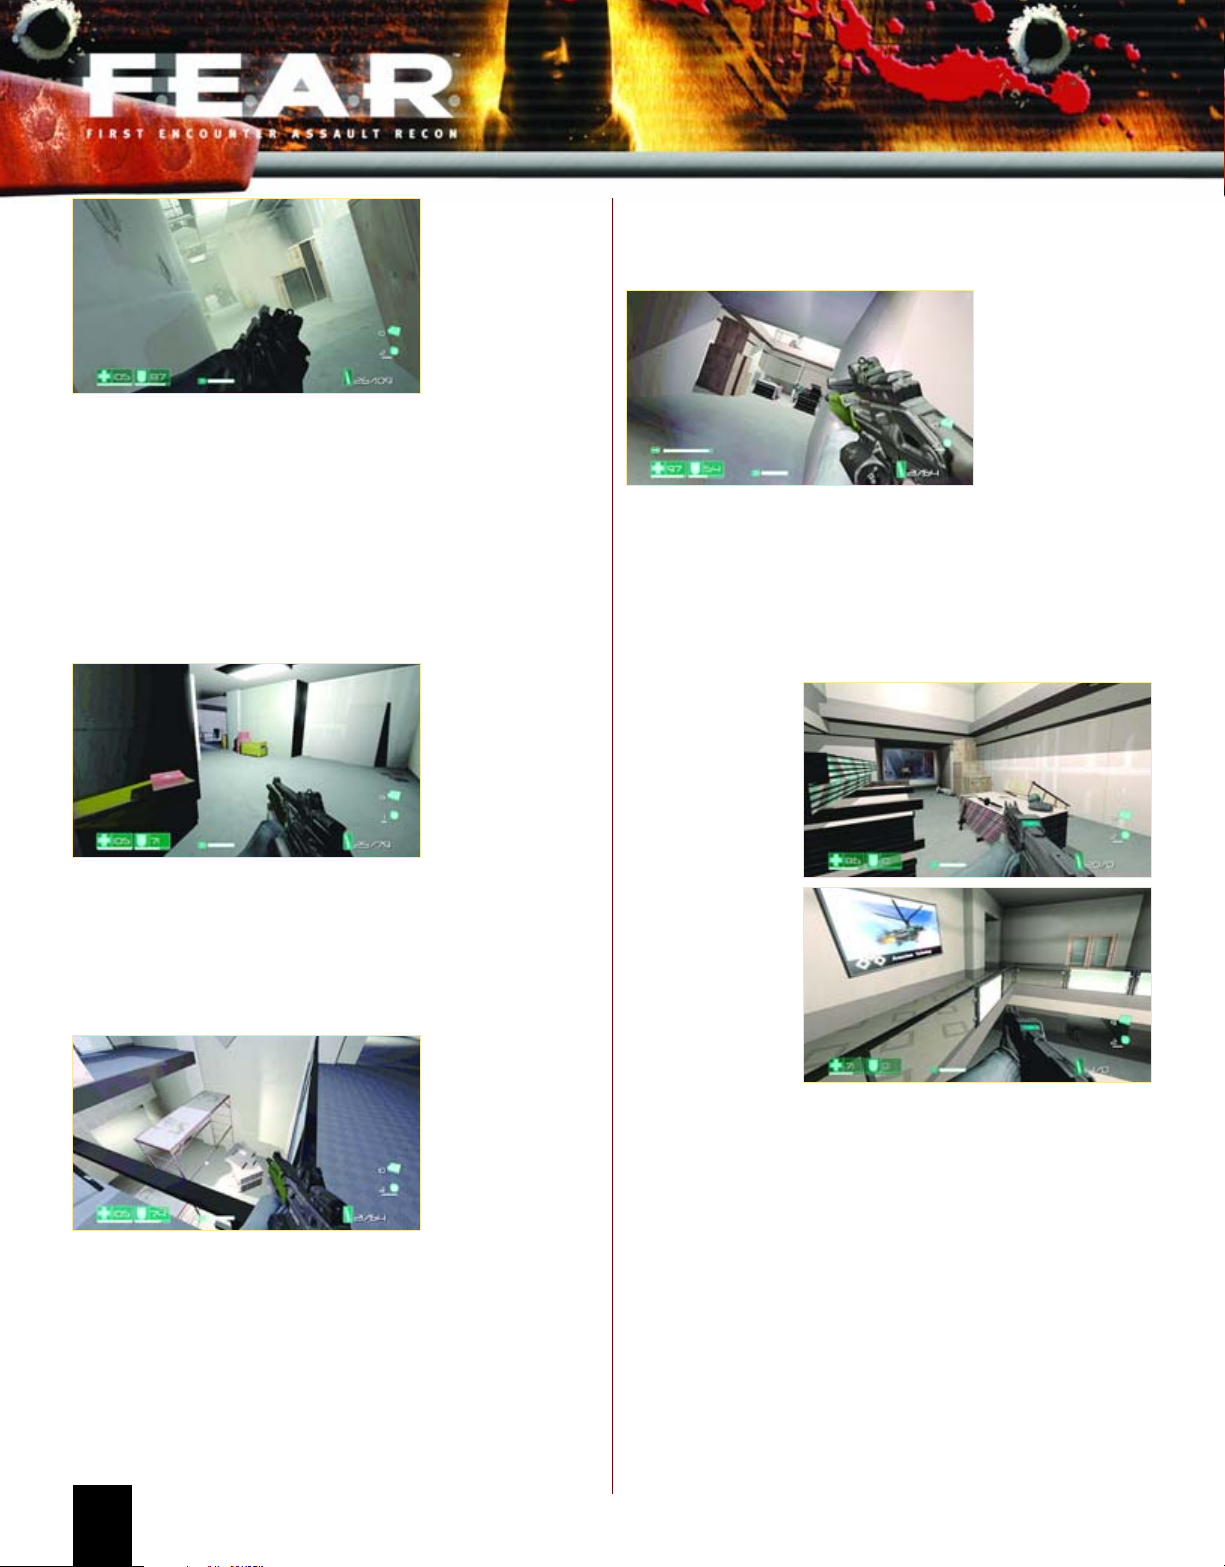
The conference room
has a proximity mine
on the table and
armor on a nearby
chair, and you can
pick up two fragmentation grenades near
the vending machines
in the next room.
IF YOU NEED TO RUN THROUGH THE COURTYARD, CONSIDER HOLSTERING YOUR
WEAPON FIRST. IT ALLOWS YOU TO RUN FASTER, AND YOU’LL BE SAFER FROM
SNIPER FIRE.
WEAPON SPAWNS
There are three big weapons on this map: the rocket launcher, the Type-7
and the repeating cannon. Of the three, the cannon is the safest to
collect, as it is indoors and safe from sniper fire.
The rocket launcher
spawns on an upper
platform in the
smaller courtyard.
IT’S NOT A BAD IDEA TO CONSTANTLY THROW GRENADES AT SNIPER POINTS AS YOU
PASS, EVEN IF YOU AREN’T SURE THEY’RE OCCUPIED. BETTER YET, PLACE A PROXIMITY
MINE NEAR A COMMON SNIPING POINT TO TAKE OUT POTENTIAL SNIPERS.
The balcony in the
map’s center gives
you a good view of
the smaller courtyard
below, as well as the
rocket launcher
spawn.
In games with
SlowMo enabled, the
booster appears on
the balcony.
The Type-7 spawns on
the ground in the
covered walkway
between the two
courtyards.
The repeating cannon
spawns on a counter
next to the stairs near
the large courtyard.
The counter provides
a good ambush
spot once you’ve
grabbed it.
153

PRIMA OFFICIAL GAME GUIDE
A back route into
each team’s base
allows you to avoid
the machine gun.
This route leads back
to the upper floors of
the central building.
There’s a room with a
health station on the
upper floor of the
base. From here, you
have a good line of
sight on your base’s
main entrance, and
you can protect against enemies coming in through the back route.
Remote bombs spawn
near a window that
also provides a good
sniping spot looking
down on the base
entrance.
The SlowMo
Recharge spawns in
the very center of the
map, in the alley
between the two
central buildings.
WEAPON SPAWNS
There are two
repeating cannon
spawn points. They
are both in identical
places on the upper
floor of the central
buildings.
The Type-7 spawns in
a short underground
passage in the center
of the map, directly
beneath the
SlowMo Recharge
spawn point.
172

Multiplayer
PRIMAGAMES.COM
XBOX LIVE ACHIEVEMENTS
Here are the Xbox Live achievements you can earn:
XBOX LIVE ACHIEVEMENTS
Achievement Description Points
Initiation Complete Interval 2 5
Water Treatment Facility Complete Interval 3 5
Slums Complete Interval 8 5
Armacham Complete Interval 7 5
Secret Facility Complete Interval 10 5
Bullet Sponge Use 50 armor vests 5
Environmentalist Kill 10 enemies with barrels, fire extinguishers, or fuse boxes 5
Feared Complete every Instant Action map on any difficulty except Easy 5
Feared Complete every Instant Action map on any difficulty except Easy 5
Intel Gather every phone message and laptop in the campaign 5
Medic! Use 50 med kits 5
Slow Jo Kill 5 enemies with one SlowMo use in the campaign or Instant Action 5
Ammo Hog Win the campaign using less than 500 rounds of ammunition 25
Explorer Find every Health Booster and Reflex Booster in the single-player campaign 25
Exterminator Kill every enemy in the campaign 25
Fearless Win the campaign on any difficulty except Easy 25
No Fear Win every Instant Action map on Extreme difficulty 25
No Juice Complete the campaign on any difficulty without using any boosters 50
Real Time Complete the campaign on any difficulty without using SlowMo 50
Fearsome Complete the campaign on Extreme difficulty 100
Survivalist Complete the campaign on any difficulty without dying 150
Assaulter Kill 50 enemies with the G2A2 in any ranked multiplayer games 5
Belly Gunner Kill 50 enemies with the turret in any ranked multiplayer games 5
Black Belt Kill 50 enemies with roundhouse kicks, flying kicks, or slide tackles in any ranked multiplayer games 5
Brawler Kill 50 enemies with punches or rifle butts in any ranked multiplayer games 5
Disintegrator Kill 50 enemies with the Type-7 in any ranked multiplayer games 5
Dual Machinist Kill 50 enemies with the SM-15 in any ranked multiplayer games 5
Explosives Expert Kill 3 or more enemies with a single N6A3, AT-S, or M77 5
Grenadier Kill 50 enemies with the N6A3 in any ranked multiplayer games 5
MP100 Participate in 100 ranked multiplayer games of any type 5
Perforator Kill 50 enemies with the 10mm HV Penetrator in any ranked multiplayer games 5
Pistoleer Kill 50 enemies with the AT-14 in any ranked multiplayer games 5
PumpShotty Ownage Kill 50 enemies with the VK-12 in any ranked multiplayer games 5
Repeating Offender Kill 50 enemies with the MP-50 in any ranked multiplayer games 5
Rocketman Kill 50 enemies with the MOD-3 in any ranked multiplayer games 5
Sapper Kill 50 enemies with the M77 in any ranked multiplayer games 5
Sniper Kill 50 enemies with the ASP in any ranked multiplayer games 5
Sub-Jugator Kill 50 enemies with the RPL in any ranked multiplayer games 5
Team Victory Win 5 each of ranked CTF, SlowMo CTF, TDM, SlowMo TDM, and Team Elimination games in multiplayer 5
Trap Layer Kill 50 enemies with the AT-S in any ranked multiplayer games 5
Dead Eye Kill 100 enemies with headshots in any ranked multiplayer games 25
Demolitions Expert Kill 200 enemies with the N6A3, AT-S, or M77 in any ranked multiplayer games 25
Fearless Flagman Successfully capture 50 flags in any ranked CTP or SlowMo CTF game 75
MP1000 Participate in 1,000 ranked multiplayer games of any type 75
Multiplayer Victory Win any ranked Deathmatch, SlowMo Deathmatch, or Elimination multiplayer game 75
n00b Do poorly in multiplayer 0
Suicide King Kill yourself 5 times 0
Vermin Kill 5 rats or birds 0
173

PRIMA OFFICIAL GAME GUIDE WRITTEN BY RON DULIN
Prima Games
A Division of Random House, Inc.
3000 Lava Ridge Court, Suite 100
Roseville, CA 95661
1-800-733-3000
www.primagames.com
The Prima Games logo is a registered trademark of Random House,
Inc., registered in the United States and other countries.
Primagames.com is a registered trademark of Random House, Inc.,
registered in the United States.
© 2006 by Prima Games. All rights reserved. No part of this book
may be reproduced or transmitted in any form or by any means,
any information storage or retrieval system without written permission from Prima
Games. Prima Games is a division of Random House, Inc.
Product Manager: Jason Wigle
Senior Project Editor: Brooke N. Hall
Design & Layout: Winter Graphics North
© 2006 Monolith Productions, Inc. All rights reserved. Published by Sierra
Entertainment, Inc. under license from Monolith Productions, Inc. F.E.A.R. is a
trademark of Vivendi Games, Inc. Sierra and the Sierra logo are registered trademarks
or trademarks of Sierra Entertainment, Inc. in the U.S. and/or other countries.
MONOLITH and the MONOLITH Logo
Developed by Day 1 Studios, LLC. Microsoft, Xbox, Xbox 360, Xbox Live, the Xbox
logos, and the Xbox Live logo are either registered trademarks or trademarks of
Microsoft Corporation in the U.S. and/or other countries. All other copyrights and
trademarks are the propertyof their respective owners.
All products and characters mentioned in this book are trademarks of their respective
companies.
Please be advised that the ESRB Ratings icons, “EC,” “E,” “E10+,” “T,” “M,” “AO,” and
“RP” are trademarks owned by the Entertainment Software Association, and may only
be used with their permission and authority. For information regarding whether a
product has been rated by the ESRB, please visit www.esrb.org. For permission to use
the Ratings icons, please contact the ESA at esrblicenseinfo.com.
Important:
Prima Games has made every effort to determine that the information contained in
this book is accurate. However, the publisher makes no warranty, either expressed or
implied, as to the accuracy, effectiveness, or completeness of the material in this
book; nor does the publisher assume liability for damages, either incidental or
consequential, that may result from using the information in this book. The publisher
cannot provide any additional information or support regarding gameplay, hints and
strategies, or problems with hardware or software. Such questions should be directed
to the support numbers provided by the game and/or device manufacturers as set
forth in their documentation. Some game tricks require precise timing and may
require repeated attempts before the desired result is achieved.
ISBN: 0-7615-5454-8
Library of Congress Catalog Card Number: 2006932851
Ron Dulin is the former managing editor of LAPTOP Magazine, and former executive
editor of GameSpot.com. He has been a contributor to almost every PC and video
gaming magazine, including Computer Gaming World, Computer Games Strategy Plus,
GMR, Surge, and Electronic Gaming Monthly. He has also been a roadie for numerous
bands, a private investigator, and a cab driver. He currently resides in New York City,
where he works in post production for film and television.
Ron has written Prima’s official guides for both Empire Earth 2 and Black & White II.
electronic or mechanical, including photocopying, recording, or by
TM
& © Warner Bros. Entertainment, Inc.
CONTENTS
INTRODUCTION. . . . . . . . . . . . . . . . . . . . . . . . . . . . . . . . . . . . . . . . 2
BASIC TRAINING . . . . . . . . . . . . . . . . . . . . . . . . . . . . . . . . . . . . . . . 3
THE HUD . . . . . . . . . . . . . . . . . . . . . . . . . . . . . . . . . . . 3
COMBAT BASICS. . . . . . . . . . . . . . . . . . . . . . . . . . . . . . . 5
WEAPONS AND EQUIPMENT . . . . . . . . . . . . . . . . . . . . . . . . . . . . . 10
GUNS . . . . . . . . . . . . . . . . . . . . . . . . . . . . . . . . . . . . . . 10
GRENADES . . . . . . . . . . . . . . . . . . . . . . . . . . . . . . . . . . 14
EQUIPMENT . . . . . . . . . . . . . . . . . . . . . . . . . . . . . . . . . 15
ENEMIES AND ALLIES. . . . . . . . . . . . . . . . . . . . . . . . . . . . . . . . . . . 17
CHARACTERS . . . . . . . . . . . . . . . . . . . . . . . . . . . . . . . . 17
OPPONENTS . . . . . . . . . . . . . . . . . . . . . . . . . . . . . . . . . 19
WALKTHROUGH . . . . . . . . . . . . . . . . . . . . . . . . . . . . . . . . . . . . . . 22
INTERVAL 1—INCEPTION: POINT OF ORIGIN . . . . . . . . . . . . . . . . . 22
INTERVAL 2—INITIATION: FIRST ENCOUNTER . . . . . . . . . . . . . . . . 26
INTERVAL 3—ESCALATION: INFILTRATION . . . . . . . . . . . . . . . . . . . 33
INTERVAL 3—ESCALATION: HEAVY RESISTANCE. . . . . . . . . . . . . . . 38
INTERVAL 3—ESCALATION: BAD WATER . . . . . . . . . . . . . . . . . . . . 43
INTERVAL 3—ESCALATION: EXEUNT OMNES . . . . . . . . . . . . . . . . . 47
INTERVAL 4—INFILTRATION: LZ IS HOT. . . . . . . . . . . . . . . . . . . . . 52
INTERVAL 4—INFILTRATION: WATCHERS . . . . . . . . . . . . . . . . . . . . 56
INTERVAL 5—EXTRACTION: BISHOP . . . . . . . . . . . . . . . . . . . . . . . 64
INTERVAL 5—EXTRACTION: BLINDSIDE . . . . . . . . . . . . . . . . . . . . . 72
INTERVAL 6—INTERCEPTION: SAYONARA, SUCKER . . . . . . . . . . . . 78
INTERVAL 6—INTERCEPTION: UNAUTHORIZED PERSONNEL . . . . . . 82
INTERVAL 6—INTERCEPTION: AFTERIMAGE . . . . . . . . . . . . . . . . . . 90
INTERVAL 7—REDIRECTION: ALICE WADE . . . . . . . . . . . . . . . . . . . 96
INTERVAL 7—REDIRECTION: FLIGHT . . . . . . . . . . . . . . . . . . . . . . 104
INTERVAL 8—DESOLATION: URBAN DECAY . . . . . . . . . . . . . . . . . 110
INTERVAL 8—DESOLATION: POINT OF ENTRY . . . . . . . . . . . . . . . 115
INTERVAL 9—INCURSION: LAPDOG. . . . . . . . . . . . . . . . . . . . . . . 123
INTERVAL 9—INCURSION: BYPASS . . . . . . . . . . . . . . . . . . . . . . . 128
INTERVAL 10—REVELATION: THE VAULT . . . . . . . . . . . . . . . . . . . 133
INTERVAL 11—RETALIATION: GROUND ZERO . . . . . . . . . . . . . . . 137
BONUS MISSION: HOLIDAY . . . . . . . . . . . . . . . . . . . . . . . . . . . . . 142
INSTANT ACTION MAPS. . . . . . . . . . . . . . . . . . . . . . . . . . . . . . . . 144
MULTIPLAYER . . . . . . . . . . . . . . . . . . . . . . . . . . . . . . . . . . . . . . . 151
1

The Prima Games logo is a registered trademark of Random House, Inc., registered in the United States and other countries.
Primagames.com is a registered trademark of Random House, Inc., registered in the United States.
 Loading...