

Page 1
6
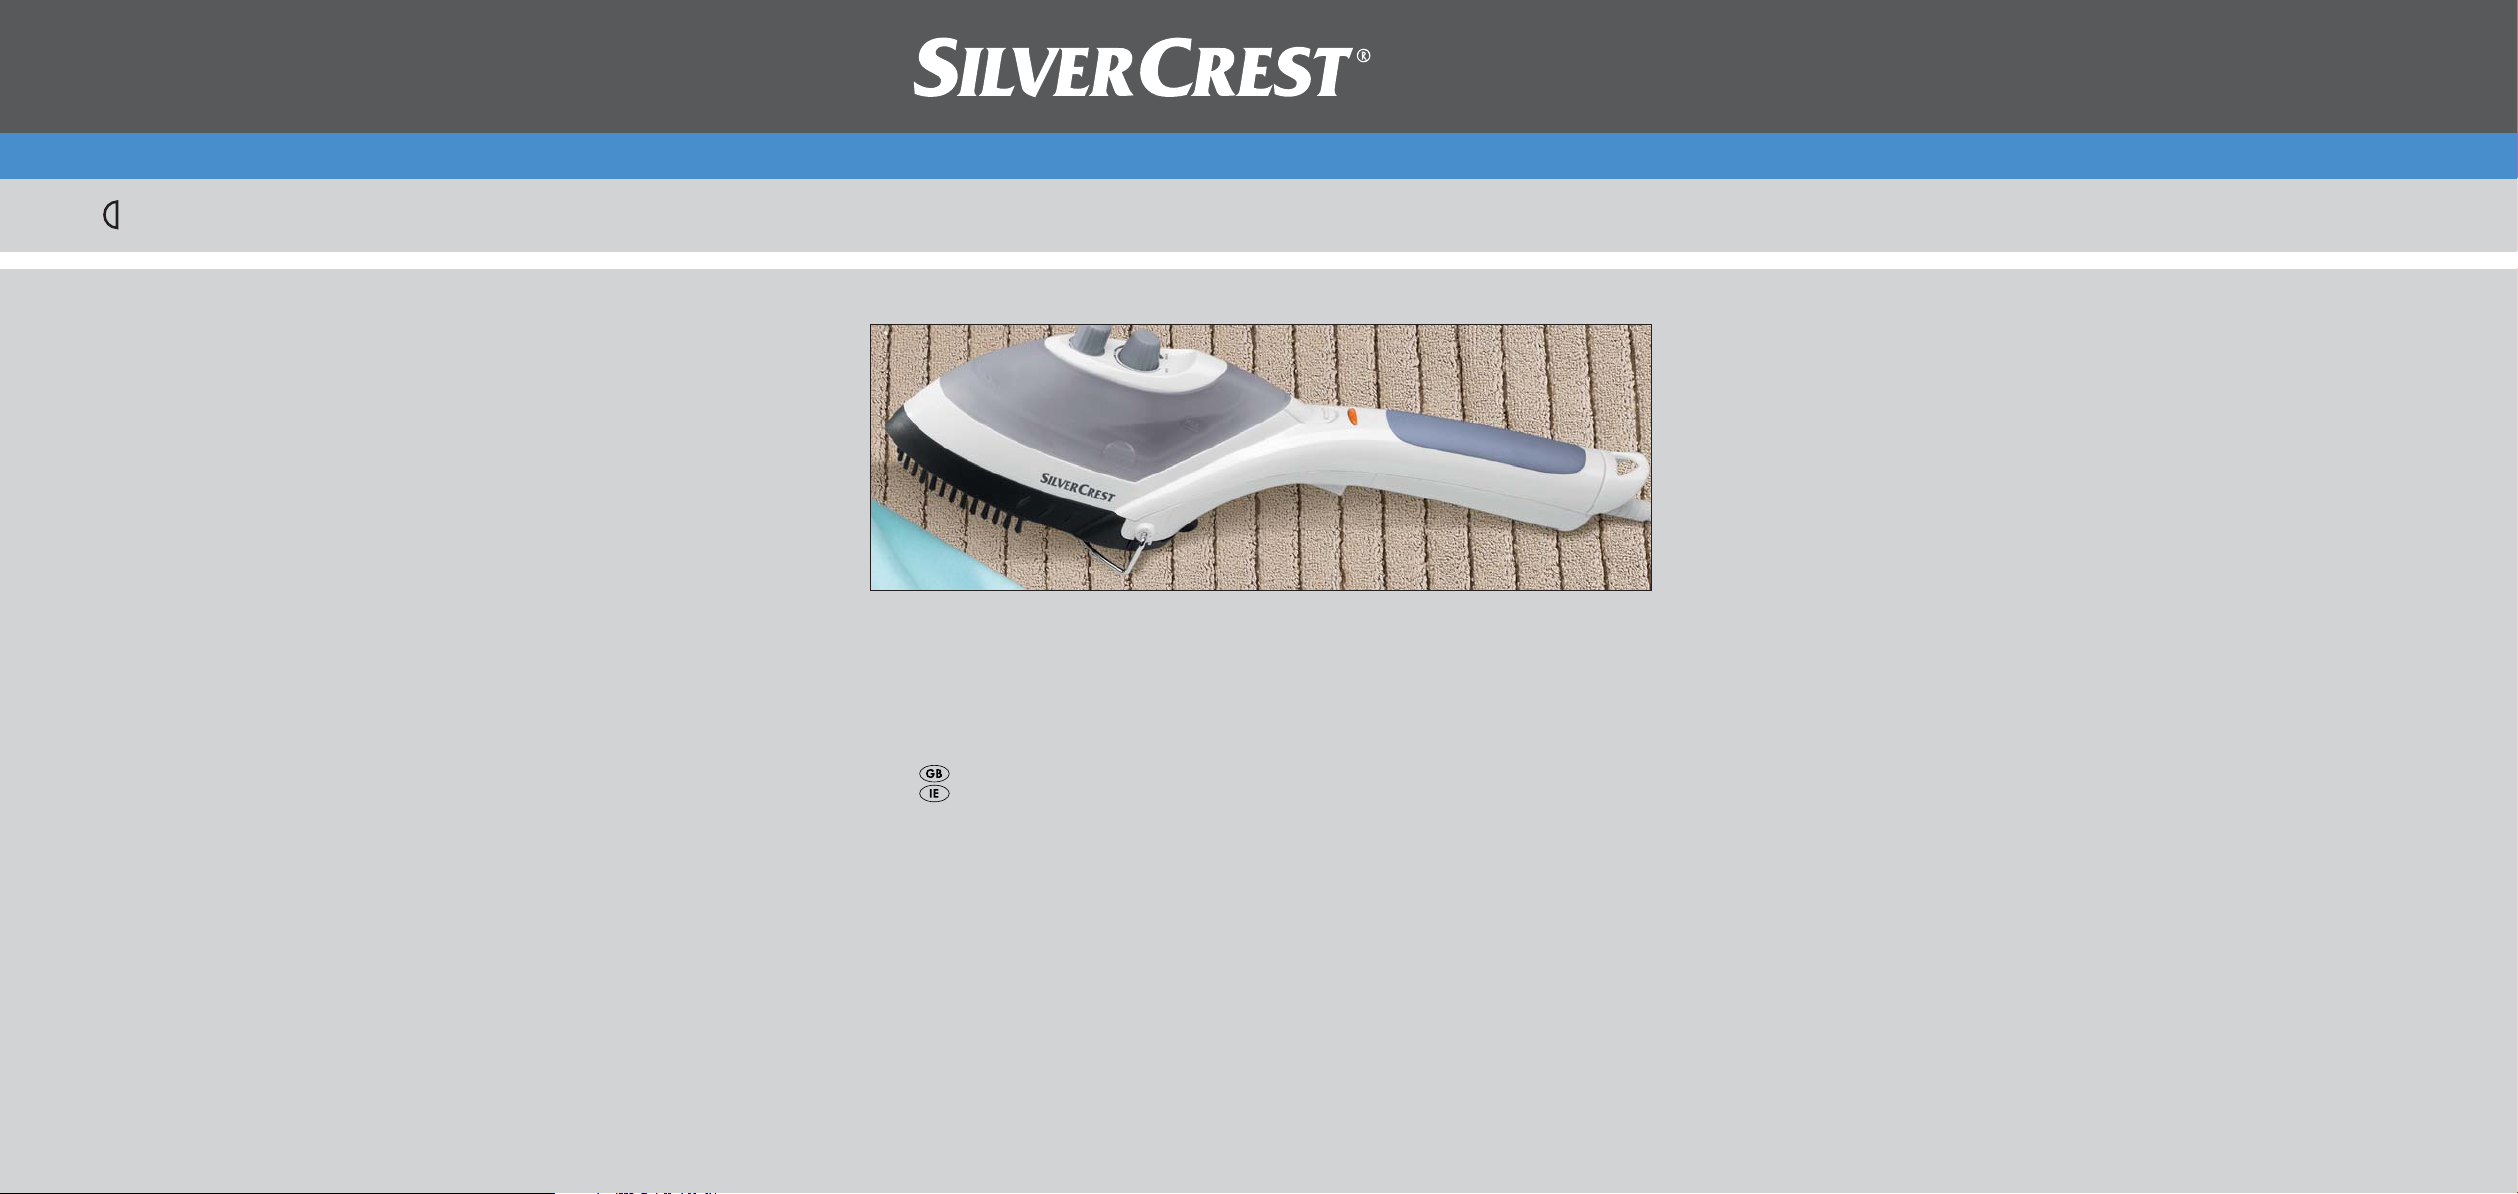
Steam Brush SDRB 1000 A1
Steam Brush
Operating instructions
KOMPERNASS GMBH
BURGSTRASSE 21 · D-44867 BOCHUM
www.kompernass.com
ID-Nr.: SDRB1000A1-07/10-V2
Page 2

SDRB 1000 A1
r
e
w
q
t
0
9
8
1
2
3
4
5
6
7
Page 3

CONTENT PAGE
Safety instructions 2
Intended Use 3
Technical data 3
Items supplied 3
Description of the appliance 3
Before the First Usage 3
Operation 4
Filling with water...............................................................................................................................4
Attaching/detaching the brush attachment ...................................................................................5
Steam brush function........................................................................................................................5
Clothing care ....................................................................................................................................5
Curtain and soft furnishing care......................................................................................................6
Fluff brush ..........................................................................................................................................6
Ironing function.................................................................................................................................6
After using the steam brush .............................................................................................................7
Cleaning and care 7
Scale removal...................................................................................................................................7
Storage 7
Troubleshooting 7
Disposal 8
Warranty & Service 8
Importer 8
Read the operating instructions carefully before using the appliance for the first time and preserve this
booklet for later reference. Pass the manual on to whomsoever might acquire the appliance at a later date.
- 1 -
Page 4

STEAM BRUSH
Safety instructions
• Use only the ironing temperatures given in the care
instructions for the material, or those suitable for it.
Otherwise, you could damage the textiles.
Should care instructions not be given or known,
start with the lowest temperature setting.
Risk of personal injury!
• When the appliance is hot, grasp it only by the
handle.
• This appliance is not intended for use by individuals
(including children) with restricted physical, physiological or intellectual abilities or deficiences in
experience and/or knowledge unless they are
supervised by a person responsible for their safety
or receive from this person instruction in how the
appliance is to be used.
• Children should be supervised to ensure that
they do not play with the appliance.
• Never hold your hand over the steam spray or
on hot metal parts.
• You should not open the filler opening of the
water reservoir while the iron is in use. First of
all, remove the plug from the power socket and
allow the device to cool down completely.
• NEVER iron clothing while still wearing it!
• NEVER direct jets of steam at other people or
animals.
• Under NO circumstance should you use the appliance if it shows visible signs of damage, has
fallen or leaks water. Arrange for it to be repaired
by qualified specialists.
Risk of fire!
• Do NOT leave the appliance unsupervised
when it is connected to mains power.
• Put the appliance into storage only when it has
cooled down.
• Place the appliance on level and heat resistant
surfaces only with the stand folded out. The
appliance must be stood securely when it is
put down.
Risk of electrical shocks.
• The rating of the local power supply must tally
completely with the details given on the rating
plate of the appliance.
• To avoid possible dangers, arrange for a defective
appliance to be checked and possibly repaired
by qualified technicians, or contact our Customer
Service Department.
• Arrange for defective power plugs and/or cables
to be replaced at once by qualified technicians
or our Customer Service Department.
• To disconnect from the power spource, pull only
on the plug itself, not on the cable.
• Never bend (kink) or crush the power cable.
Arrange it in such a way that it can not come into
contact with hot surfaces and such that no-one
can step on it or trip over it.
• After every usage, before cleaning the appliance
and when refilling with water, remove the plug
from the power socket.
• Always unroll the power cable fully before switching
on and do not use an extension cable.
• Never touch the power cable or the power plug
with wet hands.
• Under no circumstances may the appliance be
submersed in fluids or fluids be allowed to permeate the housing. Do not expose the appliance to
humidity and do not use it outdoors. Should liquids
enter the housing, unplug the appliance from the
power socket immediately and arrange for it to
be repaired by a qualified technician.
- 2 -
Page 5

• NEVER use the appliance adjacent to water contained in a bath, shower, wash basin or other
vessels. The proximity of moisture presents a danger,
even when the appliance is switched off.
• You may not open the appliance housing. Permit
only authorised technicians to repair a defective
appliance.
Items supplied
Steam Brush
Brush attachment
Measuring beaker
Operating instructions
Attention!
• Should the care instructions in the clothing item
forbid ironing (Symbol ), you may not use the
steam brush on it. Should you do so, the clothing
item could be permanently damaged.
• The water tank is to be filled exclusively with mains
water (or a mix of distilled and mains water).
You will otherwise damage the appliance.
• You may not clean the appliance with solvents,
alcohol or abrasive cleaning agents. These could
cause damage to it.
Intended Use
This Steam Brush is intended exclusively for the
smoothing and removal of crinkles, fluff and hairs
on home textiles. It may only be used indoors and
in a domestic household. All other use is deemed
improper use.
Technical data
Rated voltage: 220-240V~50Hz
Output: 1000 W
Description of the appliance
1 Water tank
2 Water fill opening
3 Temperature regulator
4 Unlocking device for the water tank
5 Heating-up control lamp
6 Suspension eye
7 Power cable with power plug
8 Steam blast button
9 Stand
0 Sole of the iron
q Unlocking device for brush attachment
w Brush attachment
e Fluff brush
r Clothes brush
t Measuring beaker
Before the First Usage
• Remove the steam brush from the packaging.
• Remove all possible adhesive tags and protective
foils from the steam iron.
Attention!
Plastic bags can be dangerous. To avoid fatalities
through suffocation, keep plastic bags out of the
reach of children.
- 3 -
Page 6

• Fill the water tank 1 with water (See chapter "Fil-
ling with water").
• Insert the power plug 7 into a correctly installed
and earthed mains power socket.
• Hold the steam brush horizontally.
• Place the temperature regulator 3 at the position
"MAX".
• Heat the steam brush up at the highest setting for
a few minutes. By doing this you will clear production residues from the sole 0 of the appliance.
• Activate the steam shot button 8 a few times, so
that steam exits from the soleplate 0.
• Then iron a redundant piece of material, this will
remove any impurites that may possibly be on
the sole of the iron 0.
Note:
On the first heating up of the appliance a small volume
of smoke and smell may be generated, caused by
production residues. This is completely normal and
is not dangerous. Provide for sufficient ventilation,
for example, open a window.
Operation
Information
• Should the care instructions in the clothing item
forbid ironing (Symbol ), you may not use
the steam brush on it. If you do so, the clothing
item could be permanently damaged.
• Do NOT use the appliance on leather, velvet, impregnated furniture or steam sensitive materials.
If you do, the material/furniture could become
damaged.
Filling with water
Attention!
NEVER fill the water tank 1 with chemical substances,
cleaning agents or fluids other than mains water (or
a mix of mains and distilled water).
Do not use chemically distilled water. This would
irreparably damage the appliance.
Should the mains water at your locality be rated as
hard, it is recommended that you mix mains water
with some distilled water. Otherwise, the jets for the
steam blast function could calcify (become blocked)
prematurely.
To extend the optimal steam blast function, mix mains
water with distilled water according to the table.
Water hardness
very soft / soft 0
medium 1: 1
hard 2: 1
very hard 3: 1
The water hardness level can be queried at your
local water works.
Ratios - distilled
water to mains water
Attention!
Before refilling with water, ALWAYS remove the
plug 7 from the mains power socket! There is a
risk of electric shock!
• Lift the water tank 1 up vertically, in that you slide
the release 4 for the water tank 1 to the rear until
the water tank 1 allows itself to be lifted off. Grasp
the water tank 1 with your thumb and index finger
on the hatched markings to lift it vertically upwards.
The temperature controller 3 remains on the appliance and is not lifted off.
• Open the water fill opening 2 to the water tank 1.
• Using the measuring beaker t, fill the water
tank 1 with mains water to the "Max" marking,
but no further.
- 4 -
Page 7

• Close the water fill opening 2 to the water tank 1.
Ensure that the lug on the water fill opening 2
sits in the indentation on the lid. Only in this way
is the water tank 1 properly closed.
• Replace the water tank 1 back onto the appliance.
The water tank 1 must audibly engage with the
unlocking device for the water tank 4.
Attaching/detaching the brush
attachment
Attention!
NEVER attempt to attach or detach the brush attachment w when the appliance is heated up. Risk of Burns!
• To use the steam and brush function, place the
brush attachment w onto the steam brush.
• To do this, slide the brush attachment w all the
way along the guide to the end. The unlocking
device of the brush attachment q must engage
audibly.
• To be able to use the ironing function, remove
the brush attachment w from the steam brush.
• To do this, press the unlocking device q downwards and, at the same time, pull the brush attachment w away to the front.
Steam brush function
• Place the brush attachment w onto the applian-
ce. This must engage audibly with the unlocking
device on the brush attachment q.
• Insert the power plug 7 into a correctly installed
and earthed mains power socket.
• Position the temperature regulator 3 at •••.
The heating-up control lamp 5 glows. As soon as
the set temperature has been reached, the heating-up control lamp 5 goes out.
Information
When using the steam blast function, always place
the temperature regulator 3 at the position ••• .
At lower settings the temperature is not sufficient to
generate a steam blast.
• By pressing the steam blast button 8 you can
now produce jets of steam.
The appliance is now ready for use.
Notice:
To release the first steam blast after heating the
appliance up, it can happen that you may need
to press the steam blast button 8 several times in
succession.
Attention!
The steam brush can be used with all clothing items.
Caution is to be exercised with heat-sensitive materials
such as synthetics, polyamides or artificial silk. With
these materials you should first check at a concealed
part (inside seam) that the hot steam will not cause
any damage to the garment. Do not touch these materials directly with the hot sole of the iron 0. Use
only the steam blast.
Clothing care
• Suspend the crumpled garment from a coat hanger.
• With one hand pull the garment flat, then steam it
from top to bottom. The combination of steam and
clothes brush r will gently remove all creases.
• Use light pressure with the clothes brush r and
guide the appliance from top to bottom over the
garment. You can thereby press the steam blast
button 8 in short intervals.
Notice:
You can repeatedly press the steam blast button 8
until the heating-up control lamp 5 glows or water
drips from the sole of the iron 0.
Then, wait until the heating-up control lamp 5 extinguishes before activating a further blast of steam.
• Should the heating-up control lamp 5 start to glow
during the process, release the steam blast button 8
and wait a few seconds until the heating-up control
lamp 5 extinguishes.
- 5 -
Page 8

Note:
Should you press the steam blast button 8 whilst
the heating-up control lamp 5 is glowing the result
will be condensed water instead of steam, and water
will drip from the sole of the iron 0.
• Leave the garment on the clothes hanger to cool
down before putting it on.
Curtain and soft furnishing care
• Creases and wrinkles can be removed from
draperies by hanging them over a pole.
• Then simply follow the directions given under
“Clothing care”.
• Always carry out a test first at a concealed part.
• If you are using the appliance horizontally, every
now and then hold it upright so as to have the
maximum steam performance.
Fluff brush
• Threads, fluff and hairs can be easily removed
with the red fluff brush e by slowly brushing
over the garment with it from left to right.
• You can clean the fluff brush e by brushing with
it in the opposite direction (from right to left)
over, for example, a remnant of material.
Ironing function
• Dismantle the brush attachment w from the
appliance (see “Attaching/detaching the brush
attachment”).
• Connect the appliance to a correctly installed
and earthed mains power socket.
• Adjust the temperature regulator 3 as per the
international point symbols (Care Label) or the
type of material. The heating-up control lamp 5
glows. As soon as the set temperature has been reached, the heating-up control lamp 5 goes out .
Washing label Type of material Temperature
regulator 3
Chemical fibres,
e.g. viscose,
polyester
•
(low
temperature)
••
Silk, Wool
(medium
temperature)
•••
Cotton, Linen
Note:
If doubt exists, start with a low temperature and
gradually increase it to a higher one. With sensitive
materials we recommend carrying out an ironing
test at a concealed part (inside seam).
• For heavily creased laundry, you can use the
steam function by pressing the steam shot button
8.
• Should the heating-up control lamp 5 glow during
the process, release the steam blast button 8
and wait for a few moments until the heating-up
control lamp 5 extinguishes.
• You can repeatedly press the steam blast button
8 until the heating-up control lamp 5 glows or
water drips from the sole of the iron 0. Then,
wait until the heating-up control lamp 5 extinguishes before activating a further blast of
steam.
Note:
Should you press the steam blast button 8 whilst
the heating-up control lamp 5 is glowing the result
will be condensed water instead of steam, and water
will drip from the sole of the iron 0.
Should the water tank 1 become empty while the
appliance is in use, remove the plug 7 from the
power socket before refilling it.
(high
temperature)
- 6 -
Page 9

• If you want to put the appliance down during
use, fold out the stands 9 to the front and place
the appliance on them. When you are ready to reuse the appliance, simply fold the stands 9 back
to the rear.
After using the steam brush
• Place the temperature regulator 3 at the position
"MIN".
• After use, ALWAYS remove the plug 7 from the
power socket.
• Pour away any water remaining in the water
tank 1 to do this, open, the water fill opening
2 of the water tank 1, turn the appliance upside down and lightly swivel it.
Cleaning and care
Risk of personal injury!
ALWAYS remove the plug 7 before cleaning the
appliance.
There is a risk of electric shock! Allow the appliance
to cool down. Risk of Burns!
CAUTION!
Never use aggressive cleansers. These can damage
the surfaces.
Storage
Attention!
Remove the plug 7 from the power socket and allow
the appliance to cool down before putting it into
storage.
Risk of fire!
Store the appliance at a dry location. You can also
hang the appliance up by the suspension eye 6.
Troubleshooting
The steam brush ejects no or very little steam:
The supply of water in the steam brush is exhausted.
Fill the water tank 1 with water (See "Filling with
water").
The steam brush does not heat itself up:
The appliance is not connected to mains power.
Insert the plug 7 into a wall power socket and
set the desired temperature with the temperature
regulator 3.
The steam brush is defective. Arrange for the appliance to be repaired by a qualified specialist.
• Clean the housing with a soft, dry cloth only.
• Clean the metal components with a lightly watermoistened cloth and a mild, non-aggressive cleaning
agent.
Scale removal
Should the steam output diminish over a period of
time, decalcify the steam brush.
• For decalcification use a standard commercial
descaling agent based on citric acid. Proceed
as detailed in the product instructions.
The power socket is defective. Try another wall socket.
- 7 -
Page 10

Disposal
Do not dispose of the appliance in your
normal domestic waste. This product is
subject to the European guideline
2002/96/EC.
Dispose of the appliance through an approved disposal centre or at your community waste facility.
Observe the currently applicable regulations.
In case of doubt, please contact your waste disposal
centre.
Dispose of all packaging materials in an
environmentally responsible manner.
Warranty & Service
The warranty for this appliance is for 3 years from
the date of purchase. The appliance has been manufactured with care and meticulously examined before delivery. Please retain your receipt as proof of
purchase. In the event of a warranty claim, please
make contact by telephone with our Service Department. Only in this way can a post-free despatch for
your goods be assured.
The warranty covers only claims for material and
manufacturing defects, but not for transport damage, for wearing parts or for damage to fragile components, e.g. buttons or batteries. This product is for
private use only and is not intended for commercial
use. The warranty is void in the case of abusive and
improper handling, use of force and internal tampering not carried out by our authorized service
branch. Your statutory rights are not restricted in
any way by this warranty.
The warranty period will not be extended by repairs
made under warranty. This applies also to replaced
and repaired parts. Any damage and defects extant
on purchase must be reported immediately after unpacking the appliance, at the latest, two days after
the purchase date. Repairs made after the expiration of the warranty period are subject to payment.
DES UK LTD
Tel.: 0871 5000 700
e-mail: support.uk@kompernass.com
Kompernass Service Ireland
Tel.: 1850 930 412 (0,082 EUR/Min.)
Standard call rates apply. Mobile operators may vary.
e-mail: support.ie@kompernass.com
(£ 0.10 / minute)
Importer
KOMPERNASS GMBH
BURGSTRASSE 21
44867 BOCHUM, GERMANY
www.kompernass.de
- 8 -
 Loading...