


 Loading...
Samsung S22C350H, S22C350B, S23C340H, S23C350B, S24C350BL User Manual
...
User Manual
S19C350NW
S22C350B
S22C350H
S23C340H
S23C350B
S23C350H
S24C340HL
S24C350BL
S24C350HL
S24C350H
S27C350H
The color and the appearance may differ depending on the product, and the specifications are subject to change without prior notice to improve the performance.
BN46-00312A-01

Table Of Contents
BEFORE USING THE PRODUCT
PREPARATIONS
10 Copyright
10 Icons used in this manual
11 Cleaning
11Cleaning
12Securing the Installation Space
12Precautions for storage
13 Safety Precautions
13Symbols for safety precautions
14Electricity and Safety
15Installation and Safety
17 Operation
21Correct posture to use the product
22Checking the Contents
22Removing the Packaging
23Checking the Components
24 Parts (S19C350NW)
24Frontal Button
25Direct Key guide
26Function Key Guide
28Parts
(S22C350B / S23C350B / S24C350BL / S22C350H / S23C340H / S23C350H / S24C340HL / S24C350H / S24C350HL / S27C350H)
28 Frontal Button
30Direct Key guide
31Function Key Guide
33Reverse Side (S19C350NW)
34Reverse Side (S22C350B / S23C350B / S24C350BL)
35Reverse Side (S22C350H / S23C340H / S23C350H / S24C340HL / S24C350H / S24C350HL / S27C350H)
Table Of Contents |
2 |
|
|
|
|
|
|
|

Table Of Contents
CONNECTING AND USING A SOURCE DEVICE
SCREEN SETUP (S19C350NW)
36 Installation
36Attaching the Stand
37Removing the Stand
38Adjusting the Product Tilt
39Anti-theft Lock
40 Before Connecting
40 Pre-connection Checkpoints
40Connecting the Power
41Connecting and Using a PC
41Connection Using the D-SUB Cable (Analog Type)
42Connection Using the DVI Cable (S22C350B / S23C350B / S23C350BL)
42Connection Using an DVI-HDMI Cable (S22C350B / S23C350B / S23C350BL)
43Connection Using an HDMI Cable (S22C350H / S23C340H / S23C350H /S24C340HL / S24C350H / S24C350HL / S27C350H)
43Connection Using an HDMI-DVI Cable (S22C350H / S23C340H / S23C350H / S24C340HL / S24C350H / S24C350HL / S27C350H)
44Connecting to Headphones or Speakers (S22C350H / S23C340H / S23C350H / S24C340HL / S24C350H / S24C350HL / S27C350H)
44Tidying Up the Connected Cables
45Changing the sound settings on Windows
46Driver Installation
47Setting Optimum Resolution
48Changing the Resolution Using a PC
52 Brightness
52 Configuring Brightness
53 Contrast
53 Configuring Contrast
Table Of Contents |
3 |
|
|
|
|
|
|
|

Table Of Contents
SCREEN SETUP (S22C350B / S23C350B / S24C350BL)
54 Sharpness
54 Configuring Sharpness
55 SAMSUNG MAGIC Bright
55 Configuring SAMSUNG MAGIC Bright
56 SAMSUNG MAGIC Angle
56 Configuring SAMSUNG MAGIC Angle
57 SAMSUNG MAGIC Upscale
57 Configuring SAMSUNG MAGIC Upscale
58 Image Size
58 Changing the Image Size
59 H-Position & V-Position
59 |
Configuring H-Position & V-Position |
60 Coarse
60 Adjusting Coarse
61 Fine
61 Adjusting Fine
62 Brightness
62 Configuring Brightness
63 Contrast
63 Configuring Contrast
64 Sharpness
64 Configuring Sharpness
65 SAMSUNG MAGIC Bright
65 Configuring SAMSUNG MAGIC Bright
66 SAMSUNG MAGIC Angle
66 Configuring SAMSUNG MAGIC Angle
67 SAMSUNG MAGIC Upscale
67 Configuring SAMSUNG MAGIC Upscale
Table Of Contents |
4 |
|
|
|
|
|
|
|

Table Of Contents
|
68 |
|
Image Size |
|
|
||
|
68 |
|
Changing the Image Size |
|
70 |
|
H-Position & V-Position |
|
70 |
|
Configuring H-Position & V-Position |
|
71 |
|
Coarse |
|
71 |
|
Adjusting Coarse |
|
72 |
|
Fine |
|
72 |
|
Adjusting Fine |
SCREEN SETUP |
73 |
|
Brightness |
(S22C350H / S23C340H / |
73 |
|
Configuring Brightness |
S23C350H / S24C340HL / |
74 |
|
Contrast |
S24C350H / S24C350HL / |
74 |
|
Configuring Contrast |
S27C350H) |
75 |
|
Sharpness |
|
75 |
|
Configuring Sharpness |
|
76 |
|
SAMSUNG MAGIC Bright |
|
76 |
|
Configuring SAMSUNG MAGIC Bright |
|
78 |
|
SAMSUNG MAGIC Angle |
|
78 |
|
Configuring SAMSUNG MAGIC Angle |
|
79 |
|
SAMSUNG MAGIC Upscale |
|
79 |
|
Configuring SAMSUNG MAGIC Upscale |
|
80 |
|
Image Size |
|
80 |
|
Changing the Image Size |
|
82 |
|
HDMI Black Level |
|
82 |
|
Configuring the HDMI Black Level Settings |
|
83 |
|
H-Position & V-Position |
|
83 |
|
Configuring H-Position & V-Position |
|
84 |
|
Coarse |
|
84 |
|
Adjusting Coarse |
|
|
|
|
Table Of Contents |
5 |
|
|
|
|
|
|
|

Table Of Contents
CONFIGURING TINT
COORDINATING OSD
SETUP AND RESET (S19C350NW)
85 Fine
85 Adjusting Fine
86 Red
86 Configuring Red
87 Green
87 Configuring Green
88 Blue
88 Configuring Blue
89 Color Tone
89 Configuring the Color Tone Settings
90 Gamma
90 Configuring Gamma
91 Language
91 Changing the Language
92 Menu H-Position & Menu V-Position
92Configuring Menu H-Position & Menu V- Position
93 Display Time
93 Configuring Display Time
94 Transparency
94 Changing Transparency
95 Reset
95 Initializing Settings (Reset)
96 Eco Saving
96 Configuring Eco Saving
97 Off Timer
97 Configuring Off Timer
Table Of Contents |
6 |
|
|
|
|
|
|
|

Table Of Contents
|
98 |
|
Turn Off After |
|
|
||
|
98 |
|
Configuring Turn Off After |
|
99 |
|
Key Repeat Time |
|
99 |
|
Configuring Key Repeat Time |
|
100 |
|
Power LED On |
|
100 |
|
Configuring Power LED On |
SETUP AND RESET |
101 |
|
Reset |
(S22C350B / S23C350B / |
101 |
|
Initializing Settings (Reset) |
S24C350BL) |
102 |
|
Eco Saving |
|
102 |
|
Configuring Eco Saving |
|
103 |
|
Off Timer |
|
103 |
|
Configuring Off Timer |
|
104 |
|
Turn Off After |
|
104 |
|
Configuring Turn Off After |
|
105 |
|
PC/AV Mode |
|
105 |
|
Configuring PC/AV Mode |
|
106 |
|
Key Repeat Time |
|
106 |
|
Configuring Key Repeat Time |
|
107 |
|
Source Detection |
|
107 |
|
Configuring Source Detection |
|
108 |
|
Power LED On |
|
108 |
|
Configuring Power LED On |
SETUP AND RESET |
109 |
|
Reset |
(S22C350H / S23C340H / |
109 |
|
Initializing Settings (Reset) |
S23C350H / S24C340HL / |
110 |
|
Eco Saving |
S24C350H / S24C350HL / |
110 |
|
Configuring Eco Saving |
S27C350H) |
111 |
|
Off Timer |
|
111 |
|
Configuring Off Timer |
|
|
|
|
Table Of Contents |
7 |
|
|
|
|
|
|
|

Table Of Contents
INFORMATION MENU AND OTHERS
INSTALLING THE
SOFTWARE
TROUBLESHOOTING GUIDE
112 Turn Off After
112Configuring Turn Off After
113PC/AV Mode
113Configuring PC/AV Mode
114Key Repeat Time
114Configuring Key Repeat Time
115Source Detection
115Configuring Source Detection
116Power LED On
116Configuring Power LED On
117INFORMATION
117Displaying INFORMATION
118Configuring Brightness and Contrast in the Initial Screen
119Configuring Volume in the Initial Screen
120MagicTune
120What is "MagicTune"?
120Installing the Software
121Removing the Software
122MultiScreen
122Installing the Software
123Removing the Software
124Requirements Before Contacting Samsung Customer Service Center
124 Testing the Product
124 Checking the Resolution and Frequency
124 Check the following.
127 Q & A
Table Of Contents |
8 |
|
|
|
|
|
|
|

Table Of Contents
SPECIFICATIONS
APPENDIX
INDEX
129 General (S19C350NW)
131General (S22C350B / S23C350B / S24C350BL)
133 General (S22C350H / S23C340H)
135 General (S23C350H / S24C340HL)
137General (S24C350HL / S24C350H / S27C350H)
139 |
PowerSaver |
141 |
Standard Signal Mode Table |
144 Contact SAMSUNG WORLD WIDE
150Responsibility for the Pay Service (Cost to Customers)
150 Not a product defect
150 A Product damage caused by customer's fault
150 Others
152 Correct Disposal
152Correct Disposal of This Product (Waste Electrical & Electronic Equipment)
153Terminology
Table Of Contents |
9 |
|
|
|
|
|
|
|

Before Using the Product
Copyright
The contents of this manual are subject to change without notice to improve quality.
© 2013 Samsung Electronics
Samsung Electronics owns the copyright for this manual.
Use or reproduction of this manual in parts or entirety without the authorization of Samsung Electronics is prohibited.
Microsoft and Windows are registered trademarks of Microsoft Corporation.
VESA, DPM and DDC are registered trademarks of the Video Electronics Standards Association.
zAn administration fee may be charged if either
(a) an engineer is called out at your request and there is no defect in the product (i.e. where you have failed to read this user manual)
(b) you bring the unit to a repair centre and there is no defect in the product (i.e. where you have failed to read this user manual).
zThe amount of such administration charge will be advised to you before any work or home visit is carried out.
Icons used in this manual
The following images are for reference only. Real-life situations may differ from what is shown in the images.
Before Using the Product 10
Before Using the Product
Cleaning
Cleaning
Exercise care when cleaning as the panel and exterior of advanced LCDs are easily scratched. Take the following steps when cleaning.
1. Power off the monitor and computer.
2. Disconnect the power cord from the monitor.
Hold the power cable by the plug and do not touch the cable with wet
hands. Otherwise, an electric shock may result.
3. Wipe the monitor with a clean, soft and dry cloth.
z Do not apply a cleaning agent that contains alcohol, solvent, or surfactant to the monitor.
!
zDo not spray water or detergent directly on the product.
4.Wet a soft and dry cloth in water and wring thoroughly to clean the
exterior of the monitor.
5. Connect the power cord to the product after cleaning the product. 6. Power on the monitor and computer.
!
Before Using the Product 11

Before Using the Product
Securing the Installation Space
zEnsure some space around the product for ventilation. An internal temperature rise may cause fire and damage the product. Be sure to allow the amount of space as shown below or greater when installing the product.
The exterior may differ depending on the product.
|
10 cm |
10 cm |
10 cm |
10 cm
10 cm
Precautions for storage
Be sure to contact Samsung Customer Service Center (page 144) if the inside of the monitor needs
cleaning. (service fee will be charged).
Before Using the Product 12
Before Using the Product
Safety Precautions
Caution
RISK OF ELECTRIC SHOCK DO NOT OPEN
Caution: TO REDUCE THE RISK OF ELECTRIC SHOCK, DO NOT REMOVE COVER (OR BACK). THERE ARE NO USER SERVICEABLE PARTS INSIDE. REFER ALL SERVICING TO QUALIFIED PERSONNEL.
This symbol indicates that high voltage is present inside. It is dangerous to make any kind of contact with any internal part of this product.
This symbol alerts you that important literature concerning operation and maintenance has been included with this product.
Symbols for safety precautions
A serious or fatal injury may result if instructions are not followed.
Warning
Caution |
Personal injury or damage to properties may result if instructions are |
|
not followed. |
||
|
Activities marked by this symbol are prohibited.
Instructions marked by this symbol must be followed.
Before Using the Product 13

Before Using the Product
Electricity and Safety
The following images are for reference only. Real-life situations may differ from what is shown in the
images.
 Warning
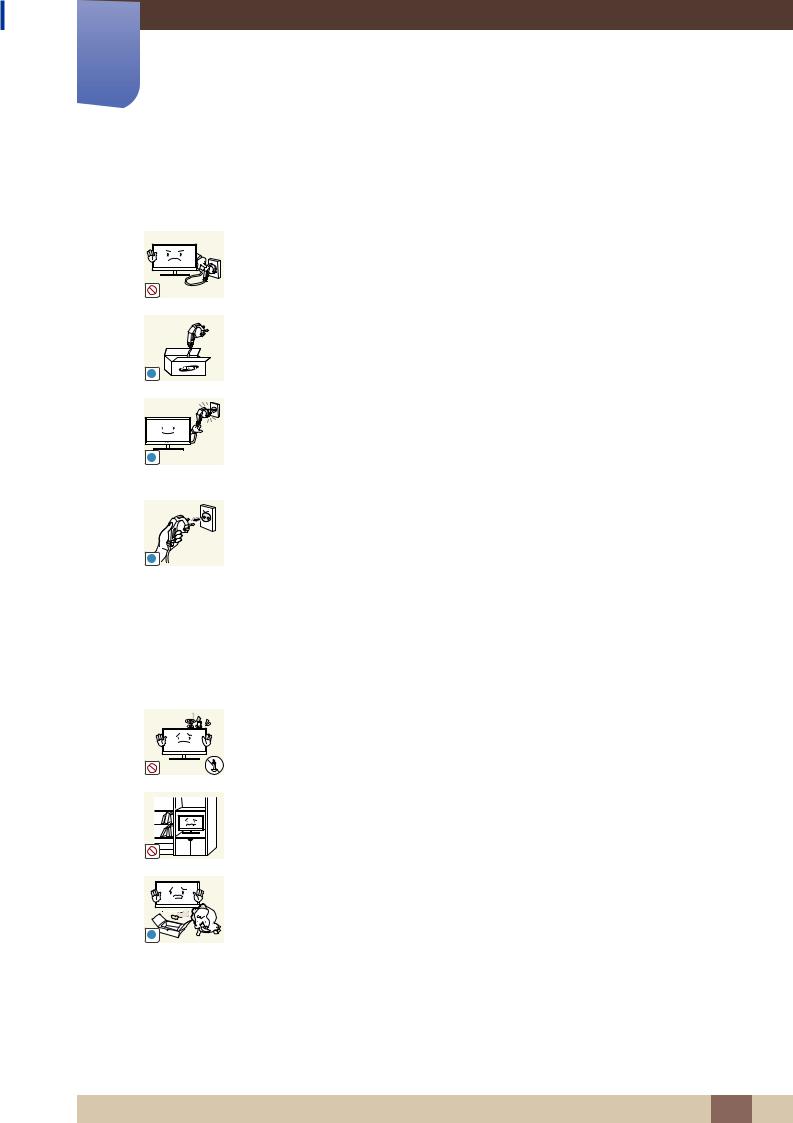
Do not use a damaged power cord or plug, or a loose power socket. z An electric shock or fire may result.
Do not plug many products into the same power socket. z Otherwise, the socket may overheat and cause a fire.
Do not touch the power plug with wet hands. z Otherwise, an electric shock may result.
Insert the power plug all the way in so it is not loose. z An unstable connection may cause a fire.
!
!
!
Connect the power plug to a grounded power socket (type 1 insulated devices only).
zAn electric shock or injury may result.
Do not bend or pull the power cord with force. Do not weigh the power cord down with a heavy object.
zA damaged power cord may cause an electric shock or fire.
Do not place the power cord or product near heat sources.
zAn electric shock or fire may result.
Remove foreign substances such as dust around the plug pins and power socket with a dry cloth.
zOtherwise, a fire may result.
Before Using the Product 14
Before Using the Product
 Caution
|
Do not unplug the power cord when the product is in use. |
|
z The product may become damaged by an electric shock. |
|
Do not use the power cord for products other than authorized products supplied |
|
by Samsung. |
! |
z An electric shock or fire may result. |
|
|
|
Keep the power socket where the power cord is connected unobstructed. |
|
z If any problem occurs in the product, unplug the power cable to completely |
! |
cut the power to the product. |
|
|
|
Power to the product cannot be completely cut off with the power button. |
|
Hold the plug when disconnecting the power cord from the power socket. |
z An electric shock or fire may result.
!
Installation and Safety
 Warning
DO NOT PLACE CANDLES, INSECT REPELLANTS OR CIGARETTES ON TOP OF THE PRODUCT. DO NOT INSTALL THE PRODUCT NEAR HEAT SOURCES.
z Otherwise, a fire may result.
Avoid installing the product in a narrow space with bad ventilation, such as a bookshelf or wall closet.
z Otherwise, a fire may result due to an increased internal temperature.
Keep the plastic packaging bag for the product in a place that cannot be reached by children.
! |
z Children may suffocate. |
Before Using the Product 15

Before Using the Product
! |
Do not install the product on an unstable or vibrating surface (insecure shelf, sloped surface, etc.).
zThe product may fall and break or cause a personal injury.
zUsing the product in an area with excess vibration may damage the product or cause a fire.
Do not install the product in a vehicle or a place exposed to dust, moisture (water drips, etc.), oil, or smoke.
zAn electric shock or fire may result.
Do not expose the product to direct sunlight, heat, or a hot object such as a stove.
zOtherwise, the product lifespan may be reduced, or a fire may result.
Do not install the product within the reach of young children. z The product may fall and injure children.
Edible oil, such as soybean oil, can damage or deform the product. Do not install the product in a kitchen or near a kitchen counter.
 Caution
Take care not to drop the product when moving it.
z Otherwise, product failure or personal injury may result.
!
Do not set down the product on its front. z The screen may become damaged.
When installing the product on a cabinet or shelf, make sure that the bottom edge of the front of the product is not protruding.
z The product may fall and break or cause a personal injury.
zInstall the product only on cabinets or shelves of the right size.
Before Using the Product 16
Before Using the Product
Put down the product carefully.
z The product may fall and break or cause a personal injury.
!
SAMSUNG
!
Installing the product in an unusual place (a place exposed to a lot of fine particles, chemical substances or extreme temperatures, or an airport or train station where the product should operate continuously for an extended period of time) may seriously affect its performance.
zBe sure to consult Samsung Customer Service Center (page 144) before installation if you want to install the product at such a place.
Operation
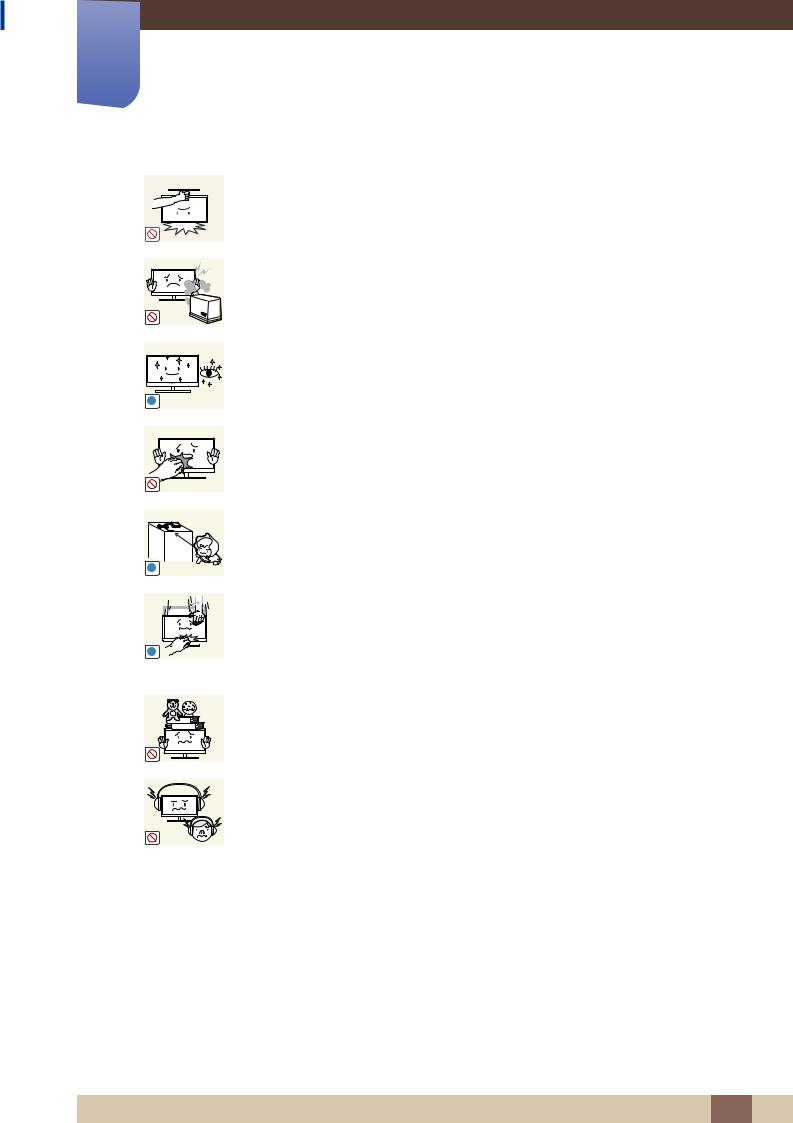
Warning
!
!
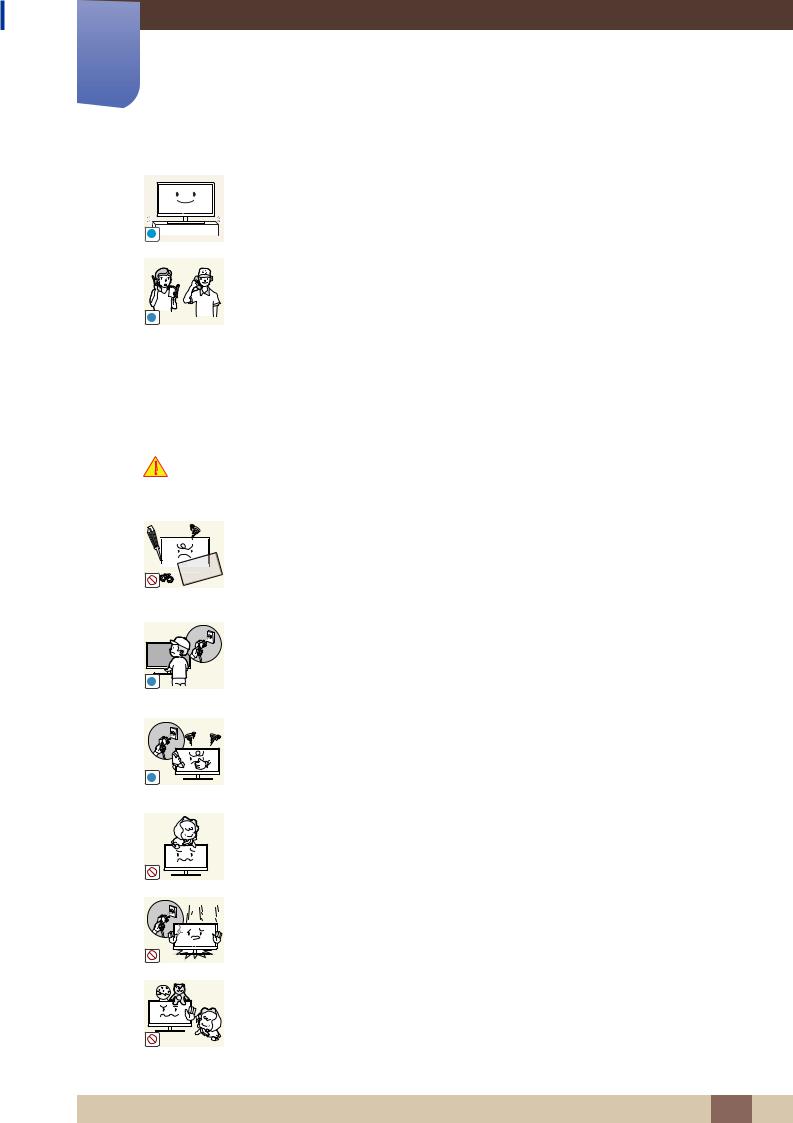
High voltage runs through the product. Do not attempt to disassemble, repair, or modify the product on your own.
zAn electric shock or fire may result.
zContact Samsung Customer Service Center (page 144) for repair.
Before moving the product, turn off the power switch and disconnect the power cable and all other connected cables.
zOtherwise, the power cord may be damaged and a fire or electric shock may result.
If the product generates a strange noise, a burning smell, or smoke, remove the power cord immediately and contact Samsung Customer Service Center (page 144).
zAn electric shock or fire may result.
Do not let children hang from the product or climb on top of it.
zThe product may fall, and your child may become injured or seriously harmed.
If the product falls or the exterior is damaged, power off the product, remove the power cord, and contact Samsung Customer Service Center (page 144).
zOtherwise, an electric shock or fire may result.
Do not put a heavy object, toy, or sweets on top of the product.
zThe product or heavy objects may fall as children try to reach for the toy or sweets resulting in a serious injury.
Before Using the Product 17
Before Using the Product
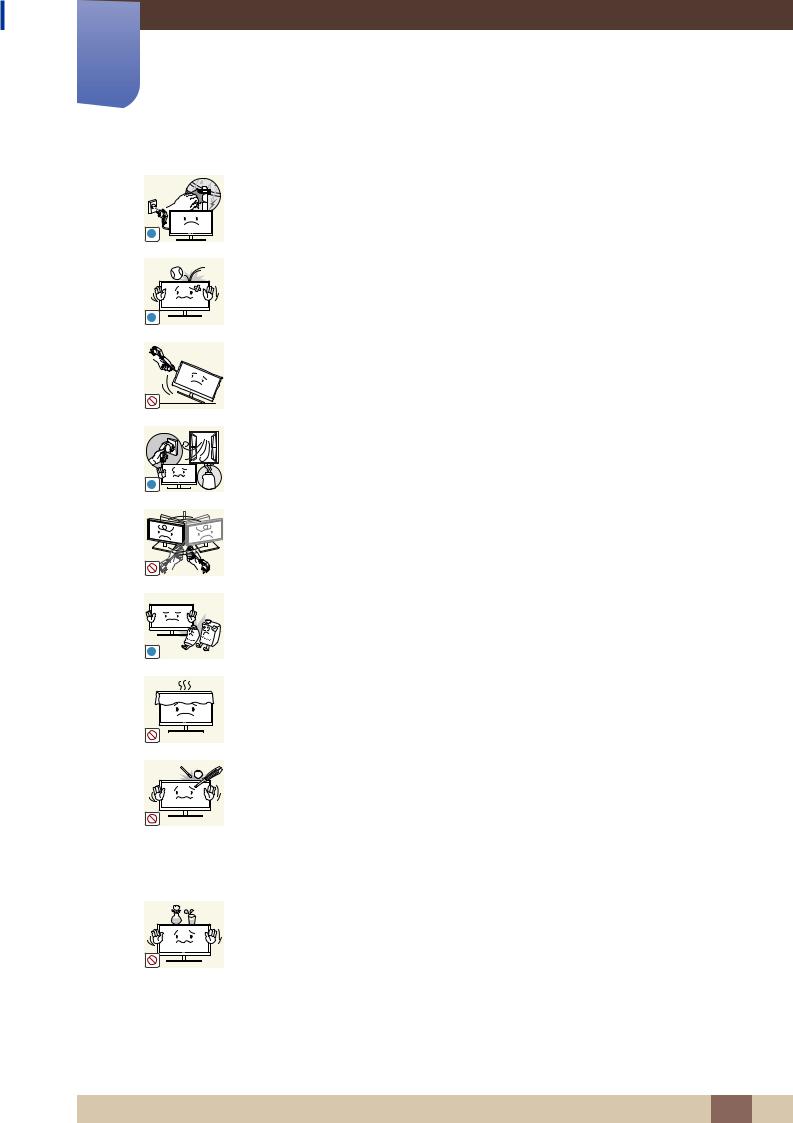
During a lightning or thunderstorm, power off the product and remove the power cable.
! |
z An electric shock or fire may result. |
Do not drop objects on the product or apply impact.
z An electric shock or fire may result.
!
!
!
GAS
100
Do not move the product by pulling the power cord or any cable.
zOtherwise, the power cable may be damaged and product failure, an electric shock or fire may result.
If a gas leakage is found, do not touch the product or power plug. Also, ventilate the area immediately.
zSparks can cause an explosion or fire.
Do not lift or move the product by the power cord or any cable.
zOtherwise, the power cable may be damaged and product failure, an electric shock or fire may result.
Do not use or keep combustible spray or an inflammable substance near the product.
zAn explosion or fire may result.
Ensure the vents are not blocked by tablecloths or curtains.
zOtherwise, a fire may result from an increased internal temperature.
Do not insert a metallic object (a chopstick, coin, hair pin, etc.) or inflammable object (paper, match, etc.) into the vent or ports of the product.
zIf water or any foreign substance enters the product, be sure to power off the product, remove the power cord, and contact Samsung Customer Service Center (page 144).
zProduct failure, an electric shock or fire may result.
Do not place objects containing liquid (vases, pots, bottles, etc) or metallic objects on top of the product.
zIf water or any foreign substance enters the product, be sure to power off the product, remove the power cord, and contact Samsung Customer Service Center (page 144).
zProduct failure, an electric shock or fire may result.
Before Using the Product 18

Before Using the Product
 Caution
-_-
!
!
Leaving the screen fixed on a stationary image for an extended period of time may cause afterimage burn-in or defective pixels.
zIf you are not going to use the product for an extended period of time, activate power-saving mode or a moving-picture screen saver.
Disconnect the power cord from the power socket if you do not plan on using the product for an extended period of time (vacation, etc).
zOtherwise, a fire may result from accumulated dust, overheating, an electric shock, or electric leakage.
Use the product at the recommended resolution and frequency.
zYour eyesight may deteriorate.
Do not put DC power adapters together.
zOtherwise, a fire may result.
Remove the plastic bag from the DC power adapter before you use it.
zOtherwise, a fire may result.
Do not let water enter the DC power device or get the device wet.
zAn electric shock or fire may result.
zAvoid using the product outdoors where it can be exposed to rain or snow.
zBe careful not to get the DC power adapter wet when you wash the floor.
Do not put the DC power adapter near to any heating apparatus.
z Otherwise, a fire may result.
Keep the DC power adapter in a well-ventilated area.
!
Looking at the screen too close for an extended period of time can deteriorate your eyesight.
!
Before Using the Product 19
Before Using the Product
Do not hold the monitor upside-down or move it by holding the stand. z The product may fall and break or cause a personal injury.
Do not use humidifiers or stoves around the product. z An electric shock or fire may result.
Rest your eyes for more than 5 minutes for every 1 hour of product use. z Eye fatigue will be relieved.
!
Do not touch the screen when the product has been turned on for an extended period of time as it will become hot.
Store the small accessories used with the product out of reach of children.
! |
|
|
Exercise caution when adjusting the product angle or stand height. |
|
z Otherwise, children's fingers or hands may become stuck and injured. |
! |
z Tilting the product excessively may cause it to fall and result in personal |
|
injury. |
|
Do not place heavy objects on the product. |
|
z Product failure or personal injure may result. |
When using headphones or earphones, do not turn the volume too high. z Having the sound too loud may damage your hearing.
Before Using the Product 20
Before Using the Product
Correct posture to use the product
Use the product in the correct posture as follows:
50 |
cm |
|
z
z
z
z
z
z
Straighten your back.
Allow a distance of 45 to 50 cm between your eye and the screen, and look slightly downward at the screen.
Keep your eyes directly in front of the screen.
Adjust the angle so light does not reflect on the screen.
Keep your forearms perpendicular to your upper arms and level with the back of your hands.
Keep your elbows at about a right angle.
Adjust the height of the product so you can keep your knees bent at 90 degrees or more, your heels attached to the floor, and your arms lower than your heart.
Before Using the Product 21

1Preparations
1.1Checking the Contents
1.1.1 Removing the Packaging
1Open the packaging box. Be careful not to damage the product when you open the packaging with a sharp instrument.
2 Remove the styrofoam from the product.
3 Check the components and remove the styrofoam and plastic bag.
This image is for reference only.
4 Store the box in a dry area so that it can be used when moving the product in the future.
1 Preparations 22

1Preparations
1.1.2 Checking the Components
z
z
Contact the dealer where you purchased the product if any components are missing. The appearance of the components may differ from the images shown.
Components
Quick Setup guide |
Warranty card |
User Manual |
|
|
(Not available In some locations) |
Power cable |
DC power adapter |
D-SUB cable (optional) |
DVI cable (optional) |
HDMI cable (optional) |
HDMI-DVI cable (optional) |
||
|
|
|
|
|
Stand base |
Stand neck |
Components may vary depending on the country.
1 Preparations 23

1Preparations
1.2Parts (S19C350NW)
1.2.1 Frontal Button
The color and shape of parts may differ from what is shown. Specifications are subject to change
without notice to improve quality.
Function Key Guide
AUTO
AUTO
Return
JOG Button
DOWN(FRONT)
Return
Power LED |
LEFT |
RIGHT |
|
|
PRESS(ENTER) |
UP(REAR)
Icons |
Description |
|
|
|
Multi directional button that helps navigate. |
JOG Button |
JOG button is located in the bottom of the screen center, and has 5 |
|
directions as UP/DOWN/LEFT/RIGHT/PRESS(ENTER). |
This LED is power status indicator and works as
zPower On (Power button): Off
zPower saving mode: Blinking
zPower Off (Power button): On
 (Power LED)
The power Indicator operation can be swapped by changing in the menu. (SETUP&RESET  Power LED On)
Actual models because of functional variation maybe haven’t this function.
Press the JOG button when the screen is turned on. The Function Key Guide will appear. To access the onscreen menu when the guide is
displayed, press the corresponding direction button again.
Function Key Guide
Function Key Guide may vary depending on the function or product
model. Please refer to the actual product.
1 Preparations 24

1Preparations
1.2.2Direct Key guide
For guidance on shortcut keys, the below OSD (On Screen Display) will be displayed if you move the JOG button in any direction.
z
z
Brightness
Features
UP/DOWN/LEFT/RIGHT: Adjust Brightness.
PRESS(ENTER): Display Function Key Guide.
1 Preparations 25

1Preparations
1.2.3 Function Key Guide
To enter the main menu or to use other items, press the JOG button to display the Function Key Guide.
You can exit by pressing the JOG button again.
AUTO
Return
zUP/DOWN/LEFT/RIGHT: Move to the item you want. The description for each item will appear when the focus changes.
zPRESS(ENTER): The selected item will be applied.
Icons |
Description |
|
|
Selects [ |
] to change the input signal by moving the JOG button |
in the Function Key Guide screen. A message will appear on the top |
|
left corner of the screen if the input signal has been changed. |
|
zSelects [  ] by moving the JOG button in the function key guide screen. The OSD (On Screen Display) of your Monitor’s
feature appears.
zOSD control lock: Maintain the current settings, or lock the OSD control to prevent unintended changes to settings.
Enable/Disable: To lock/unlock the OSD control, press the LEFT button for 10 seconds when the main menu displayed.
If the OSD control is locked,
Brightness/Contrast and MAGICSAMSUNG Bright can be adjusted, and
INFORMATION can be viewed.
Select [ 

 ] to adjust the Brightness or Contrast.
This setting can be changed by moving the JOG button in the function key guide screen. Move the JOG button Up/Down to alternate between the Brightness and Contrast settings.
1 Preparations 26

1Preparations
Icons |
Description |
|
|
zSelects [
 ] to adjust the screen settings automatically by moving the JOG button in the function key guide screen.
z Changing the resolution in Display Properties will activate the
Auto Adjustment function.
zThis function is only available in Analog mode.
Selects [ ] to turn the Monitor off by moving the JOG button in the function key guide screen.
Actual models because of functional variation, Function key guide options will be different. Please run the corresponding function based on the actual icon and description.
When the monitor displays nothing (i.e., power saving mode or no-signal mode), a direct access key can be used to control the power status as shown below.
JOG Button |
Power saving/Non-signal mode |
|
|
PRESS(ENTER) for 2 seconds |
Power Off |
|
|
1 Preparations 27

1Preparations
1.3Parts
(S22C350B / S23C350B / S24C350BL / S22C350H / S23C340H / S23C350H / S24C340HL / S24C350H / S24C350HL / S27C350H)
1.3.1 Frontal Button
The color and shape of parts may differ from what is shown. Specifications are subject to change
without notice to improve quality.
Function Key Guide
AUTO
AUTO
Return
JOG Button
DOWN(FRONT)
Return
Power LED |
LEFT |
RIGHT |
|
|
PRESS(ENTER) |
UP(REAR)
Icons |
Description |
|
|
|
Multi directional button that helps navigate. |
JOG Button |
JOG button is located in the bottom of the screen center, and has 5 |
|
directions as UP/DOWN/LEFT/RIGHT/PRESS(ENTER). |
|
|
1 Preparations 28

1Preparations
Icons |
Description |
|
|
This LED is power status indicator and works as
zPower On (Power button): Off
zPower saving mode: Blinking
zPower Off (Power button): On
 (Power LED)
The power Indicator operation can be swapped by changing in the menu. (SETUP&RESET  Power LED On)
Actual models because of functional variation maybe haven’t this function.
Press the JOG button when the screen is turned on. The Function Key Guide will appear. To access the onscreen menu when the guide is
displayed, press the corresponding direction button again.
Function Key Guide
Function Key Guide may vary depending on the function or product
model. Please refer to the actual product.
1 Preparations 29

1Preparations
1.3.2Direct Key guide
For guidance on shortcut keys, the below OSD (On Screen Display) will be displayed if you move the JOG
button in any direction.
Models with sound option
Brightness
Volume
Features
z
z
z
UP/DOWN: Adjust Brightness.
LEFT/RIGHT: Adjust Volume.
PRESS(ENTER): Display Function Key Guide.
Models without sound option
z
z
Brightness
Features
UP/DOWN/LEFT/RIGHT: Adjust Brightness.
PRESS(ENTER): Display Function Key Guide.
1 Preparations 30
Loading...