


Usermanual

Contents
Gettingstarted
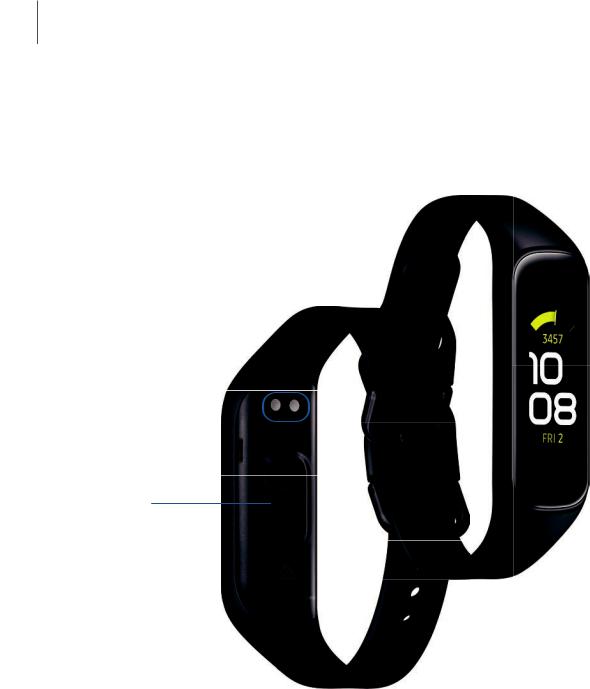
Device Layout: Galaxy Fit2
Assemble your device: Charge the battery | Wear the Galaxy Fit2
Start using your device: Turn the screen on | Connect the Galaxy Fit2 to a smartphone | Navigation | Change the watch face | Quick panel | Brightness | Do not disturb mode | Music controller | Sound control | Vibration settings | Find my phone | Good night mode | Restart | Reset | Notifications | Answer or reject calls | View and Send messages
Widgets
Using widgets | Health summary | Exercise | Stress | Stopwatch and timer | Weather | Hand wash
GalaxyWearableapp
Samsung Health | Health settings | Alarm | Weather | Samsung Health | Advanced | Find My Band | Samsung Health | Band and software update | Tips and user manual | Band and software update
LearnMore
Videos | Tips | Samsung Care | Talk to an agent
Legalinformation
Samsung Knox | Maintaining water and dust resistance | Restricting children’s access to your mobile device
2 WEA_R220_EN_UM_TN_TI7_101420_FINAL
Gettingstarted
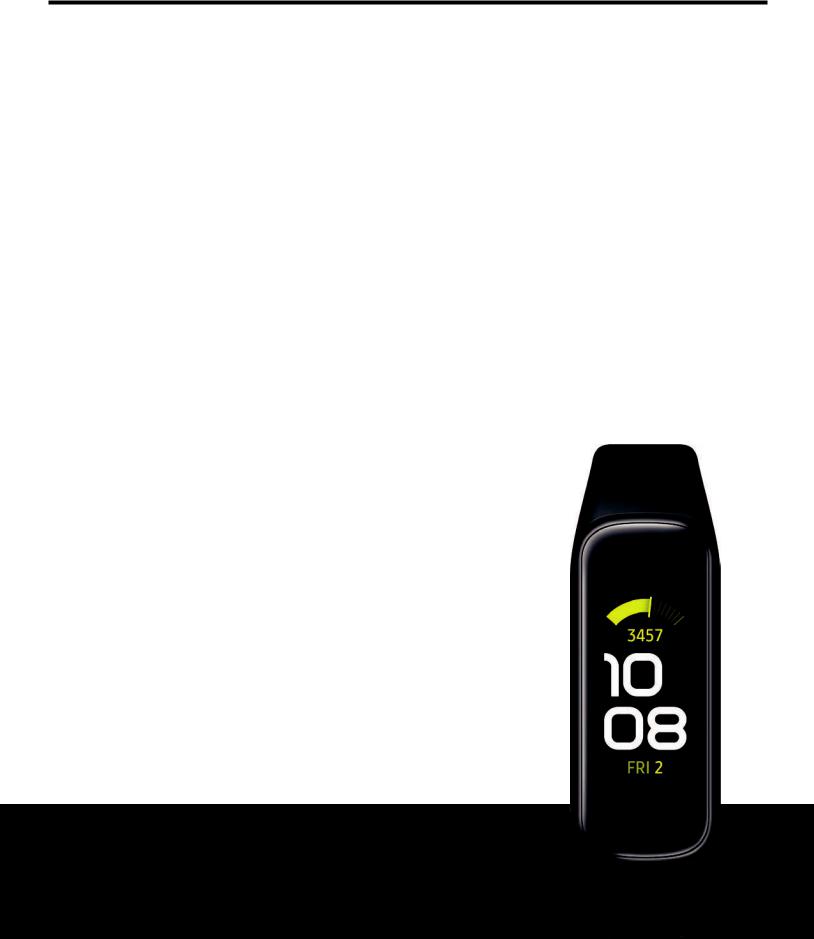
Galaxy Fit2
Assemble your device
Start using your device
3
Gettingstarted
GalaxyFit2
 Watch face
Charging
contacts 
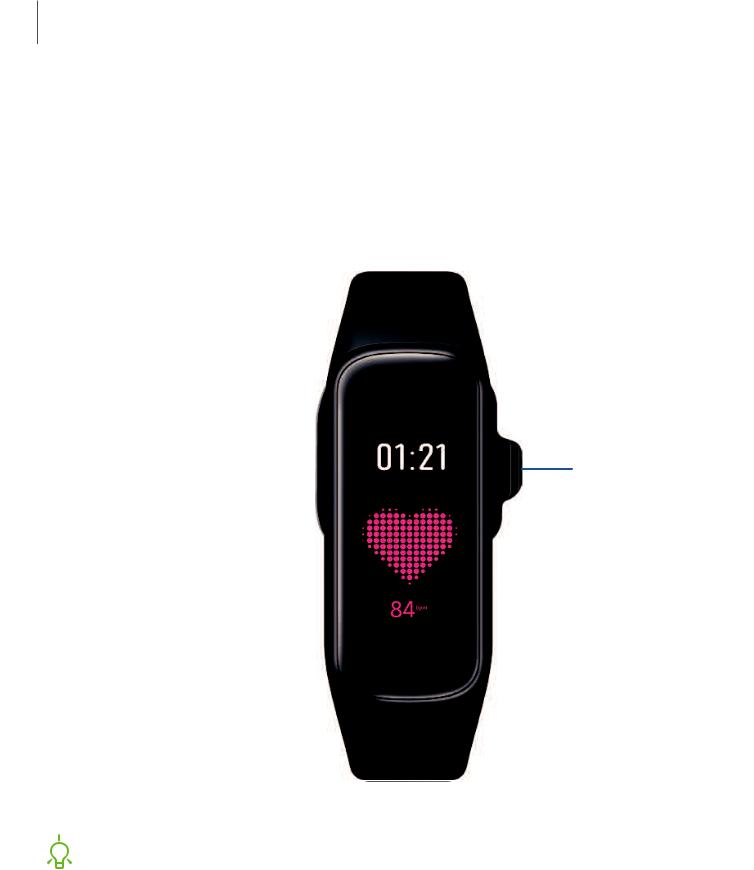
 Touch key
Heart rate sensor
Devicesandsoftwareareconstantlyevolving— theillustrationsyouseehereareforreferenceonly.
4
Gettingstarted
Assembleyourdevice
Charge the battery | Wear the Galaxy Fit2
Learn more about your device hardware, assembly procedures, and how to get started using your new device.
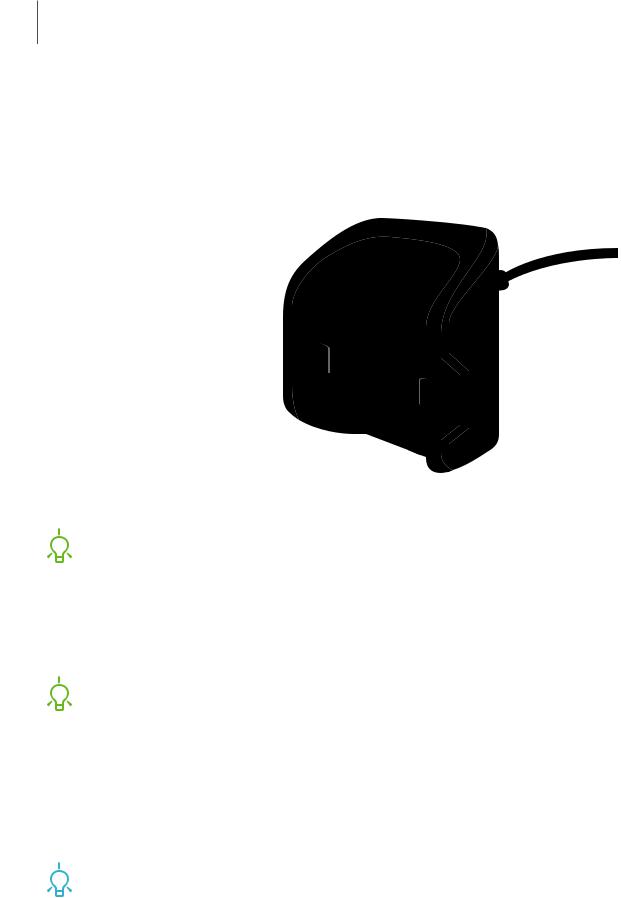
Charge your device
Align the charging contacts on the Galaxy Fit2 and charger and then press until it clicks.

 NOTE Do not disassemble, modify, or repair your device. Placing objects, such as magnetic stripe cards, including credit cards, phone cards, passbooks, and boarding passes, next to the device or charger may cause damage from the charger or device’s magnetic field.
Devicesandsoftwareareconstantlyevolving— theillustrationsyouseehereareforreferenceonly.
5
Gettingstarted
Charge the battery
Your device is powered by a rechargeable battery.
Charging contacts 


 NOTE The charging head for plugging the USB cable into a wall outlet is not included. Use only Samsung charging devices rated with an output voltage of 5V and an output current of over 150mA (sold separately). Samsung accessories are designed for your device to maximize battery life. Using other accessories may void your warranty and may cause damage.

 NOTE Prevent the USB charger port and the small end of the charger from coming into contact with conductive materials, such as liquids, dust, metal powders, and pencil leads.
While charging, the device and the charger may become hot and stop charging. This does not affect the device’s lifespan or performance and is in the device’s normal range of operation.

 TIP Disconnectthe chargerfromthe device andwaitforthe device tocool down.
For more information,visitsamsung.com/us/support/answer/ANS00076952.
Devicesandsoftwareareconstantlyevolving— theillustrationsyouseehereareforreferenceonly.
6
Gettingstarted
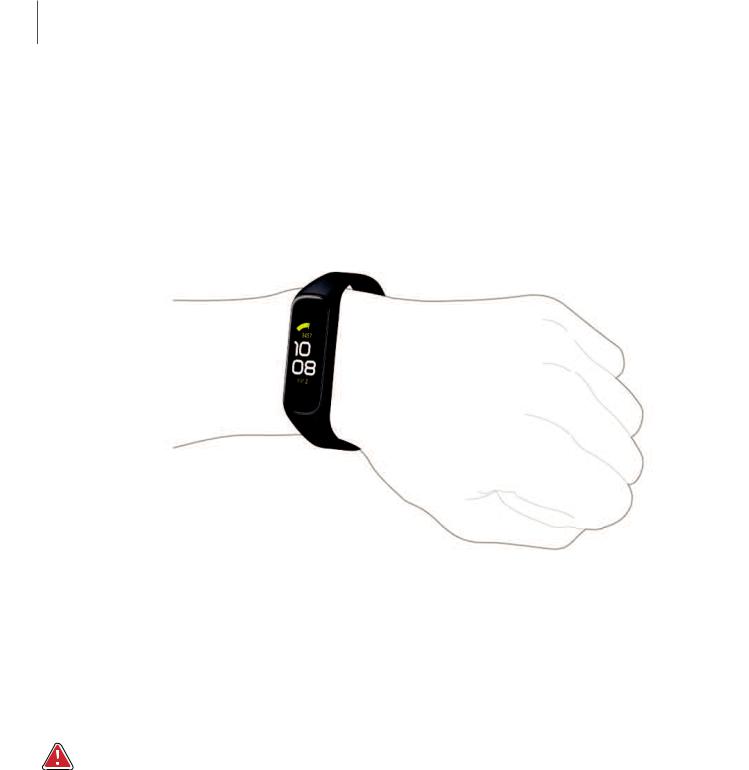
Wearthe GalaxyFit2
Wear the Galaxy Fit2 firmly around your lower arm just above your wrist as shown below. Do not fasten the band too tightly.
1.Open the buckle and place the band around your wrist.
2.Fit the band to your wrist, insert the pin into an adjustment hole, and then secure the buckle to close it.
WARNING Wear the Galaxy Fit2 or device correctly. If you feel discomfort while using the device, stop using it. If your device becomes hot, please remove it until it cools.
Devicesandsoftwareareconstantlyevolving— theillustrationsyouseehereareforreferenceonly.
7
Gettingstarted
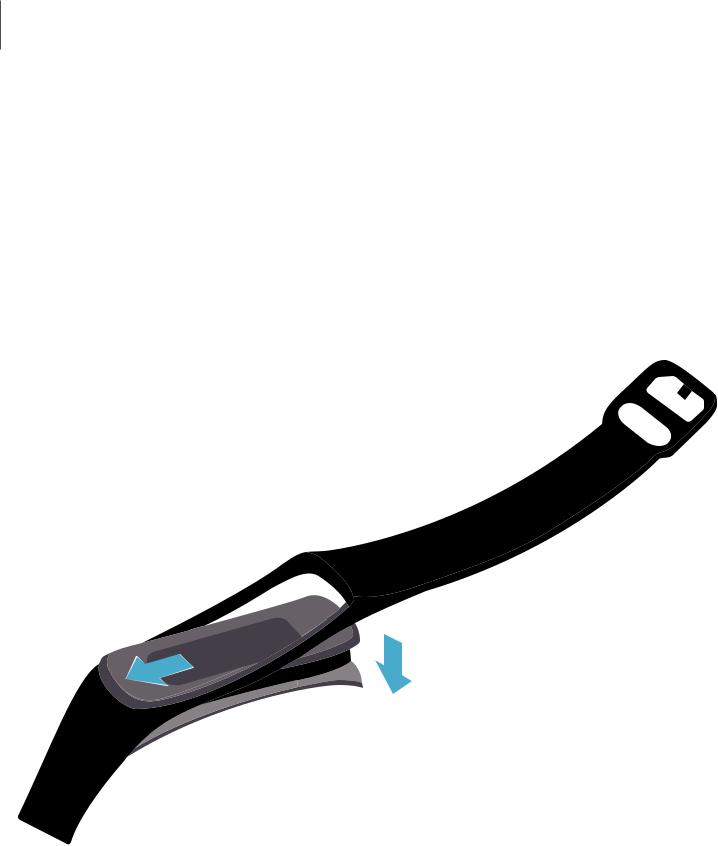
 Replace the band
You can easily replace the Galaxy Fit2 band with a new one.
1. Detach the old band.
•While holding the Galaxy Fit2, gently pull on one of the band connections to lift it up.
2.Attach the new band.
•Hook one side of the band to the Galaxy Fit2, gently pull on the other side of the band to hook around the other side of the Galaxy Fit2.
Devicesandsoftwareareconstantlyevolving— theillustrationsyouseehereareforreferenceonly.
8

Gettingstarted
Startusingyourdevice
Turn the screen on | Connect the Galaxy Fit2 to a smartphone | Navigation | Change the watch face | Quick panel | Brightness | Do not disturb mode | Music controller | Sound control | Vibration settings | Find my phone | Good night mode | Restart | Reset | Notifications | Answer or reject calls | View and Send messages
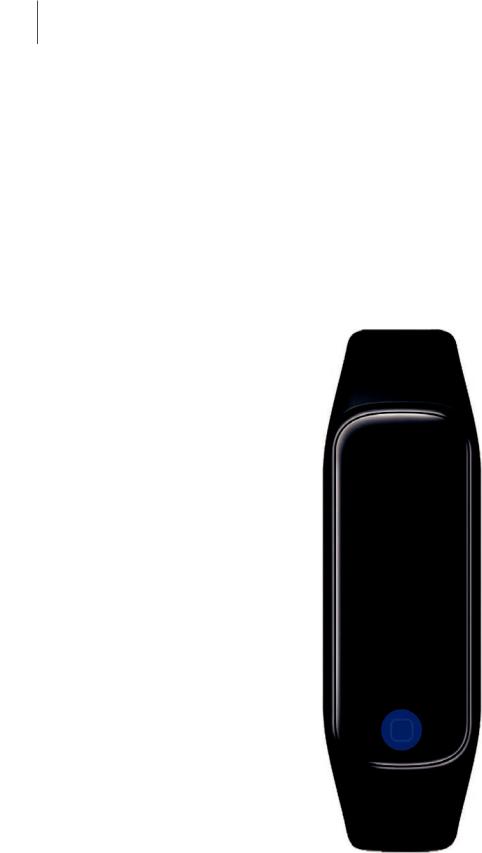
Turn the screen on
Use the Touch key to turn the screen on.
◌Press the Touch key once.
•To turn off the screen, cover it with your palm. It may automatically turn off if the Galaxy Fit2 is not used for a specified period.

 TIP You can also turn on the screen using the Wake-up gesture feature. On your smartphone, tap
 Galaxy Wearable >
 Advanced > Wake-up gesture to enable this feature.
Connect the GalaxyFit2 to a smartphone
To connect your Galaxy Fit2 to a smartphone, install the Galaxy Wearable app on the smartphone. You can download the app from Galaxy Store, or the Google Play™ store.
Galaxy Wearable is compatible with select devices using Android™ 5.0 and later, with at least 1.5 GB RAM. Supported devices may vary by carrier. Some features may not be available. For best results, connect with compatible Samsung Galaxy devices. Visit samsung.com/us/support/owners/app/galaxy-wearable-watch for a list of compatible smartphones.
1.From the Apps screen of the smartphone, tap Galaxy Wearable.
2.If necessary, update the app to the latest version.
3.Tap Start the Journey, and follow the prompts to select your device.
4.When the Bluetooth® pairing request window is displayed, confirm the passkeys displayed on your Galaxy Fit2 and smartphone match, and then tap Connect.

 TIP To disconnect the Galaxy Fit2, on your smartphone tap
 Galaxy Wearable >
 Menu > Disconnect.
9
Gettingstarted
Navigation
The touchscreen responds best to a light touch from the pad of your finger. Using excessive force or a metallic object on the touchscreen may damage the tempered glass surface and void the warranty.
Tap
Lightly tap the screen to launch an app or select a menu item.
Devicesandsoftwareareconstantlyevolving— theillustrationsyouseehereareforreferenceonly.
10
Gettingstarted
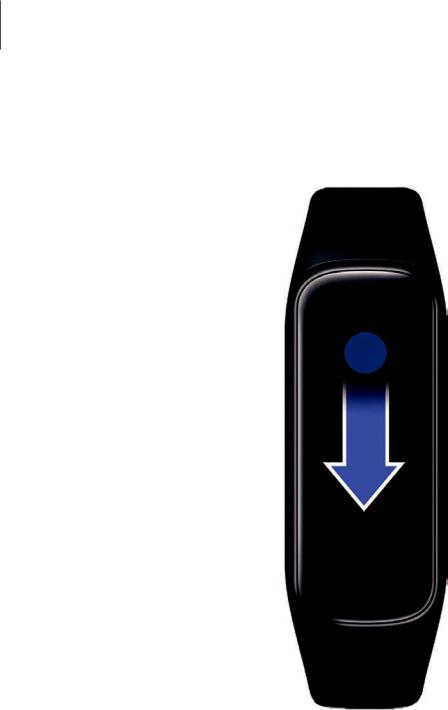
 Swipe
Swipe
Lightly drag your finger vertically or horizontally across the screen to view panels.
Devicesandsoftwareareconstantlyevolving— theillustrationsyouseehereareforreferenceonly.
11
Gettingstarted
 Drag
Drag
Touch and hold an item, and then move it to a new location.
Devicesandsoftwareareconstantlyevolving— theillustrationsyouseehereareforreferenceonly.
12
 Loading...