


GM 80 CR
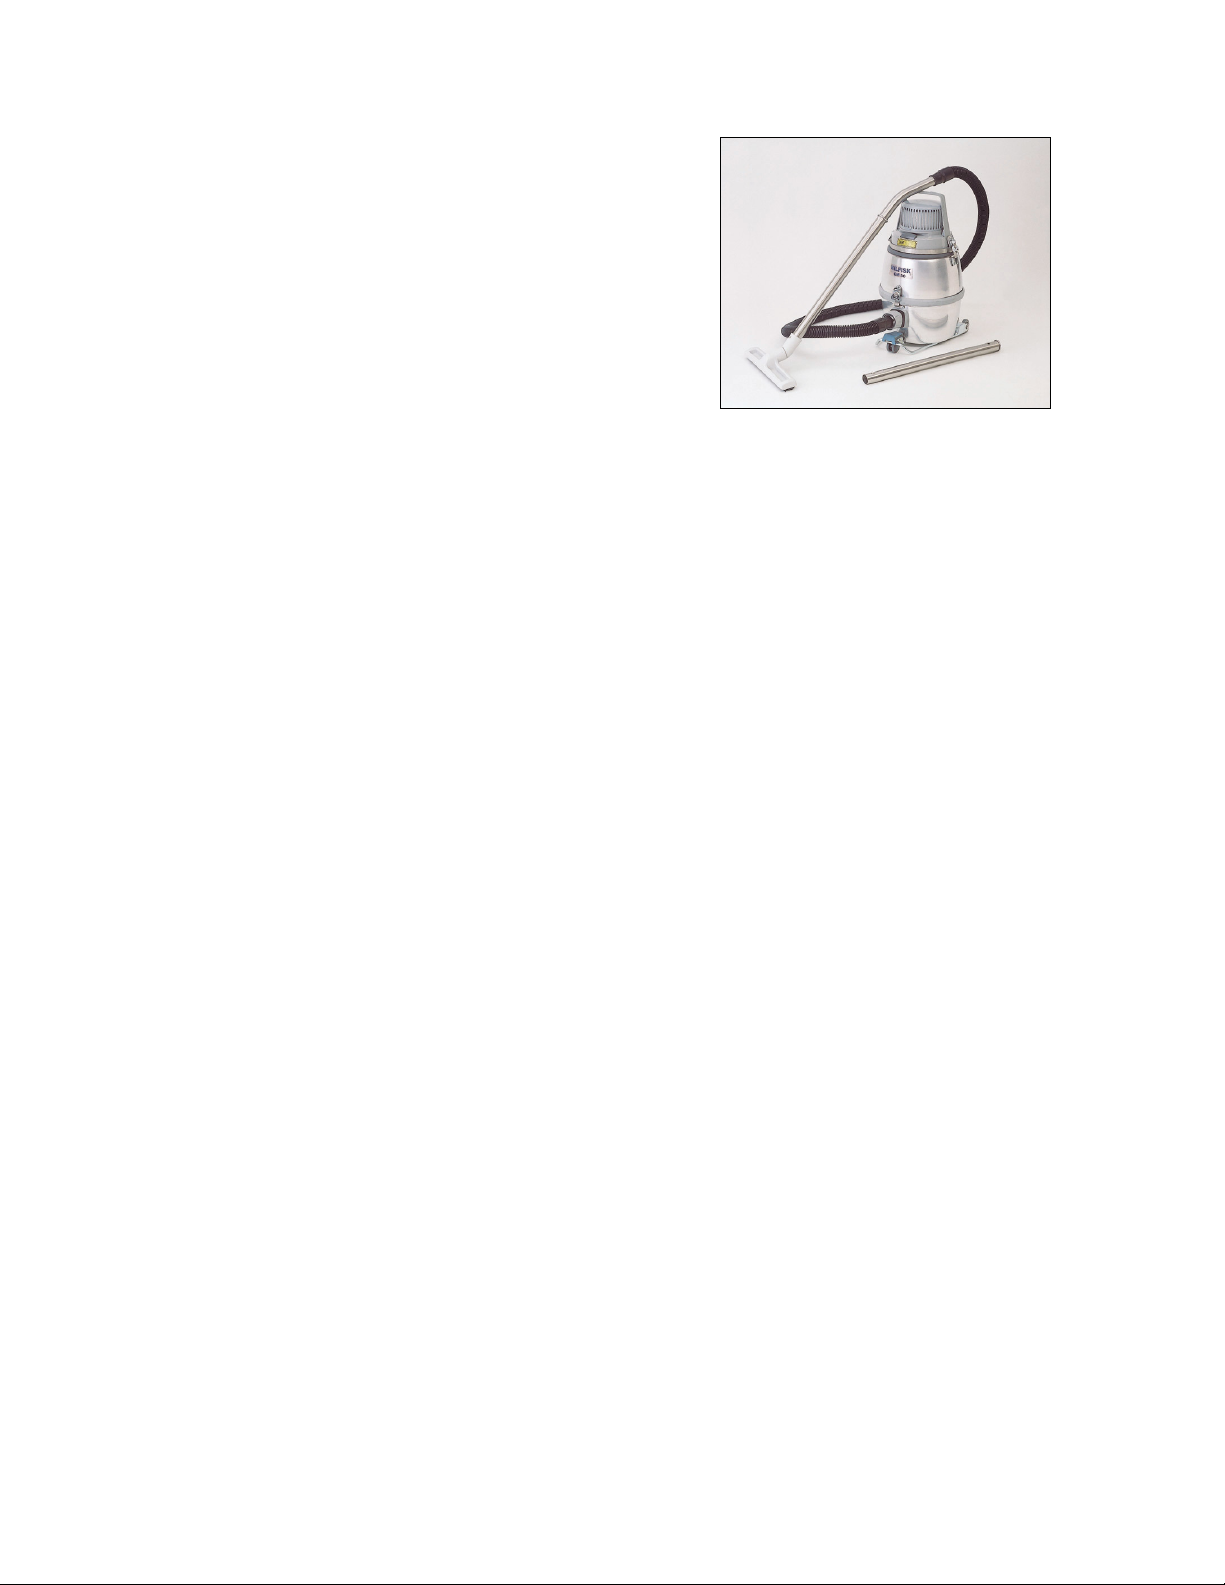
Nilfisk GM 80CR
INSTRUCTIONS FOR USE &
PARTS LIST
Table of Contents
Important Safety Instructions
Warranty
Using the Machine
Installing Paper Bag
Accessories
Emptying
Disposal
Maintenance/Filter Replacement
2
3
4
5
5
5
Troubleshooting
Loss of Power
6
Loss of Suction
Parts Explosions
Accessories
Technical Specifications
Contact Information
7
9
13
13
For Instructions for Use on ULPA filter installation, please refer to the
addendum titled, “ABSOLUTE FILTERS – End User Information.”

2
IMPORTANT SAFETY INSTRUCTIONS
PLEASE READ THESE INSTRUCTIONS COMPLETELY BEFORE USING THE
MACHINE. DEPENDING ON LOCAL REGULATIONS AND THE COMPOSITION
OF THE MATERIALS YOU HAVE COLLECTED, THERE MAY BE
REQUIRMENTS FOR SPECIAL HANDLING AND DISPOSAL OF THE
COLLECTED DEBRIS. CONSULT YOUR LOCAL OCCUPATIONAL SAFETY AND
HEALTH ADMINISTRATION (OSHA) AND ENVIRONMENTAL PROTECTION
AGENCY (EPA) OFFICIALS FOR DETAILS.
CAUTION: This Nilfisk vacuum cleaner or any other vacuum cleaner is not to be used in
explosion-hazardous areas, as serious injury could result.
Under no circumstances may this cleaner safely be used for the collection of hazardous or
toxic materials unless equipped with a special HEPA (High Efficiency Particulate Air) or
ULPA (Ultra Low Penetration Air) filter and bag which have been installed according to
written instructions from Nilfisk-Advance.
ATTENTION EMPLOYER: Please ensure these Instructions for Use are made available
and understood by your employees or any other persons who may use this equipment.
To list all toxic and hazardous materials would be beyond the scope of these Instructions.
It is the Employer's responsibility to identify, for Employees' and others' information,
hazardous or toxic materials which may be collected by this equipment.
Your new Nilfisk industrial vacuum cleaner is a precision-engineered instrument
designed for exceptionally fine filtration. Ordinary vacuum cleaners do not have HEPA
filters, and cannot be safely used for hazardous dust collection. This Nilfisk machine is
safe to use with fine powders or hazardous materials, as long as certain precautions are
taken. Proper care of this cleaner is essential to the maintenance of its ultrafine filtering
capabilities.
BEFORE USE: DO NOT ATTEMPT TO OPERATE THIS CLEANER UNTIL YOU
HAVE INSTALLED ITS VARIOUS COMPONENTS ACCORDING TO THE
FOLLOWING INSTRUCTIONS:
WARRANTY
The Nilfisk companies warrant that Nilfisk equipment will be free of defects in
workmanship or material for a period of two years from the date of delivery. Should any
failure to conform to this warranty appear, the Nilfisk companies shall upon notification
within such time period, correct such non-conformity, at its option, either by repairing
any defective part or parts, or by replacing a part or parts provided that the equipment is
returned to an authorized Nilfisk service facility. In all cases freight both ways will be at
the expense of the customer. Equipment shall not be returned without advance notice to,
and consent of the Nilfisk companies.
3
EXCEPT AS SPECIFICALLY SET FORTH HEREIN, THE NILFISK COMPANIES
MAKE NO WARRANTIES, EITHER EXPRESSED OR IMPLIED AS TO ANY
MATTER WHATSOEVER, INCLUDING WITHOUT LIMITATION ANY AND ALL
WARRANTIES OF MERCHANTABILITY, FITNESS FOR PURPOSE, OR OTHER
WARRANTIES, ALL OF WHICH ARE EXPRESSLY DISCLAIMED AND
EXCLUDED. NEITHER PARTY SHALL BE LIABLE TO THE OTHER FOR
SPECIAL, INDIRECT, INCIDENTAL OR CONSEQUENTIAL DAMAGES,
INCLUDING BUT NOT LIMITED TO LOSS OF PRODUCTION, LOSS OF TIME,
LOSS OF PROFITS OR OTHER SIMILAR INDIRECT LOSSES WHICH MIGHT
OCCUR AS A RESULT OF DEFECTS, PARTIAL OR TOTAL FAILURE OF THE
PRODUCT TO PERFORM AS SPECIFIED.
Correction of non-conformities or defects in the manner and for the period of time
provided above, shall constitute fulfillment of all liabilities of the Nilfisk companies to
the customer, whether based on contract, negligence or otherwise with respect to, or
arising out of such equipment. The remedies set forth herein are exclusive, and the
liability of the Nilfisk companies with respect to this sale or anything done in connection
therewith, whether in contract, in tort, under any warranty, or otherwise, shall not except
as expressly provided herein, exceed the price of the equipment or part on which such
liability is based.
The warranty does not cover repairs due to normal wear and tear, accident, neglect,
misuse or abuse, incorrect installation or use other than as described in the
instruction booklet. Breaks in hoses and cables are not covered. This warranty is
rendered void if the motor number plate is removed or defaced or if repairs are
made or attempted by persons not authorized by the Nilfisk companies.
USING THE MACHINE
Correct use of the machine: This machine is not a wet/dry vacuum. It is intended for
dry collection only. Do not use this vacuum to pick up liquids, or any wet materials.
The GM 80CR has been packaged in plastic to protect it
during shipment, and all critical filters are installed at the
factory.
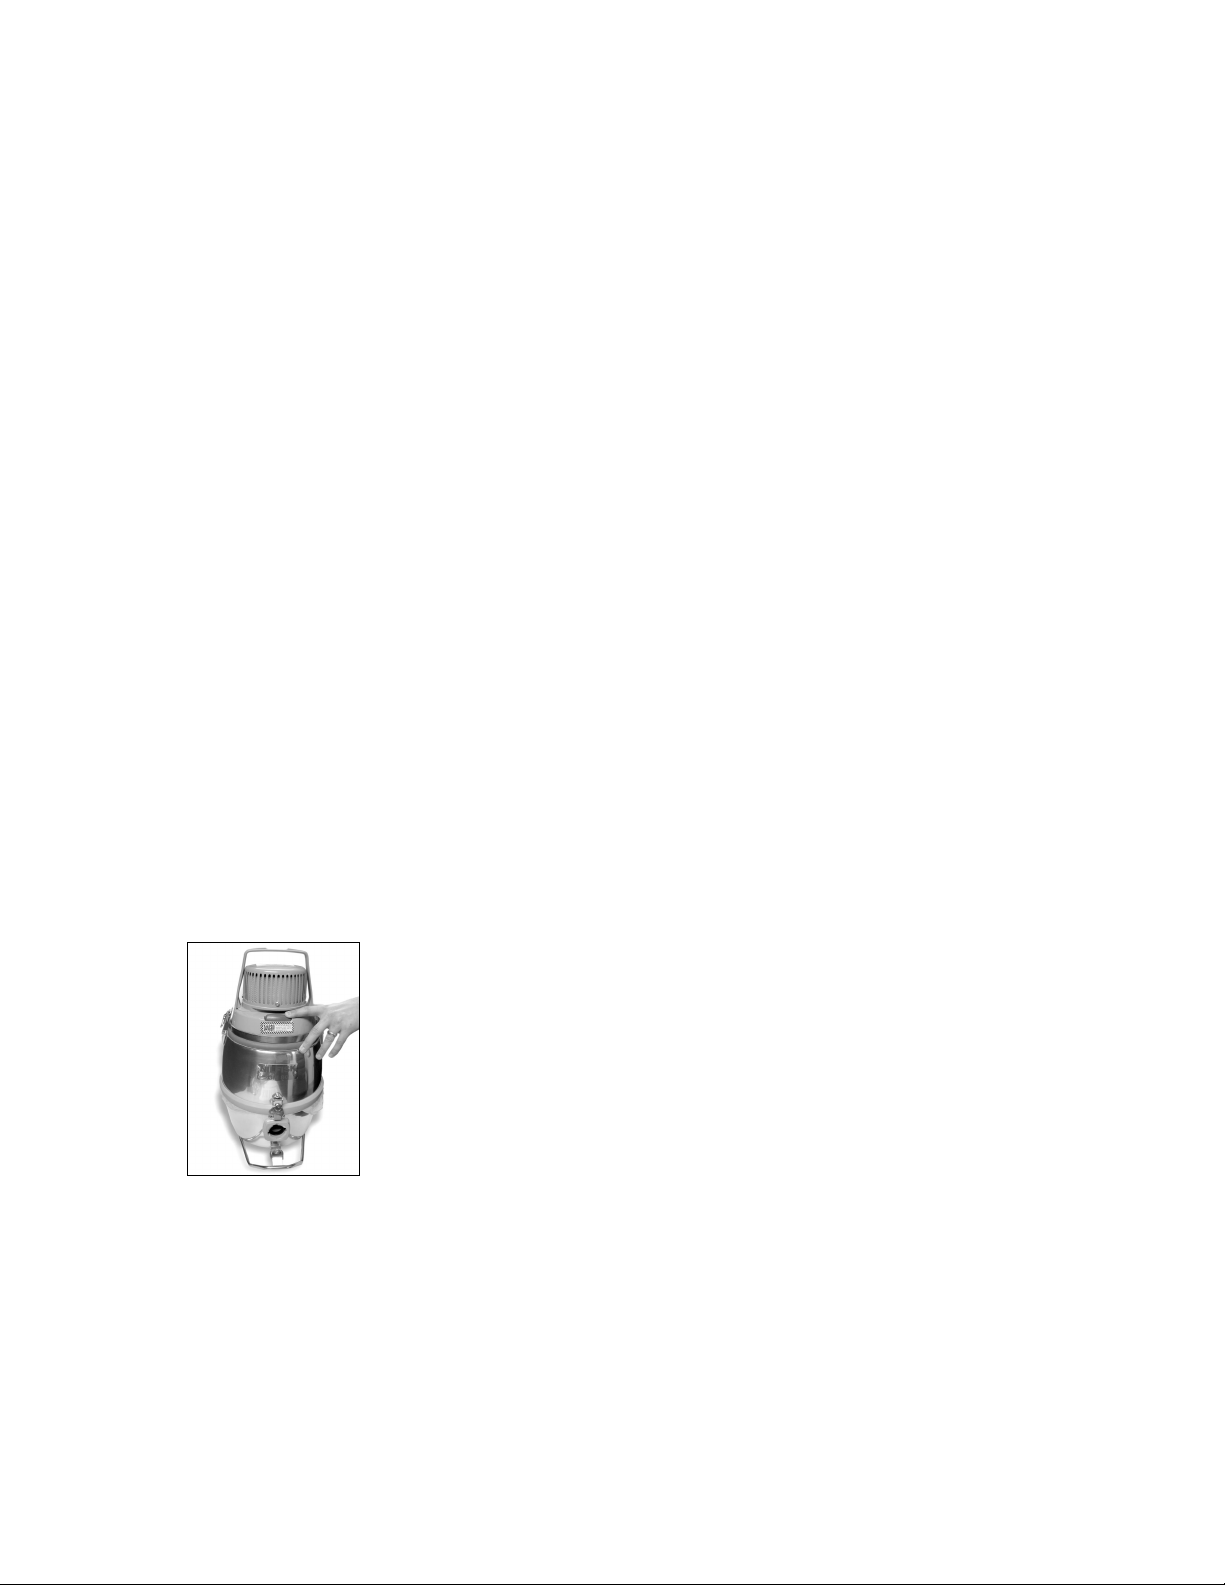
Starting and stopping: Press the gray button on the upper
front portion of the vacuum (photo 1).
Photo 1
4
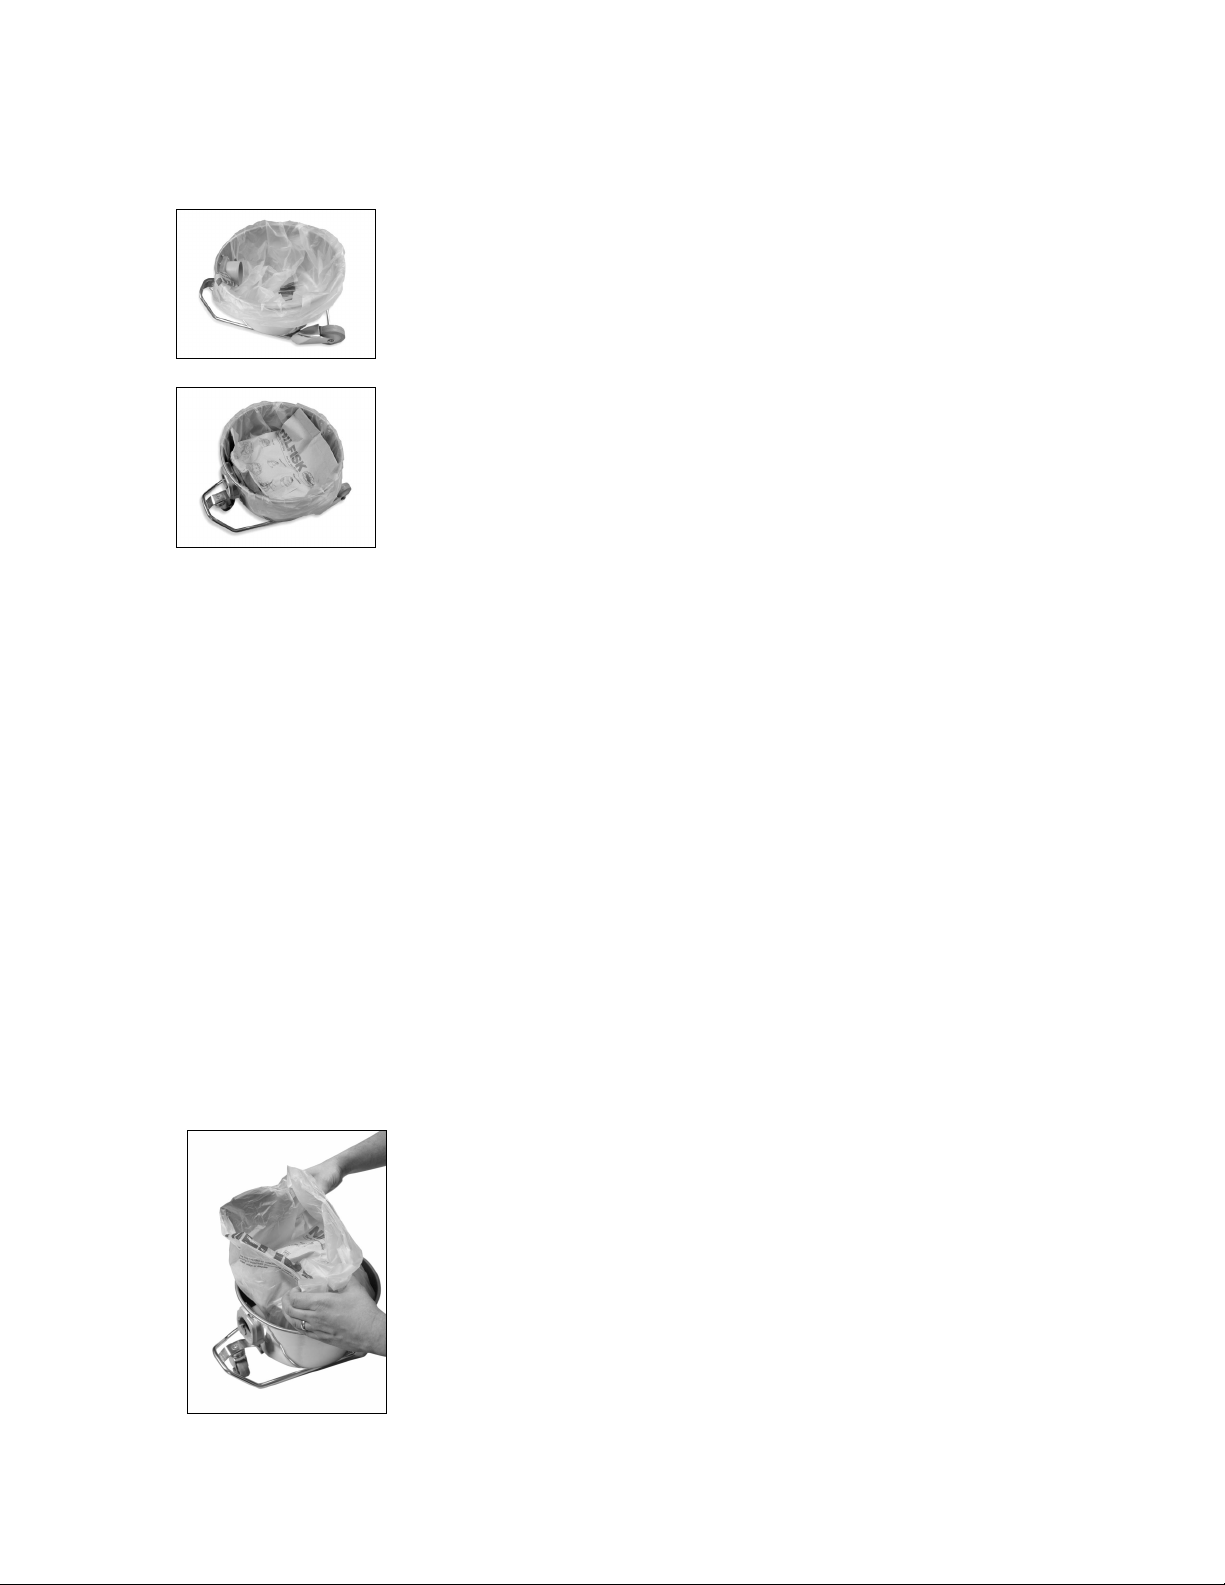
Installing the Polyliner and Paper Bag
Twist and release the two container clips located on the body of
the container, front and back. Lift off the top. Open the polyliner
and place in the bottom of the container with its walls flush
against the container sides and lipped under the container inlet
(photo 2). The excess length of polyliner is draped over the top of
the container and down the outside then rolled at the end to permit
the container clips to close.
Install a paper bag inside the polyliner according to the
illustrations printed on the paper bag itself (photo 3). Replace the
top container and fasten the two clips.
Note: Polyliners are optional. If you choose not to use a polyliner,
follow the instructions to install the paper bag.
Accessories
The GM 80CR offers a package of standard accessories that can be connected in the
following manner. Affix the conductive plastic hose to the vacuum by inserting it into the
orifice on the lower container. Once it is inserted, rotate the inlet coupler a quarter turn to
lock it into place. Either of the straight 22 inch stainless steel wands can be fitted to the
other end of the hose by snapping it in place. You can connect the floor nozzle or the
upholstery nozzle to the end of the straight wand. The GM 80CR kit includes a
conductive crevice nozzle and conductive 3 inch round brush, which can be attached to
either the wands or to the curved steel tube at the end of the conductive plastic hose. A
tool caddy (#01720600) is also included to provide easy onboard storage of accessories.
EMPTYING:
IF THIS VACUUM CLEANER IS USED TO COLLECT HAZARDOUS MATERIAL,
DO NOT ATTEMPT TO OPEN OR EMPTY ITS CONTENTS WITHOUT PERSONAL
PROTECTIVE CLOTHING AND RESPIRATORY PROTECTION.
To empty the container and its contents, first turn off the motor.
Allow the cleaner to sit undisturbed for at least thirty (30)
seconds. Then twist and release the container clips. Once the
seal is broken, turn on the motor again. This will prevent
ultrafine particles which are still suspended in the air inside the
container from escaping into the work place. Lift off the
container top. Remove the polyliner and paper bag within it
(photo 4). Then seal off the polyliner with the paper bag inside
and install a new polyliner and paper bag according to step 2,
Machine Setup.
Photo 4
Photo 2
Photo 3
 Loading...