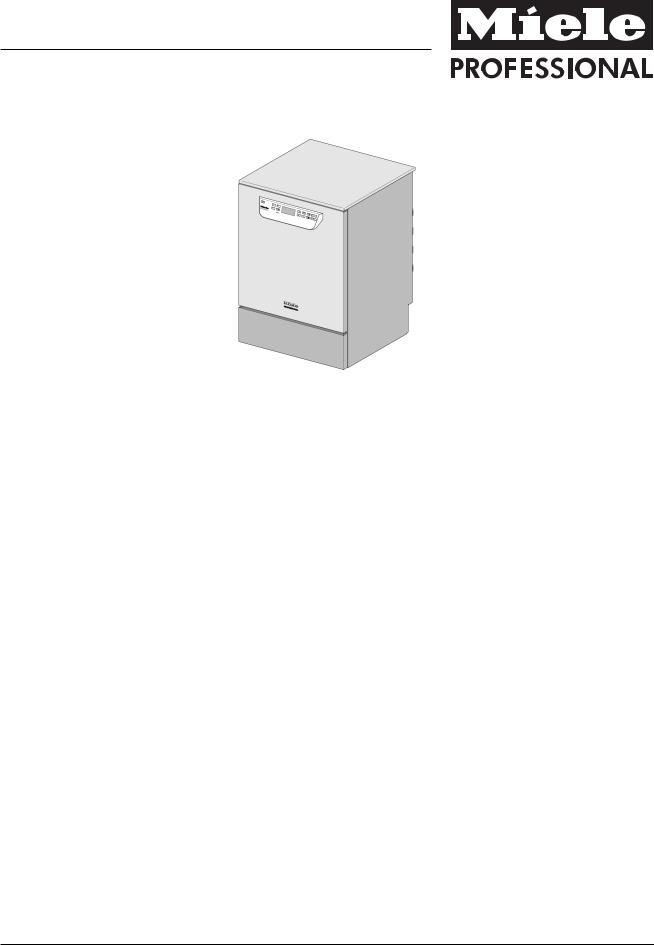
Miele PG 8581, PG 8582, PG 8583 Installation diagram

Installation plan
PG 8581
PG 8582
PG 8583
It is essential to read the operating instructions and service documents before installation or use of this appliance. This will prevent both personal injury and damage to the machine.
en - AU, NZ
M.-Nr. 11 196 240

Installation notes
Installation |
This machine must be connected to the mains supply, and plumbed |
requirements |
in, in accordance with the installation instructions provided. |
|
Installation must only be carried out by authorised installers in |
|
accordance with valid regulations, relevant standards and health and |
|
safety codes. |
|
The machine must be commissioned and operators trained in its use |
|
by Miele Service or by an approved Miele Service Dealer only. |
Surrounding area |
Condensate can build up in the area surrounding the machine. Any |
|
cabinetry and fixtures in the room must be suitable. If the machine is |
|
installed under a countertop (built-under model), the protective foil |
|
supplied must be stuck to the underside of the worktop and a |
|
stainless steel panel must be installed above the door opening to |
|
provide protection from the steam. The stainless steel panel can be |
|
ordered from Miele. |
Plumbing |
The cold water, hot water, demineralised water and drain water can |
|
be connected directly without a non-return valve. Use the Y-piece |
|
supplied to connect the inlet hoses to the machine (KW) and to the |
|
steam condenser (DK). Alternatively, you may also install an |
|
additional cold water supply and connect the steam condenser to this |
|
supply. |
|
If access to a hot water supply is not available, a Y-piece must be |
|
used to connect both inlet hoses (KW cold water and WW hot water) |
|
to the cold water supply. |
|
The stopcocks must be easily accessible. |
|
Plumbing connections for PG 8581 to 83 |
|
– PG 8581: cold water (KW) only |
|
– PG 8582: cold water (KW) and hot water (WW) |
|
– PG 8583: cold water (KW) and hot water (WW) |
Electrical |
Connection to the electrical supply must be carried out in accordance |
connection |
with local and national safety regulations. The power cord must be |
|
protected from the risk of thermal damage. |
|
It is recommended to make electrical connection via a plug and |
|
socket so that electrical safety checks can be carried out easily. |
|
For hard-wired machines, connection must be via a main switch to |
|
be provided on site, which must completely isolate the machine from |
|
the power supply with a contact gap of at least 3 mm. |
|
The plug and socket as well as the main switch must be easily |
|
accessible after the machine has been installed. |
Equipotential |
For added safety the machine should be protected with a residual |
bonding and |
current device with trip current of 30 mA. |
earthing |
Equipotential bonding should be carried out if required. A screw |
|
connection for equipotential bonding is provided at the back of the |
|
machine. Equipotential bonding and earthing must be completed |
|
before the machine is commissioned. |
2 |
PG 8581 / PG 8582 / PG 8583 |
|
Installation notes |
Connecting an |
Up to two dispensing systems for liquid agents can be connected to |
external |
the rear panel of the machine. The instructions below regarding |
dispensing |
machine model must be observed: |
system |
– PG 8581: max. 1 connection |
|
|
|
– PG 8582: 1 or 2 connections |
|
– PG 8583: 1 or 2 connections |
Liquid media: |
The liquid agent container for external dispensing must be placed |
position of |
next to or underneath the machine. Place the container next to the |
external |
machine on the floor or in an adjacent cabinet. Do not position the |
containers |
container above the machine. The dispenser hose must not be kinked |
|
or trapped. |
Communication |
Ethernet and RS232 modules are available as optional extras. They |
modules |
are not supplied with the machine. The connection box for these |
|
should be installed near the machine for transferring and printing |
|
process data. These must be installed and connected in accordance |
|
with IEC 60950. |
PG 8581 / PG 8582 / PG 8583 |
3 |
 Loading...