


Haier HR-123-A, HR-143NR, HR-143, HR-143-A, HR-133S User Manual
...HR-123
HR-123/A HR-123NR HR-133 HR-133S HR-133S/A HR-133/A HR-133/AS HR-133NR/A HR-133AE/A HR-143 HR-143/A HR-143/AS HR-143NR HR-143AE

HAI HR-LINE
1

2

3 

 4
4
5

6

7
8
Abtauen/Reinigen Abtauen
Während des Betriebs der Kühlanlage bildet sich im Zwei- Sterne-Gefrierfach Eis. Bei starker Vereisung verbraucht das Gerät mehr Strom. Wenn sich eine dicke Eisschicht gebildet hat, muss das Gefrierfach abgetaut und gereinigt werden.
Drücken Sie auf die graue Taste am Temperaturregler, und das Gerät taut automatisch ab.
Ziehen Sie den Stopfen (2) aus der Wasserauffangwanne ab, und stellen Sie zum Auffangen des Tauwassers eine Schale (3) unter die Ablauföffnung. Die Tür muss beim Abtauen offen stehen. Nehmen Sie nach dem Abtauen die Wasserauffangwanne (1) aus dem Gerät und reinigen Sie sie. Trocknen Sie sowohl die Wasserauffangwanne als auch das Zwei-Sterne-Gefrierfach ab. Setzen Sie die Wasserauffangwanne wieder in das Gefrierfach ein, und bringen Sie den Stopfen (2) wieder an.
Entfernen Sie das Eis keinesfalls mithilfe eines Metallgegenstands!
Tauen Sie das Gerät keinesfalls mithilfe eines elektrischen Heizgeräts ab!
Nach dem Abtauen schaltet sich die graue Taste am Temperaturregler automatisch wieder ein, und das Kühlgerät nimmt den normalen Betrieb wieder auf.
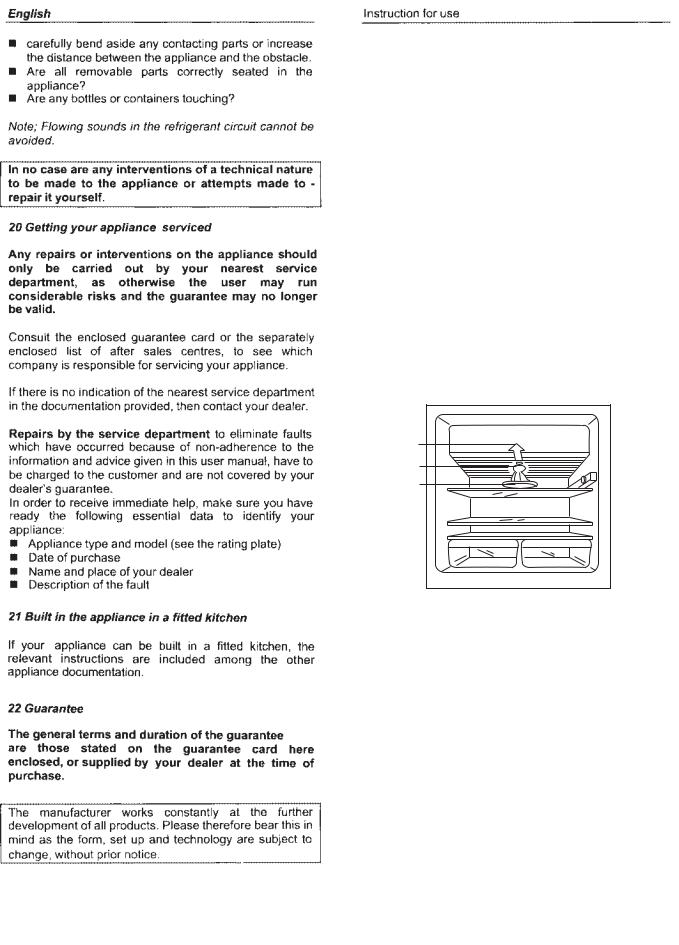
Nun können Sie wieder Lebensmittel in das Gefrierfach laden.
¢
¢
¢
9

Deutsch |
Gerätkomponenten |
1
2
3
9
4
5
4
5
6
10
7
8
11
HR-143**
2
4
5
6
12
7
8
13
Die Zeichnungen dienen nur zu Illustrationszwecken. Ihr Gerät kann in der Ausstattung von den Zeichnungen abweichen.
1
5
24
14
1
1* Lüftungsgitter
2*Arbeits- / Abdeckplatte
3Gefrierfach mit * Klappe / Tür
4Innenbeleuchtung und Temperaturregler
5Abstellfläche
6Tauwasser Ablaufrinne
7* Glas-/ Plexiglasplatte
8* Gemüseschale(n)
9Ablage Fach
10DosenFläschenregal
11Flaschenregal
12Wärmetauscher / Kondensator
13Kompressor
14Kontaktschalter Innenbeleuchtung
* je nach Modell
**Kann sein " /A " or " /AS "
Zum Entfernen der Lampenabdeckung Gerät vom Szromnetz trennen
Lampenabdeckung gemäss Pfeile 1 zusammendrücken
2 durch seitliche Handbewegung aushängen
(Lamp 230 V 10W)
1

2

3

4

5

6

7
Defrosting/Cleaning Defrosting
The 2-star freezer compartment ices up when the refrigerating system is working. A thick layer of frost or ice will increase energy consumption. When a thick layer of frost or ice is formed, the freezer compartment needs defrosting and cleaning.
Press the grey key on the temperature regulator and the refrigerator defrosts automatically.
Remove the plug (2) of water collecting tray, place a pan
(3) under the discharge gutter to collect the thaw water. Keep the door open during defrosting. After defrosting, take out the water collecting tray (1) and clean it. Dry the water collecting tray and the 2-star freezer compartment. Return the water collecting tray back into the freeze compartment and insert the plug (2).
Never use a metallic tool to defrost! Never use and electric heater to defrost!
After defrosting, the grey key on the temperature regulator restores automatically and the refrigerator resumes working.
Put the foods back into the freezer compartment.
¢
¢
¢
8
English |
Appliance components |
1
2
3
4
5
4
5
6
7
8
HR-143**
2
4
5
6
7
8
|
|
|
|
|
|
|
|
|
1 |
* Ventilation grille |
|
|
|
|
|
|
|
|
|
2 |
*Work surface / cover plate |
|
|
|
|
|
|
|
|
|
3 |
Freezing compartment |
|
|
|
|
|
|
|
|
|
|
with * flap / door |
|
|
|
|
|
|
|
|
4 |
Interior light |
|
|
|
|
|
|
|
9 |
||||
|
|
|
|
|
|
|||||
|
|
|
|
|
|
|||||
|
|
|
|
|
|
|
|
|
and temperature controller |
|
|
|
|
|
|
|
|
|
|
|
|
|
|
|
|
|
|
|
|
|
5 |
Storage element |
|
|
|
|
|
|
|
10 |
6 |
Water drain channel |
|
|
|
|
|
|
|
|
||||
|
|
|
|
|
|
|
||||
|
|
|
|
|
|
|
||||
|
|
|
|
|
|
|
|
|
7 |
* Glass/ Plexiglas shelf |
|
|
|
|
|
|
|
|
|
||
|
|
|
|
|
|
|
|
|
||
|
|
|
|
|
|
|
|
|
||
|
|
|
|
|
|
|
11 |
8 |
* Vegetable tray(s) |
|
|
|
|
|
|
|
|
||||
|
|
|
|
|
|
|
9 |
Storage compartment |
||
|
|
|
|
|
|
|
|
|
||
|
|
|
|
|
|
|
|
|
10 |
Can - bottle rack |
|
|
|
|
|
|
|
|
|
11 |
Bottle rack |
|
|
|
|
|
|
|
|
|
12 |
Heat exchanger / condenser |
|
|
|
|
|
|
|
|
|
13 |
Compressor |
|
|
|
|
|
|
|
|
|
||
|
|
|
|
|
|
|
|
12 |
14 Contact switch for interior light |
|
|
|
|
|
|
|
|
|
|||
|
|
|
|
|
|
|
|
|
||
|
|
|
|
|
|
|
|
|
* |
according to model |
|
|
|
|
|
|
|
|
|
** |
can be " /A " or " /AS " |
|
|
|
|
|
|
|
|
|
||
13
The drawings are for illustration purposes only. The equipment of your appliance can differ from the drawings.
|
1 |
To replace the lamp: |
|
|
|
Unplug the appliance |
|
|
|
1 Press the lamp protection cover |
|
|
5 |
2 take it out |
|
|
replace the lamp (230 V 10W) |
||
2 |
4 |
||
14 |
re-fix the lamp protection cover |
||
|
1

1
 Loading...