


PIXMA MG4200 series
Setup Guide
© CANON INC. 2012

Setup Guide
This guide provides information for setting up a network connection for the printer.
Network Connection
Wireless Connection
Preparation for Connection
Printer Setup
Setup Procedure Selection
Push Button Method
Standard setup
WPS
Other setup (Advanced setup)
Disable
WEP
WPA/WPA2
Character Entry
Troubleshooting
Network Connection
Wireless Connection
a Preparation for Connection
Before Starting Wireless Connection Setup
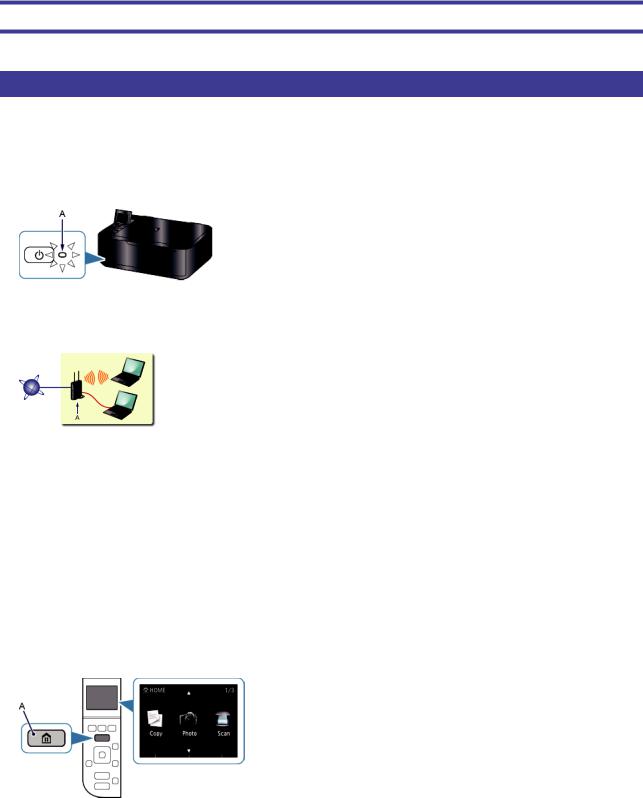
1.Make sure that the printer is turned on.
If the power is on, the POWER lamp (A) will be lit.
Notes on Wireless Connection
•Make sure that the computer is connected to the access point (A) (or wireless network router) you want to connect your printer to.
•The coni guration, router functions, setup procedures and security settings of the network device vary depending on your system environment. For details, refer to the manual of your network device or contact its manufacturer.
•Check if your device supports IEEE802.11n, 802.11g or 802.11b.
•If your device is set to the "IEEE802.11 n only" mode, WEP or TKIP cannot be used as a security protocol. Change the security protocol for your device to something other than WEP and TKIP or change the setting to something other than "IEEE802.11 n only."
•For ofi ce use, consult your network administrator.
•Take added care when connecting to a network that is not protected with security measures, as there is a risk of disclosing data such as your personal information to a third party.
•An "Ad-hoc connection," which establishes a direct connection to the computer over a wireless connection without an access point, is not supported. Be sure to prepare an access point.
bPrinter Setup
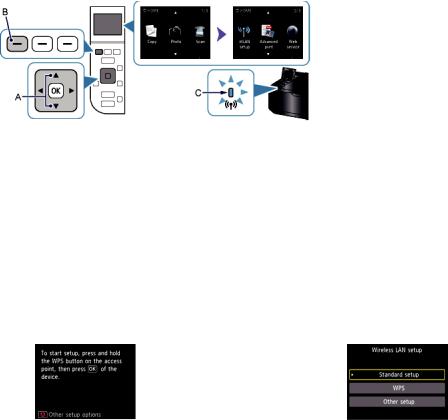
1.Press the HOME button (A) on the printer.
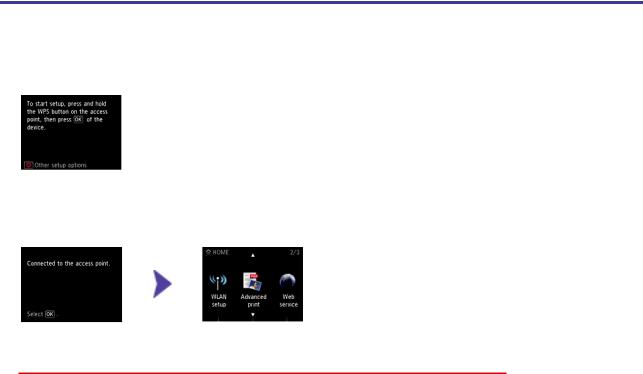
2. Use the  or
or  button (A) to display the WLAN setup icon.
3. Press the left Function button (B).
The (blue) Wi-Fi lamp (C) lights up when wireless connection is enabled.
c Setup Procedure Selection
The printer will automatically search for access points supporting WPS (Wi-Fi Protected Setup).
* If the Push Button Method screen is displayed on the printer
When you are unsure if your access point or router supports this technology, press the Stop button.
Proceed to the screen for Standard setup.
Push Button Method → d-A Select the most suitable connection method from the following.
•Standard setup → d-B
Connect to Access Point by entering the Network Password
•WPS → d-C
Connect to WPS-compatible Access Point
•Other setup (Advanced setup) → d-D
Connecting to the Network by Entering the Access Point's Settings Directly on the Printer
When using WEP key number 2, 3 or 4, select "Advanced setup".
d-A Push Button Method
d Connection Using WPS
1. Press and hold the WPS button on the access point.
For details on pressing the WPS button, refer to the access point manual.
2. Press the OK button on the printer within 2 minutes.
The (blue) Wi-Fi lamp on the printer fl ashes while searching for or connecting to the access point.
3. When the left screen appears, press the OK button.
The network connection setup is now complete.

d-B Standard setup
dConnection via Standard setup
1.Select Standard setup.
2.Press the OK button.
3.Select your access point, then press the OK button.
4. One of the screens below will be displayed on the printer.
5.Press the OK button.
6.Enter the network password (WEP key or passphrase).
Character entry is case-sensitive.
7.Press the left Function button.
8.Make sure that the network password is correct.
Character entry is case-sensitive.
9. Press the left Function button.
10.When the left screen appears, press the OK button.
The network connection setup is now complete.
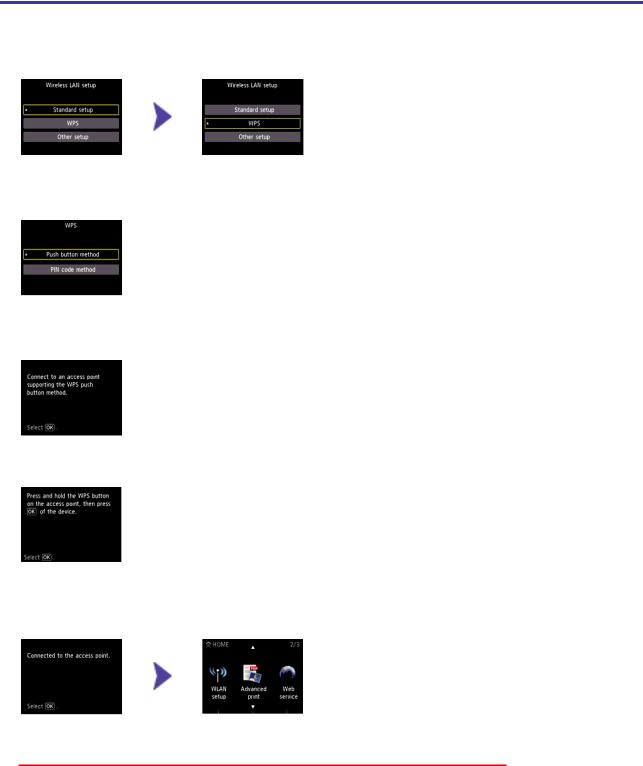
d-C WPS
dConnection Using WPS
1.Select WPS.
2.Press the OK button.
3.Select Push button method.
4.Press the OK button.
5.Press the OK button.
6. Press and hold the WPS button on the access point.
For details on pressing the WPS button, refer to the access point manual.
7. Press the OK button on the printer within 2 minutes.
The (blue) Wi-Fi lamp on the printer fl ashes while searching for or connecting to the access point.
8. When the left screen appears, press the OK button.
The network connection setup is now complete.
 Loading...