


 Loading...
Quick Setup Guide
Start Here DCP-J100
DCP-J105
Please read the Product Safety Guide first before you set up your machine. Then, please read this Quick Setup Guide for the correct setup and installation.
User’s Guides for this model are available on the enclosed CD-ROM.
WARNING |
WARNING indicates a potentially hazardous situation which, if not avoided, could result in death |
or serious injuries. |
|
|
|
CAUTION |
CAUTION indicates a potentially hazardous situation which, if not avoided, may result in minor |
or moderate injuries. |
|
|
|
IMPORTANT |
IMPORTANT indicates a potentially hazardous situation which, if not avoided, may result in |
damage to property or loss of product functionality. |
|
|
|
NOTE |
Notes tell you how to respond to a situation that may arise or give tips about how the operation |
works with other features. |
|
|
|
NOTE
• Most of the illustrations in this Quick Setup Guide show the DCP-J105.
• If your computer does not have a CD-ROM drive, the supplied CD-ROM does not contain drivers for your operating system, or you want to download manuals and utilities, visit your model page at http://solutions.brother.com/.
1 Unpack the machine
 WARNING
Plastic bags are used in the packing of your machine. To avoid the danger of suffocation, keep these plastic bags away from babies and children. Plastic bags are not toys.
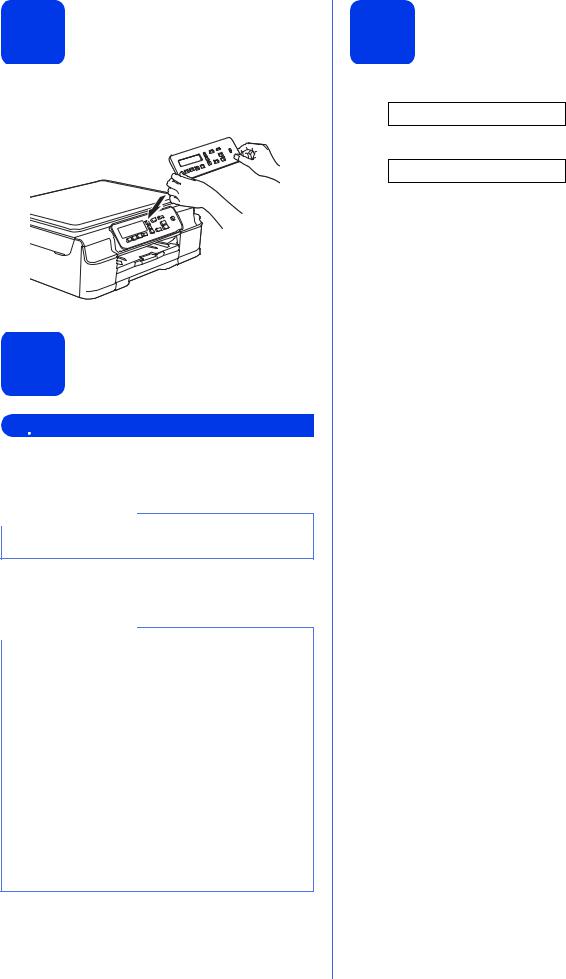
a Remove the protective tape and film covering the machine, and also from the LCD.
CEE-ENG Version 0
1
2 |
Changing the control |
|
panel (if needed) |
a Remove the original control panel from the machine with both hands. Then attach the control panel of your chosen language.
3 Connect the power cord
 WARNING
The machine must be fitted with an earthed plug.
NOTE
DO NOT connect the USB cable yet (if you are using a USB cable).
a Connect the power cord.
NOTE
•The Warning LED on the control panel will stay on until you have installed the ink cartridges.
•To prolong the life of the print head, provide the best ink cartridge economy and maintain print quality, we do not recommend unplugging the machine frequently and/or leaving the machine unplugged for extended periods of time. Each time you plug the machine in, it automatically cleans the print head, which uses some of your ink.
We recommend using  to power down the
machine. Using  allows minimal power to the machine, resulting in periodic, but less frequent, cleaning of the print head.
2
4 Choose your language
a When the LCD shows this message, press OK.
Select Language
q
Press OK Key
b Press a or b to choose your language and press OK.
c Press a (Yes) to confirm the language setting.
5 |
Install the ink cartridges |
 CAUTION
If ink gets in your eyes, wash it out with water at once and call a doctor if you are concerned.
NOTE
Make sure you install the Introductory Ink Cartridges included with your machine first.
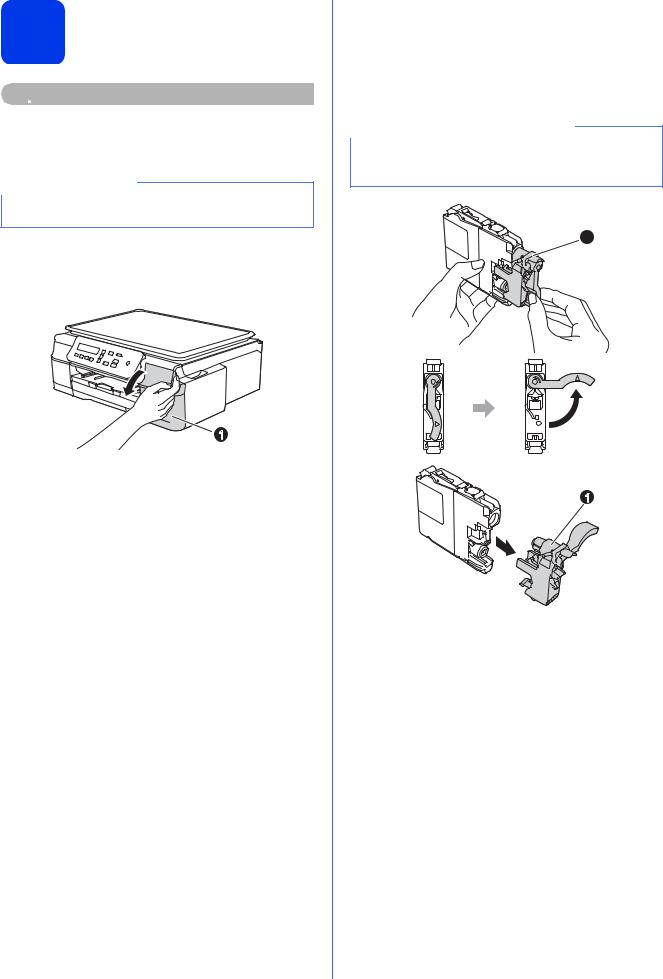
a Make sure that the power is turned on. b Open the ink cartridge cover a.
1
c Remove the orange protective part.
d Unpack the ink cartridge.
Turn the green release lever on the orange protective packing a counterclockwise until it clicks to release the vacuum seal. Then remove the orange protective packing a as shown.
IMPORTANT
DO NOT shake the ink cartridges. If ink stains your skin or clothing, wash with soap or detergent at once.
1
1
e Take care to match the sticker colour with the cartridge colour.
Install each ink cartridge in the direction of the arrow on the label.
3
f Gently push the back of the ink cartridge marked “PUSH” until the cartridge lever lifts. After all the ink cartridges are installed, close the ink cartridge cover.
NOTE
The machine will prepare the ink tube system for printing. This process will take approximately four minutes. Do not turn off the machine. We recommend you perform the next step while waiting.
6 Load plain A4 paper
a Pull the paper tray completely out of the machine.
b Open the output paper tray cover.
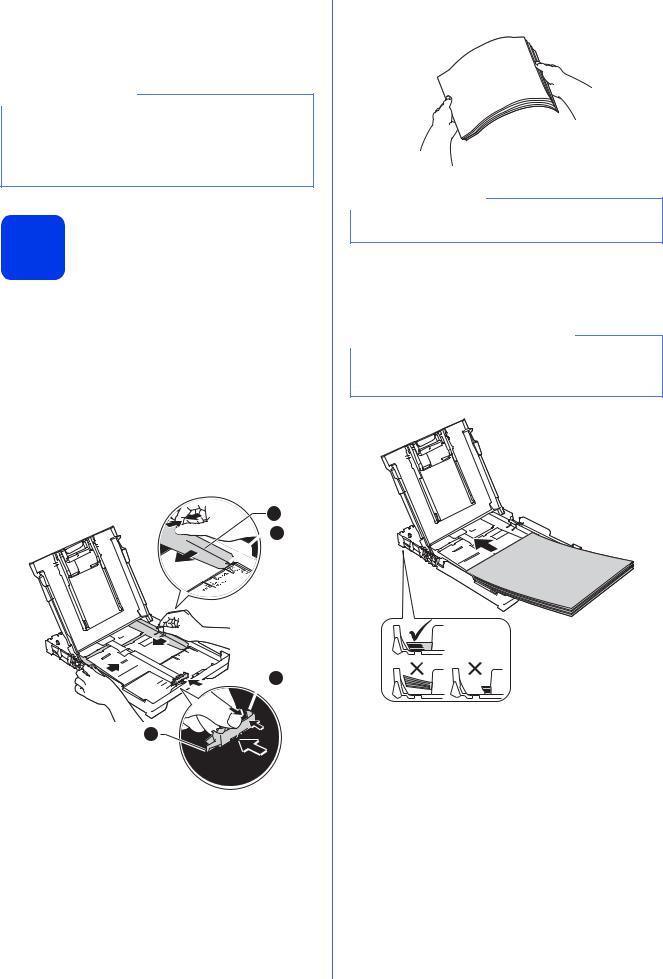
c Gently press and slide the paper width guides aand then the paper length guide bto fit the paper size.
Make sure that the triangular marks c on the paper width guides a and paper length guide bline up with the mark for the paper size you are using.
1


 3
3
 2
2
3
4
d Fan the stack of paper well to avoid paper jams and misfeeds.
NOTE
Always make sure that the paper is not curled or wrinkled.
e Gently put the paper into the paper tray print side down and top edge first. Check that the paper is flat in the tray.
IMPORTANT
Be careful that you do not push the paper in too far; it may lift at the back of the tray and cause paper feed problems.

f Gently adjust the paper width guides to the paper with both hands. Make sure that the paper width guides touch the edges of the paper.
g Close the output paper tray cover.
h Slowly push the paper tray completely into the machine.
i While holding the paper tray in place, pull out the paper support until it clicks, and then unfold the paper support flap.
7 Check the print quality
a When the preparation process has finished, the LCD shows this message
Set Paper and
q
Press Start
Press Colour Start.
b Check the quality of the four colour blocks on the sheet. (black/yellow/cyan/magenta)
c If all lines are clear and visible, press a (Yes) to finish the quality check and go to the next step.
If lines are missing, press b (No) and follow the steps on the LCD.
8 Set the date and time
Setting the date and time allows the machine to clean the print head regularly and maintain optimum print quality.
a When the LCD shows this message, press OK.
Date&Time
q
Enter & OK Key
b Press a or b to enter the last two digits of the year, and then press OK.
c Repeat for the Month and Day, and then Hours and Minutes in 24-hour format.
NOTE
You can change the date and time if needed. For more information uuBasic User’s Guide: Setting the date and time
5

9 |
Wireless setup |
(DCP-J105 only) |
|
(if needed) |
Setup Wi-Fi? message appears on the LCD. For wireless setup using a mobile device, go to a.
For Windows® and Macintosh users, go to b.
a
b
Press a to choose Yes.
Go to step 11 on page 13 to continue with the wireless setup.
Press b to choose No.
Wireless setup instructions for Windows® and Macintosh users will be covered later, starting on page 13.
6
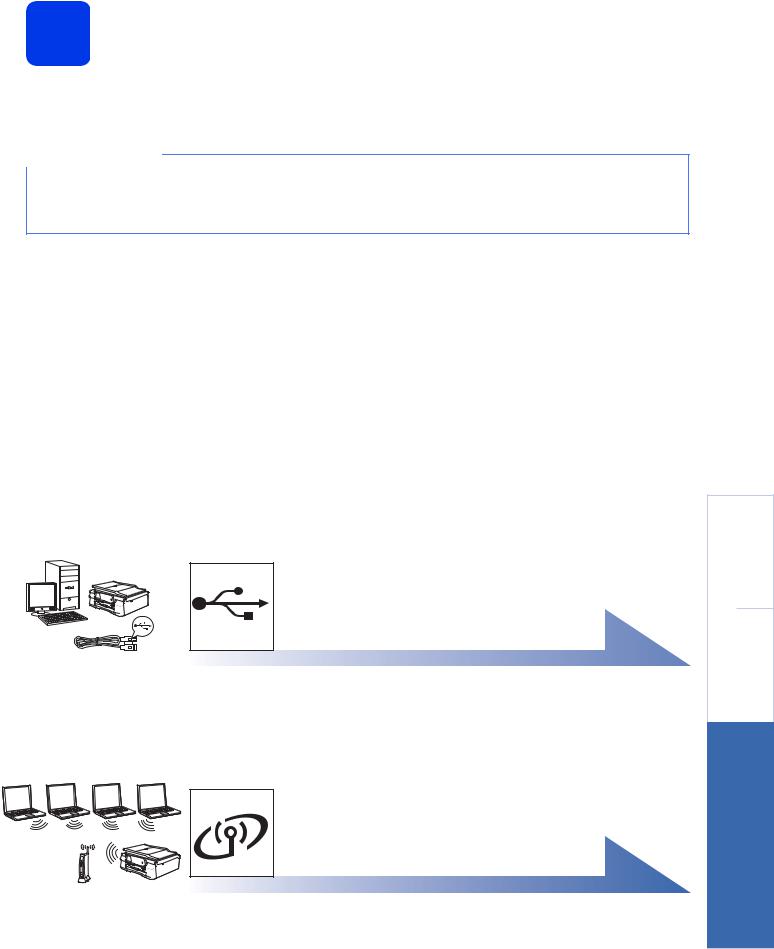
10 Choose your connection type
These installation instructions are for Windows® XP Home, XP Professional, XP Professional x64 Edition, Windows Vista®, Windows® 7, Windows® 8, and Mac OS X v10.6.8, 10.7.x, 10.8.x.
NOTE
If your computer does not have a CD-ROM drive, the supplied CD-ROM does not contain drivers for your operating system, or you want to download manuals and utilities, visit your model page at http://solutions.brother.com/. Some software applications included on the CD-ROM may not be available as a download.
For USB interface cable
Windows®, go to page 8
Macintosh, go to page 11
For Wireless Network (DCP-J105 only)
Windows® and Macintosh, go to page 13
|
Windows |
USB |
® |
Macintosh |
|
|
|
Network Wireless
7

USB |
Windows® |
For Windows® USB interface users
(Windows® XP Home/XP Professional/Windows Vista®/Windows® 7/Windows® 8)
11 Before you install
Make sure that your computer is ON and you are logged on with Administrator rights.
12 Install MFL-Pro Suite
a Put the CD-ROM into your CD-ROM drive. If the model name screen appears, choose your machine. If the language screen appears, choose your language.
NOTE
If the Brother screen does not appear automatically, go to Computer (My Computer).
(For Windows® 8: click the  (File Explorer) icon on the taskbar, and then go to Computer.)
Double-click the CD-ROM icon, and then double-click start.exe.
b Click Install MFL-Pro Suite and click Yes if you accept the license agreements.
c (DCP-J105)
Choose Local Connection (USB), and then click Next.
(DCP-J100)
Choose Standard, and then click Next.
d Follow the on-screen instructions until the Plug in the USB cable screen appears.
13 Connect the USB cable
a
b
c
IMPORTANT
Make sure that the cable does not restrict the cover from closing, or an error may occur.
8
Loading...