


Other keys
Switches all the windows between the two screen panels
Enables or disables the screen panel on the keyboard
Notebook PC E-Manual |
41 |

42 |
Notebook PC E-Manual |

Chapter 3:
Working with Windows® 10
Notebook PC E-Manual |
43 |
Starting for the first time
When you start your Notebook PC for the first time, a series of screens appear to guide you in configuring your Windows® 10 operating system.
To start your Notebook PC for the first time:
1.Press the power button on your Notebook PC. Wait for a few minutes until the setup screen appears.
2.From the setup screen, pick your region and a language to use on your Notebook PC.
3.Carefully read the License Terms. Select I accept.
4.Follow the onscreen instructions to configure the following basic items:
•Personalize
•Get online
•Settings
•Your account
5.After configuring the basic items, Windows® 10 proceeds to install your apps and preferred settings. Ensure that your Notebook PC is kept powered on during the setup process.
6.Once the setup process is complete, the Desktop appears.
NOTE: The screenshots in this chapter are for reference only.
44 |
Notebook PC E-Manual |
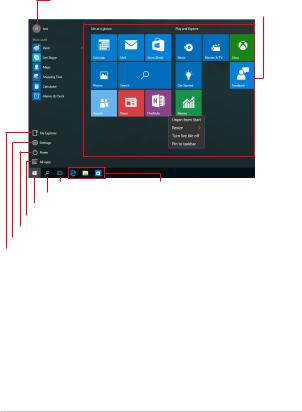
Start menu
The Start menu is the main gateway to your Notebook PC’s programs, Windows® apps, folders, and settings.
Change account settings, lock, or sign out from your account
Launch an app from the Start screen
Launch Taskview Launch Search
Launch the Start menu Launch All apps
Shut down, restart, or put your Notebook PC to sleep Launch Settings
Launch File Explorer
You can use the Start menu to do these common activities:
•Start programs orWindows® apps
•Open commonly used programs orWindows® apps
•Adjust Notebook PC settings
•Get help with theWindows operating system
•Turn off your Notebook PC
•Log off fromWindows or switch to a different user account
Notebook PC E-Manual |
45 |
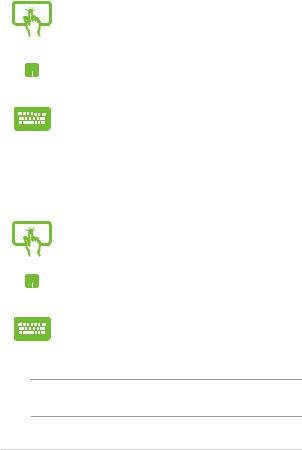
Launching the Start menu
Tap the Start button  in the lower-left corner of your desktop.
Position your mouse pointer over the Start button  in the lower-left corner of your desktop then click it.
Press the Windows logo key 
 on your keyboard.
Opening programs from the Start menu
One of the most common uses of the Start menu is opening programs installed on your Notebook PC.
Tap the program to launch it.
Position your mouse pointer over the program then click to launch it.
Use the arrow keys to browse through the programs.
Press  to launch it.
NOTE: Select All apps at the bottom of the left pane to display a full list of programs and folders on your Notebook PC in alphabetical order.
46 |
Notebook PC E-Manual |

Windows® apps
These are apps pinned on the right pane of the Start menu and displayed in tiled-format for easy access.
NOTE: Some Windows® apps require signing in to your Microsoft account before they are fully launched.
Notebook PC E-Manual |
47 |
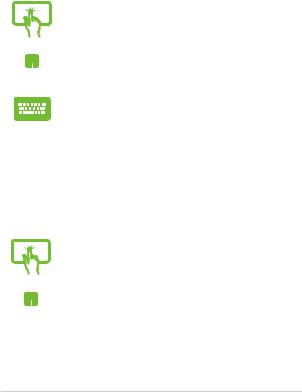
Working with Windows® apps
Use your Notebook PC’s touch screen, touchpad, or keyboard to launch, customize, and close apps.
Launching Windows® apps from the Start menu
Tap the app to launch it.
Position your mouse pointer over the app then click to launch it.
Use the arrow keys to browse through the apps. Press  to launch an app.
Customizing Windows® apps
You can move, resize, unpin, or pin apps to the taskbar from the Start menu using the following steps:
Moving apps
Press and hold the app, then drag and drop it to a new location.
Position your mouse pointer over the app, then drag and drop the app to a new location.
48 |
Notebook PC E-Manual |
Resizing apps
Press and hold the app, then tap  and select an app tile size.
Position your mouse pointer over the app and right-click it, then click Resize and select an app tile size.
Use the arrow keys to navigate to the app.
Press  or
or 

 (on selected models), then select Resize and select an app tile size.
Unpinning apps
Press and hold the app, then tap the  icon.
icon.
Position your mouse pointer over the app and right-click it, then click Unpin from Start.
Use the arrow keys to navigate to the app.
Press  or
or 

 (on selected models), then select Unpin from Start.
Notebook PC E-Manual |
49 |
Pinning apps to the taskbar
Press and hold the app, then tap Pin to taskbar.
Position your mouse pointer over the app and right-click it, then click Pin to taskbar.
Use the arrow keys to navigate to the app.
Press  or
or 

 (on selected models), then select Pin to taskbar.
Pinning more apps to the Start menu
From All apps, press and hold the app you want to add to the Start menu, then tap Pin to Start.
From All apps, position your mouse pointer over the app you want to add to the Start menu and right-click it, then click Pin to Start.
From All apps, press  or
or 

 (on selected
models) on the app that you want to add to the Start menu, then select Pin to Start.
50 |
Notebook PC E-Manual |
Task view
Quickly switch between opened apps and programs using the task view feature, you can also use task view to switch between desktops.
Launching task view
Tap the icon on the taskbar or swipe form the left edge of the screen.
Position your mouse pointer over the icon on the taskbar and click it.
Press 

 on your keyboard.
Notebook PC E-Manual |
51 |

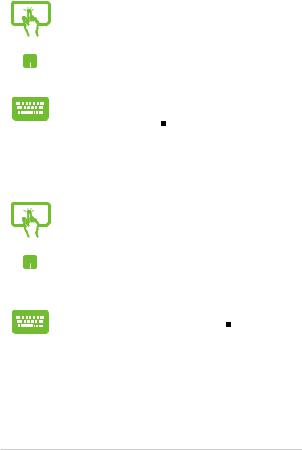
Snap feature
The Snap feature displays apps side-by-side, allowing you to work or switch between apps.
Snap hotspots
You can drag and drop apps to these hotspots to snap them into place.
52 |
Notebook PC E-Manual |

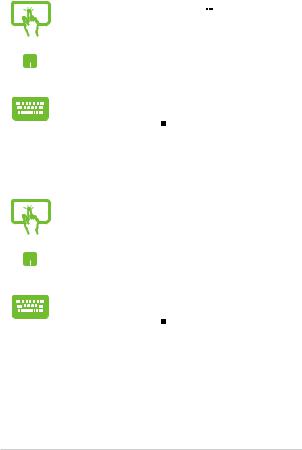
Using Snap
|
1. |
Launch the app you wish to snap. |
|
2. |
Drag the title bar of your app and drop the app to |
|
|
the edge of the screen to snap. |
or |
3. |
Launch another app and repeat the above steps to |
|
snap another app.
1. Launch the app you wish to snap.
2.Press and hold the 
 key, then use the arrow keys to snap the app.
3.Launch another app and repeat the above steps to snap another app.
Notebook PC E-Manual |
53 |
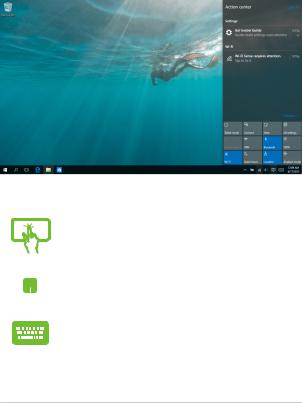
Action Center
Action Center consolidates notifications from apps and presents a single place where you can interact with them. It also has a really useful Quick Actions section at the bottom.
Launching Action Center
Click the icon on the taskbar or swipe from the right edge of the screen.
Position your mouse pointer over the icon on the taskbar and click it.
Press 

 on your keyboard.
54 |
Notebook PC E-Manual |
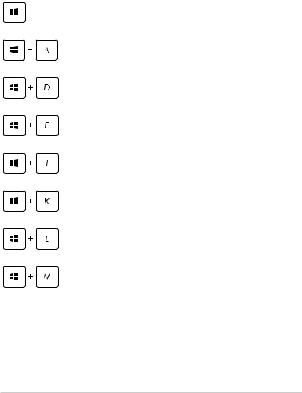
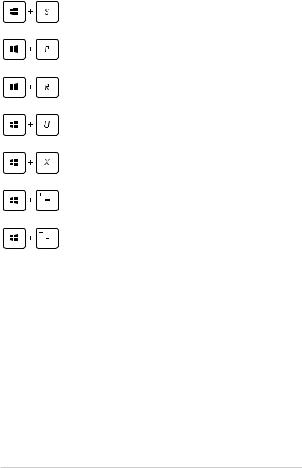
Other keyboard shortcuts
Using the keyboard, you can also use the following shortcuts to help you launch applications and navigate Windows® 10.
Launches Start menu
Launches Action Center
Launches the desktop
Launches the File Explorer
Launches Settings
Launches Connect panel
Activates the Lock screen
Minimizes all currently active windows
Notebook PC E-Manual |
55 |
Launches Search
Launches Project panel
Opens the Run window
Opens Ease of Access Center
Opens the context menu of the Start button
Launches the magnifier icon and zooms in your screen
Zooms out your screen
56 |
Notebook PC E-Manual |
Connecting to wireless networks
Wi-Fi
Access emails, surf the Internet, and share applications via social networking sites using your Notebook PC’s Wi-Fi connection.
IMPORTANT! Airplane mode disables this feature. Ensure that Airplane mode is turned off before enabling the Wi-Fi connection of your Notebook PC.
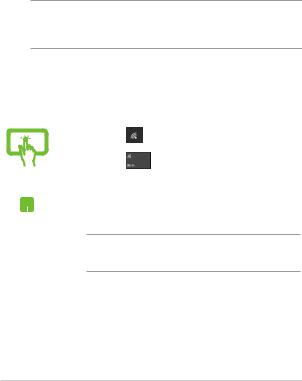
Connecting Wi-Fi
Connect your Notebook PC to a Wi-Fi network by using the following steps:
|
1. |
Select the |
icon from the taskbar. |
|
2. |
Select the |
icon to enable Wi-Fi. |
or |
3. |
Select an access point from the list of available Wi-Fi |
|
|
|
connections. |
|
|
4. |
Select Connect to start the network connection. |
|
NOTE: You may be prompted to enter a security key to activate the Wi-Fi connection.
Notebook PC E-Manual |
57 |
 Loading...