

Page 1

INSTRUCTION MANUAL
IM204R03
4" Motor
INSTALLATION MANUAL
Page 2
WARNING
WARNING
WARNING
CAUTION
WARNING
WARNING
WARNING
WARNING
WARNING
WARNING
WARNING
DANGER
WARNING
CAUTION
CAUTION
DANGER
USE THIS INFORMATION IN ADDITION TO THE PUMP INSTALLATION DATA
PROVIDED BY PUMP MANUFACTURER.
Owner’s Information
Owner’s Information
Serial #:
Motor #:
Installation Date:
HP:
Phase:
Volts:
SAFETY INSTRUCTIONS
TO AVOID SERIOUS OR FATAL PERSONAL INJURY
OR MAJOR PROPERTY DAMAGE, READ AND FOLLOW ALL SAFETY INSTRUCTIONS IN MANUAL AND
ON PUMP.
THIS MANUAL IS INTENDED TO ASSIST IN THE INSTALLATION AND OPERATION OF THIS UNIT AND
MUST BE KEPT WITH THE PUMP.
This is a SAFETY ALERT SYMBOL.
When you see this symbol on the pump or
in the manual, look for one of the following signal words and be alert to the
potential for personal injury or property
damage.
Warns of hazards that WILL cause serious
personal injury, death or major property
damage.
WARNING
CAUTION
NOTICE: INDICATES SPECIAL INSTRUCTIONS
WHICH ARE VERY IMPORTANT AND MUST BE
FOLLOWED.
THOROUGHLY REVIEW ALL INSTRUCTIONS
AND WARNINGS PRIOR TO PERFORMING ANY
WORK ON THIS PUMP.
MAINTAIN ALL SAFETY DECALS.
Important notice: Read safety instructions before proceeding with
any wiring.
the National Electrical Code (NEC), or the Canadian
Electrical Code, as well as all local, state and provincial
codes. Code questions should be directed to your local
electrical inspector. Failure to follow electrical codes and
OSHA safety standards may result in personal injury or
equipment damage. Failure to follow manufacturer’s
installation instructions may result in electrical shock, fire
hazard, personal injury or death, damaged equipment,
provide unsatisfactory performance, and may void manufacturer’s warranty.
Warns of hazards that CAN cause serious
personal injury, death or major property
damage.
Warns of hazards that CAN cause personal
injury or property damage.
All electrical work must be performed
by a qualified technician. Always follow
CentriPro motors are not designed for use
in swimming pools, open bodies of water,
hazardous liquids, or where flammable gases exist. Well
must be vented per local codes.
Disconnect and lockout electrical power
before installing or servicing any electrical
equipment. Many mtors are equipped with automatic
thermal overload protection which may allow an overheated motor to restart unexpectedly.
All three phase (3Ø) controls for sub-
mersible motors must provide Class 10,
quick-trip, overload protection.
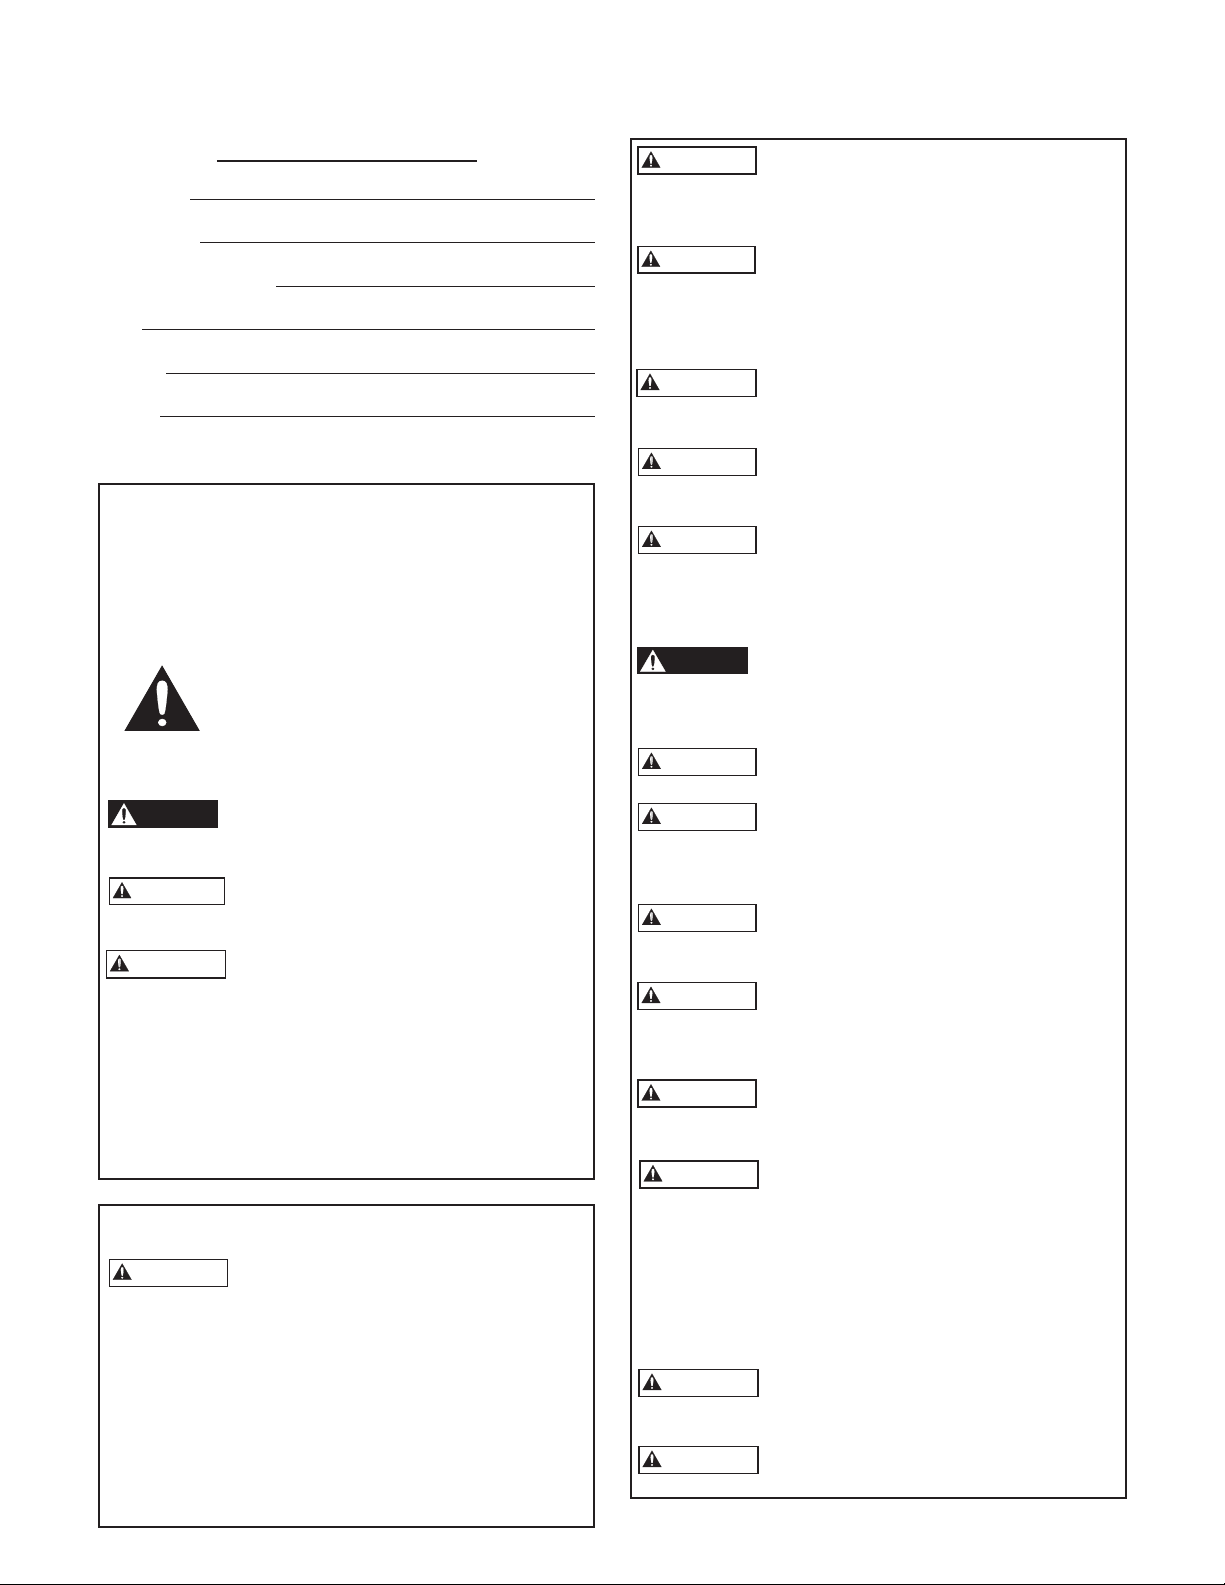
Do not lift, carry or hang motor by the
electrical cables. Damage to the Electrical Cables can cause shock, burns or death.
Use only stranded copper wire to pump/
motor and ground. The ground wire
must be at least as large as the power supply wires. Wires
should be color coded for ease of maintenance and
troubleshooting.
Install wire and ground according to the
National Electrical Code (NEC), or the
Canadian Electrical Code, as well as all local, state and
provincial codes.
Install an all leg disconnect switch where
required by code.
The electrical supply voltage and phase
must match all equipment requirements.
Incorrect voltage or phase can cause fire, motor and
control damage, and voids the warranty.
All splices must be waterproof. If using
splice kits follow manufacturer’s instructions.
Select the correct type and NEMA grade
junction box for the application and
location. The junction box must insure dry, safe wiring
connections.
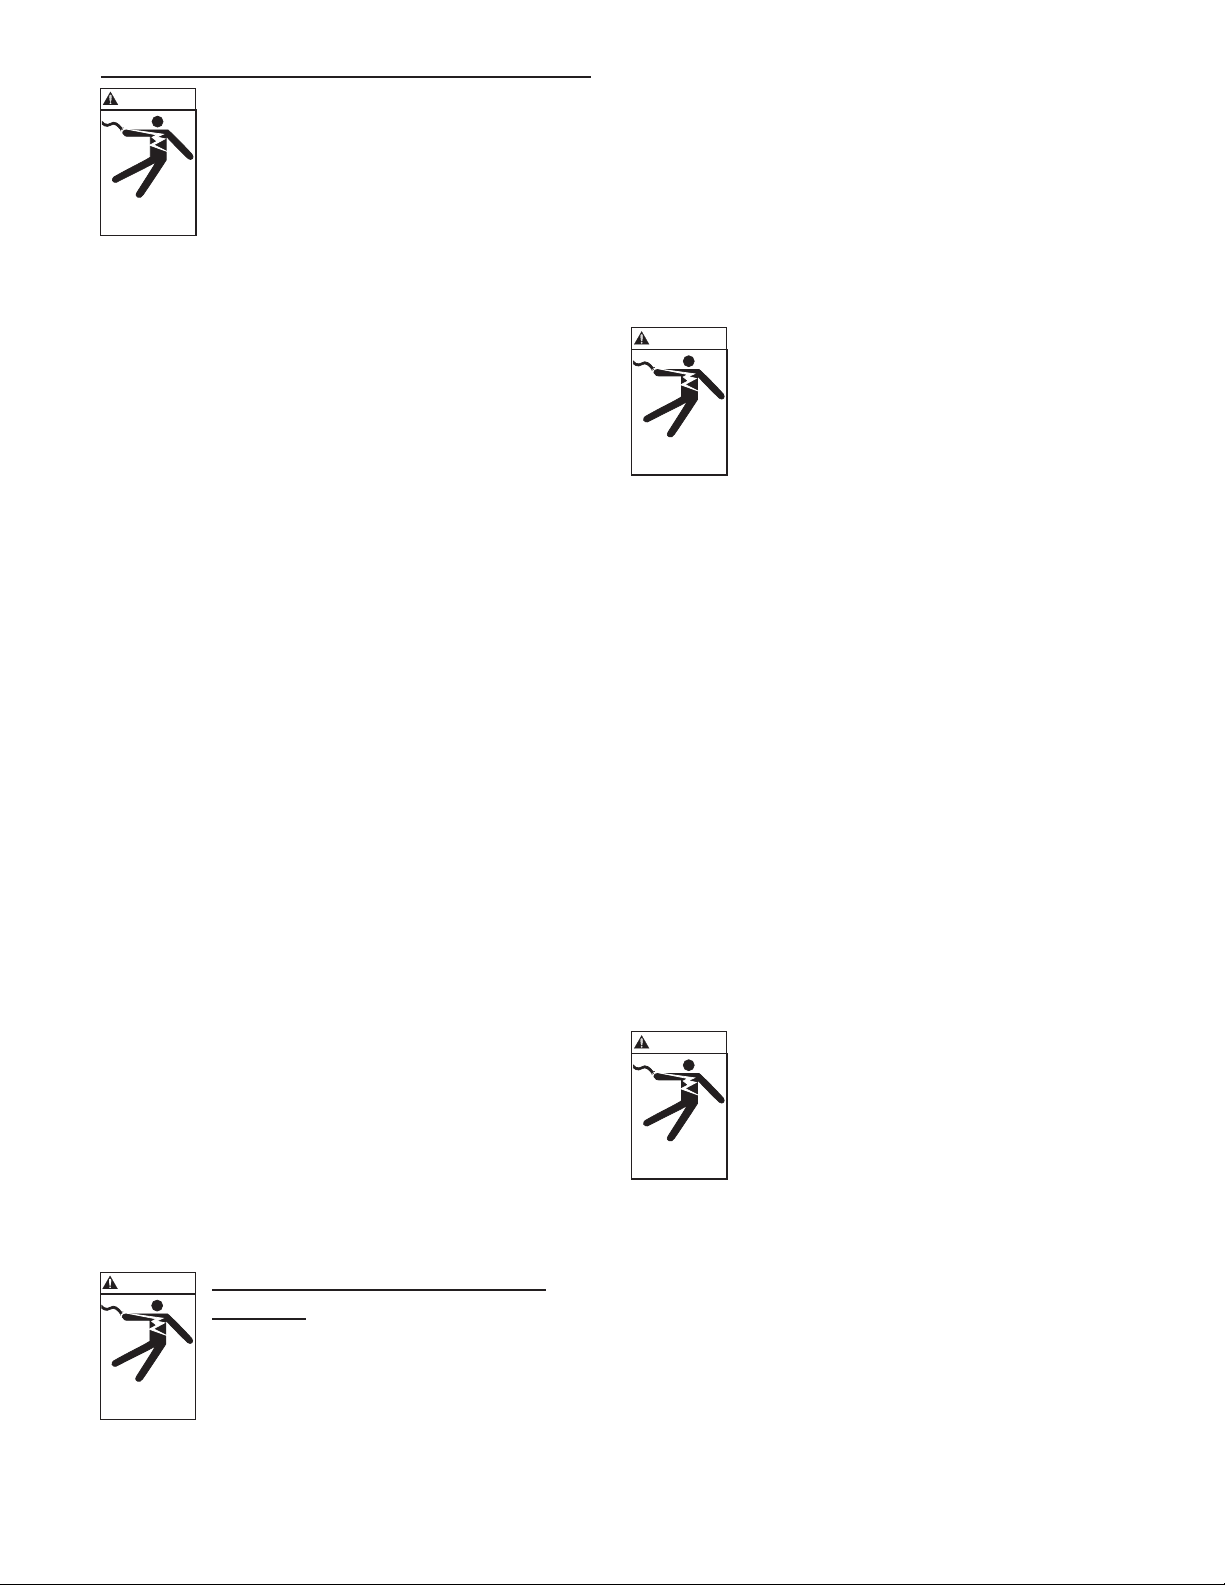
Failure to permanently ground the pump,
motor and controls before connecting to
power can cause shock, burns or death.
4" motors ≥ 2 HP require a minimum
flow rate of .25 ft/sec. or 7.62 cm/sec. past
the motor for proper motor cooling. The following are
the minimum flows in GPM per well diameter required
for cooling: 1.2 GPM/4", 7 GPM/5", 13 GPM/6", 20
GPM/7", 30 GPM/8" or 50 GPM in a 10" well. Pumps
≥ 2 HP installed in large tanks should be installed in a
flow inducer sleeve to create the needed cooling flow or
velocity past the motor.
All motors require a minimum 5'
submergence for proper refill check valve
operation.
This motor has been evaluated for use
with Water Only.
2
Page 3
WIRE SIZING, SPLICING and POWER SUPPLY
WIRE SIZING, SPLICING and POWER SUPPLY
WARNING
Always follow the National Electric Code
(N.E.C.), Canadian Electrical Code, and any
state, provincial, or local codes.
Use only copper wire. Size wire from the
Hazardous voltage
can shock, burn or
cause death.
MAID manual, or an N.E.C. (National
Electric Code) code book. If discrepancies
exist the N.E.C. book takes precedence over
a manufacturer’s recommendations.
Splicing Wire to Motor Leads
When the drop cable must be spliced or connected to the
motor lead it is necessary that the splice be watertight.
The splice can be done with heat shrink kits or waterproof
tape.
A. Heat Shrink Splice Instructions
To use a typical heat shrink kit: strip ½" from the motor wires and drop cable wires, it is best to stagger the
splices. Place the heat shrink tubes on the wires. Place
the crimps on the wires and crimp the ends. Slide the
heat shrink tubes over the crimps and heat from the
center outward. The sealant and adhesive will ooze
out the ends when the tube shrinks. The tube, crimps,
sealant, and adhesive create a very strong, watertight
seal.
B. Taped Splice Instructions
A) Strip individual conductor of insulation only as far
as necessary to provide room for a stake type connector. Tubular connectors of the staked type are
preferred. If connector O.D. is not as large as cable
insulation, build-up with rubber electrical
tape.
B) Tape individual joints with rubber electrical tape,
using two layers; the first extending two inches
beyond each end of the conductor insulation end,
the second layer two inches beyond the ends of the
first layer. Wrap tightly, eliminating air spaces as
much as possible.
C) Tape over the rubber electrical tape with #33
Scotch electrical tape, or equivalent, using two
layers as in step "B" and making each layer overlap the end of the preceding layer by at least two
inches.
In the case of a cable with three conductors encased in a
single outer sheath, tape individual conductors as described, staggering joints.
Total thickness of tape should be no less than the thickness
of the conductor insulation.
WIRING THE CONTROLS and
WARNING
WIRING THE CONTROLS and
SWITCH
SWITCH
Mounting the Motor Control Box
Hazardous voltage
can shock, burn or
cause death.
and outdoor locations. They will operate at temperatures
between 14ºF (-10ºC) and 122ºF (50ºC). Select a shaded,
dry place to mount the box. Insure that there is enough
clearance for the cover to be removed.
Single phase 3-wire control boxes meet U.L.
requirements for Type 3R enclosures. They
are suitable for vertical mounting in indoor
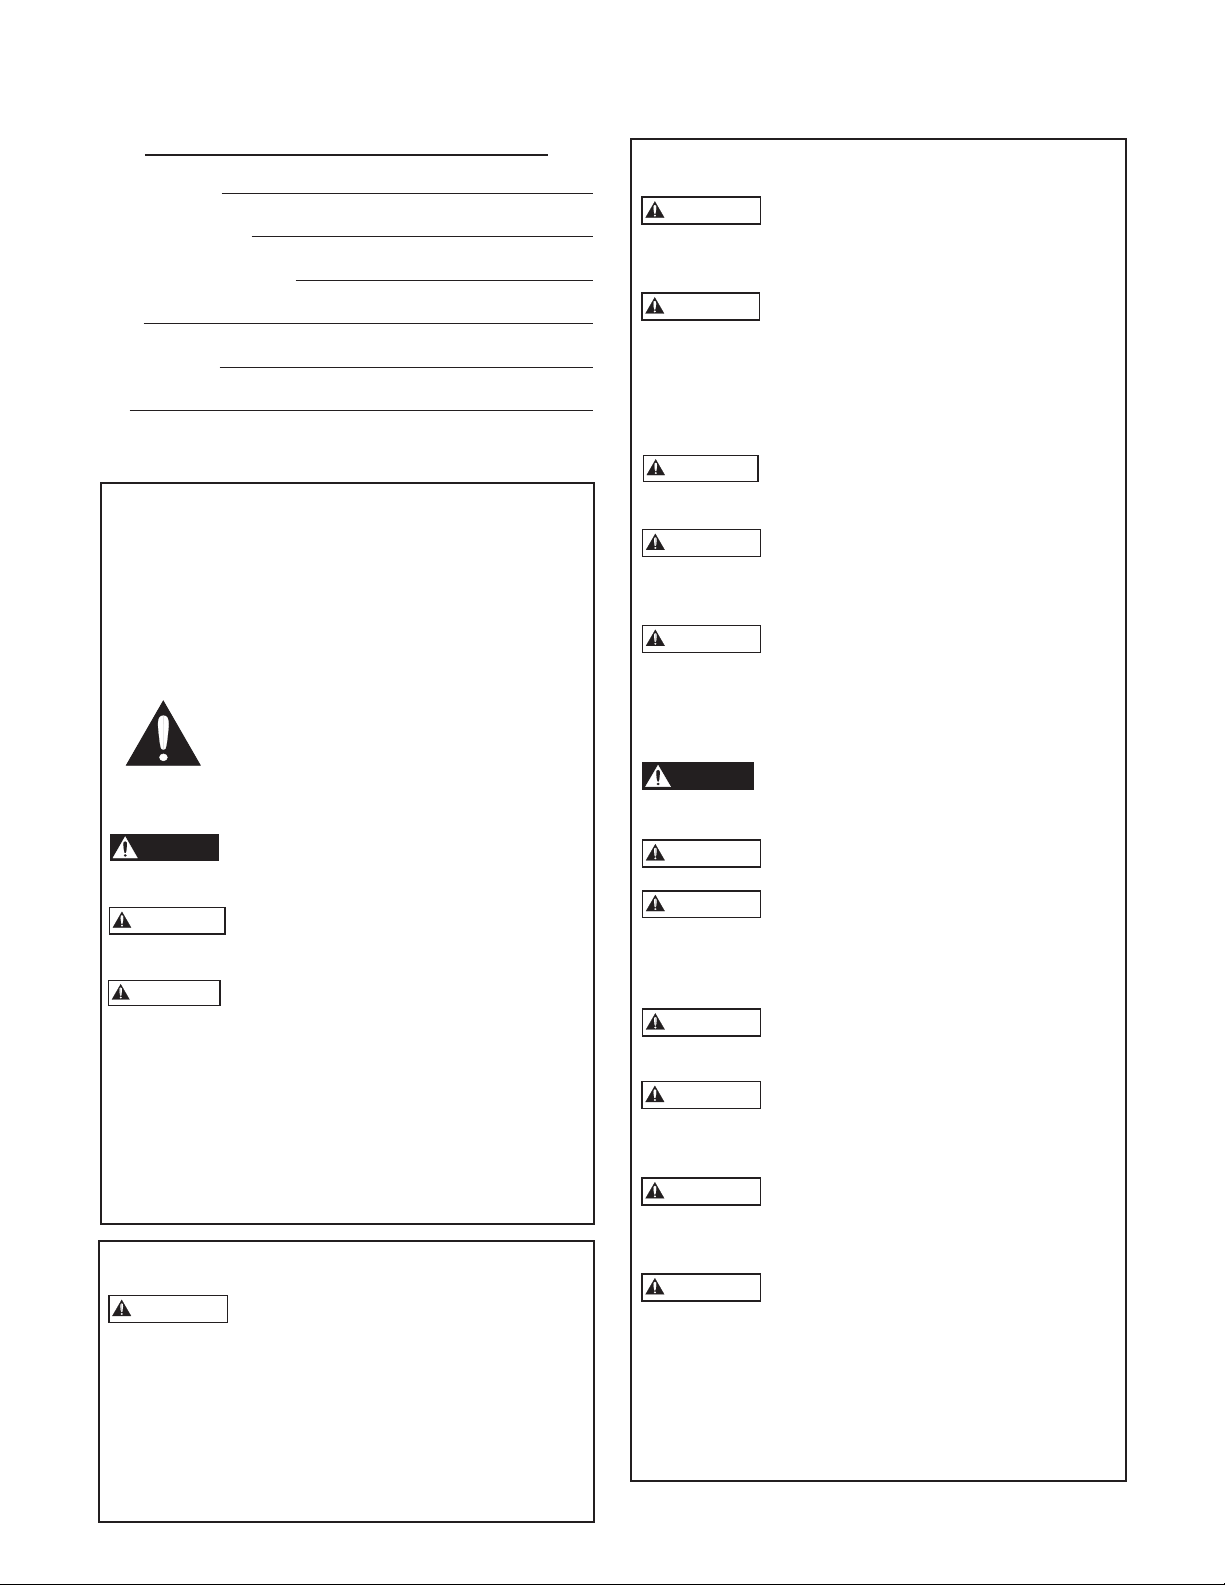
Verify Voltage and Turn Supply Power Off
Insure that your motor voltage and power supply voltage
are the same.
Place the circuit breaker or disconnect switch in the OFF
position to prevent accidentally starting the pump before
you are ready.
Three-phase starter coils are very voltage sensitive; always
verify actual supply voltage with a voltmeter.
High or low voltage, greater than ±10%, will damage motors and controls and is not covered under warranty.
WARNING
Connecting Motor Leads to Motor
Control Box, Pressure Switch or Starter
Caution Do not power the motor until all
electrical and plumbing connections are com-
Hazardous voltage
can shock, burn or
cause death.
pleted. Verify that the disconnect or breaker
is OFF before connecting the pressure switch
line leads to the power supply. Follow all
local and national codes. Use a disconnect where required
by code.
A. Three-Wire Single Phase Motor
Connect the color coded motor leads to the motor control box terminals - Y (yellow), R (red), and
B (black); and the Green or bare wire to the green
ground screw.
Connect wires between the Load terminals on the
pressure switch and control box terminals L1 and L2.
Run a ground wire between the switch ground and
the control box ground.
B. Two-Wire Single Phase Motor
Connect the black motor leads to the Load terminals
on the pressure switch and the green or bare ground
wire to the green ground screw.
C. Three phase motors
Connect the motor leads to T1, T2, and T3 on the 3
phase starter. Connect the ground wire to the ground
screw in the starter box. Follow starter manufacturers
instructions for connecting pressure switch.
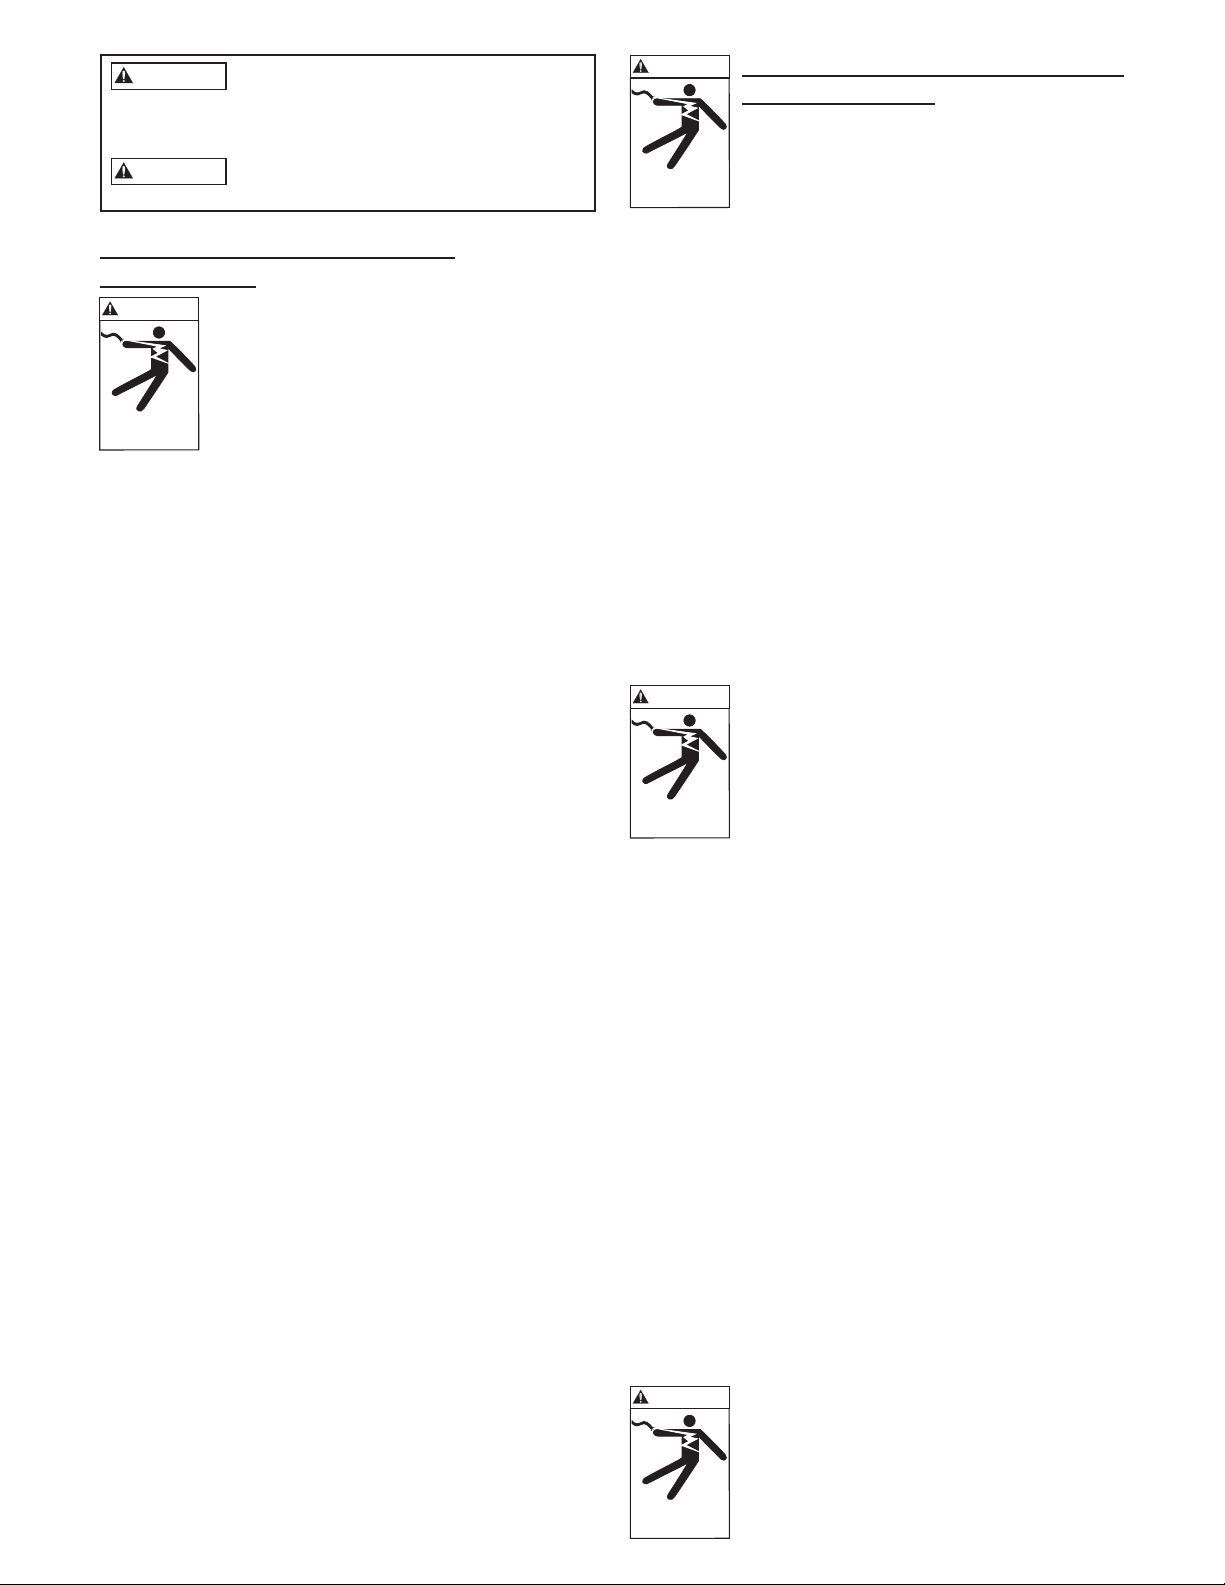
Connect To Power Supply
WARNING
Hazardous voltage
can shock, burn or
cause death.
breaker panel.
Three phase installations must be checked for motor
rotation and phase unbalance. To reverse motor rotation,
switch (reverse) any two leads. See the instructions for
checking three phase unbalance in MAID or pump IOM.
Failure to check phase unbalance can cause premature
motor failure and nuisance overload tripping. If using
a generator, see Technical Data for generators in pump
IOM, MAID Manual, catalog or website.
Complete the wiring by making the connec-
tion from the single phase pressure switch
Line terminals to the circuit breaker panel or
disconnect where used.
Three phase - make the connections between
L1, L2, L3, and ground on the starter to the
disconnect switch and then to the circuit
Three Phase Overload Protection
Use only Class 10, quick-trip overload protection on threephase submersible motors. A Three-Phase Starter with
Class 10 overload protection must be used on three-phase
submersible motors.
3
Page 4

LIMITED WARRANTY
Any motor found to be defective during the warranty period will be replaced at no charge to the dealer during the warranty period.
The warranty period on CentriPro standard construction, 4” motors is thirty-six (36) months from date of installation or forty-two (42) months from date of manufacture,
whichever period is shorter.
The warranty period on CentriPro Xtreme Duty, 4” motors is thirty (30) days from date of installation or six (6) months from date of manufacture, whichever period is shorter.
A dealer who believes that a warranty claim exists must contact the authorized Xylem Inc. distributor from whom the pump was purchased and furnish complete details
regarding the claim. The distributor is authorized to adjust any warranty claims utilizing the Xylem Inc. Customer Service Department.
The warranty excludes:
(a) Labor, transportation and related costs incurred by the dealer;
(b) Reinstallation costs of repaired equipment;
(c) Reinstallation costs of replacement equipment;
(d) Consequential damages of any kind; and,
(e) Reimbursement for loss caused by interruption of service.
For purposes of this warranty, the following terms have these definitions:
(1) “Distributor” means any individual, partnership, corporation, association, or other legal relationship that stands between and the dealer in purchases, consignments or
contracts for sale of the subject pumps.
(2) “Dealer” means any individual, partnership, corporation, association, or other legal relationship which engages in the business of selling or leasing pumps to customers.
(3) “Customer” means any entity who buys or leases the subject pumps from a dealer. The “customer” may mean an individual, partnership, corporation, limited liability
company, association or other legal entity which may engage in any type of business.
THIS WARRANTY EXTENDS TO THE DEALER ONLY.
Xylem Inc.
2881 East Bayard Street Ext., Suite A
Seneca Falls, NY 13148
Phone: (866) 325-4210
Fax: (888) 322-5877
www.centripro.com
CentriPro is a trademark of Xylem Inc. or one of its subsidiaries.
© 2012 Xylem Inc. IM204 Rev. 3 May 2013
Page 5

MANUAL DE LA INSTRUCCIÓN
IM204R03
Motor de 4"
MANUAL DE INSTALACIÓN
Page 6

ADVERTENCIA
ADVERTENCIA
ADVERTENCIA
CUIDADO
ADVERTENCIA
ADVERTENCIA
ADVERTENCIA
ADVERTENCIA
ADVERTENCIA
ADVERTENCIA
ADVERTENCIA
PELIGRO
ADVERTENCIA
DANGER
CUIDADO
PELIGRO
USE ESTA INFORMACIÓN ADEMÁS DE LOS DATOS DE INSTALACIÓN DE BOMBAS
PROPORCIONADOS POR EL FABRICANTE DE BOMBAS.
Información del Propietario
Información del Propietario
No. de Serie:
No. de Motor:
Fecha de instalación:
HP:
Fase:
Voltios:
INSTRUCCIONES DE SEGURIDAD
PARA EVITAR LESIONES PERSONALES
GRAVES O FATALES O DAÑOS IMPORTANTES
A LA PROPIEDAD, LEA Y SIGA TODAS LAS
INSTRUCCIONES DE SEGURIDAD EN EL MANUAL
Y EN LA BOMBA.
LA FINALIDAD DE ESTE MANUAL ES
PROPORCIONAR AYUDA PARA LA INSTALACIÓN
Y OPERACIÓN DE ESTA UNIDAD Y DEBE
GUARDARSE CON LA BOMBA.
Este es un SÍMBOLO DE ALERTA DE
SEGURIDAD. Al ver este símbolo en la
bomba o en el manual, busque una de
las siguientes palabras de señal y esté
alerta al potencial de lesión personal o
daños a la propiedad.
Advierte sobre peligros que
CAUSARÁN lesión personal grave,
muerte o daños extensos a la
propiedad.
Advierte sobre peligros que PUEDEN
CAUSAR lesión personal grave, muerte
o daños extensos a la propiedad.
Advierte sobre peligros que PUEDEN
CAUSAR lesión personal grave o daños
a la propiedad.
AVISO: INDICA INSTRUCCIONES ESPECIALES
QUE SON MUY IMPORTANTES Y DEBEN SER
SEGUIDAS.
LEA DETENIDAMENTE TODAS LAS
INSTRUCCIONES Y ADVERTENCIAS ANTES
DE REALIZAR CUALQUIER TRABAJO EN ESTA
BOMBA.
MANTENGA TODAS LAS CALCOMANÍAS.
Aviso importante: Lea las instrucciones de seguridad antes de
proseguir con cualquier cableado.
Todo trabajo eléctrico debe ser realizado
por un técnico calificado. Siempre
respete el Código Nacional Eléctrico (NEC - National
Electric Code), o el Código Eléctrico Canadiense, así
como todo código local, estatal y provincial. Debe dirigir
sus preguntas sobre el código a su inspector eléctrico
local. El no respetar los códigos eléctricos y las normas
de seguridad de OSHA puede resultar en lesión personal
o daño a equipos. El dejar de seguir las instrucciones
6
de instalación del fabricante puede resultar en descarga
eléctrica, peligro de incendio, lesión personal o muerte,
daños a equipos, desempeño insatisfactorio, y puede
anular la garantía del fabricante.
Los motores CentriPro no fueron
diseñadas para su uso en piscinas, cuerpos
abiertos de agua, líquidos peligrosos o donde existan
gases inflamables. El pozo debe contar con ventilación de
acuerdo con los códigos locales.
Desconecte y bloquee toda energía eléctrica
antes de instalar o realizar mantenimiento
en cualquier equipo eléctrico. Muchos motores están
equipados con protección térmica automática para
sobrecarga, lo cual puede permitir que un motor
sobrecalentado arranque imprevistamente.
Todo control trifásico (3Ø) para motores
sumergibles debe proveer protección de
sobrecarga quick trip de la Clase 10.
No levante, cargue ni cuelgue el motor
por los cables eléctricos. Daños a los
cables eléctricos pueden causar descarga, quemaduras o
muerte.
Use solo cable de cobre trenzado a la
bomba/motor y tierra. El cable de tierra
debe ser por lo menos tan grande como los cables de
suministro de energía eléctrica. Los cables deben ser
codificados con colores para facilitar el mantenimiento y
la resolución de problemas.
Instale los cables y la conexión a tierra
de acuerdo con el Código Nacional
Eléctrico (NEC - National Electric Code), o el Código
Eléctrico Canadiense, así como todo código local, estatal
y provincial.
Instale un interruptor de desconexión
de todos los circuitos derivados donde el
código lo requiera.
La tensión de suministro eléctrico y
la fase deben ser compatibles con los
requerimientos del equipo. Una tensión o fase incorrectas
pueden causar incendio, daño al motor y controles, y
anula la garantía.
Todo empalme debe ser a prueba de
agua. Si utiliza kits de empalmes, siga las
instrucciones del fabricante.
Seleccione el tipo correcto de caja de
conexiones de grado NEMA para la
aplicación y ubicación. La caja de conexiones debe
garantizar conexiones de cables secas y seguras.
El no conectar permanentemente a tierra
la bomba, el motor y controles antes de
conectar el suministro eléctrico puede causar descarga,
quemaduras o muerte.
Los motores de ≥ 2 HP de 4" requieren
una velocidad de flujo mínima de 0.25
pies/seg. o 7,62 cm/seg. después del motor para que
el motor se enfríe correctamente. Los siguientes son
los flujos mínimos en GPM por diámetro de pozo
requeridos para enfriamiento: 1.2 GPM/4", 7 GPM/5",
Page 7

CUIDADO
CUIDADO
13 GPM/6", 20 GPM/7", 30 GPM/8" o 50 GPM en un
pozo de 10". Las bombas ≥ 2 HP instaladas en tanques
de gran tamaño deben instalarse en una camisa inductora
de flujo para crear el flujo de enfriamiento o velocidad
necesarios después del motor.
Todos los motores requieren una sumersión de 5' para que la válvula de verifi-
cación de llenado funcione correctamente.
Este motor ha sido evaluado solo para uso
con agua.
TAMAÑO DE CABLES, EMPALMES Y
TAMAÑO DE CABLES, EMPALMES Y
SUMINISTRO ELÉCTRICO
SUMINISTRO ELÉCTRICO
ADVERTENCIA
Siempre respete el Código Nacional Eléctrico
(N.E.C.), el Código Eléctrico Canadiense, y
todo código estatal, provincial o local.
Solo use cable de cobre. Verifique el tamaño
del cable en el manual de MAID, o un libro
Un voltaje peligroso puede
producir golpes el ctricos,
quemaduras o la muerte.
de códigos del N.E.C. (Código Nacional
Eléctrico). En caso de discrepancias, el libro
del N.E.C. prevalecerá con respecto a las
recomendaciones de un fabricante.
Empalme de cable a los conductores del motor
Cuando se debe empalmar o conectar al conductor del motor
el cable de caída de voltaje, es necesario que el empalme no
permita la entrada de agua. El empalme puede ser realizado
con kits de termocontracción o cinta adhesiva a prueba de
agua.
A. Instrucciones para empalme con termocontracción
Para utilizar un kit de termocontracción típico: pele ½"
de los cables del motor y los cables de caída de tensión;
es mejor escalonar los empalmes. Coloque los tubos de
termocontracción en los cables. Coloque los rizados en
los cables y doble las extremidades. Deslice los tubos de
termocontracción por arriba de los rizados y caliente del
centro hacia afuera. El sellador y adhesivo se infiltrarán
por los extremos cuando el tubo se encoja. El tubo,
rizados, sellador y el adhesivo crean un sellado muy
fuerte contra la entrada de agua.
B. Instrucciones para empalme con cinta adhesiva
A) Pele el aislante del conductor individual solo lo
necesario para hacer lugar para un conector de tipo
aprisionado. Se prefieren los conectores tubulares
del tipo aprisionado. Si el D.E. del conector es más
pequeño que el aislamiento del cable, engrosarlo con
cinta eléctrica de caucho.
B) Una las juntas individuales con cinta eléctrica de cau-
cho utilizando dos capas; la primera colocada hasta
dos pulgadas más allá del extremo del aislamiento del
conductor, y la segunda capa dos pulgadas más allá
de los extremos de la primera capa. Envuélvalo en
forma ceñida, eliminado los espacios de aire lo más
posible.
C) Coloque cinta eléctrica Scotch No. 33, o un equi-
valente, por arriba de la cinta eléctrica de caucho,
utilizando dos capas como en el paso “B” y haciendo
que cada capa traslape el extremo de la capa anterior
en por lo menos dos pulgadas.
En el caso de un cable con tres conductores encerrados en
una única funda externa, una los conductores individuales
con cinta adhesiva como se indica arriba, escalonando las
juntas.
El espesor total de la cinta no debe ser inferior al espesor del
aislante del conductor.
ADVERTENCIA
CABLEADO DE CONTROLES e
CABLEADO DE CONTROLES e
INTERRUPTOR
INTERRUPTOR
Montaje de la Caja de Control del
Motor
Un voltaje peligroso puede
producir golpes el ctricos,
quemaduras o la muerte.
montaje vertical en interiores y exteriores. Funcionarán
en temperaturas de entre 14ºF (-10ºC) y 122ºF (50ºC).
Seleccione un lugar seco y a la sombra para montar la caja.
Asegure que haya espacio libre suficiente para retirar la tapa.
Las cajas de control monofásicas de 3 hilos
son compatibles con los requerimientos de
U.L. para cajas del Tipo 3R. Son aptas para
Verifique la tensión y apague el suministro de
energía
Asegure que la tensión de su motor y la tensión del suministro
eléctrico sean las mismas.
Coloque el disyuntor o el interruptor de desconexión en
la posición APAGADO para evitar la puesta en marcha
accidental de la bomba antes de que usted esté listo.
Las bobinas trifásicas de arranque son muy sensibles a la
tensión; verifique siempre la tensión de suministro real con
un voltímetro.
La tensión alta o baja, superior a ±10%, dañará los motores
y controles y no está cubierta por la garantía.
Conexión de los conductores del motor a la caja
de control del motor, interruptor de presión o
arrancador
Cuidado No encienda el motor hasta haber completado
todas las conexiones eléctricas y de plomería. Verifique
que el interruptor de desconexión o el disyuntor estén
APAGADOS antes de conectar los conductores de la línea
del interruptor de presión a la alimentación eléctrica. Respete
todos los códigos locales y nacionales. Use un interruptor de
desconexión cuando el código lo requiera.
A. Motor monofásico de tres hilos
Conecte los conductores con código de color del motor
al terminal de la caja de control del motor - Y (amarillo),
R (rojo) y B (negro; y cable verde o desnudo al tornillo
de conexión a tierra.
Conecte los cables entre los terminales de Carga en
el interruptor de presión y los terminales de caja de
control L1 y L2. Pase un cable a tierra entre la conexión
a tierra del interruptor y la conexión a tierra de la caja
de control.
B. Motor monofásico de dos hilos
Conecte los conductores de motor negros a los
terminales de Carga en el interruptor de presión y cable
de conexión a tierra verde o desnudo al tornillo de
conexión a tierra verde.
C. Motores trifásicos
Conecte los conductores de motor a T1, T2 y T3 en el
arrancador trifásico. Conecte el cable a tierra al tornillo
a tierra en la caja del arrancador. Siga las instrucciones
del fabricante para la conexión del interruptor de
presión.
ADVERTENCIA
Un voltaje peligroso puede
producir golpes el ctricos,
quemaduras o la muerte.
Conexión a alimentación eléctrica
Complete el cableado realizando la conexión
desde los terminales de la Línea del interruptor
de presión monofásico al panel del disyuntor o
interruptor de desconexión, según el caso.
Trifásico - realice las conexiones entre L1, L2,
y L3 y tierra en el arrancador al interruptor de
desconexión y luego al panel del disyuntor.
7
Page 8

Se debe verificar si las instalaciones trifásicas presentan rotación
de motor y desequilibrio de fase. Para revertir la rotación del
motor, intercambie (revierta) dos conductores cualesquiera. Vea las
instrucciones para verificar el desequilibrio trifásico en el manual
de MAID o de la bomba. El dejar de verificar el desequilibrio de
fase puede causar falla de motor prematura y disyunción molesta
por sobrecarga. Si utiliza un generador, vea los Datos Técnicos
para generadores en el manual de la bomba, el manual, catálogo o
sitio en Internet de MAID.
Protección de sobrecarga trifásica
Use solo protección de sobrecarga quick trip de la Clase 10 en
motores sumergibles trifásicos. Un arrancador trifásico con la
protección de la sobrecarga de la clase 10 se debe utilizar en los
motores sumergibles trifásicos.
GARANTÍA LIMITADA
Cualquier motor al que se le encuentre algún defecto durante el periodo de garantía será remplazado sin cargo alguno durante el periodo de garantía.
El período de garantía de construcción estándar de los motores CentriPro de 4” es de por treinta y seis (36) meses a partir de la fecha de instalación, o cuarenta y dos (42)
meses a partir de la fecha de fabricación, cualquiera que se cumpla primero.
El periodo de garantía de los motores CentriPro Xtreme Duty de 4” es de treinta días (30) días desde la fecha de instalación o seis (6) meses desde el día de la manufactura,
cualquiera que se cumpla primero.
Todo comerciante que considere que existe un reclamo de garantía deberá ponerse en contacto con el distribuidor autorizado con el cual fue adquirida la bomba y ofrecer
información detallada con respecto para el reclamo. El distribuidor está autorizado para saldar todos los reclamos de garantía a través del Departamento de Servicio al Cliente
de Xylem Inc.
La presente garantía excluye:
(a) La mano de obra, el transporte y los costos relacionados en los que incurra el comerciante;
(b) Los costos de reinstalación del equipo reparado;
(c) Los costos de reinstalación del equipo reemplazado;
(d) Los daños emergentes de cualquier naturaleza; y
(e) El reembolso de cualquier pérdida causada por la interrupción del servicio.
A los fines de esta garantía, los siguientes términos se definen así:
(1) “Distribuidor” es toda persona, sociedad, empresa, asociación u otra relación legal que exista entre y el comerciante en las compras, consignaciones o contratos de venta del
equipo en cuestión.
(2) “Comerciante” es toda persona, sociedad, empresa, asociación u otra relación legal que se comprometa en el negocio de vender o alquilar con opción de compra equipos a
los clientes.
(3) “Cliente” es toda entidad que compra o alquila el equipo en cuestión de un comerciante. El “cliente” es toda persona, sociedad, empresa, sociedad de responsabilidad
limitada, asociación u otra entidad legal que pueda comprometerse en algún tipo de negocio.
ESTA GARANTÍA SOLAMENTE SE EXTIENDE AL COMERCIANTE
Xylem Inc.
2881 East Bayard Street Ext., Suite A
Seneca Falls, NY 13148
Teléfono: (866) 325-4210
Fax: (888) 322-5877
www.centripro.com
CentriPro es una marca registrada de Xylem Inc. o una de sus liales.
© 2012 Xylem Inc. IM204 Rev. 3 Mayo 2013
Page 9

MANUEL D’INSTRUCTION
IM204R03
Moteur de 4 pouces
MANUEL D'INSTALLATION
Page 10
DANGER
UTILISER LES PRÉSENTES INFORMATIONS AVEC LES DONNÉES D'INSTALLATION
DANGER
FOURNIES PAR LE FABRICANT DE LA POMPE.
Informations pour le propriétaire
Informations pour le propriétaire
No de série :
No du moteur :
Date d'installation :
hp :
Ø (phases) :
V :
CONSIGNES DE SÉCURITÉ
AFIN DE PRÉVENIR LES BLESSURES GRAVES OU
MORTELLES ET LES DOMMAGES MATÉRIELS
IMPORTANTS, LIRE ET SUIVRE TOUTES LES CONSIGNES DE SÉCURITÉ FIGURANT DANS LE MANUEL ET SUR LA POMPE.
LE PRÉSENT MANUEL A POUR BUT DE FACILITER
L’INSTALLATION ET L’UTILISATION DE LA POMPE
ET DOIT RESTER PRÈS DE CELLE-CI.
Le symbole ci-contre est un SYMBOLE
DE SÉCURITÉ employé pour signaler
les mots-indicateurs dont on trouvera la
description ci-dessous. Sa présence sert à
attirer l’attention afin d’éviter les blessures
et les dommages matériels.
Prévient des risques qui VONT causer des
blessures graves, la mort ou des dommages
matériels importants.
AVERTISSEMENT
ATTENTION
AVIS : SERT À ÉNONCER LES DIRECTIVES SPÉCIALES DE GRANDE IMPORTANCE QUE L’ON DOIT
SUIVRE.
LIRE SOIGNEUSEMENT CHAQUE DIRECTIVE ET
AVERTISSEMENT AVANT D’EFFECTUER TOUT
TRAVAIL SUR LA POMPE.
N’ENLEVER AUCUN AUTOCOLLANT DE SÉCURITÉ.
Avis important : lire les consignes de sécurité avant de procéder
au câblage.
AVERTISSEMENT
suivre les stipulations du code provincial ou national de
l’électricité pertinent et les règlements locaux. Adresser
toute question relative au code à un inspecteur en électricité. Le non-respect du code et des politiques de santé
et de sécurité au travail peut entraîner des blessures et
des dommages matériels. L’inobservation des directives
fournies par le fabricant peut se traduire par un choc
électrique, un incen-die, des blessures ou la mort, ainsi
Prévient des risques qui PEUVENT causer
des blessures graves, la mort ou des dommages matériels importants.
Prévient des risques qui PEUVENT causer
des blessures ou des dommages matériels.
L’installation électrique doit être effectuée
par un technicien qualifié. Il faut toujours
que par des dommages matériels, des performances non
satisfaisantes et l’annulation de la garantie du fabricant.
AVERTISSEMENT
Les moteurs CentriPro ne sont pas conçus
pour les piscines, l'eau libre, les liquides
dangereux ni les gaz inflammables. Aérer les puits selon
les codes en vigueur.
AVERTISSEMENT
Verrouiller la source de courant en
position hors circuit avant de procéder à
l’installation ou à l’entretien de tout dispositif électrique.
Le protecteur thermique de certains moteurs de pompe
coupe le courant lorsqu’il y a surcharge thermique et le
rétablit automatiquement, redémarrant ainsi la pompe
inopinément.
ATTENTION
Les commandes triphasées des pompes
submersibles doivent assurer une protection rapide de classe 10 contre la surcharge.
AVERTISSEMENT
Ne pas lever, transporter ni suspendre
le moteur par le câble d’alimentation :
l’en-dommagement du câble peut causer un choc
électrique, des brûlures et la mort.
AVERTISSEMENT
N’utiliser que du fil de cuivre torsadé
pour l’alimentation et la mise à la terre
du moteur et de la pompe. Le calibre du fil de terre doit
être au moins égal à celui des fils d’alimentation. Les fils
devraient être chromocodés pour faciliter l’entretien et le
diagnostic des anomalies.
Poser le fil de terre et les autres fils suivant
les stipulations du code provincial ou na-
tional de l’électricité pertinent et les règlements locaux.
AVERTISSEMENT
AVERTISSEMENT
Installer un sectionneur tout conducteur
si le code l’exige.
Le nombre de phases et la tension du
courant doivent convenir à tout le matériel. Un nombre de phases et une tension inappropriés
annulent la garantie et peuvent causer un incendie et des
dommages au moteur et aux commandes.
AVERTISSEMENT
Chaque joint de fils doit être étanche. Si
l’on emploie un nécessaire de jonction
(« kit »), en suivre les directives du fabricant.
AVERTISSEMENT
Choisir la boîte de jonction du type et de
la classe NEMA convenant au type et au
lieu d’utilisation. La boîte doit assurer une jonction de fils
sûre et étanche.
AVERTISSEMENT
Omettre la mise à la terre permanente de
la pompe, du moteur et des commandes
avant le branchement à la source de courant peut causer
un choc électrique, des brûlures et la mort.
AVERTISSEMENT
Pour être bien refroidi, le moteur de 4 po
(≥ 2 hp) requiert une vitesse d'écoulement
minimale de l'eau de 7,62 cm/s (0,25 pi/s) autour de sa
carcasse. Le débit de refroidissement minimal par rapport au diamètre du puits est : 1,2 gal US/min pour 4
po, 7 pour 5 po, 13 pour 6 po, 20 pour 7 po, 30 pour
8 po et 50 pour 10 po. La pompe utilisée dans un grand
réservoir devrait être dans un manchon d'accélération de
l'écoulement (à la vitesse et au débit requis).
10
Page 11
ATTENTION
Chaque moteur exige une hauteur
d'immersion minimale de 152,4 cm (5 pi)
pour le bon fonctionnement du clapet de non-retour et
de la pompe.
ATTENTION
CÂBLAGE ET ALIMENTATION
CÂBLAGE ET ALIMENTATION
ÉLECTRIQUE
ÉLECTRIQUE
AVERTISSEMENT
Le CentriPro de 4 po a été évalué pour le
pompage de l’eau seulement.
On doit toujours suivre les stipulations du
code provincial ou national de l'électricité
pertinent et les règlements locaux.
N'utiliser que du fil de cuivre. En choisir le
Les tensions dangereuses
peuvent causer un choc
électrique, des brûlures
et la mort.
calibre à l'aide du manuel MAID (Motor Application and Installation Data) ou du code
provincial ou national de l'électricité. En cas
de divergence, le code de l'électricité pertinent
prévaut.
Jonction du câble descendant aux fils de moteur
Quand on joint les fils de moteur au câble descendant
(d'alimentation), la jonction doit être étanche. Les joints
peuvent être à gaine isolante thermorétrécissable ou à ruban
isolant étanche.
A. Joints à gaine isolante thermorétrécissable
Employer les gaines thermorétrécissables comme suit :
dénuder le bout des fils sur une longueur de ½ po (il
vaut mieux échelonner les joints), y enfiler une gaine
isolante (une par joint), joindre les fils de moteur aux
fils d'alimentation correspondants avec un raccord à
sertir, sertir les extrémités de chaque raccord, recouvrir
celui-ci avec la gaine et chauffer celle-ci à partir du
centre. L'excédent du produit d'étanchéité et de la colle
contenus dans la gaine en sortira par les extrémités
durant son rétrécissement. L'ensemble constituera un
joint étanche très résistant.
B. Joints à ruban isolant étanche
a) Dénuder le bout des fils sur une longueur suffisante
pour y poser un raccord tubulaire (type préférable).
Si le raccord est plus mince que la gaine des fils,
l'épaissir en y enroulant du chatterton en caoutchouc jusqu'à ce qu'il ait le même diamètre que la
gaine.
b) Enrouler chaque joint de deux couches de chatter-
ton en caoutchouc, tendu de façon à empêcher la
formation de bulles d'air : la première couche doit
dépasser de deux pouces chaque extrémité de la
gaine isolante, et la seconde, de deux pouces chaque
extrémité de la première couche de chatterton.
c) Enrouler ensuite, comme au paragraphe b), deux
couches de ruban Scotch no 33 ou l'équivalent sur le
chatterton en caoutchouc, chaque couche dépassant
la précédente d'au moins deux pouces.
S'il s'agit d'un câble trifilaire, échelonner les trois joints et les
enrouler de chatterton de la manière décrite ci-dessus.
L'épaisseur du chatterton ne devrait pas être inférieure à
celle de la gaine des fils.
AVERTISSEMENT
CÂBLAGE DES COMMANDES ET
CÂBLAGE DES COMMANDES ET
DU PRESSOSTAT
DU PRESSOSTAT
Pose de la boîte de commande
Les boîtes de commande monophasées à
Les tensions dangereuses
peuvent causer un choc
électrique, des brûlures
et la mort.
trois fils satisfont aux exigences UL relatives
aux boîtiers du type 3R. Elles peuvent être
montées à la verticale, à l'intérieur comme
à l'extérieur, et être utilisées à une température de – 10 à
+ 50 °C (14 à 122 °F). Choisir un endroit ombragé, sec et
suffisamment dégagé pour permettre la dépose du couvercle.
Vérification de la tension et mise hors tension du
système
S'assurer que la tension d'alimentation et celle du moteur
sont pareilles.
Verrouiller le disjoncteur ou le sectionneur en position
HORS circuit pour prévenir le démarrage accidentel de la
pompe avant le moment prévu.
Les bobines du démarreur triphasé sont très sensibles à la
tension. Il faut toujours vérifier la tension d'alimentation
réelle avec un voltmètre.
Les tensions inférieures à – 10 % et supérieures à + 10 % de
la tension nominale endommageront le moteur et les commandes et ne sont pas couvertes par la garantie.
AVERTISSEMENT
Jonction du moteur à la boîte de com-
mande, au pressostat ou au démarreur
Mise en garde : ne pas mettre le moteur sous
tension tant que les tuyaux et les fils ne seront
Les tensions dangereuses
peuvent causer un choc
électrique, des brûlures
et la mort.
On doit toujours suivre les stipulations du code provincial
ou national de l'électricité pertinent. Utiliser un sectionneur
si le code l’exige.
A. Moteur monophasé à trois fils
Brancher les fils de moteur chromocodés sur les bornes
de la boîte de commande comme suit : le jaune sur Y,
le rouge sur R, le noir sur B et le vert (ou le fil dénudé)
sur la vis de terre (verte).
Connecter les fils reliant les bornes de charge (Load)
du pressostat aux bornes L1 et L2 de la boîte de commande. Relier la borne de terre du pressostat à celle de
la boîte de commande par un fil de terre.
B. Moteur monophasé à deux fils
Connecter les fils de moteur noirs aux bornes de charge
(Load) du pressostat et le fil vert (ou dénudé) à la vis de
terre (verte).
C. Moteur triphasé
Brancher les fils de moteur sur les bornes T1, T2 et
T3 du démarreur triphasé. Connecter le fil de terre à
la borne de terre du boîtier de démarreur. Suivre les
directives du fabricant du démarreur pour brancher le
pressostat.
AVERTISSEMENT
Les tensions dangereuses
peuvent causer un choc
électrique, des brûlures
et la mort.
pas tous raccordés. S'assurer que le disjoncteur
ou le sectionneur est HORS circuit avant de
connecter le pressostat à la source de courant.
Connexion à la source de courant
Relier les bornes de ligne (Line) du pressostat
monophasé à celles du panneau de disjonc-
teurs, ou bien aux bornes du sectionneur (s'il y
en a un).
11
Page 12

Circuit triphasé — Relier les bornes L1, L2, L3 et de terre du
démarreur aux bornes du sectionneur, puis à celles du panneau
de disjoncteurs.
En triphasé, vérifier si le moteur tourne dans le bon sens et s'il
y a différence de phases. On inversera le sens de rotation en
intervertissant deux fils de moteur. Voir les directives de vérification du déséquilibre du courant triphasé dans les manuels
MAID ou d'installation de la pompe. La non-vérification du
déséquilibre du courant triphasé peut causer la défaillance prématurée du moteur et le déclenchement intempestif du limiteur
de surcharge. Si l'on emploie une génératrice, consulter les
Données techniques pertinentes dans le manuel d'installation
précité et dans le MAID, le catalogue ou le site.
Protection contre la surcharge en triphasé
N'utiliser que des limiteurs de surcharge rapides de classe 10
avec les moteurs triphasés submersibles. Un démarreur triphasé
avec la protection de surcharge de la classe 10 doit être utilisé
sur les moteurs submersibles triphasés.
GARANTIE LIMITÉE
N'importe quel moteur avéré défectueux au cours de la période de garantie sera substitué à aucune charge au distributeur au cours de la période de garantie.
La période de garantie sur la construction standard de CentriPro, 4" des moteurs est à trente-six (36) mois de date d'installation ou à quarante-deux (42) mois de date de
fabrication, n'importe quelle période est plus courte.
La période de garantie sur le devoir de CentriPro Xtreme, les moteurs de 4 pouces est à trente (30) jours de date d'installation ou de six (6) mois de date de fabrication,
n'importe quelle période est plus courte.
Le détaillant qui, aux termes de la présente garantie, désire effectuer une demande de règlement doit s’adresser au distributeur agréé de systèmes d'alimentation en eau
domestiques et commerciaux chez lequel la pompe a été achetée et fournir tous les détails à l’appui de sa demande. Le distributeur est autorisé à régler toute demande par le
biais du service à la clientèle.
La garantie ne couvre pas :
a) les frais de main-d’œuvre ni de transport ni les frais connexes encourus par le détaillant ;
b) les frais de réinstallation du matériel réparé ;
c) les frais de réinstallation du matériel de remplacement ;
d) les dommages indirects de quelque nature que ce soit ;
e) ni les pertes découlant de la panne.
Aux fins de la garantie, les termes ci-dessous sont définis comme suit :
1) « Distributeur » signifie une personne, une société de personnes, une société de capitaux, une association ou autre entité juridique servant d’intermédiaire entre et le
détaillant pour les achats, les consignations ou les contrats de vente des pompes en question.
2) « Détaillant » veut dire une personne, une société de personnes, une société de capitaux, une association ou autre entité juridique dont les activités commerciales sont la
vente ou la location de pompes à des clients.
3) « Client » désigne une entité qui achète ou loue les pompes en question chez un détaillant. Le « client » peut être une personne, une société de personnes, une société de
capitaux, une société à responsabilité limitée, une association ou autre entité juridique se livrant à quelque activité que ce soit.
LA PRÉSENTE GARANTIE SE RAPPORTE AU DÉTAILLANT SEULEMENT.
Xylem Inc.
2881 East Bayard Street Ext., Suite A
Seneca Falls, NY 13148
Téléphone: (866) 325-4210
télécopie: (888) 322-5877
www.centripro.com
CentriPro est une marque déposée de Xylem Inc. ou d'une de ses filiales.
© 2012, Xylem Inc. IM204 Rev. 3 Mai 2013
 Loading...