


GB OK 27-09-2002 8:13 Pagina 18
18 USER MANUAL
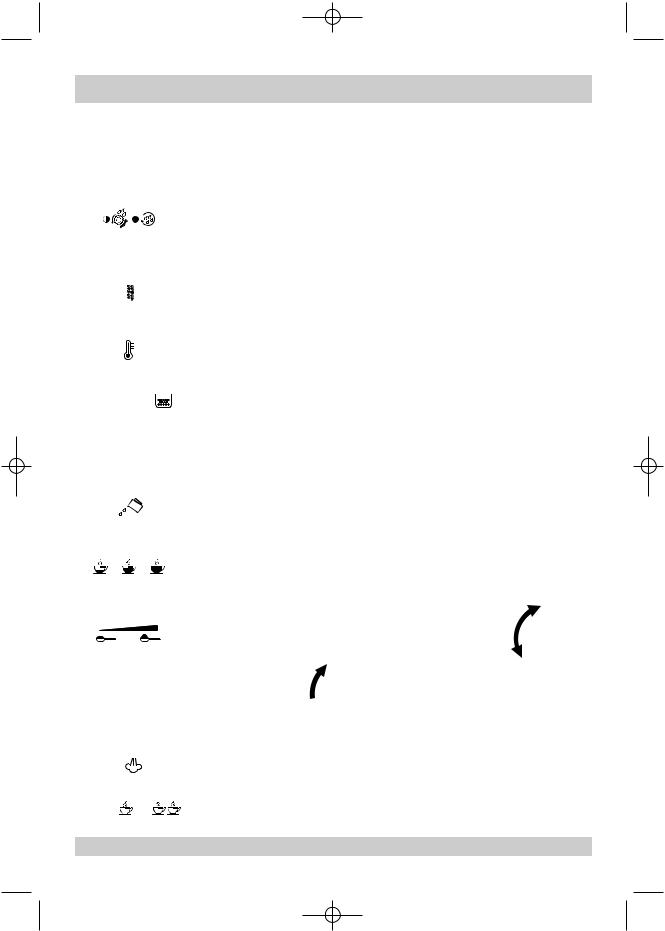
1. DESCRIPTION OF THE APPLIANCE
1. |
Coffee container position indicator |
13. Drip tray water level indicator |
2. |
Funnel lid for ground coffee |
14. Coffee spout assembly adaptable to cup height |
3. |
Measuring cup for ground coffee |
15. Swivelling hot water/steam spout |
4. |
Cover for coffee bean container |
16. Cappuccino maker |
5. |
Container for coffee beans and funnel for |
17. Power cable |
|
ground coffee |
18. Hot water/steam knob |
|
|
|
6. |
Grinding coarseness regulator |
19. Cup warmer tray |
|
|
|
7. |
Control panel |
20. Knob for manual cleaning of the spout assembly |
|
|
|
8. |
Service door |
21. Cleaning brush |
|
|
|
9. |
Removable water tank with lid |
22. Measure for ground coffee |
|
|
10. Removable container for coffee grounds |
23. Water hardness indicator strip |
|
11.Cup support grid
12.Removable drip tray
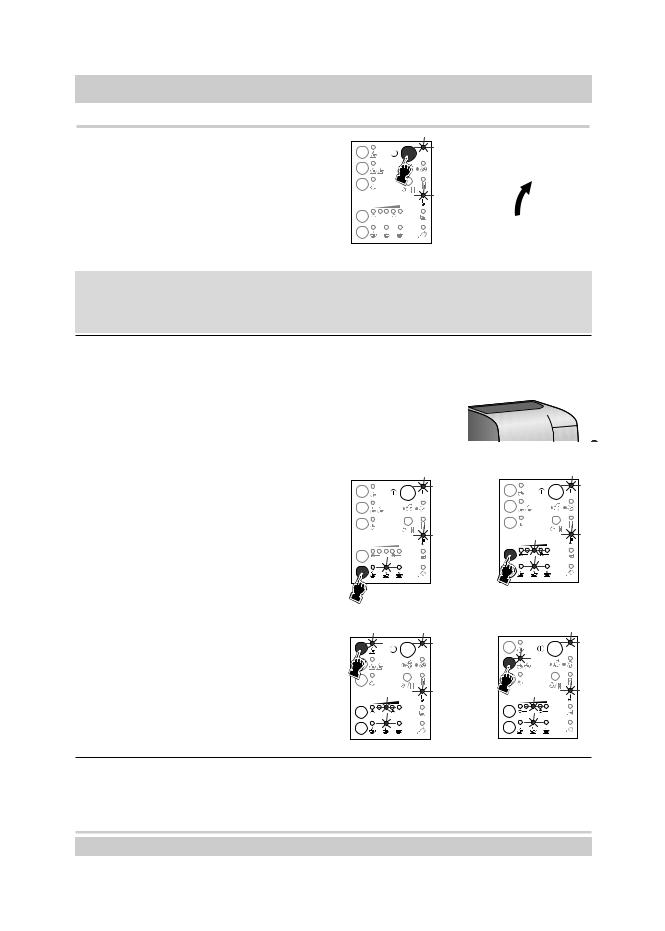
1.1 Description of control panel (7)
24.ON/OFF button 0/I
25.ON/OFF indicator 0/I
26. Washing programme and appliance in shut- |
|
41 |
|
40 |
|
||
down indicator |
24 |
||
27. Descaling programme indicator |
39 |
||
|
|||
28. “Coffee ready/steam ready” temperature indi- |
38 |
25 |
|
cator |
|
||
37 |
26 |
||
29. Coffee grounds container full or absent indi- |
|||
|
|||
|
27 |
||
cator |
36 |
||
30. No water indicator |
35 |
28 |
|
31. Coffee strength indicators (mild, regular, |
34 |
|
|
33 |
29 |
||
strong) |
|||
|
|||
|
30 |
||
32. Coffee strength button (mild, regular, strong) |
32 |
||
|
|||
33. Coffee quantity button |
31 |
|
|
|
|
34.Coffee quantity indicators
35.Steam indicator
36.Steam button
37.Two cup button
38.One cup button
39.One cup indicator
40.Two cup indicator
41.Button for washing or descaling programme.
DESCRIPTION
Downloaded from www.Manualslib.com manuals search engine
GB OK 27-09-2002 8:13 Pagina 19
|
|
|
|
|
|
|
|
|
|
|
USER MANUAL 19 |
|
|
||
|
|
|
|
|
|
|
|
|
|
|
|
|
|
|
GB |
IF THE INDICATOR… |
|
|
|
is on |
|
|
|
flashes |
|
||||||
25 ON/OFF I |
|
|
|
|
|
|
|
|
|
|
|
|
|
||
|
The appliance is ready for use |
|
|
The appliance is warming up or switching off |
|
|
|||||||||
|
|
|
|
|
|
|
|
|
|
|
|
|
|
|
|
26 Washing and |
|
The washing programme should be run |
|
|
The spout assembly is jammed. Turn the |
|
|
||||||||
appliance shut-down |
|
|
|
appliance off then on again using the |
|
|
|||||||||
|
following the instructions in paragraph 9.3 |
|
|
ON/OFF button (24). This should reposition |
|
|
|||||||||
|
|
|
|
|
|
|
|
||||||||
|
|
|
|
(The indicator flashes while the washing |
|
|
the spout assembl correctly. If after two |
|
|
||||||
|
|
|
|
programme is underway) |
|
|
attempts the problem persists, clean the spout |
|
|
||||||
|
|
|
|
|
|
|
|
|
|
assembly as described in paragraph 9.4. |
|
|
|||
|
|
|
|
|
|
|
|
|
|
|
|
|
|
|
|
27 Descaling |
|
The descaling programme should be run |
|
|
|
|
|
|
|
|
|||||
programme |
|
following the instructions in paragraph 9.5 |
|
|
|
|
|
|
|
|
|||||
|
|
|
|
(The indicator flashes while the descaling |
|
|
|
|
|
|
|
|
|||
|
|
|
|
programme is underway) |
|
|
|
|
|
|
|
|
|||
|
|
|
|
|
|
|
|
|
|
|
|
|
|
|
|
28 Temperature |
|
|
|
|
|
|
|
If flashing slowly, the appliance is warming |
|
|
|||||
|
|
|
|
|
|
|
up. |
|
|
|
|
|
|||
|
|
|
|
The appliance is ready for use |
|
|
If flashing rapidly, the appliance is cooling |
|
|
||||||
|
|
|
|
|
|
|
|
|
|
down. To cool the appliance rapidly, see |
|
|
|||
|
|
|
|
|
|
|
|
|
|
paragraph 8.1. |
|
|
|||
29 Coffee grounds |
|
|
|
|
|
|
|
|
|
|
|
|
|
||
|
The coffee grounds container (10) is not in |
|
|
The coffee grounds container (10) is full and |
|
|
|||||||||
container full |
|
place |
|
|
|
|
|
should be emptied. |
|
|
|||||
|
|
|
|
In order for the appliance to correctly indicate when the container needs emptying, it must calculate the |
|
|
|||||||||
|
|
|
|
number of coffees prepared. To reset the counter, the container should always be emptied with the |
|
|
|||||||||
|
|
|
|
appliance on. |
|
|
|
|
|
|
|
|
|||
|
|
|
|
The appliance also resets the counter when the container is removed for a period longer than 10 seconds |
|
|
|||||||||
|
|
|
|
|
|
|
|
|
|
|
|
|
|
|
|
30 No water |
|
|
|
|
|
|
|
Fill the tank and press button 37 or 38 to make |
|
|
|||||
|
|
|
|
|
|
|
the coffee. If after the second or third attempt the |
|
|
||||||
|
|
|
|
|
|
|
|
|
|
indicator continues to flash, run off water from |
|
|
|||
|
|
|
|
|
|
|
|
|
|
the spout (15) as described in paragraph 7. |
|
|
|||
31 Coffee strength |
|
The indicators for the strength of coffee |
|
|
|
|
|
|
|
|
|||||
indicators |
|
chosen (mild, regular, strong) light up The |
|
|
|
|
|
|
|
|
|||||
|
selection can be modified by pressing |
|
|
|
|
|
|
|
|
||||||
|
|
|
|
|
|
|
|
|
|
|
|
||||
|
|
|
|
button 32. |
|
|
|
|
|
|
|
|
|
|
|
|
|
|
|
|
|
|
|
|
|
|
|
|
|
|
|
34 Coffee quantity |
|
|
|
|
|
|
|
|
|
|
|
|
|
||
|
Indicates the quantity of coffee beans set |
|
|
|
|
|
|
|
|
||||||
indicator |
|
to make the coffee. The selection can be |
|
|
The |
coffee |
|
|
|
|
|||||
|
|
|
|
modified by pressing button 33. |
|
|
|
|
|
|
|||||
|
|
|
|
|
|
|
|
|
|
container (1) is in |
|
|
|
|
|
|
|
|
|
|
|
|
|
|
|
|
|
|
|
||
|
|
|
|
|
|
|
|
|
|
|
|
|
|
||
|
|
|
|
|
|
|
|
|
|
the ground coffee |
|
|
|
|
|
|
|
|
|
The |
coffee |
|
|
|
|
or |
removal |
|
|
|
|
|
|
|
|
|
|
|
|
position. Check |
|
|
|
|
|||
|
|
|
|
container (1) is in |
|
|
|
|
the |
required |
|
|
|
|
|
|
|
|
|
the coffee beans |
|
|
|
|
container position. |
|
|
|
|
||
|
|
|
|
|
|
|
|
|
|
||||||
|
|
|
|
position. |
|
|
|
|
|
|
|
|
|
|
|
|
|
|
|
|
|
|
|
|
|
|
|
|
|
|
|
|
|
|
|
|
|
|
|
|
|
|
|
|
|
|
|
|
|
|
|
|
|
|
|
|
|
|
|
|
|
|
|
35 Steam |
|
|
|
|
|
|
|
|
|
|
|
|
|
||
The machine is in steam mode. To |
|
|
|
|
|
|
|
|
|||||||
|
|
|
|
|
|
|
|
|
|
|
|
||||
|
|
|
|
deactivate, press button 36. |
|
|
|
|
|
|
|
|
|||
|
|
|
|
|
|
|
|
|
|
|
|
|
|
|
|
39 o 40 1- or 2-cup |
|
Preparation of one or two cups of coffee is |
|
|
|
|
|
|
|
|
|||||
|
underway. To interrupt, press button 38 or |
|
|
|
|
|
|
|
|
||||||
delivery |
|
or |
|
|
|
|
|
|
|
|
|
||||
|
|
37 respectively. |
|
|
|
|
|
|
|
|
|||||
|
|
|
|
|
|
|
|
|
|
|
|
|
|
|
|
|
|
|
|
|
|
|
|
|
|
|
|
|
|
|
|
GUIDE TO INDICATORS
Downloaded from www.Manualslib.com manuals search engine

GB OK 27-09-2002 8:13 Pagina 20
20 USER MANUAL
2. SAFETY WARNINGS
Read these instructions and keep for future consultation.
-Before use, make sure the mains voltage corresponds to the voltage indicated on the appliance rating plate. Connect the appliance to an efficiently earthed mains socket with a minimum capacity of 10 A only.
-If the plug of the appliance and mains socket are incompatible, have the plug changed by a qualified professional.
-The electrical safety of this appliance is guaranteed only when it is correctly connected to an efficient earth system conforming to current electrical safety standards. Failure to correctly earth the appliance absolves the manufacturer from all liability for possible damage. If in doubt, contact a qualified professional.
-Never start up the appliance without water or coffee!
-This appliance is designed to make coffee and heat drinks. Avoid scalds and burns caused by water or steam jets or improper use of the appliance itself.
-Do not touch hot parts (steam spout, water, delivery zone)
-After unpacking, make sure the appliance is complete and undamaged. If in doubt, do not use. Contact a qualified professional.
-Packing elements (plastic bags, polystyrene etc) must not be left within reach of children as they may represent a hazard.
-Remove the spout assembly knob from the packaging and keep carefully for future use.
-This appliance is designed for domestic use only. Any other use is improper and therefore dangerous.
-The manufacturer is not liable for damage caused by improper, incorrect or unreasonable use of the appliance.
-Do not touch the appliance with damp hands or feet.
-Do not use in bath or shower rooms
•The appliance is not intended for use by young children or infirm persons without supervision.
•Young children should be supervised to ensure that they do not play with the appliance.
-Do not immerse the appliance in water
-Before cleaning or carrying out maintenance, unplug the appliance from the mains.
-In the event of breakdown or faulty operation, turn the appliance off and do not tamper with it. For repairs, contact a technical service centre authorised by the manufacturer only. Request that only original spare parts be used. Failure to respect the above may compromise the safety of the appliance.
-Installation should be carried out according to the manufacturer’s instructions.
-The power cable must not be replaced by the user as it requires special tools. If the cable is damaged or needs replacing, contact a technical service centre authorised by the manufacturer only.
-Unplug the appliance from the mains and turn off the main switch when not in use. Never leave the
appliance plugged in unnecessarily.
This appliance conforms to EC directive 87/308 on the suppression of radio interference.
3. INSTALLATION
•The appliance must be installed on a stable horizontal surface. Avoid hot surfaces. Choose a location out of reach of children and pets.
Leave at least 
10 cm between
the appliance and the wall or
other objects.
• Never install the appliance
where tempera-
tures may drop
to 0°C or below (the formation
of ice may damage the appliance).
•Unwind the required length of power cable (17) (cable housed in the body of the appliance) and plug in to an earthed socket.
•Remove and fill the water tank (through the special opening or by removing the lid) with fresh water (max. 1.5 litres). When replacing the tank, exert pressure to ensure the rear valve opens.
•You are advised to customise water hardness immediately by following the procedure described in paragraph 5.4.
•Coffee can now be prepared as described in
the following paragraph.
For hygiene reasons, you are advised to throw away the first coffee.
SAFETY WARNINGS • INSTALLATION
Downloaded from www.Manualslib.com manuals search engine
GB OK 27-09-2002 8:13 Pagina 21
USER MANUAL 21
4. HOW TO PREPARE COFFEE…
… using coffee beans
A. Press the ON button (24): the appliance warms up and automatically performs a prewash cycle. The appliance on (25) and temperature (28) indicators flash during heating.
B. Rotate the container (5) into the position for |
|
|
using coffee beans (check indicator 1). |
A |
B |
GB
It is normal for the appliance to make a noise when turned on, when the coffee container (5) moves or when it is turned off. The noise indicates that the dspout assembly is moving into the correct position for the function set.
When turned on and off, the appliance also rinses the internal circuits.
C. Remove the lid (4) of the coffee bean container (5) and fill with fresh coffee beans (capacity 270 g). Replace the lid to close the container well.
Only pure coffee beans should be used, without the addition of caramelised or flavoured beans.
When the on (25) and temperature (28) indicators stop flashing, the appliance |
C |
|
has reached the ideal temperature and is ready to make coffee. Put the cup (if |
||
|
you want to make one cup) or cups (if you want to make two cups) under the spout (14).
D. Select the strength of coffee required by |
|
|
pressing the button (32). The relative indica- |
|
|
tor (31) lights up. |
|
|
E. Select the quantity of coffee by pressing the |
|
|
button (33). The relative indicator (34) lights |
|
|
up. |
D |
|
If the coffee delivery button (38 or 37) is not pres- |
||
|
||
sed within 8 seconds of setting D and E, the |
|
|
appliance automatically returns to the original setting. |
|
E |
F/G.Press the coffee delivery button: if you want just one coffee, press button 38 (F), if you want two cups at the same time, press button
37 (G).
You can interrupt coffee delivery at any moment by briefly pressing the same coffee delivery button as pressed previously.
F |
G |
Your appliance is equipped with an automatic pre-infusion system which moistens the ground coffee; consequently delivery begins and then stops for a moment.
This releases the full aroma of the ground coffee to obtain the best possible coffee. Pre-infusion does not take place when making very long coffee.
HOW TO PREPARE COFFEE… USING COFFEE BEANS
Downloaded from www.Manualslib.com manuals search engine

GB OK 27-09-2002 8:13 Pagina 22
22 USER MANUAL
…using ground coffee
A. Press the ON button (24): the appliance warms up and automatically performs a pre-wash cycle. The appliance on (25) and temperature (28) indicators flash during heating.
B. Rotate the container (5) into the position for
using ground coffee (check indicator 1). |
The |
A |
B |
coffee quantity indicator (34) flashes.
It is normal for the appliance to make a noise when turned on, when the coffee container (5) moves or when it is turned off. The noise indicates that the spout assembly is moving into the correct position for the function set.
When turned on and off, the appliance also rinses the internal circuits.
When the on (25) and temperature (28) indicators stop flashing, the appliance has reached the ideal temperature and is ready to make coffee. Put the cup (if you want to make one cup) or cups (if you want to
make two cups) under the spout (14).
Preparing the right quantity of coffee to use
To prepare the right quantity of ground coffee, you can use either the measuring cup (3) or measure (22). Measures other than those provided must never be used and you must never use more than two measures (corresponding to the MAX quantity on the measuring cup).
Important: the funnel is not a container. Make sure all the ground coffee introduced feeds down into the container. If necessary, use the handle of the measure (22) to help the coffee flow towards the spout assembly.
1 coffee = |
= |
2 coffees= |
= |
CRemove the cover (2) and slowly introduce the exact quantity of ground coffee necessary for each preparation into the ground coffee
funnel.
D. Select the strength of coffee required by pressing the button (32). The relative indicator (31) lights up.
E/F: if you want just one coffee, press button 38 (E), if you want two cups at the same time, press button 37 (F).
You can interrupt coffee delivery at any moment by briefly pressing the same coffee delivery button as pressed previously.
You must never use soluble instant coffee, free- ze-dried coffee or similar products, but only pure ground coffee without additional ingredients.
C |
E |
D
F |
HOW TO PREPARE COFFEE… USING GROUND COFFEE
Downloaded from www.Manualslib.com manuals search engine
 Loading...