How it Works
Log In / Sign Up
Buy Points
How it Works
FAQ
Contact Us
Questions and Suggestions
Users
Xpres
Loading...
#
1290
4
1400
2
4450
2
4880
5
7700
6
7900
8
9890
9
9890- IQ
11
B
Banner
C
Canvas
ChromaLuxe Panel
Crystal Print
Cut Lite
CX-24
D
D88
3
E
Easy Dome
G
Gem Tec
GX-24
GX7000
GXe3300N
GXe7700N
R
R1800
4
S
SG3110DN
SG7100DN
15
Sign Vinyl
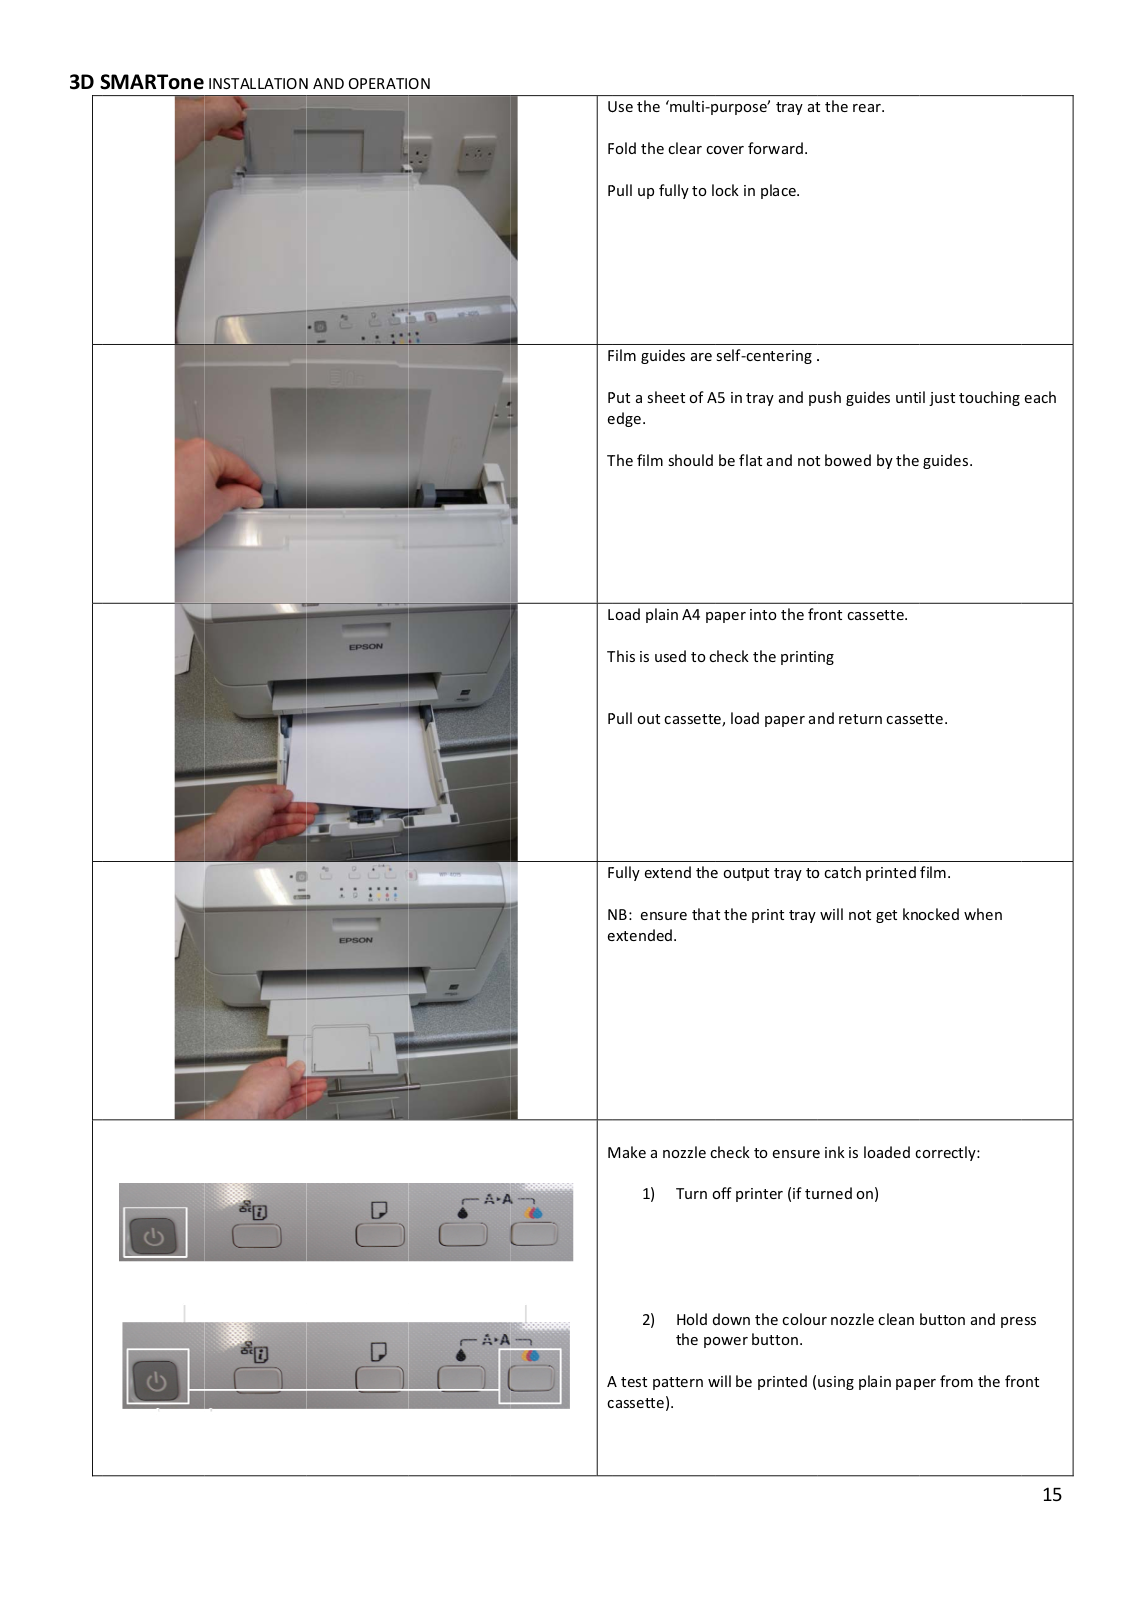
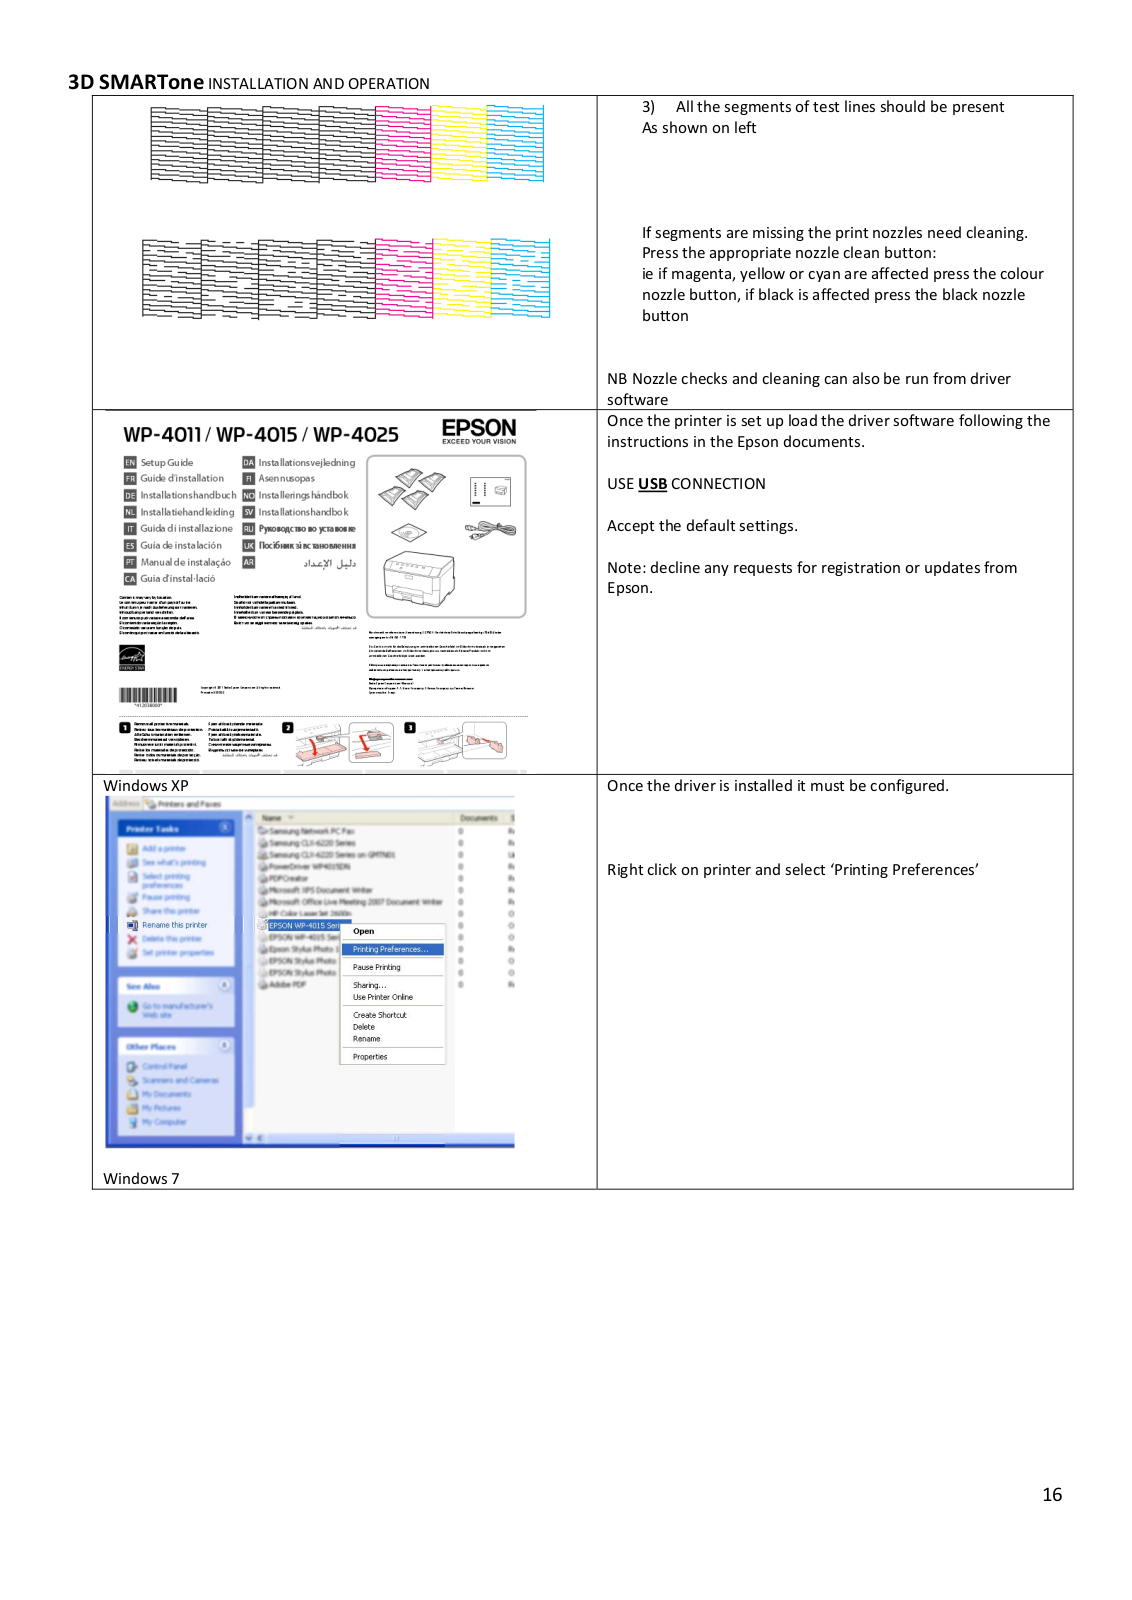
SMARTone
T
T3000
5
T5000
7
T7000
3
TECMARK
W
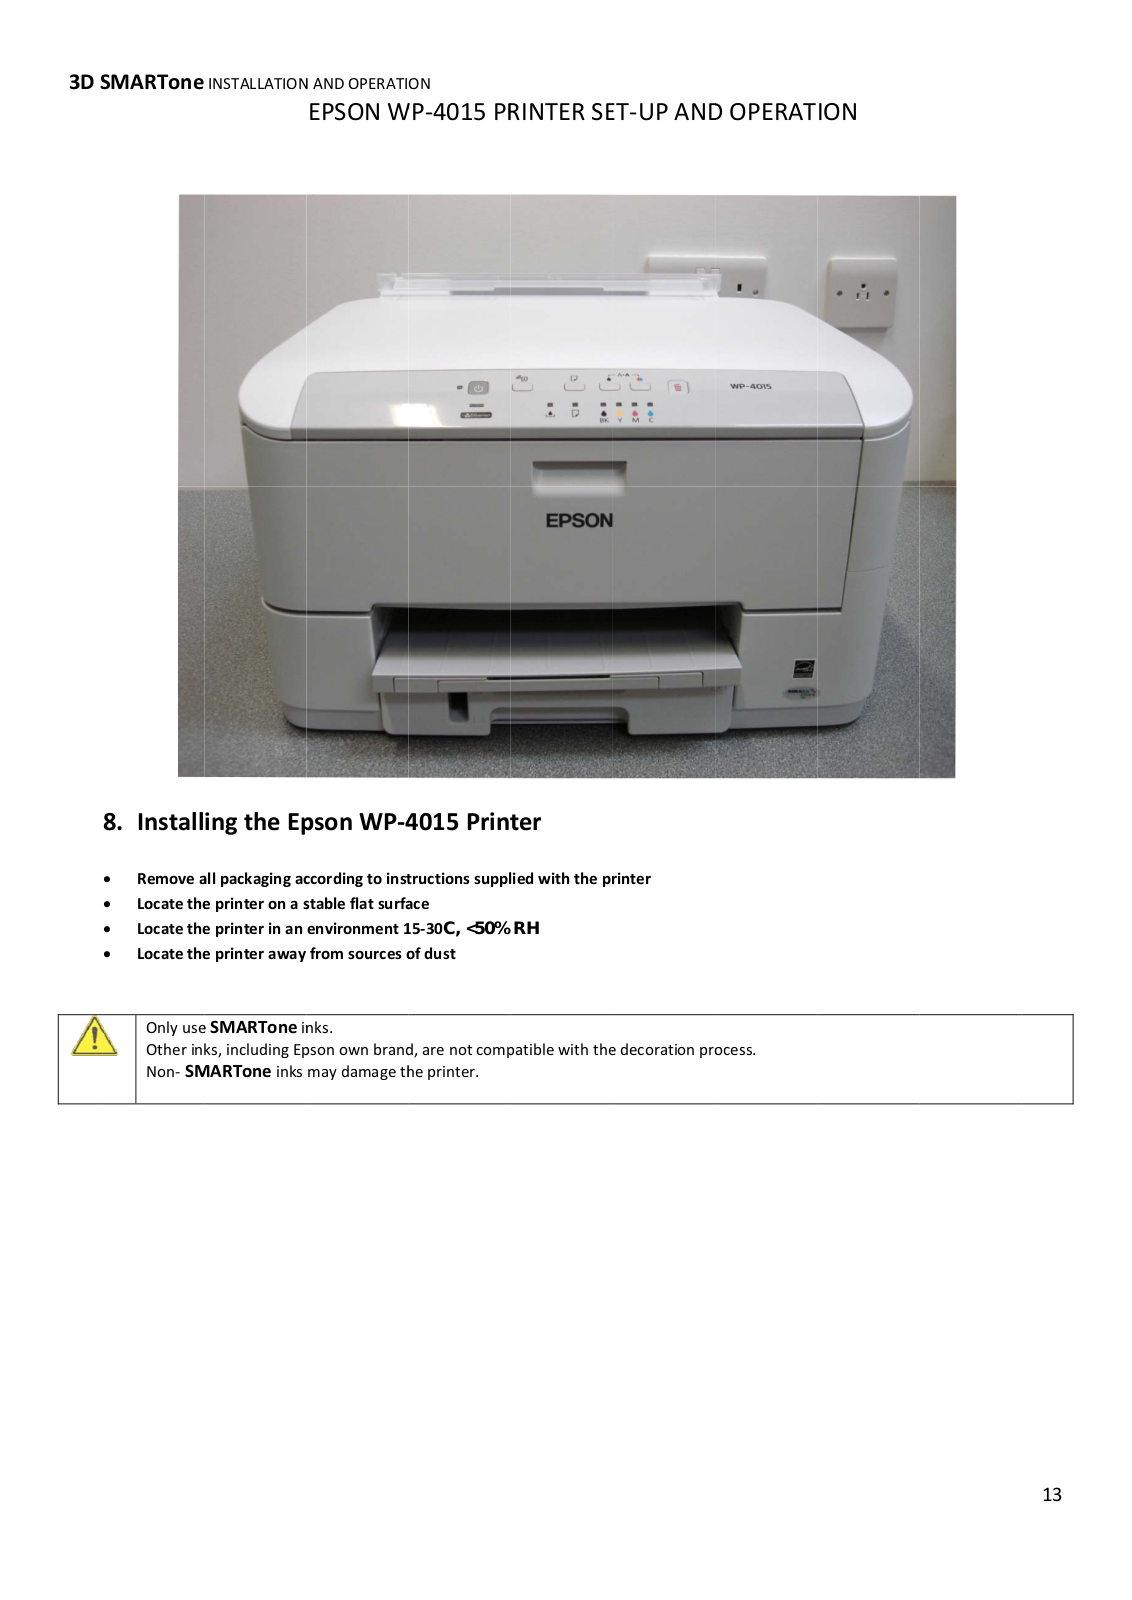
WP-4015
14
Loading...
Loading...
Nothing found
SMARTone
User Manual
25 pgs
3.17 Mb
0
Table of contents
Loading...
Xpres SMARTone User Manual
...
Xpres User Manual
Download
Specifications and Main Features
Frequently Asked Questions
User Manual
Download
Loading...
+
hidden pages
Unhide
You need points to download manuals.
1 point = 1 manual.
You can buy points or you can get point for every manual you upload.
Buy points
Upload your manuals
 Loading...