

Page 1
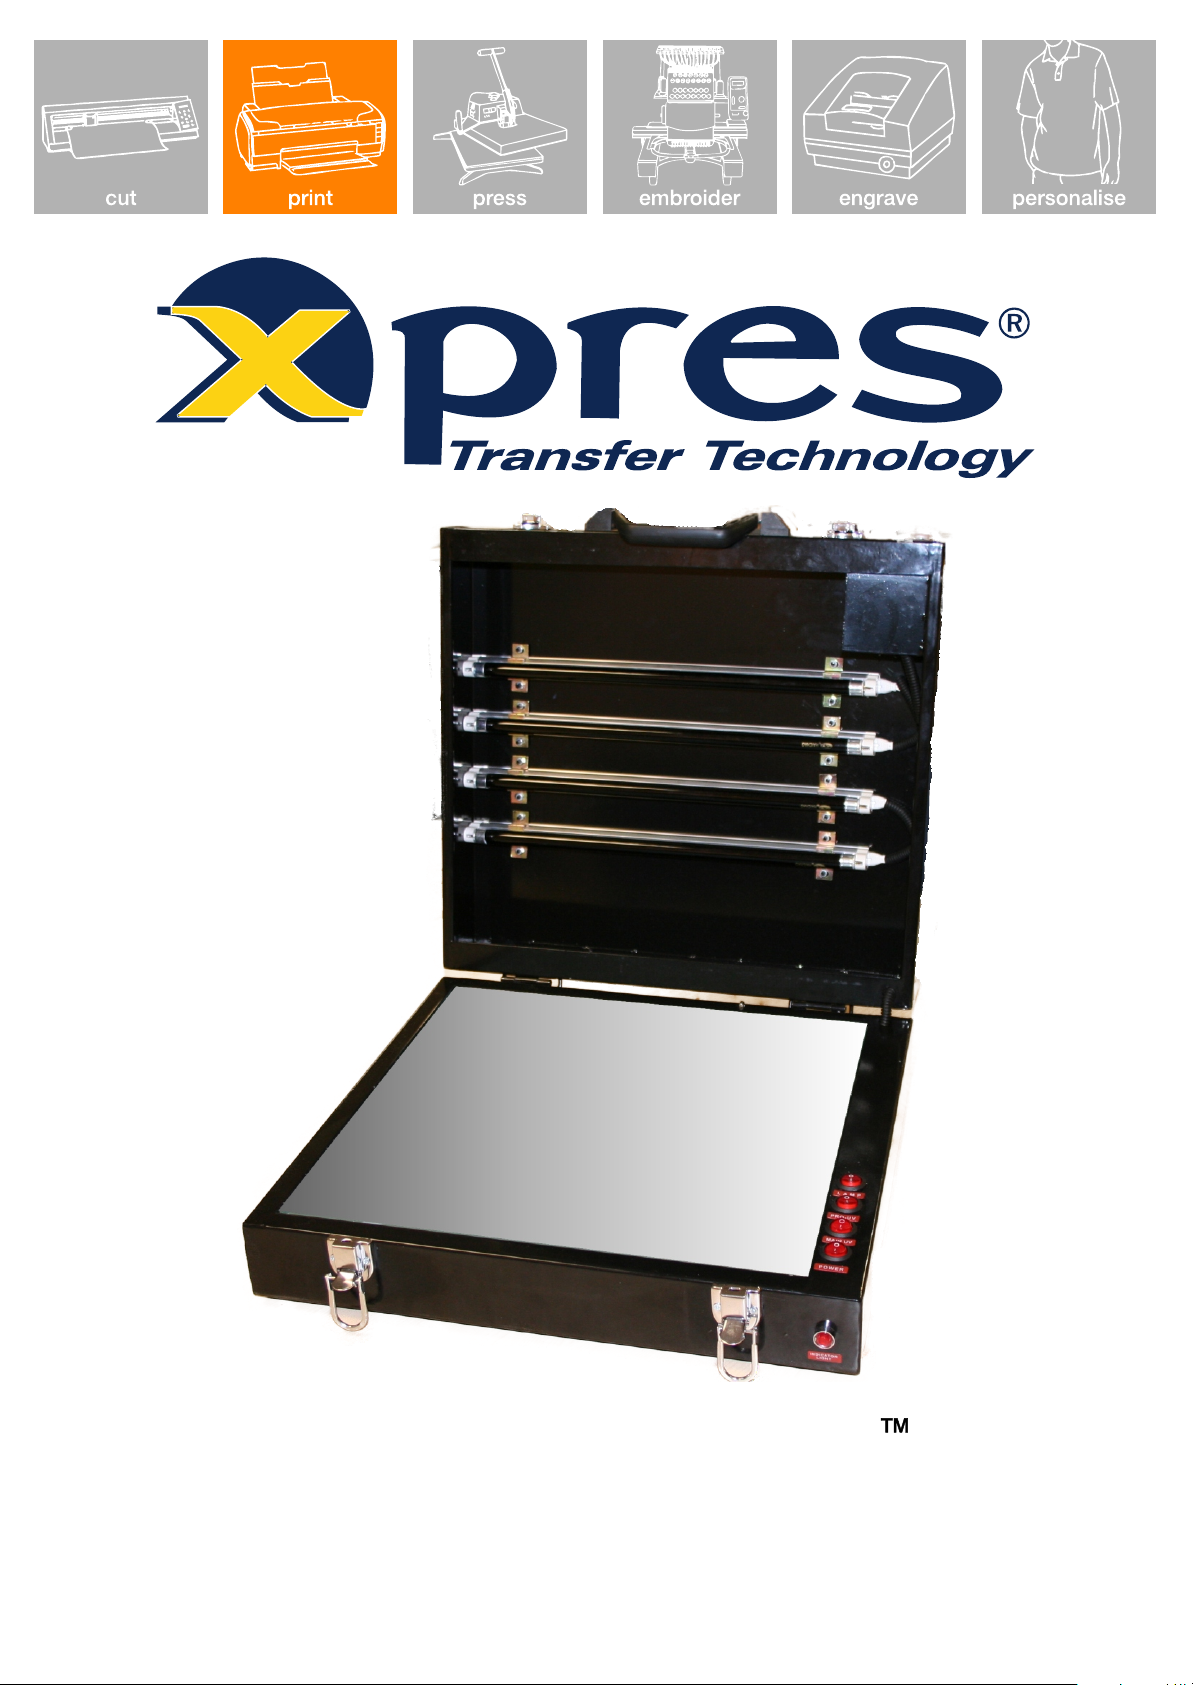
Crystal Print
Instruction Manual
Page 2

CONTENTS
Section 1
Page 1
Section 2
Page 2
Section 3
Page 3
Section 4
Page 3
Driver Installation & Setup
Installing & setting up the Epson Stylus 1400 Printer
Crystal Print Process
Producing Crystal Print
Crystal to Crystal Process
Joining Crystal to Crystal
General Troubleshooting & Tips
General Troubleshooting & Tips
Recommended tools required (not supplied).
1. Stanley knife with sharp blades in good condition
2. Disposable clear vinyl gloves, or anti cut gloves
3. Cutting board with hard surface
4. Glass cleaner to clean finger prints and excess adhesive prior to packaging
5. Spirit Level to ensure machine is positioned correctly on a flat surface
Version 2.1 22/08/2008 NJE
Page 3

Epson 1400 setup
Insert the Epson Stylus 1400 software CD-ROM into your CD-ROM drive. The CD will auto run. Select 'Custom
Install' from the menu, as in diagram 1 below. When Diagram 2 appears click 'Printer Driver'. It will display diagram
3, click OK and it will copy files to your computer. Make sure the USB cable is connected to the PC and printer, then
turn on the printer as instructed in diagram 4. After the utility has found your printer it will confirm this as in diagram 5.
The Epson Stylus 1400 has now been successfully installed. Click OK.
Now follow the Epson Stylus 1400 driver setup below.
Diagram 1
Diagram 4
Diagram 2
Diagram 3
Diagram 5
Browse to the Printers and Faxes folder. Right click on the Epson 1400 printer and click on 'Properties'. Click on
'Printing preferences as in diagram 6, then follow the diagrams below.
Diagram 6
Diagram 7 Diagram 8
1
2
3
4
Click
Advanced
Diagram 9 Diagram 9
: Epson Photo Quality Ink Jet
1
: Photo
2
: Colour Controls selected
3
: Colour Mode: Epson Vivid
4
Click 'Save Setting'
Name it 'Crystal Print' then
click Save.
1.
Page 4

Crystal Print Process
Plug Crystal Print machine into the mains and lift the lid. (note: ensure machine is level before proceeding)
Turn on the Power and Lamp switches only. Set the timer dial below to one minute.
The Crystal Print films are 3 ply. They have 2 protective backings on, one on each side. Prior to printing remove the
easier to peel clear film (smooth feel) from one side of the media. If it is the frosted backing (rough feel) this is the wrong
side to print onto.
Insert one sheet at a time into the printer and print your design using the CorelDRAW templates provided on the Crystal
Print CD. Print does not need to be mirrored.
Position film on Crystal Print machine, print side face up.
Open the Film to Crystal glue. Sparingly form an upside down 'T' shape on the film as illustrated in yellow on diagram 1
below. Note: Ensure the layer of adhesive on the film is not too thick.
Diagram 1 Diagram 2
Crystal
45° angle
Crystal Print Glue
Crystal Print Film
Crystal Print Machine
Once the Film to Crystal glue has been applied to the film, angle the crystal at a 45° angle as in Diagram 2.
Gently angle the crystal downwards using a little pressure to avoid air bubbles being formed between the crystal and
film.
Ensure the whole crystal is covered with adhesive. You can move the crystal around on top of the print to ensure
an even coverage.
Once you have the correct position wipe any excess adhesive from around the edges of the crystal. Now gently pull the
lid of the crystal machine down. The UV lamps will automatically turn on and the timer will automatically start.
Once the alarm sounds lift the lid.
Take the crystal off the machine and place on a cutting board. Using a sharp scalpel, angle the blade 45° and trim as
close as you can to the crystal using sufficient pressure to cut through the film.
Now using the same scalpel, trim the edges removing any excess adhesive off the crystal.
Now remove the frosted backing film from the crystal and clean. The crystal is now ready.
2.
Page 5

Crystal to Crystal Process
Once you have produced your crystal, some products have a base that also needs glueing into
position.
Set an independent timer to 30 seconds, and lift the lid on the Crystal Print machine.
Position the base on the glass.
Sparingly apply a little Crystal to Crystal glue to the base.
Angle the top crystal onto the base and align.
Turn on the Power and Pro-UV switches as in the diagram below.
When the alarm sounds remove the finished product off the Photo Crystal machine and turn off the Pro-UV switch.
Wipe any excess glue from around the base.
General troubleshooting and tips
• When trimming the crystal ensure you trim away from you to avoid any personal injury.
• For best results ensure the scalpel or knife is sharp.
• Do not leave the power on and the lid down for long periods of time. When the unit is not in use, turn the
power off.
• Please take all necessary precautions to ensure yours and others health and safety. Close the blade when not
in use, and screw the lids on the bottle to prevent spillage.
• Use disposable vinyl gloves wherever possible to avoid getting adhesive on your hands.
• Adhesive will stain or damage clothing, please take all necessary precautions.
• When removing the crystal from the box for the first time wipe any dust or marks from the print surface before
printing.
• Use dye based inks wherever possible. These inks will give more vibrant results.
• Avoid placing or submerging crystal, once printed near any water source as this may seperate the film from
the crystal.
Q: The print is running or smudging on the film?
A: Ensure you have removed the correct side from the vinyl. The print side has an easy to remove clear film.
The other side (non printable side) has a frosted backing.
Q: Are the crystals once printed UV stable?
A: Avoid placing the crystal in direct sunlight for long periods of time as the print may fade.
Check out the FAQ section on the Xpres website for more hints and tips.
www.xpres.co.uk/tech_support/faq
3.
 Loading...