


Operating Instructions
LVC-S60HM
LVC-S60HP
LVC-S60NM
LVC-S60NP
Before installing and using the camera, please read these instructions thoroughly and retain them for later reference.
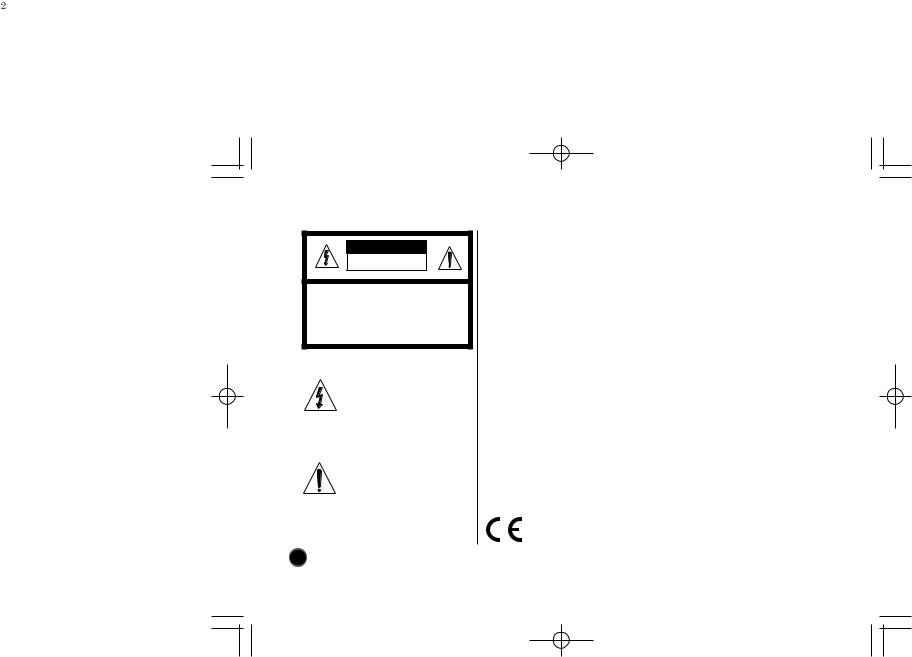
CAUTION
RISK OF ELECTRIC SHOCK
DO NOT OPEN
CAUTION TO REDUCE THE RISK OF ELECTRIC SHOCK,
DO NOT REMOVE COVER (OR BACK).
NO USER SERVICEABLE PARTS INSIDE,
REFER SERVICING TO QUALIFIED SERVICE PERSONNEL.
This symbol is intended to alert the user to the presence of uninsulated “dangerous voltage” within the product’s enclosure that may be of sufficient magnitude to constitute a risk of electric shock to persons.
This symbol is intended to alert the user to the presence of important operating and maintenance (servicing) instructions in the literature accompanying the appliance.
2
Warning
To prevent fire or shock hazard, do not expose the unit to rain or moisture.
To avoid electrical shock, do not open the cabinet Refer servicing to qualified personnel only.
Wiring methods shall be in accordance with the National Electric Code, ANSI/NFPA 70.
Regulatory Notices For U.S.A
This equipment has been tested and found to comply with the limits for a Class A digital device, pursuant to Part 15 of the FCC Rules. These limits are designed to provide reasonable protection against harmful interference in a residential installation! This equipment generates, uses and can radiate radio frequency energy and, if not installed and used in accordance with the instructions, may cause harmful interference to radio communications.
However, there is no guarantee that interference will not occur in a particular installation. If this equipment does cause harmful interference to radio or television reception, which can be determined by turning the equipment off and on, the user is encouraged to try to correct the interference by one or more of the following measures:
•Reorient or relocate the receiving antenna.
•Increase the separation between the equipment and receiver.
•Connect the equipment into an outlet on a circuit different from that to which the receiver is connected.
•Consult the dealer or an experienced radio/TV technician for help.
This Class A digital apparatus meets all requirements of the Canadian Interference-Causing Equipment Regulations.
This product is manufactured to comply with the radio interference requirements of EEC DIRECTIVE 89/336/EEC, 93/68/EEC and 73/23/EEC.

|
Contents |
Features .................................................................................................................................. |
3 |
Cautions for Safe Operation ...................................................................................................... |
4 |
Operating Controls and Their Functions |
..............................................................................5-6 |
Connections ......................................................................................................................... |
7-8 |
Back Focus Adjustment .......................................................................................................... |
9 |
Installation of Camera............................................................................................................ |
10 |
Specifications......................................................................................................................... |
11 |
FEATURES
This color video camera is designed for use in monitoring system.
•High resolution and high sensitivity with a 1/3 inch Super HAD CCD (Charge Coupled Device)
•Line Lock when using AC24V power.
•CS Mount (Adapter Ring Mount for C Lens: Optional)
•Dual power AC 24V / DC 12V
•Non-polarity DC12V
Maintence of the unit
•Remove dust or dirt on the surface of the lens with a blower.
•Use a dry soft cloth to clean the body. If it is very dirty, use a cloth dampended with a small quantity of neutral detergent and then wipe dry.
•Avoid the use of volatile solvents such as thinners, alcohol, benzene, and insecticides. They may damage the surface of the body.
3
Cautions for Safe Operation
Power Supply
They must be operated with a AC 24V class 2 power supply and DC12V alternatively.
* Notes: Be careful of AC frequency when the camera is operated with Line lock mode.
AC24V(60Hz):S60HM/S60NM
AC24V(50Hz):S60HP/S60NP
Handling of the unit
Be careful not to spill water or other liquids on the unit. Be cautions not to get combustible or metallic material inside the body. If used with foreign matter inside, the camera is liable to fail or to get a cause of fire or electric shock.
Operating and storage location
Avoid viewing a very bright object (such as light fittings) during an extended period. Avoid operating or storing the unit in the following locations.
•Extremely hot or cold places (operating temperature -10oC~50oC, however, we recommend that the unit be used within a temperature range of 0oC~45oC)
•Damp or dust place
•Places exposed to rain
•Places subject to strong vibration
•Close to generators of powerful electromagnetic radiation such as radio or TV transmitters.
4

OPERATING CONTROLS AND THEIR FUNCTIONS
|
|
|
|
|
|
DC 12V |
|
|
|
|
|
|
|
|
VIDEO |
|
|
|
|
|
|
|
OUT |
|
|
|
|
|
|
POWER |
|
|
|
|
|
|
|
|
CLASS 2 |
|
|
|
|
|
|
AC 24V~ |
ONLY |
1 |
4 |
3 |
5 |
6 |
8 |
10 12 |
11 |
2 |
7 |
9 |
Pin assignment of auto iris lens connector |
|
||||
|
|
|
|
|
|
||
|
|
3 |
4 |
Pin No. |
DC iris |
Video iris |
|
|
|
1 |
Damping - |
Vcc (+9V) |
|
||
|
|
|
|
|
|||
|
|
|
|
2 |
Damping + Not used |
|
|
|
|
1 |
2 |
3 |
Drive + |
Video |
|
|
|
|
|
4 |
Drive - |
Ground |
|
1 Tripod adapter |
|
|
7 Back focus lock screw |
|
|||
2 CCD cover |
|
|
8 Auto iris lens connector |
|
|||
3 Dip switches |
|
|
9 Back focus adjustment screw |
|
|||
4 Line phase adjustment volume |
0 Power LED |
|
|
||||
5 Lens selection switch |
|
|
qa BNC connector for video output |
|
|||
6 DC iris level adjustment volume |
qs Power input connector |
5 |
|||||
|
|
|
|
|
|
|
|

OPERATING CONTROLS AND THEIR FUNCTIONS
|
|
The Adjustment method of Line Lock Phase |
|
When using a camera switcher to connect 2 cameras or more to one monitor, there may be a vertical roll of the images when switched. In such a case, refer to the below.
-The vertical sync phase can be manually adjusted within the range approximately from -90o to +90o.
- Switch the display on the monitor from camera1 to camera2.
Adjust the PHASE volume on camera2 until the vertical roll of the image stops.
If more than two cameras are used, please repeat this procedure for all the cameras.
-If you can’t adjust vertical sync. phase, Please exchange the polarity of input terminal.
Camera switcherMonitor
Vertical phase
6

DC 12V 
DC12V
AC24V
AC 24V~
1 2
CONNECTIONS
Power Connection
LVC-S60 (DC12V/AC24V Compatible)
1. DC 12V Power Supply
Remove the insulation on the power cable as illustrated and connect the power cord to the AC/DC compatible terminals on rear panel of the camera.
Note :
You don't need to be cautious of the polarity of positive and negative.
(Auto polarity sensing)
2. AC 24V Power Supply
Connect the power cable to the AC/DC compatible input terminal on the rear panel of the camera
Note :
To get the optimum performance from the unit, be sure to connect to an AC supply of 24V ±10%
Connecting the monitor
To VIDEO OUT
To video input on the monitor
7

|
|
|
Lens Mounting |
|
|
|
||
|
|
|
Remove the CCD cover. Then attach the CS mount lens to the camera. Please |
|||||
|
|
|
refer to the drawing on the left. |
|
|
|||
|
|
|
C Mount Lens: You have to use the Adapter Ring Mount (not supplied). |
|||||
|
|
|
CAUTION |
|
|
|
|
|
|
|
|
Be cautious not to use Auto Iris Lens with over 30mA |
|||||
|
|
|
DC iris level is preset in the factory. Only if necessary, adjust the DC iris level |
|||||
|
|
|
to achieve the proper picture with AGC off. |
|||||
VIDEO |
AES |
DC |
Auto Iris Mode Selection |
|
||||
|
|
|
|
|
|
|||
|
|
|
POSITION |
LENS |
|
|
Set the auto iris mode selection |
|
|
|
|
|
|
switch to the position that |
|||
|
|
|
DC |
DC iris lens |
|
|||
|
|
|
|
corresponds to the lens which is |
||||
|
|
|
AES |
Manual or fixed iris lens |
||||
|
|
|
mounted to the camera. Please refer |
|||||
|
|
|
VIDEO |
Video iris lens |
|
|||
|
|
|
|
to the table on the left. |
||||
|
|
|
No. |
NAME |
POSITION |
|
FUNCTION |
|
|
|
|
1 |
Synchronization mode |
L.L. |
Line lock mode |
||
|
|
|
|
(SYNC) |
|
INT. |
Internal synchronization mode |
|
|
|
|
2 |
Back light compensation |
ON |
sets to this position when strong light comes in behind the target |
||
|
|
|
|
(BLC) |
|
OFF |
normal position |
|
|
|
|
3 |
Auto gain control |
ON |
AGC level varies from 10dB to maximum 30dB |
||
|
|
|
|
(AGC) |
|
OFF |
10dB (Max.) |
|
|
|
|
4 |
Flickerless |
|
ON |
shutter speed is fixed. (NTSC : 1/100 sec, PAL : 1/120 sec) |
|
|
|
|
|
(FL) |
|
OFF |
shutter speed is not fixed. |
|
* Factory Setting |
|
5 |
White Balance |
|
HOLD |
WB is fixed |
|
|
|
|
(WB) |
|
ATW |
tracks and adjusts WB automatically |
|||
|
|
|
|
|
||||
8
 Loading...