


ZHU36RSR1SS
GE ZHU36RSR1SS, ZHU36RSM2SS, ZHU36RSM1SS, ZHU36RBM2BB, ZHU36RBM1BB Owner’s Manual
...
Owner's
Manual
30" and 36"
Induction Cooktops
For Models:
ZHU30
ZHU36
76,2 cm et 91,8 cm (30" et 36")
Table de cuisson 0 induction
Manuel du propri_taire
Pour _ la ModUles'
ZHU30
ZHU36
La section frangaise commence 6 la page 27
30" y 36"
Anafe de inducci6n
Manual del propietario
Para Ivlodelos:
ZHU30
ZHU36
La secci6n en espa_ol empieza en la p6gina 51
49-80509 I
06-07 JR
monogram.corn
Consumer Information
Induction Cooktop
Introduction Your new Monogram cooktop makes an eloquent statement of stgle, convenience and kitchen
planning flexibilitg. Whether gou chose it for its puritg of design, assiduous attention to detail-
or for both of these reasons-gou'll find that gour Monogram cooktop's superior blend of form and
function will delight gou for gears to come.
Your Monogram cooktop was designed to provide the flexibilitg to blend in with gour kitchen
cabinetrg. Its sleek design can be beautifullg integrated into the kitchen.
The information on the following pages will help gou operate and maintain gour cooktop properlg.
If gou have ang questions, visit our Website at: monogram.com
Contents
Before
using gout
cooktop
Care and Cleaning
Control Lock Pad .......................... 19
Glass Cooktop ......................... 19-21
Packaging Tape ........................... 19
Consumer Services
Before You Call for Service .............. 22, 23
Important Phone Numbers ................ 25
Model and Serial Number ................... 2
Safetg Instructions ....................... 4-7
Warrantg ................................. 26
Read this manual carefullg. It is intended to help
gou operate and maintain gour new cooktop
properlg.
Keep it handg for answers to gour questions.
Operating Instructions
Cookware Recommendations ....... 10-12, 18
Features of Your Cooktop ................. 8, 9
How Induction Cooking Works ................ 10
Kitchen Timer ............................. 16
Locking the Cooktop ....................... 17
Low Setting ............................... 15
Setting the Controls .................... 13-15
Surface Elements ......................... 13
If gou don't understand something or need more
help, there is a list of toll-free consumer service
numbers included in the back section of this
manual.
OR
Visit our Website at: monogram.com
Write
down the
model &
serial
numbers
You'll find them on a label under the cooktop.
Fill out and return the Consumer Product
Registration Card that is packed with this
product.
Before sending in the card, please write the
numbers here:
Model Number
Serial Number
Use these numbers in ang correspondence or
service calls concerning gour cooktop.
Consumer Information
Induction Cooktop
If blou
received o
damaged
cooktop
Save time
& monebt
If blOU
need
service
Immediately contact the dealer {or builder) that
sold you the cooktop.
Readthis manual. Inside you will find many
helpful hints on how to use and maintain your
cooktop properly. Just a little preventive care on
your part can save you a great deal of time and
money over the life of your cooktop.
To obtain service, see the Consumer Services
page in the back of this manual.
We're proud of our service and want you to be
pleased. If for some reason you are not happy
with the service you receive, here are some
steps to follow for further help.
FIRST,contact the people who serviced your
appliance. Explain why you are not pleased.
In most cases, this will solve the problem.
You'llfind many answers to common problems
in the Before YouCall for Service section. If you
review our chart of Troubleshooting Tipsfirst,
you may not need to call for service at all.
NEXT,if you are still not pleased, write all the
details-including your phone number-to:
Manager, Customer Relations
GEAppliances
Appliance Park
Louisville, KY4022S
IMPORTANT SAFETYINSTRUCTIONS
-AWARNING!
For gour safetbl, the information in this manua! must be followed to minimize the risk of tim or explosion, electric
shock, or to prevent property damage, personal injury, or loss of life.
This unit has been tested and found to comply with
the limits for a class B digital device, pursuant to Part
18 of the FCCrules. These limits are designed to
provide reasonable protection against harmful
interference in a residential installation. This unit
generates, uses and can radiate radio frequency
energy and, if not installed and used in accordance
with the instructions, may cause harmful interference
to radio communications. However, there is no
guarantee that interference will not occur in a
particular installation. If this unit does cause harmful
interference to radio or television reception, which can
be determined by turning the unit off and on, the user
is encouraged to try to correct the interference by one
or more of the following measures:
• Reorient or relocate the receiving antennae.
• Increase the distance between the unit and receiveE
• Connect the unit into an outlet or a circuit different
from that to which the receiver is connected.
-Z CAUTION:
Persons with a pacemaker or similar medical
device should exercise caution when using or
standing near an induction unit while it is in
operation. The electromagnetic field mag affect the
working of the pacemaker or similar medical device.
It isadvisable to consult gour doctor or the
pacemaker manufacturer about gour particular
situation.
IMPORTANTSAFETYNOTICE:
• The California Safe Drinking Water and Toxic
Enforcement Act requires the Governor of California
to publish a list of substances known to the state to
cause cancer, birth defects or other reproductive
harm, and requires businesses to warn customers
of potential exposure to such substances.
• Utensil handles should be turned inward and
should not extend over adjacent cooking zones
to reduce the risk of burns, ignition of flammable
materials and spillage due to unintentional contact
with the utensil.
• Never leave prepared food on the cooking zones
unattended. Boilovers cause smoking and greasg
spillovers that mag ignite, or a pan that has boiled
drg meg melt or become damaged.
• Protective liners: Do not use aluminum foil to line
ang part of the cooktop. Onlg use aluminum foil as
recommended after the cooking process, if used as
a cover to be placed over the food. Any other use of
aluminum foil may result in the risk of electric shock,
fire or short circuit.
• Avoid placing ang objects on or near the kegpads
in order to prevent accidental activation of the
cooktop controls.
• Know which touch keg pad controls each surface
of the Cooking Zones.
• Clean the appliance regularlg to keep all parts
free of grease that could catch fire. Exhaust fan
ventilation hoods and grease filters should be kept
clean. Do not allow grease to accumulate on hood
or filte[ Greasy deposits in the fan could catch fire.
When flaming food under the hood, turn fan on.
Referto hood manufacturer's instructions for cleaning.
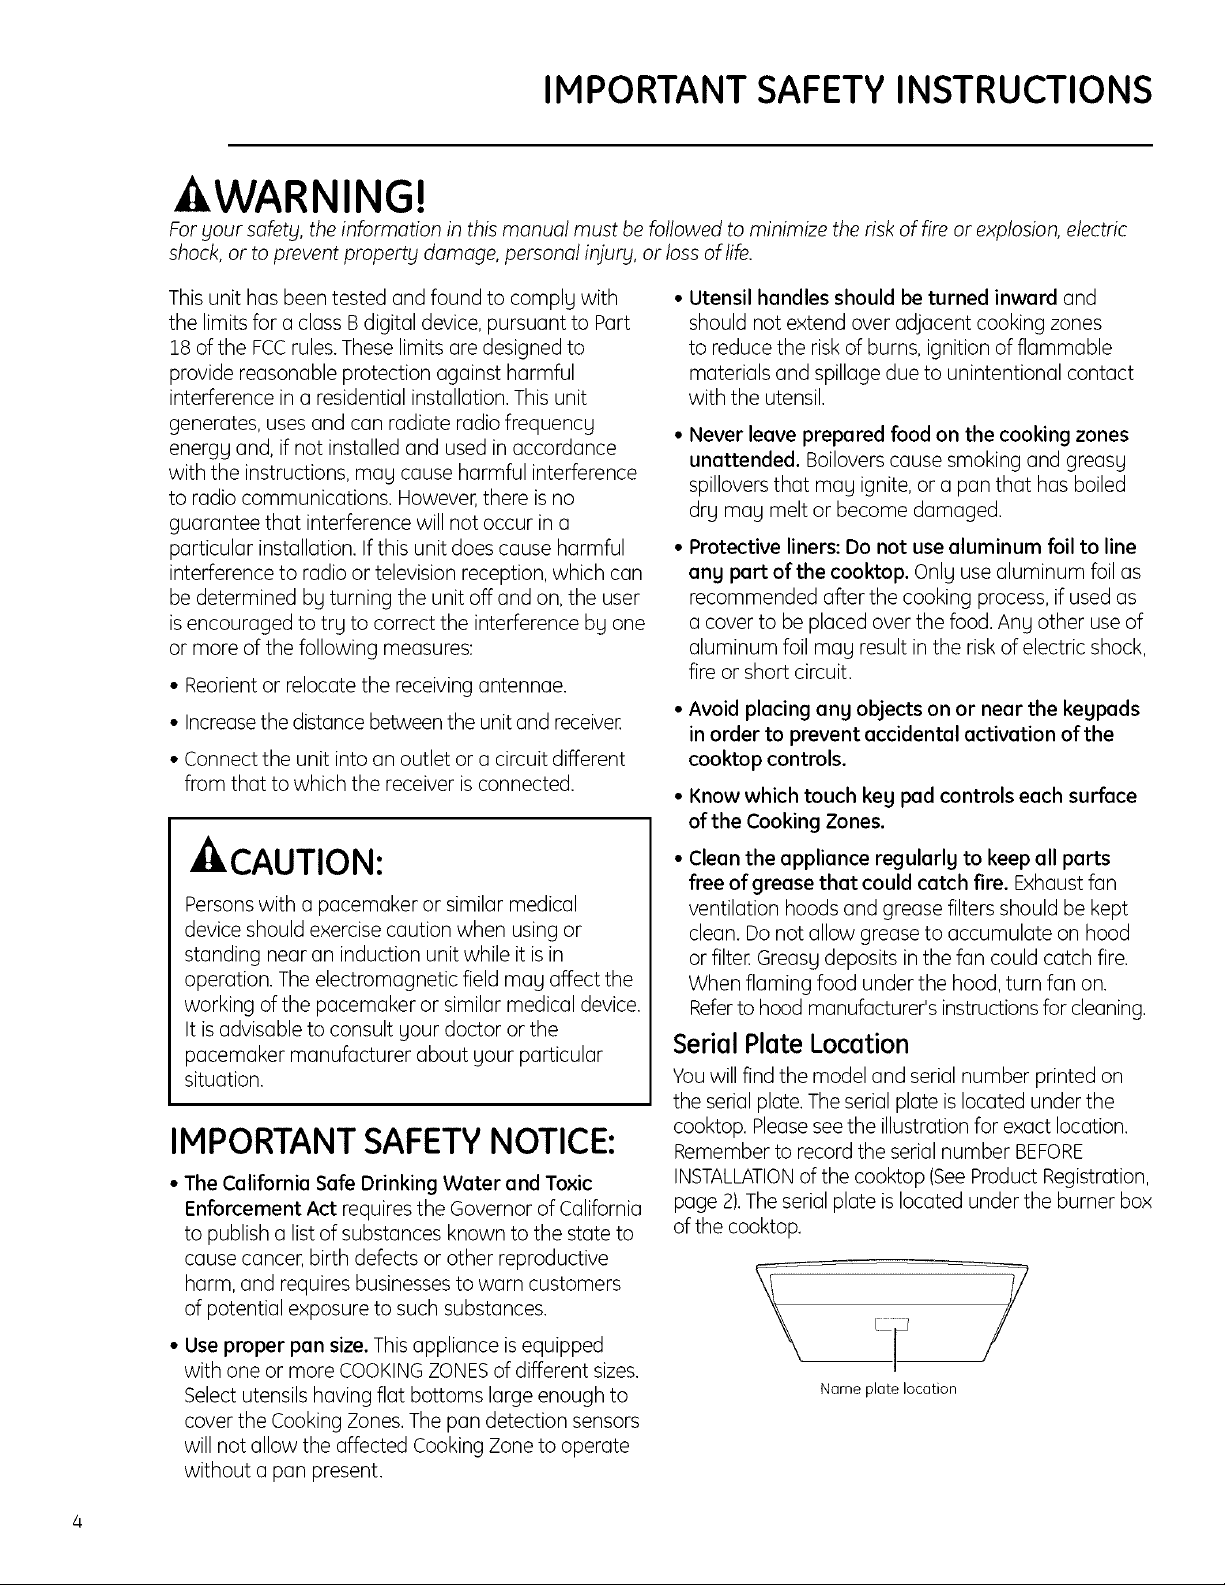
Serial Plate Locution
You will find the model and serial number printed on
the serial plate. The serial plate is located under the
cooktop, Please see the illustration for exact location.
Remember to record the serial number BEFORE
INSTALLATIONof the cooktop (See Product Registration,
page 2),The serial plate is located under the burner box
of the cooktop,
• Use proper pan size. This appliance isequipped
with one or more COOKING ZONESof different sizes.
Select utensils having flat bottoms large enough to
cover the Cooking Zones. The pan detection sensors
will not allow the affected Cooking Zone to operate
without a pan present.
Name plate location
-AWARNING!
Foryour safety, the information in this manual must be followed to minimizethe riskof fire
or explosion,electricshock,or to prevent property damage,personalinjury, or lossof life.
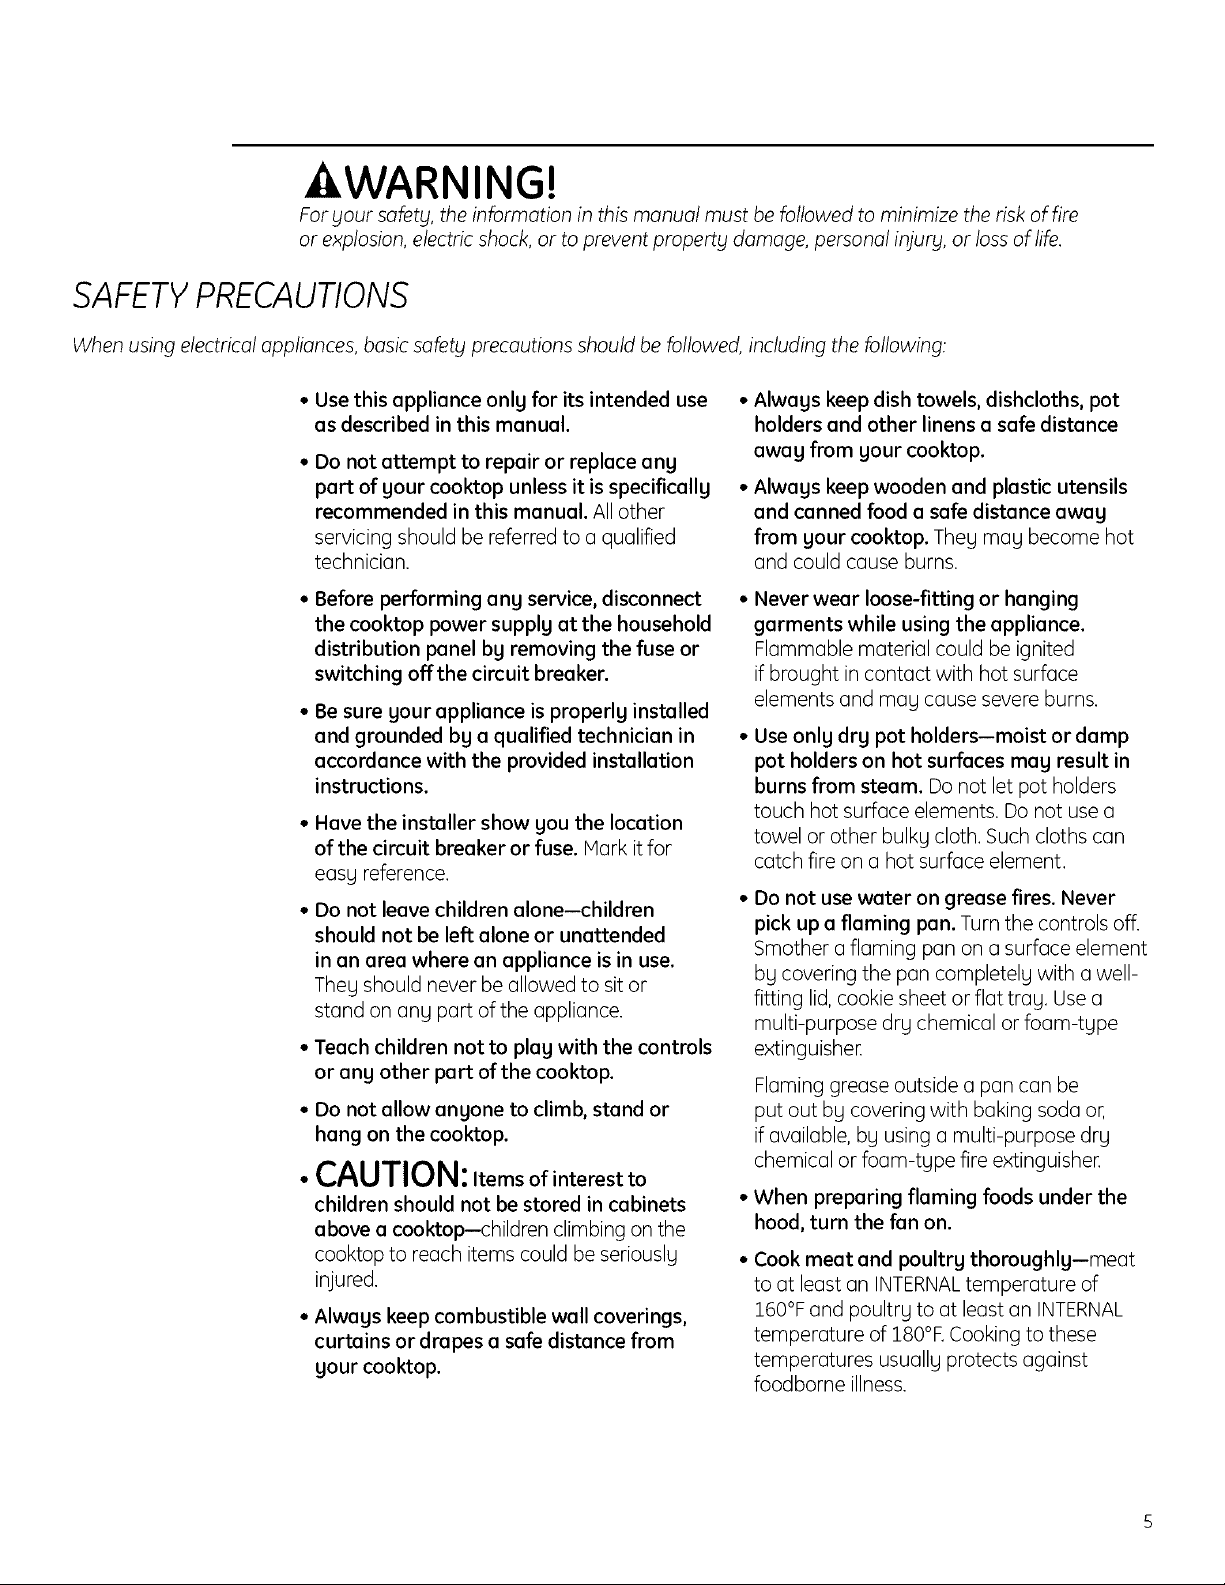
SAFETYPRECAUTIONS
When using electrical appliances, basic safety precautions should be followed, including the following:
• Use this appliance only for its intended use
as described in this manual.
• Do not attempt to repair or replace any
part of your cooktop unless it is specifically
recommended in this manual. All other
servicing should be referred to a qualified
technician.
• Before performing any service, disconnect
the cooktop power supply at the household
distribution panel by removing the fuse or
switching offthe circuit breaker.
• Be sure your appliance is properly installed
and grounded by a qualified technician in
accordance with the provided installation
instructions.
• Have the installer show you the location
of the circuit breaker or fuse. Hark it for
easy reference.
• Do not leave children alone-children
should not be left alone or unattended
in an area where an appliance is in use.
They should never be allowed to sit or
standon any partoftheappliance.
• Teach children not to play with the controls
or any other part of the cooktop.
• Do not allow anyone to climb, stand or
hang on the cooktop.
•CAUTION:.erosofinterestto
children should not be stored in cabinets •
above a cooktop-children climbing on the
cooktop to reach items could be seriouslg •
injured.
• Always keep combustible wall coverings,
curtains or drapes a safe distance from
your cooktop.
Always keep dish towels, dishcloths, pot
holders and other linens a safe distance
away from your cooktop.
Always keep wooden and plastic utensils
and canned food a safe distance away
from your cooktop. They may become hot
and could cause burns.
Never wear loose-fitting or hanging
garments while using the appliance.
Flammable material could be ignited
if brought in contact with hot surface
elements and may cause severe burns.
Use only dry pot holders-moist or damp
pot holders on hot surfaces may result in
burns from steam. Do not let pot holders
touch hot surface elements. Do not use a
towel or other bulky cloth, Such cloths can
catch fire on a hot surface element.
Do not use water on grease fires. Never
pick up a flaming pan. Turn the controls off.
Smother a flaming pan on a surface element
by covering the pan completely with a well-
fitting lid, cookie sheet or flat tray. Use a
multi-purpose dry chemical or foam-type
extinguishe[
Flaminggreaseoutside a pan can be
putout by coveringwith baking soda or,
ifavailable, by usinga multi-purpose dry
chemical or foam-tgpe fire extinguisher.
When preparing flaming foods under the
hood, turn the fan on.
Cook meat and poultry thoroughly-meat
to at least an INTERNALtemperature of
160°F and poultry to at least an INTERNAL
temperature of 180°R Cooking to these
temperatures usually protects against
foodborne illness.
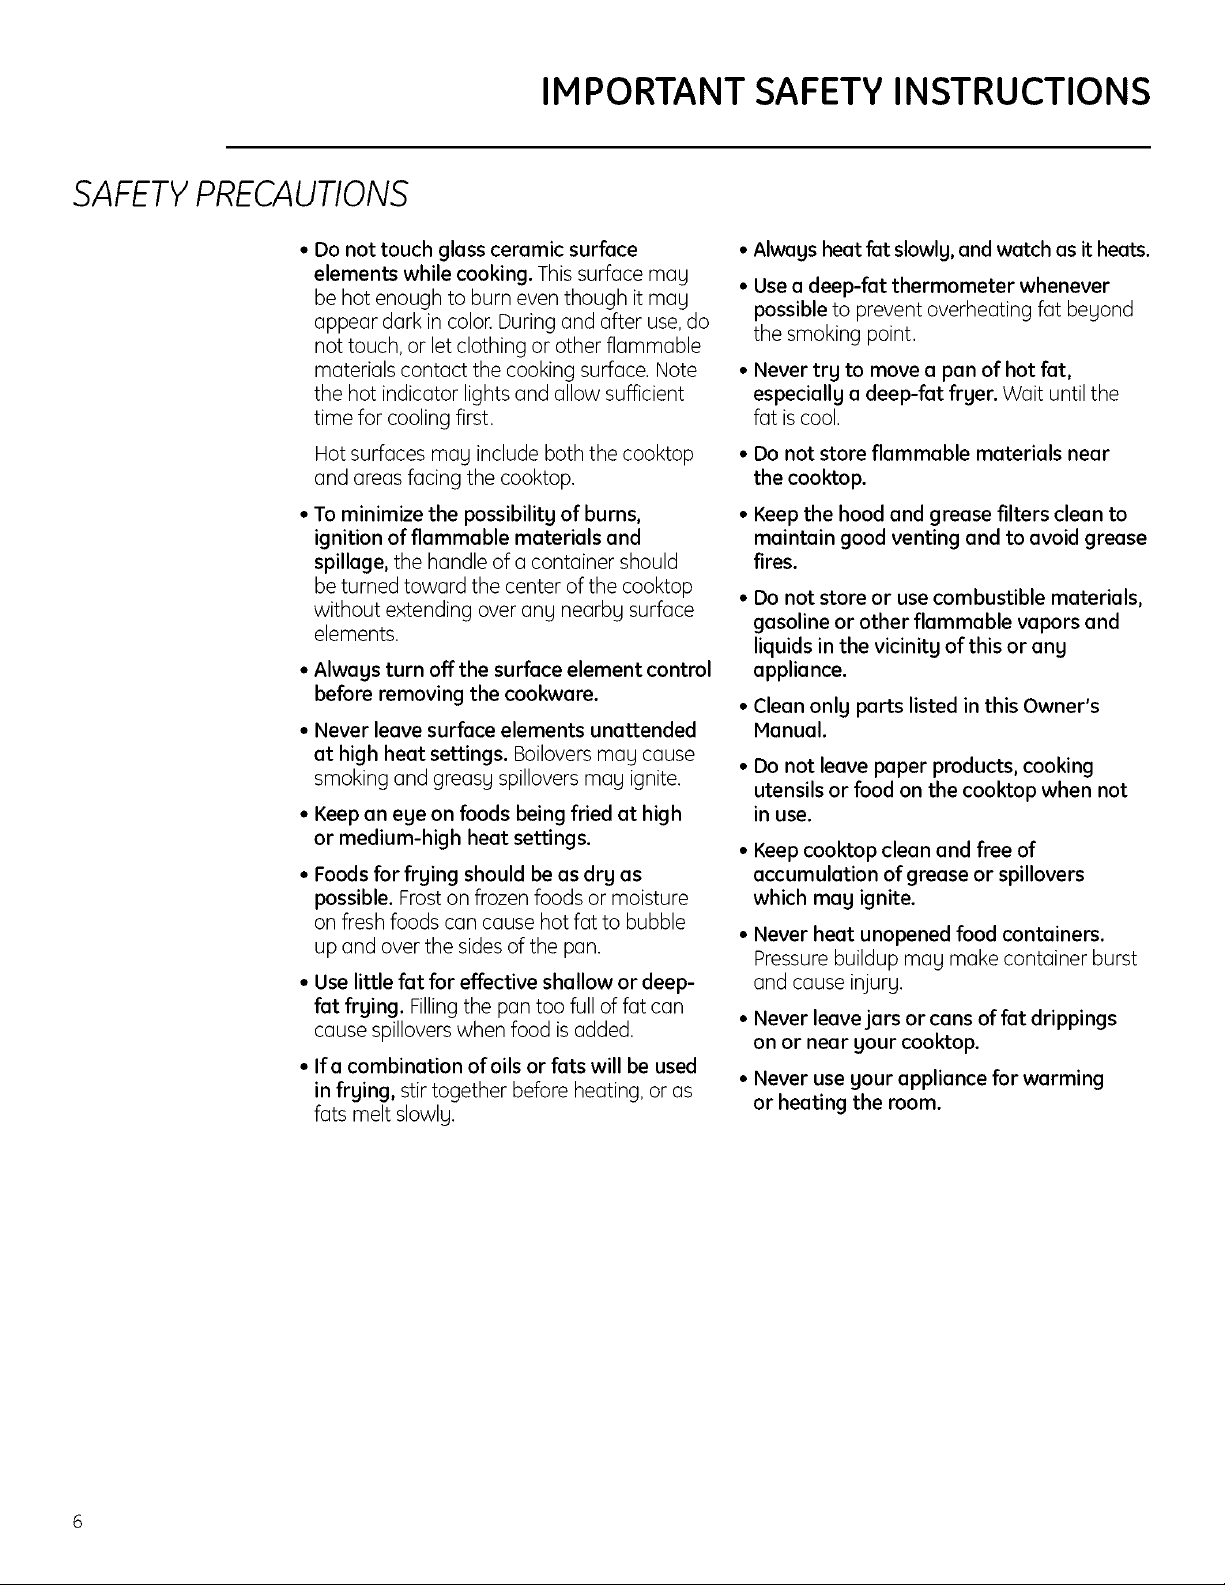
SAFETYPRECAUTIONS
IMPORTANT SAFETY INSTRUCTIONS
Do not touch glass ceramic surface
elements while cooking. This surface meg
be hot enough to burn even though it meg
appear dark in color. During and after use, do
not touch, or let clothing or other flammable
materials contact the cooking surface. Note
the hot indicator lights and allow sufficient
time for cooling first.
Hot surfaces mag include both the cooktop
and areas facing the cooktop.
To minimize the possibility of burns,
ignition of flammable materials and
spillage, the handle of a container should
be turned toward the center of the cooktop
without extending over any nearby surface
elements.
Always turn off the surface element control
before removing the cookware.
Never leave surface elements unattended
at high heat settings. Boilovers may cause
smoking and greasy spillovers may ignite.
Keep an eye on foods being fried at high
or medium-high heat settings.
Foods for frying should be as dry as
possible. Frost on frozen foods or moisture
on fresh foods can cause hot fat to bubble
up and over the sides of the pan.
Use little fat for effective shallow or deep-
fat frying. Filling the pan too full of fat can
cause spillovers when food is added.
Ifa combination of oils or fats will be used
in frying, stir together before heating, or as
fats melt slowly.
• Always heat fat slowly, and watch as it heats.
• Use a deep-fat thermometer whenever
possible to prevent overheating fat beyond
the smoking point.
• Never try to move o pan of hot fat,
especially o deep-fat fryer. Wait until the
fat is cool.
• Do not store flammable materials near
the cooktop.
• Keep the hood and grease filters clean to
maintain good venting and to ovoid grease
fires.
• Do not store or use combustible materials,
gasoline or other flammable vapors and
liquids in the vicinity of this or any
appliance.
• Clean only parts listed in this Owner's
Manual.
• Do not leave paper products, cooking
utensils or food on the cooktop when not
in use.
• Keep cooktop clean and free of
accumulation of grease or spillovers
which may ignite.
• Never heat unopened food containers.
Pressure buildup may make container burst
and cause injury,
• Never leave jars or cons of fat drippings
on or near your cooktop.
• Never use your appliance for warming
or heating the room.
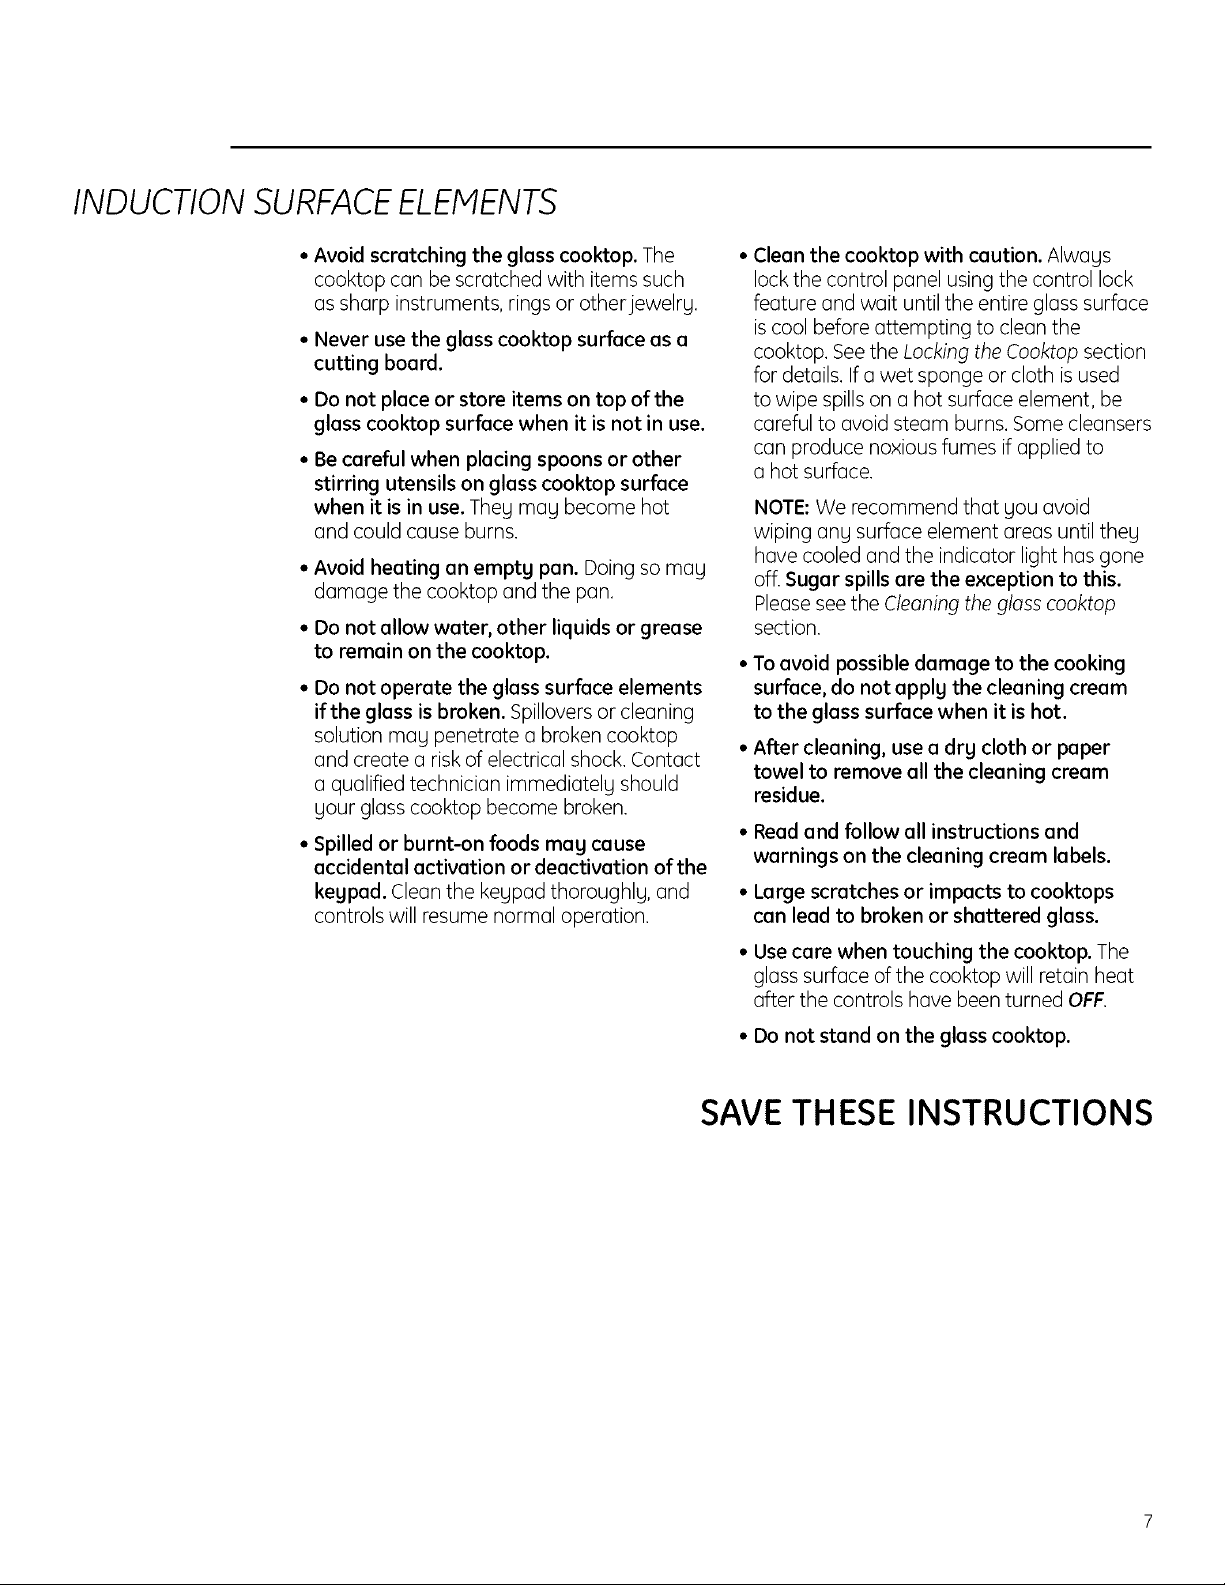
INDUCTIONSURFACEELEMENTS
Avoid scratching the glass cooktop. The
cooktop can be scratched with items such
as sharp instruments, rings or other jewelry.
Never use the glass cooktop surface as a
cutting board.
Do not place or store items on top of the
glass cooktop surface when it is not in use.
Be careful when placing spoons or other
stirring utensils on glass cooktop surface
when it is in use. They may become hot
and could cause burns.
Avoid heating an empty pan. Doing so may
damage the cooktop and the pan.
Do not allow water, other liquids or grease
to remain on the cooktop.
Do not operate the glass surface elements
if the glass is broken. Spillovers or cleaning
solution may penetrate a broken cooktop
and create a risk of electrical shock. Contact
a qualified technician immediately should
your glass cooktop become broken.
Spilled or burnt-on foods may cause
accidental activation or deactivation of the
keypad. Clean the keypad thoroughly, and
controls will resume normal operation.
Clean the cooktop with caution. Always
lock the control panel using the control lock
feature and wait until the entire glass surface
is cool before attempting to clean the
cooktop. See the Locking the Cooktop section
for details. If a wet sponge or cloth is used
to wipe spills on a hot surface element, be
careful to avoid steam burns. Some cleansers
can produce noxious fumes if applied to
a hot surface.
NOTE: We recommend that you avoid
wiping any surface element areas until they
have cooled and the indicator light has gone
off. Sugar spills are the exception to this.
Please see the Cleaning the glass cooktop
section.
To avoid possible damage to the cooking
surface, do not apply the cleaning cream
to the glass surface when it is hot.
After cleaning, use a dry cloth or paper
towel to remove all the cleaning cream
residue.
Read and follow all instructions and
warnings on the cleaning cream labels.
Large scratches or impacts to cooktops
can lead to broken or shattered glass.
Use care when touching the cooktop. The
glass surface of the cooktop will retain heat
after the controls have been turned OFF.
Do not stand on the glass cooktop.
SAVETHESE INSTRUCTIONS
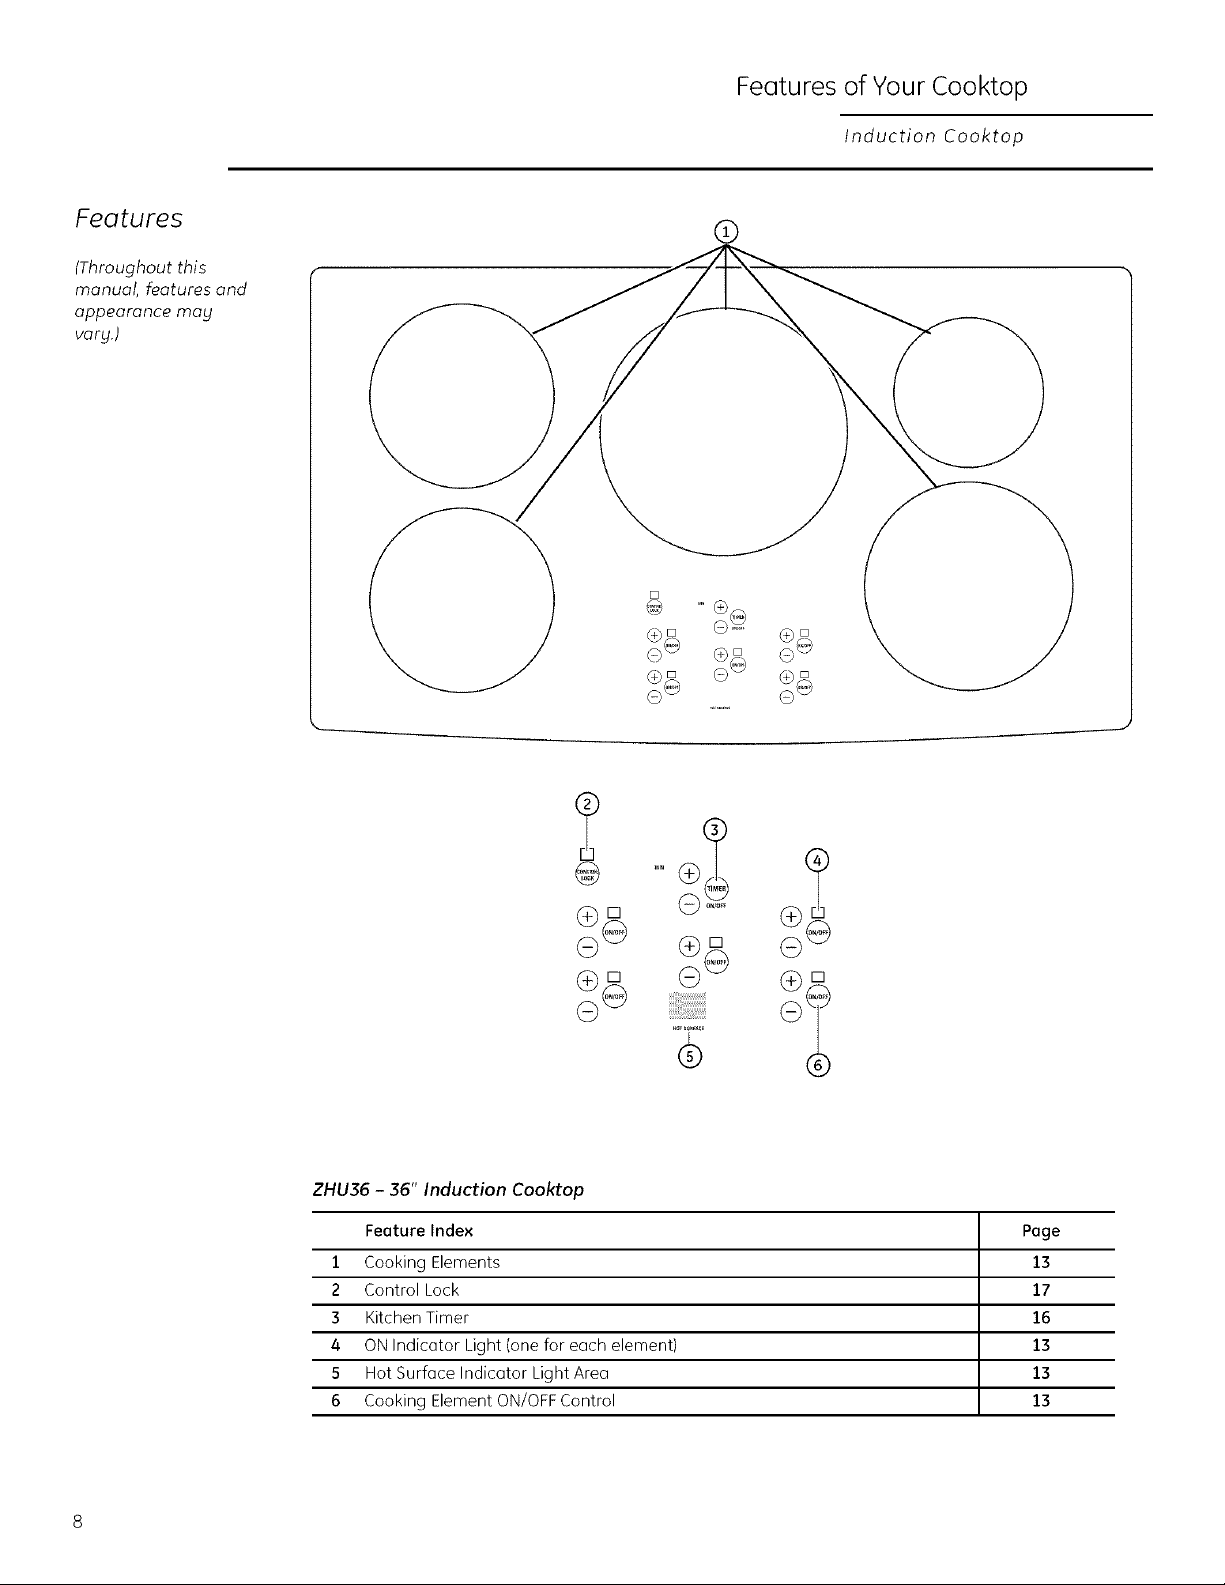
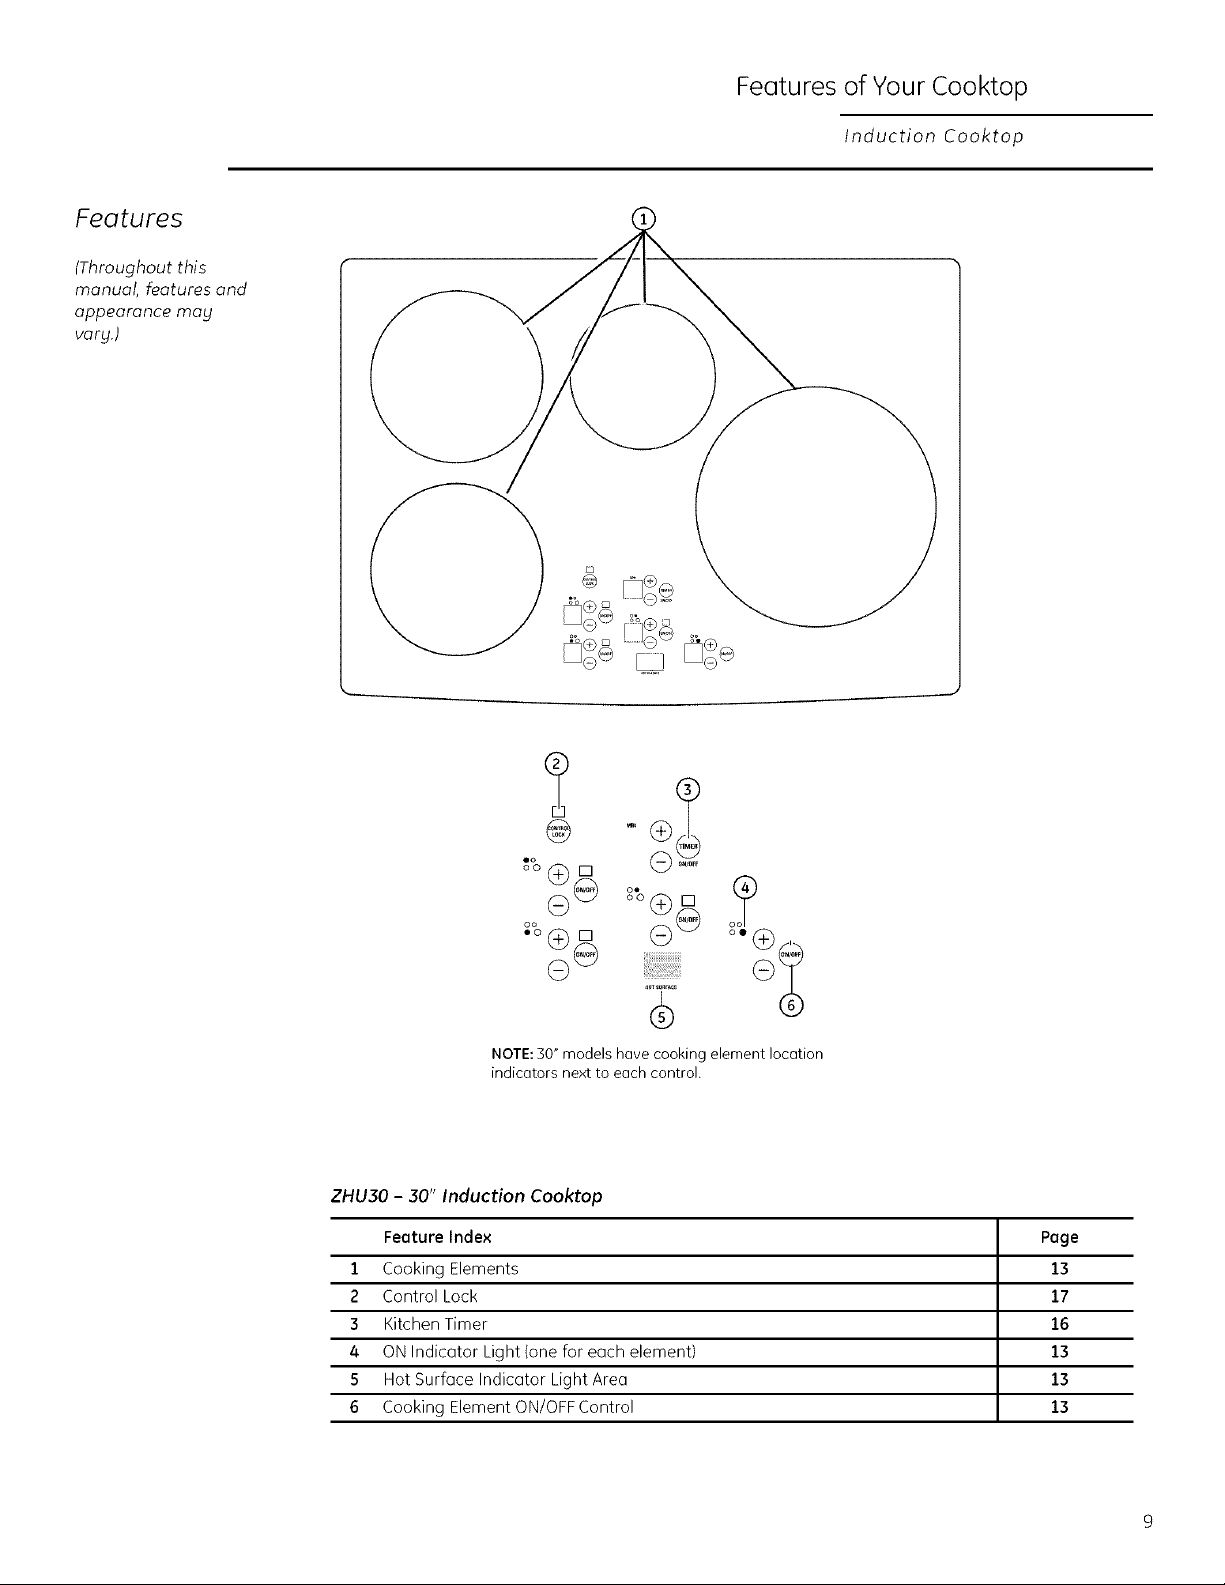
Features
(Throughout this
manual, features and
appearance may
vary.)
Features of Your Cooktop
Induction Cooktop
@
(_rq
Go
®D
ZHU36 - 36" Induction Cooktop
Feature Index Page
1 Cooking Elements 13
2 Control Lock 17
3 Kitchen Timer 16
4 ON Indicotor Light (one for eoch element) 13
5 Hot Surfoce Indicator Light Area 13
6 Cooking Element ON/OFF Control 13
QO
ii!i!i!i!!!i!:ii_i!_ii_iiiii_i!i!ii!!i!ii!_i!_i!_i!!_!il
Features
(Throughout this
manual, features and
appearance may
vary.)
Features of Your Cooktop
Induction Cooktop
@ -
oo
oo
G_ o.G_ oo_
oo (_) []
G
NOTE: 30" models hove cooking element Iocotion
indicotors next to eoch control.
ZHU30 - 30" Induction Cooktop
Feature Index Page
1 Cooking Elements 13
2 Control Lock 17
3 Kitchen Timer 16
4 ON Indicator Light (one for each element) 13
5 Hot Surface Indicator Light Area 13
6 Cooking Element ON!OFF Control 13

Using Your Cooktop
Induction Cooktop
How
induction
cooking
works
Using the
correct size
cookware
The elements beneath the cooking surface
produce a magnetic field that causes the
electrons in the ferrous metal pan to vibrate
and produce heat.
The cooking surface itself does not heat. Heat
is produced in the cooking pan, and cannot be
generated until a pan is placed on the cooking
surface.
When the element is activated, the pan begins to
heat immediatelg and in turn heats the contents
of the pan.
Magnetic induction cooking requires the use
of cookware made of ferrous metals-metals
to which magnets will stick, such as iron or steel.
Use pans that fit the element size.The pan must
be large enough for the safetg sensor to activate
an element.
Eachcooking element requires a MINIMUMpan size.
Ifthe panis properlg centered, and of the correct
material,but is too small for the cooking element,
the element cannot be activated. The displagwill
flash "F"along with the power levelselected.
The cooktop will not start if a verg small steel or
iron utensil {lessthan the minimum size across
the bottom)is placed on the cooking surface
when the unit is turned on-items such as steel
spatulas, cooking spoons, knives and other
small utensils.
Use the minimum size pan for the element.
The pan material is correct if a magnet
sticks to the bottom.
Cookware larger than the element ring mag be
used;however,heat will onlg occur abovethe
element.
Forbest results,the cookware must make FULL
contact with the glass surface.
Donot allow the bottom of the pan or cookware
to touch the surrounding metal cooktop trim or
to overlap the cooktop controls.
Forbest performance, match the pan sizeto the
element size.Usinga smaller pot on a larger burner
will generate less power at anggiven setting.
36" Wide Cooktop. Use the minimum size pan shown for each
cooking element.
4-3/4" Min.
Pan Size
30" Wide Cooktop. Use the minimum size pan shown for
each cooking element.
DiO.
7" Min. Dio
Pan Size
10
Using Your Cooktop
Induction Cooktop
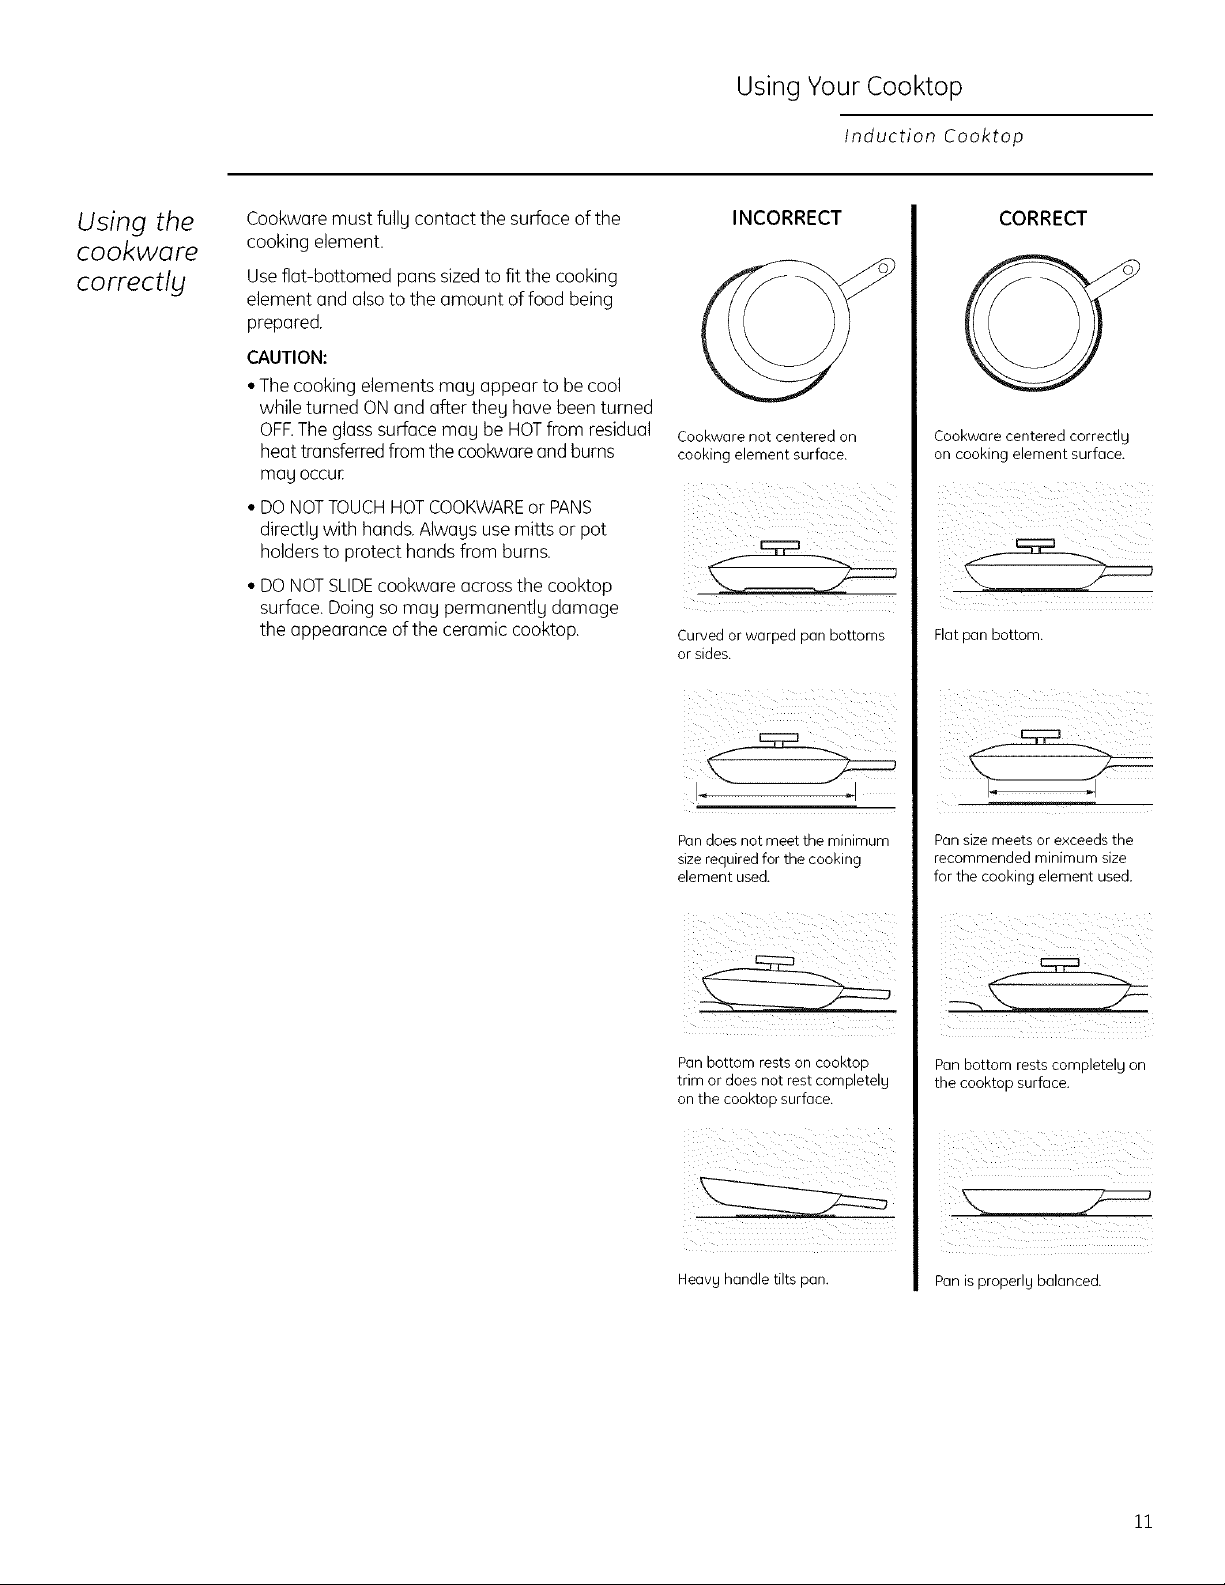
Using the
cookware
correctlg
Cookwaremust fullg contact the surface of the
cooking element.
Use flat-bottomed pans sized to fit the cooking
element and also to the amount of food being
prepared.
CAUTION:
• The cooking elements ma U appear to be cool
while turned ON and after they have been turned
OFF.The glass surface mug be HOT from residual
heat transferred from the cookware and burns
mag occur:
• DO NOTTOUCH HOT COOKWARE or PANS
directlg with hands. Alwags use mitts or pot
holders to protect hands from burns.
• DONOTSLIDEcookware across the cooktop
surface. Doing so mag permanentlg damage
the appearance ofthe ceramic cooktop.
INCORRECT
Cookware not centered on
cooking element surface.
Curved or warped pan bottoms
or sides.
CORRECT
Cookware centered correctlg
on cooking element surface.
Flatpanbottom.
Pan does not meet the minimum
size required for the cooking
element used.
Pan bottom rests on cooktop
trim or does not rest completely
on the cooktop surface.
Heavg handle tilts pan.
Pan size meets or exceeds the
recommended minimum size
for the cooking element used.
Pan bottom rests completelg on
the cooktop surface.
i _ iii ii i i
Pan is properlg balanced.
11

Using Your Cooktop
Induction Cooktop
Choosing
cookware
Use qualit Ucookware with heavier bottoms for
better heat distribution and even cooking results.
Choose cookware made of magnetic stainless
steel, enamel coated cast iron, enameled steel
and combinations of these materials.
Some cookware is specificallg identified bg the
manufacturer for use with induction cooktops.
Use a magnet to test if the cookware will work,
Flat-bottomed pans give best results, Panswith
rims or slight ridges can be used,
Round pans give best results, Pans with warped
or curved bottoms will not heat evenlU.
Use flat-bottomed pans.
Use a griddle.
For wok cooking, use a flat-bottomed wok. Do
not use a wok with a support ring.
Use a flat-bottomed wok.
Cookware "noise"
Slight sounds mag be produced bg different
tgpes of cookware. Heavier pans suchas
enameled cast iron produce less noise than a
lighter weight multi-pl Ustainless steel pan. The
size of the pan, and the amount of contents, can
also contribute to the sound level.
When using adjacent elements that are set at
certain power level settings, magnetic fields mag
interact and produce a low whistle or intermitted
"hum".These noises can be reduced or eliminated
bg lowering or raising the power level settings of
one or both of the elements. Pansthat completel U
cover the element ring will produce less noise.
A low "humming" noise is normal particularl U
on high settings.
For best
results
Donot place wet pans or lids on the cooking
surface or induction rings.
Donot place wet fingers on the glass cooktop.
Wipe up spillson the controls with drg hands.
Donot usewoks with support rings.Thistgpe
of wok will not heat on an induction element.
Use onlg a flat-bottomed wok, availablefrom mang
cookware manufacturers. The bottom of the wok
should match the diameter of the induction ring to
insure proper contact.
Somespecial cooking procedures require specific
cookware such as pressurecookers,deep-fat frgers,
etc. Cookwarewith flat bottoms that match the size
of the surface element being used will producethe
best results.
12
Touch control Touch the pad lightly with the flat part of your
fingertip. Touch the center of the pad to ensure
the cooktop response.
A "beep" sound can be heard with each touch
to any pad.
Using Your Cooktop
Induction Cooktop
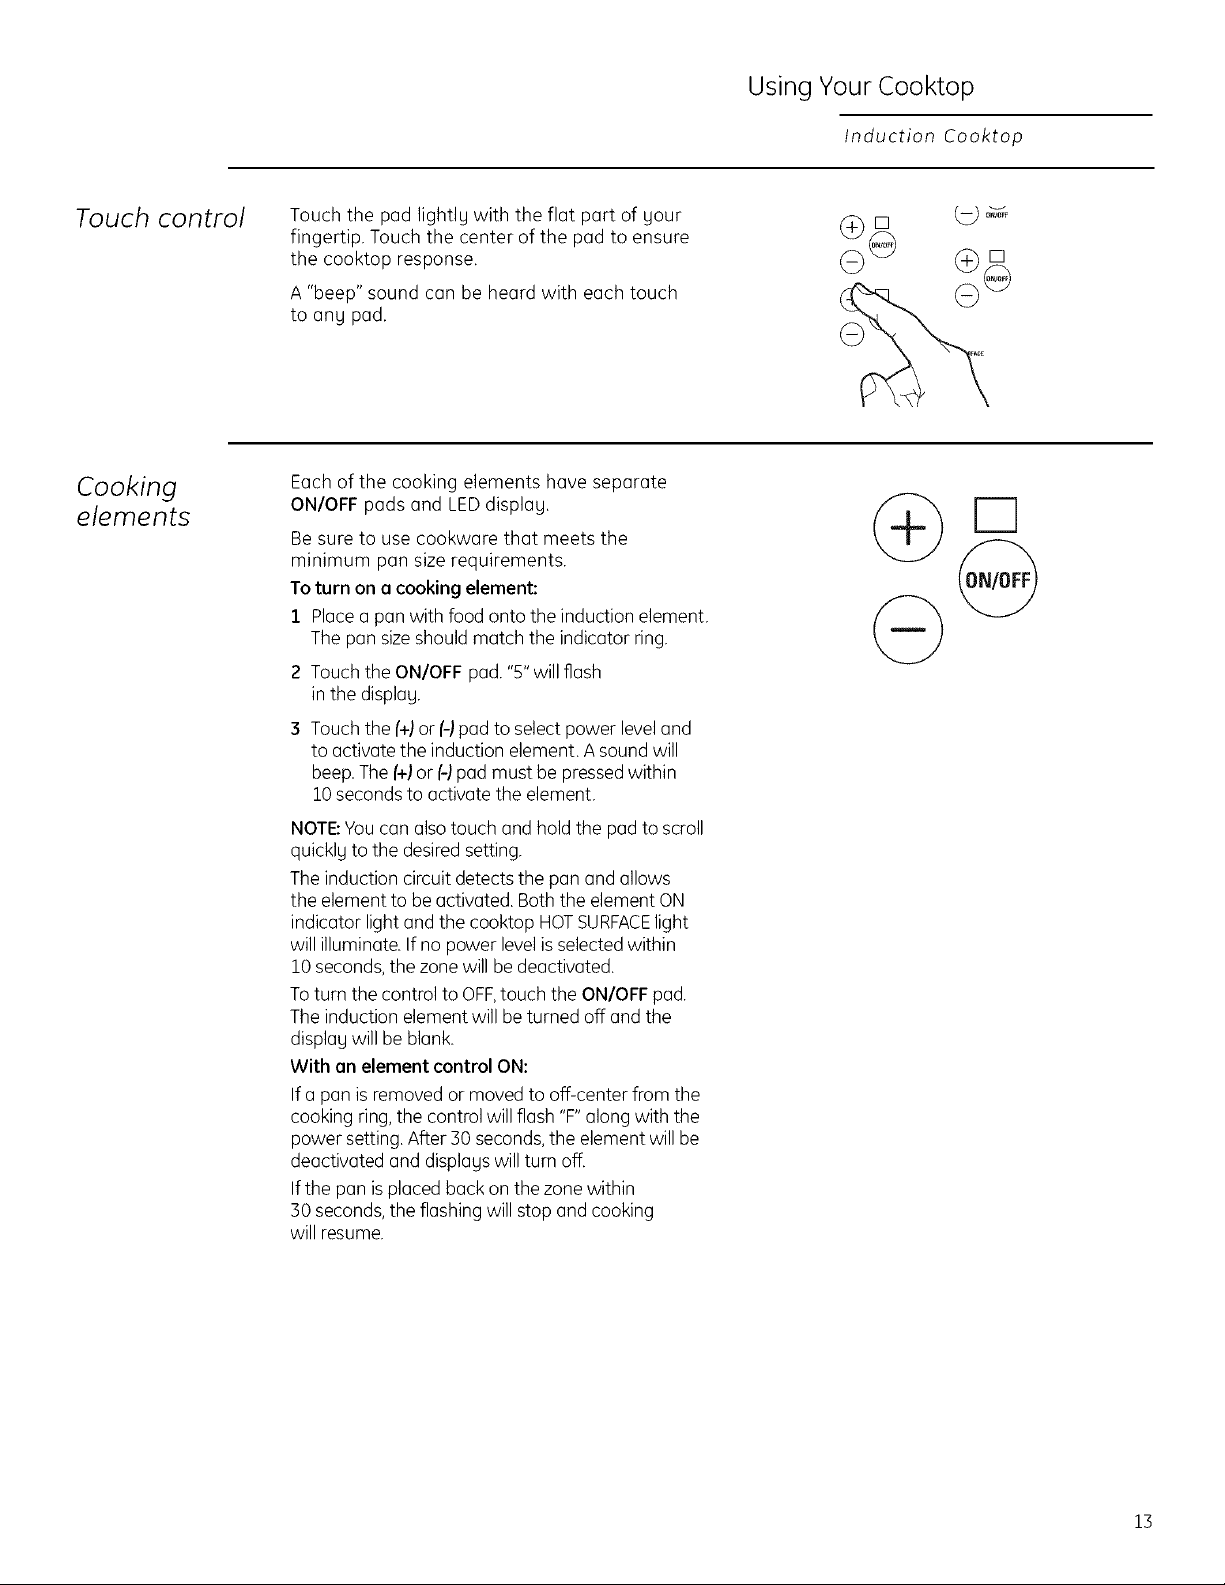
Cooking
elements
Each of the cooking elements have separate
ON/OFF pads and LED display,
Be sure to use cookware that meets the
minimum pan size requirements.
To turn on a cooking element:
1 Place a pan with food onto the induction element.
The pan size should match the indicator ring.
2 Touch the ON/OFF pad."5"will flash
in the display.
3 Touch the [+)or/-) pad to selectpower level and
to activate the induction element. A sound will
beep.The/+) or/d padmust be pressedwithin
10seconds to activate the element.
NOTE:Youcan alsotouch and hold the padto scroll
quickly to the desiredsetting.
The induction circuit detects the pan and allows
the element to be activated. Both the element ON
indicator lightand the cooktop HOTSURFACElight
will illuminate. If no power levelisselectedwithin
10seconds,the zone will be deactivated.
Toturn the control to OFF,touch the ON/OFF pad.
The induction element will be turned off and the
displagwill be blank.
With an element control ON:
If a pan is removed or moved to off-center from the
cooking ring, the control will flash "F"along with the
power setting.After 30 seconds,the element will be
deactivated and displags will turn off.
If the pan is placed back on the zone within
30 seconds,the flashing will stop and cooking
will resume.
13

Using Your Cooktop
Induction Cooktop
Power level
settings
Flashing "F"
in displabt
The cooktop offers 19 power levels, including a
Boost setting. Power levels range from "L"to 9
in precise half-step increments. For example: 1,
1-1/2, 2, 2-1/2 and up to power level 9.
Power Level "L",the lowest setting, is
recommended for "KeepWarm."
The power level increases one-half level with
each touch.
Power level 9 isthe highest normal power setting.
If a pan is removed or moved off-center from the
cooking ring during the cooking process, the
control will flash "F"along with the power setting.
The flashing "F" indicates that the pan is no
longer detected. After 30 seconds, the element
will be deactivated and the displag will turn off.
If the pan is returned to the surface element
within B0 seconds, the flashing "F" will disappear
and cooking will resume.
E3
W"2
The power level with a fraction indicates the
additional half-step setting.
E3
Boost
setting
Boost is the highest power level,designed for large
quantitg rapid cooking and boiling.Boost will
operate for a maximum of 10 minutes. After 10
minutes, it will automaticallg revert to power level9.
Boost mag be repeated after the initial 10 minute
cgcle.
CAUTION:Donot leave a pot unattended while
in the Boost Mode.
To start the Boost power setting:
1 Placea pan matching the sizeof the induction
element over the selected indicator ring.
2 Touch the ON/OFF pad. "5" will flash
in the displag.
3 Touch and hold the (+)pad until the displag
reads"H/'
NOTE:Ifthe pan is removed,the displag will flash "F"
alternating to "H".After B0seconds,the elements will
turn off automaticallg.
E3
H
Sounds gou mag hear:
Youmag hear a slight "buzz" sound when
cooking with the Boostor high mode. Thisis
normal. The sound depends on the tgpe of pot
being used.Somepots will "buzz"louder
depending on the material.A "buzz" sound mag
be heard if the pan contents are cold. Asthe pan
heats,the sound will decrease. If the power level
is reduced,the sound levelwill go down.
14

Using Your Cooktop
Induction Cooktop
Power sharing
Four burner cooktops are divided into two
separate heating zones. The right and left side
cooking zones are powered by separate and
independent induction generators. One generator
controls 2 elements, or two cooking zones within
a heating section share the power of one
generatoE
Five burner cooktops are divided into 3 zones.
The right and left side have separate cooking
zones and the large center element is another
separate cooking zone.
Power Sharing is activated when both elements
in the same cooking zone are activated and one
element is set for Boost (H).The element that is
not set for Boost will change to a lower power
level. This is called Power Sharing. When Boost
operation is complete (10 minutes), the other
element may be reset to any power level. Both
elements can operate simultaneously at normal
power level settings of "L" to 9.
IMPORTANT NOTE FOR FOUR BURNER
MODELS:
The elements on the right side share one
generoto_ Both elements con operate at any
non-Boost (level L to 9) power level at the some
time. If the large front element is set for "H" or
Boost, the smaller element at the right rear will
be deactivated or turned off automatically. The
smaller right rear element can be activated and
set for onblpower level after the Boost operation
of the larger element is completed (10 minutes).
4 burner cooktops with right and left side (2)
induction generators.
5 burner cooktops with right, left and center (5}
induction generators.
Using the
low setting
1 Placea pan with food onto the induction element.
Thepan sizeshouldmatch the indicator ring.
2 Touch the ON/OFF pad."5" will flash in the display.
3 Touch the (-)pad untilthe display reads"L" A
soundwill beef
Donot useplasticwrap to coverfood. Plasticmay
melt onto the surface and be very difficult to remove.
Useonly cookware recommended for this cooktop.
TheLow settingwill keephot, cooked food at serving
temperature. Always start with hot food. Donot use
to heat cold food.
Placinguncooked or coldfood on surfaceelement
set for Lowcould result infood-borne illness.
Forbest results,all food set for Lowshould be
covered with a lid or aluminum foil. Pastriesor breads
should be vented to allow moistureto escape.
Always usepot holdersor ovenmitts when removing
food from the element setfor Low as cookware and
plateswill be hot.
CAUTION: Do not warm food on the "L"
power level for more than two hours.
15
Using Your Cooktop
Induction Cooktop
Using the
kitchen
timer
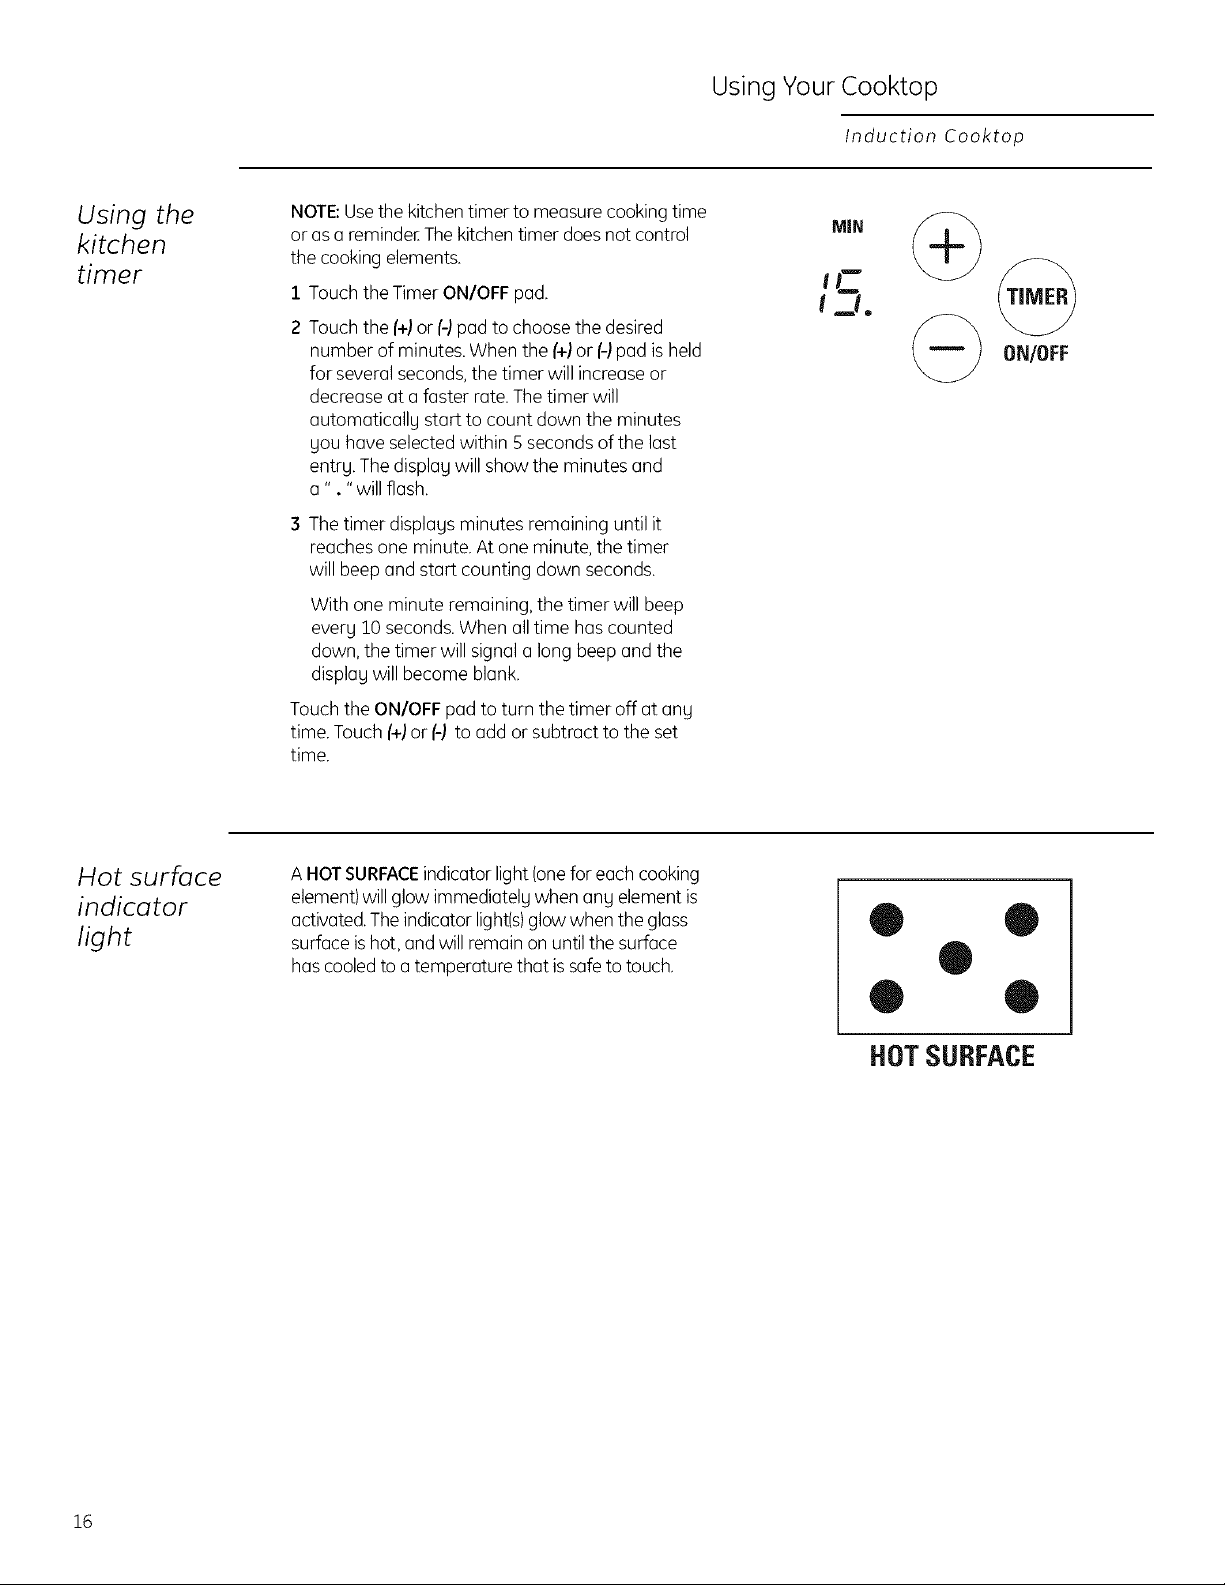
NOTE: Use the kitchen timer to measure cooking time
or as a reminder. The kitchen timer does not control
the cooking elements.
1 Touch the Timer ON/OFF pad.
2 Touch the [+Jor [-J pad to choose the desired
number of minutes. When the [+Jor [-Jpad is held
for several seconds, the timer will increase or
decrease at a faster rate. The timer will
automaticall U start to count down the minutes
gou have selected within 5 seconds of the last
entr U.The displag will show the minutes and
a". "will flash.
3 The timer displags minutes remaining until it
reaches one minute. At one minute, the timer
will beep and start counting down seconds.
With one minute remaining, the timer will beep
every 10 seconds. When all time has counted
down, the timer will signal a long beep and the
displag will become blank.
Touch the ON/OFF pad to turn the timer off at any
time. Touch [+J or [-J to add or subtract to the set
time.
MIN
IC
I.J.
@
ONIOFF
Hot surface
indicator
light
A HOTSURFACEindicator light (onefor each cooking
element)willglow immediatelg when ang element is
activated.The indicator light(s)glowwhen the glass
surface ishot, and will remain on until the surface
hascooledto a temperature that is safeto touch.
® ®
®
® ®
HOT SURFACE
16
Using Your Cooktop
Induction Cooktop
Error alerts
(Flashing
"E'/'c" and
"E" "o")
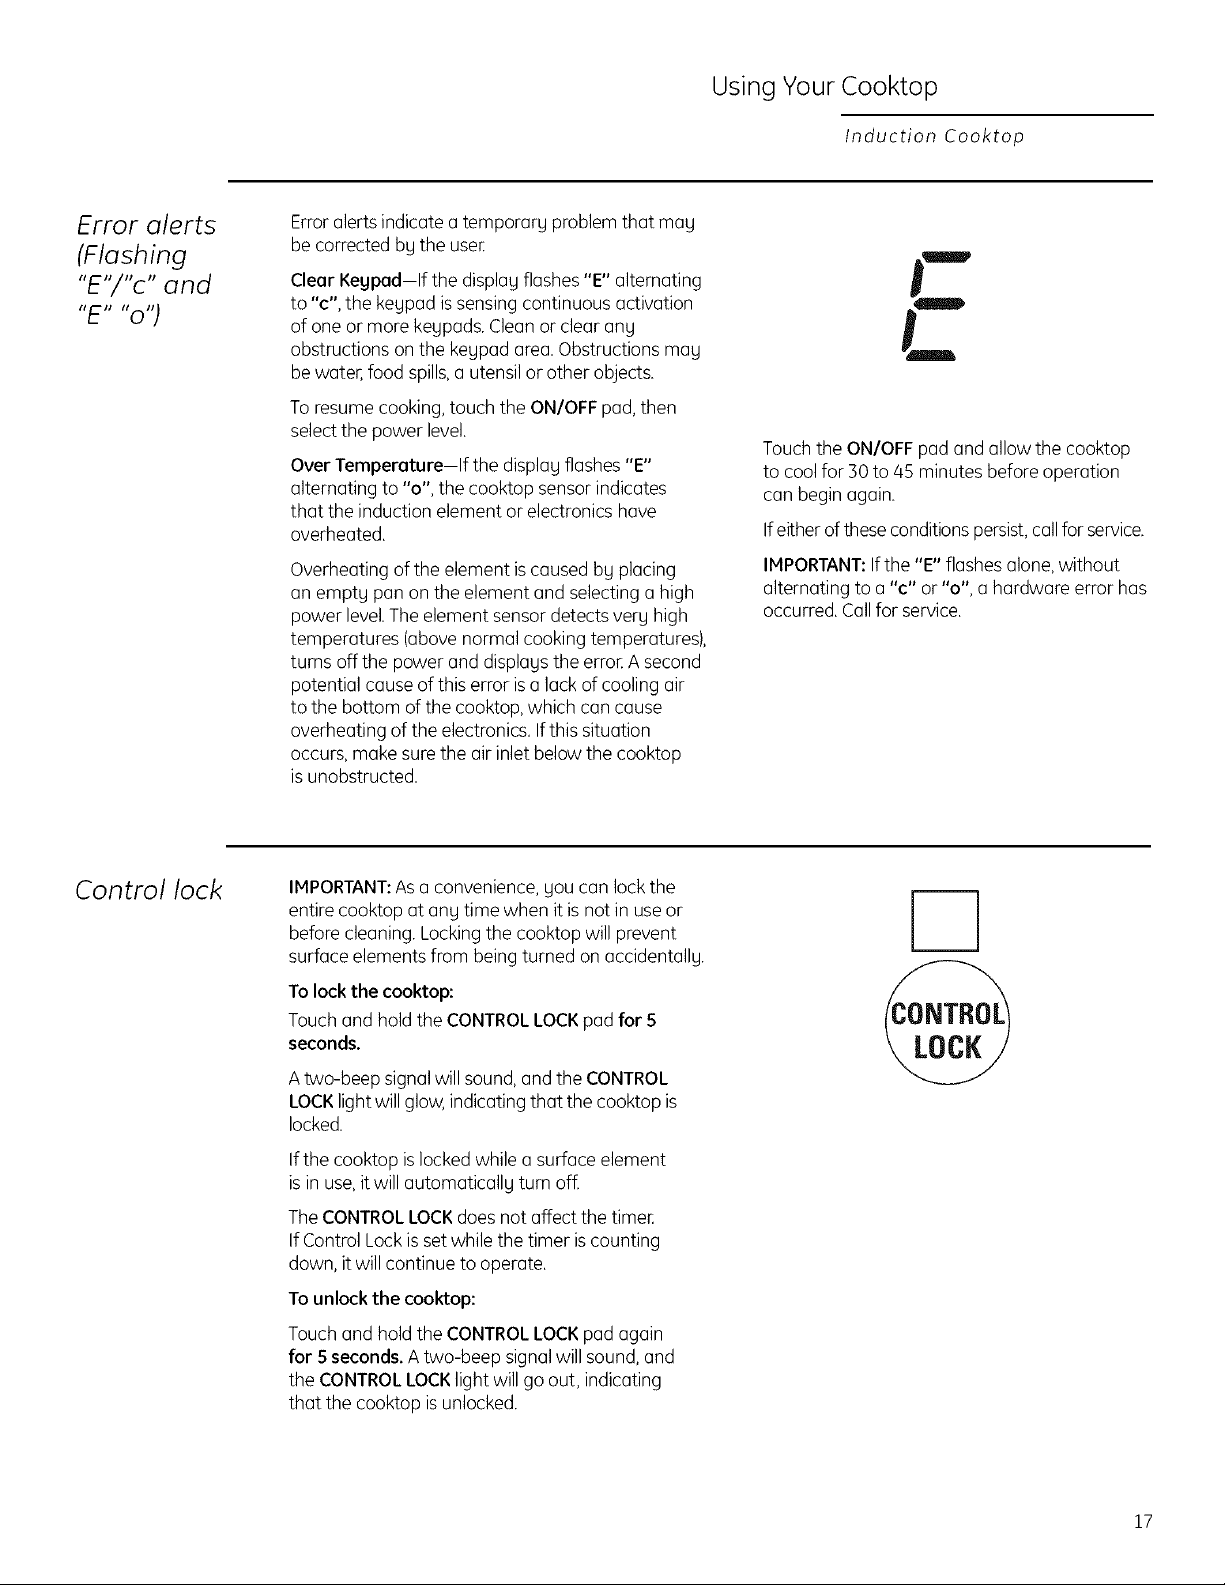
Erroralerts indicate a temporary problem that may
be corrected by the useE
Clear Keypad-If the display flashes "E" alternating
to "c", the keypad issensing continuous activation
of one or more keypads. Clean or clear any
obstructions on the keypad area.Obstructions may
be water, food spills,a utensil or other objects.
To resume cooking,touch the ON/OFFpad, then
selectthe power level.
Over Temperature--If the display flashes "E"
alternating to "o", the cooktop sensorindicates
that the induction element or electronics have
overheated,
Overheating of the element is caused by placing
an empty pan on the element and selecting a high
power level. The element sensor detects very high
temperatures (above normal cooking temperatures),
turns offthe power and displays the erroE A second
potential cause of this error is a lack of cooling air
to the bottom of the cooktop, which can cause
overheating of the electronics. If this situation
occurs, make sure the air inlet below the cooktop
is unobstructed.
E
Touch the ON/OFF pad and allow the cooktop
to cool for 30 to 45 minutes before operation
can begin again.
If either of these conditions persist, call for service.
IMPORTANT: Ifthe "E" flashes alone, without
alternating to a "c" or "o", a hardware error has
occurred. Call for service.
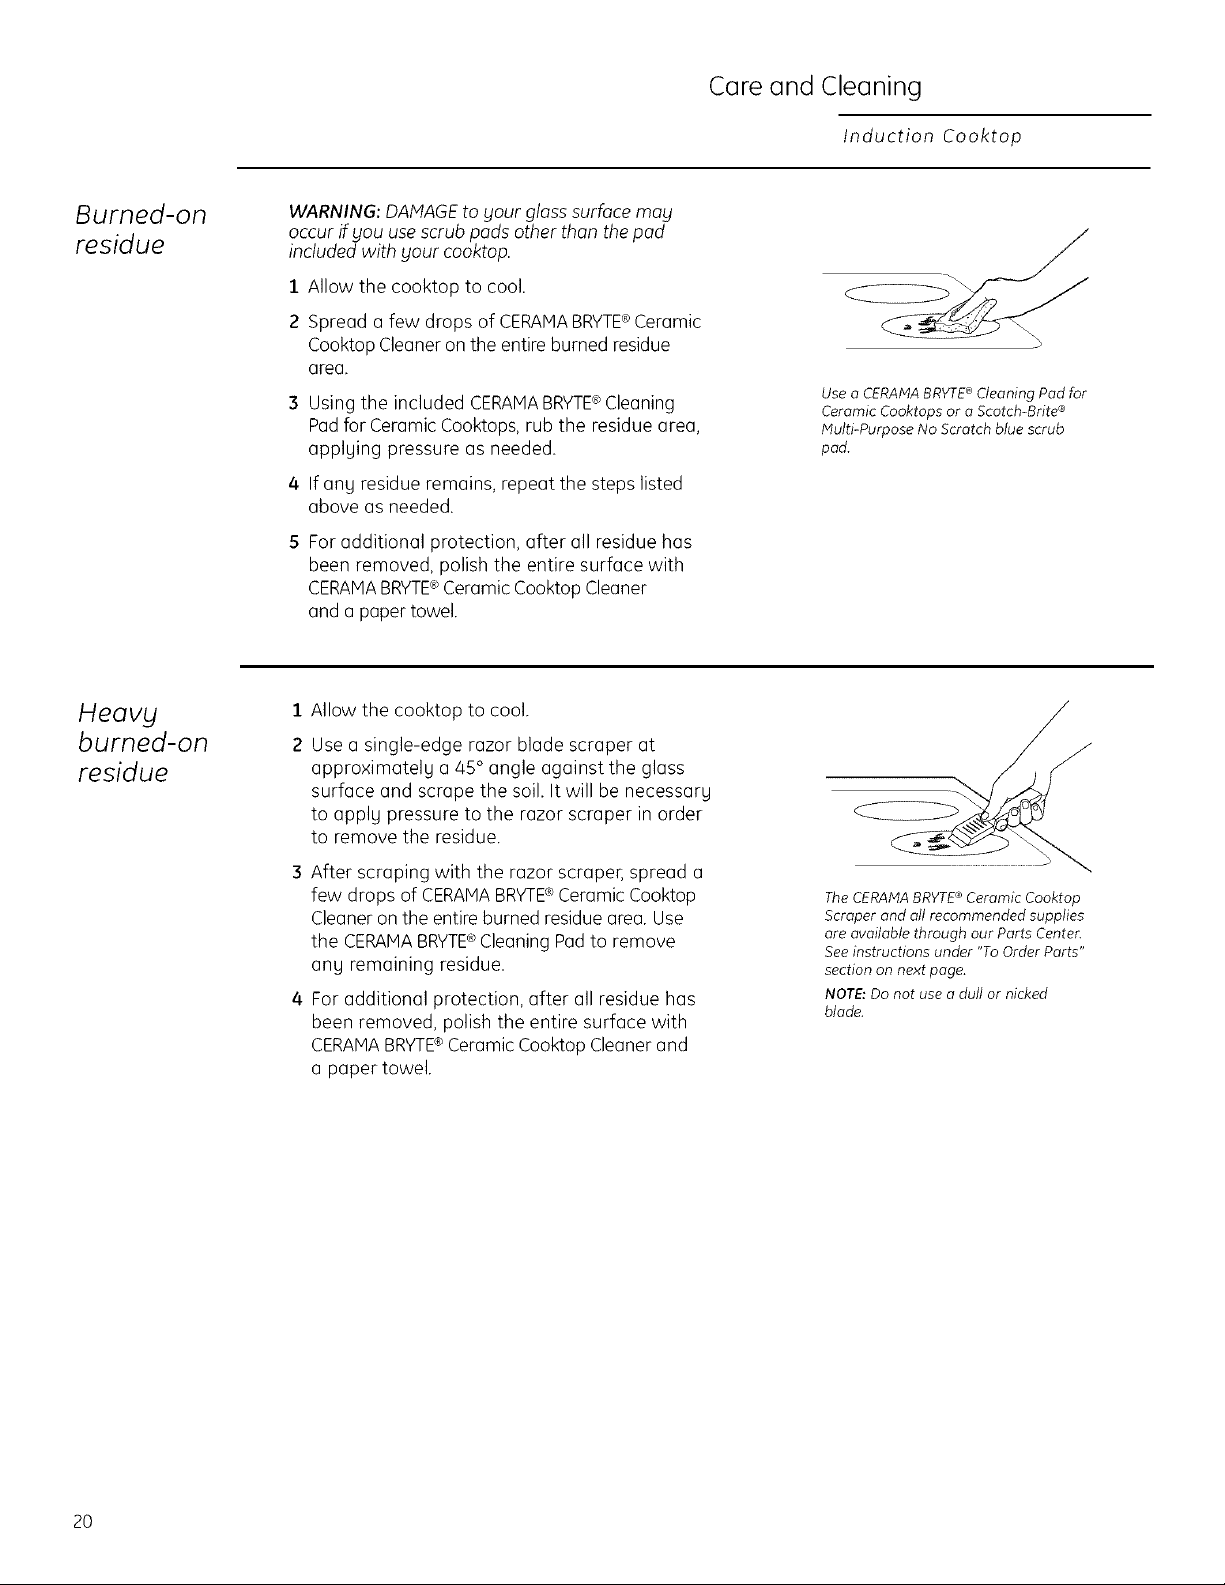
Control lock IMPORTANT: As a convenience, you can lock the
entire cooktop at any time when it is not in use or
before cleaning. Locking the cooktop will prevent
surface elements from being turned on accidentally.
To lock the cooktop:
Touch and hold the CONTROL LOCK pad for 5
seconds.
A two-beep signal will sound, and the CONTROL
LOCK light will glow, indicating that the cooktop is
locked.
If the cooktop is locked while a surface element
is in use, it will automatically tum off.
The CONTROL LOCK does not affect the timer.
If Control Lock is set while the timer is counting
down, it will continue to operate.
To unlock the cooktop:
Touch and hold the CONTROL LOCK pad again
for 5 seconds. A two-beep signal will sound, and
the CONTROL LOCK light will go out, indicating
that the cooktop is unlocked.
@
17

Using Your Cooktop
Induction Cooktop
Observe
the following
points in
canning
When canning with water-bath or pressure
canner, larger-diameter pots may be used. This is
because boiling water temperatures (even under
pressure) are not harmful to the cooktop surfaces
surrounding the surface elements.
HOWEVER,DO NOTUSELARGE-DIAMETER
CANNERSOROTHERLARGE-DIAMETERPOTSFOR
FRYINGORBOILINGFOODSOTHERTHANWATER.
Most syrup or sauce mixtures-and all types of
frying--cook at temperatures much higher than
boiling water. Suchtemperatures could eventually
harm the glass cooktop surfaces.
1 Be sure the canner fits over the center of the
surface element. If your cooktop or its location
does not allow the canner to be centered on
the surface element, use smaller-diameter pots
for good canning results.
2 Flat-bottomed canners must be used. Do not
use canners with flanged or rippled bottoms
(often found in enamelware) because they
don't make enough contact with the surface
elements and take a long time to boil water.
3 When canning, use recipes and procedures
from reputable sources. Reliable recipes
and procedures are available from the
manufacturer of your canner; manufacturers
of glass jars for canning, such as Balland Kerr
brand; and the United States Department
of Agriculture Extension Service,
4 Remember that canning is a process that
generates large amounts of steam. To avoid
burns from steam or heat, be careful when
canning,
Right!l
Wrong!l
Note: Flat-bottomed canners are
required for glass cooktops.
NOTE:If your house has low voltage, canning
may take longer than expected, even though
directions have been carefully followed. The
process time will be shortened by:
(1) using a pressure canner, and
(2) starting with HOTtap water for fastest
heating of large quantities of water.
CAUTION:
• Safe canning requires that harmful
microorganisms are destroyed and that the
jars are sealed completely. When canning
foods in a water-bath canner, a gentle but
steady boil must be maintained for the
required time. When canning foods in a
pressure canner, the pressure must be
maintained for the required time.
• After you have adjusted the controls, it isvery
important to make sure the prescribed boil or
pressure levels are maintained for the required
time.
18
• Since you must make sure to process the
canning jars for the prescribed time, with no
interruption in processing time, do not can
on any cooktop surface element if your canner
is not flat.

Care and Cleaning
Induction Cooktop
Be sure electrical power is off and oil surfaces ore cool before cleaning any part of the cooktop.
How to remove
protective
shipping film
and packaging
tape
Control lock
pad
Normal
daily
cleaning
Carefully grasp a corner of the protective shipping
film with your fingers and slowly peel it from the
appliance surface. Do not useany sharp items to
remove the film. Removeall of the film before using
the appliance for the first time. Toassure no damage
isdone to the finish of the product, the safest way to
remove the adhesivefrom packaging tape on new
As a convenience, you can lock the entire
cooktop at any time when it is not in use or
before cleaning.
Locking the cooktop will prevent surface
elements from being turned on accidentally.
Begin by locking the cooktop; see
Control Lock.
UseCERAMABRYTE®Ceramic Cooktop Cleaner on
the glass cooktop.
Tomaintain and protect the surface of your glass
cooktop, follow these steps:
appliances is an application of a household liquid
dishwashing detergent. Apply with a soft cloth and
allow to soak.
NOTE:The adhesive must be removed from all
parts. It cannot be removed if it is baked on.
1 Beforeusingthe cooktop for thefirst time, clean it
with CERAMABRYTE®CeramicCooktop Cleaner
Thishelps protect the top and makes cleanup
easier
2 Daily useof CERAMABRYTE®Ceramic Cooktop
Cleanerwill help keep the cooktop looking new.
3 Shakethe cleaning cream well. Apply a few drops
of CERAMABRYTE®Ceramic CooktopCleaner
directly to the cooktop.
4 Usea paper towel or CERAMABRYTE¢ Cleaning
Padfor Ceramic Cooktopsto clean the entire
cooktop surface.
5 Use a dry cloth or paper towel to remove all
cleaning residue. No need to rinse.
NOTE:It is very important that you DONOTheat
the cooktop until it has been cleaned thoroughl_l.
Clean gour cooktop after each spill.
Use CERAMABRYTE®Ceramic
Cooktop Cleaner.
19
Careand Cleaning
Induction Cooktop
Burned-on
residue
Heavg
burned-on
residue
WARNING: DAMAGEto Four glass surface mag
occur ifgou usescrub pads other than the pad
included with Four cooktop.
1 Allow the cooktop to cool.
2 Spread a few drops of CERAMA BRYTE®Ceramic
Cooktop Cleaner on the entire burned residue
area.
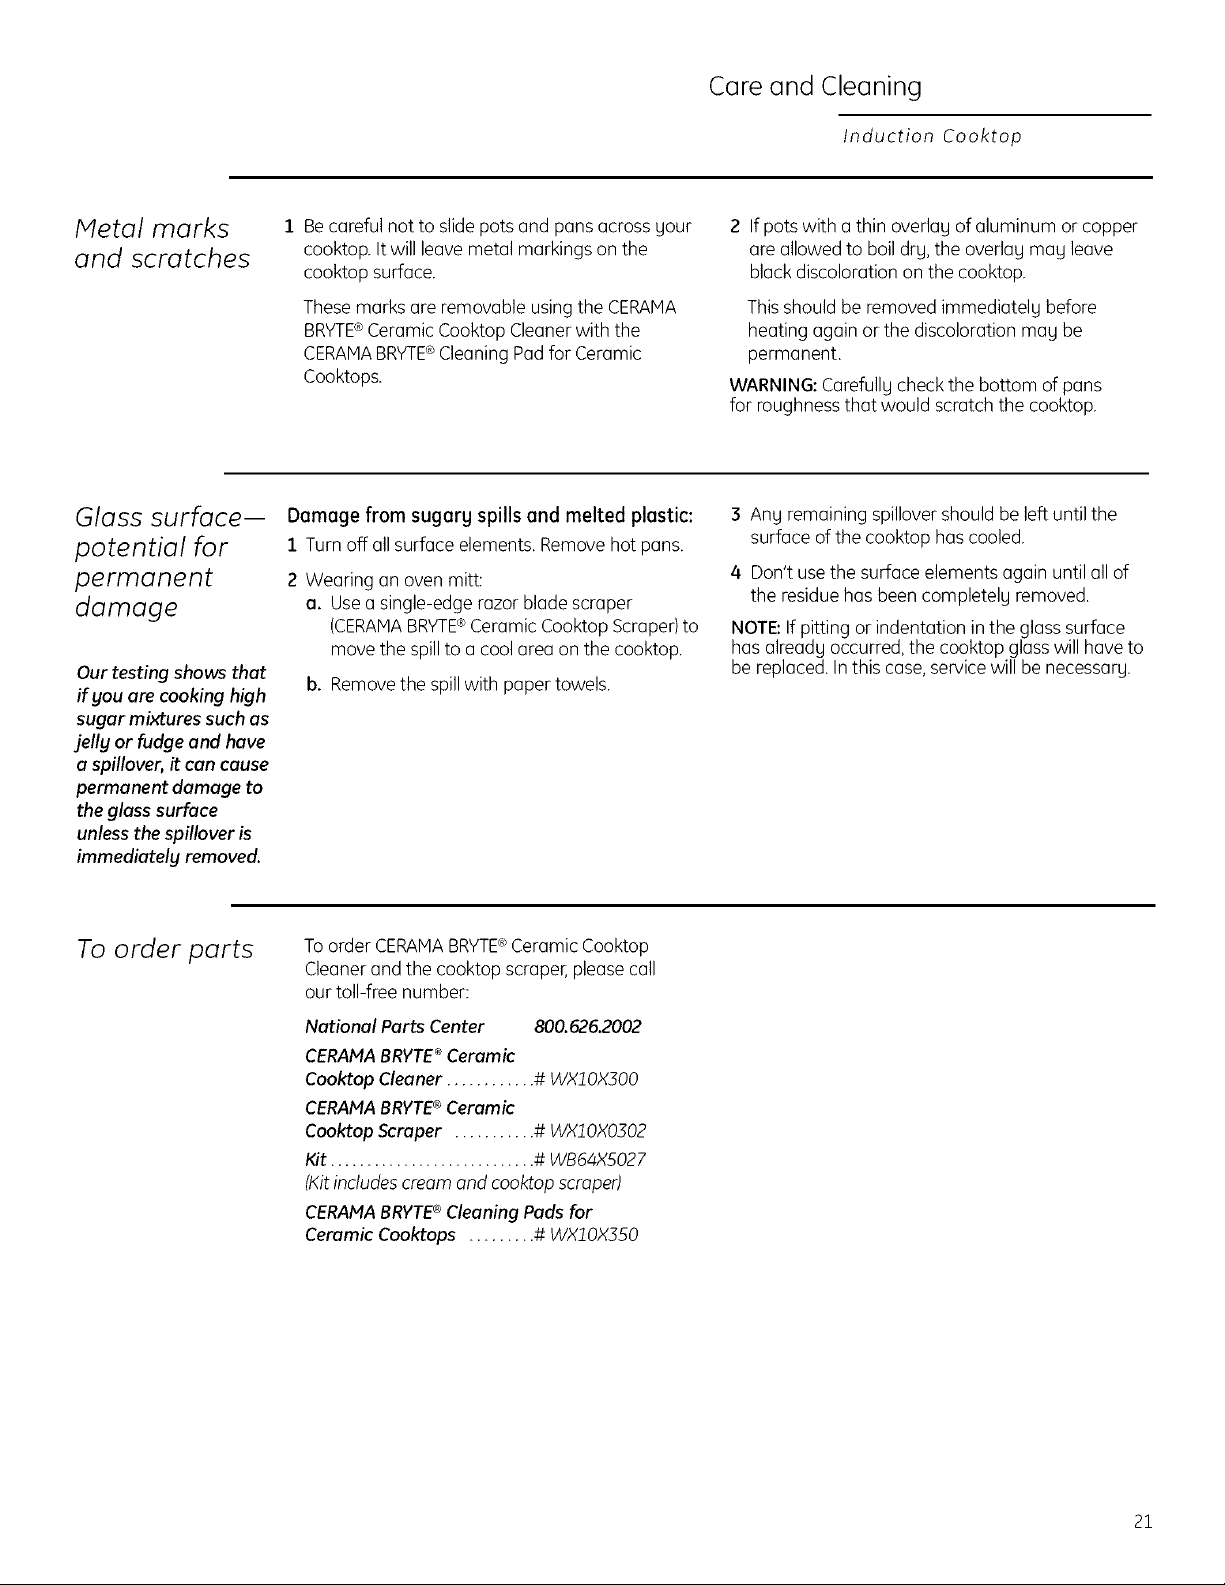
3 Using the included CERAMABRYTE®Cleaning
Padfor CeramicCooktops, rub the residue area,
applging pressure as needed.
4 If any residue remains, repeat the steps listed
above as needed.
For additional protection, after all residue has
been removed, polish the entire surface with
CERAMABRYTE®Ceramic CooktopCleaner
and a paper towel.
1
Allow the cooktop to cool.
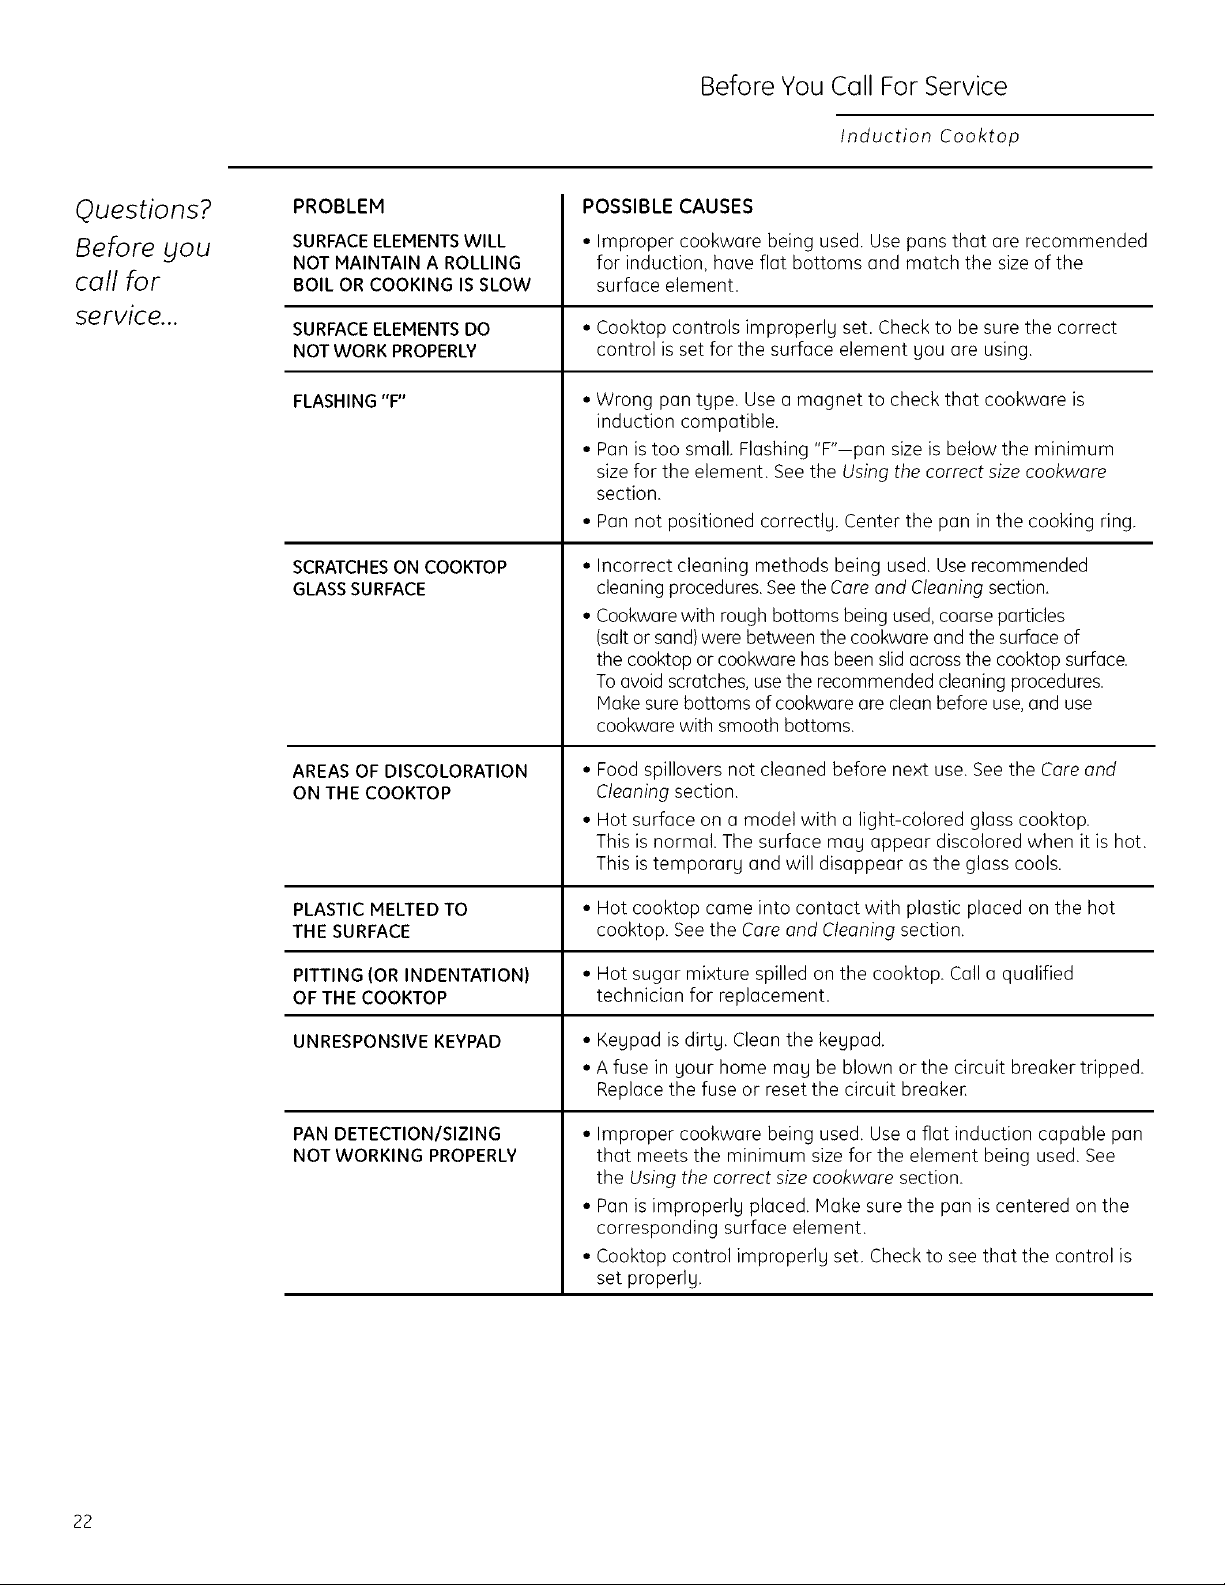
2
Use a single-edge razor blade scraper at
approximatelg a 45° angle against the glass
surface and scrape the soil. It will be necessarg
to applg pressure to the razor scraper in order
to remove the residue.
Use a CERANABRYTE®Cleaning Pad for
Ceramic Cooktops ar a Scotch-Brite ®
Multi-Purpose No Scratch blue scrub
pad.
3 After scraping with the razor scraper, spread a
few drops of CERAMABRYTE¢ CeramicCooktop
Cleaneron the entire burned residuearea. Use
the CERAMABRYTE®Cleaning Padto remove
ang remaining residue.
4 For additional protection, after all residue has
been removed, polish the entire surface with
CERAMABRYTE¢ Ceramic Cooktop Cleanerand
a paper towel.
The CERAMA BRVTE®Ceramic Cooktop
Scraper and all recommended supplies
are available through our Parts Center.
See instructions under "To Order Parts"
section on next page.
NOTE: Da not use a dull or nicked
blade.
20
Careand Cleaning
Induction Cooktop
Metal marks
and scratches
Glass surface--
potential for
permanent
damage
Our testing shows that
if you are cooking high
sugar mixtures such as
jelly or fudge and have
a spillover, it can cause
permanent damage to
the glass surface
unless the spillover is
immediately removed.
3. Becareful not to slidepots and pansacross gour
cooktop. It will leave metal markings on the
cooktop surface.
Thesemarks areremovable usingthe CERAMA
BRYTE®Ceramic Cooktop Cleanerwith the
CERAMABRYTE®CleaningPad for Ceramic
Cooktops.
Damage from sugary spills and melted plastic:
1 Turn off all surface elements, Remove hot pans.
2 Wearing an oven mitt:
a. Usea single-edgerazor blade scraper
(CERAMABRYTE®Ceramic Cooktop Scraper)to
move the spillto a coolarea on the cooktop
b. Removethe spillwith paper towels
2 If pots with a thin overlau of aluminum or copper
are allowed to boil dry, the overlau mau leave
black discoloration on the cooktop.
Thisshould be removed immediatelu before
heating again or the discoloration mag be
permanent.
WARNING:Carefullu check the bottom of pans
for roughnessthat would scratch the cooktop.
3 Any remaining spillovershould be left until the
surface of the cooktop has cooled.
4 Don't usethe surface elements again until all of
the residue has been completelu removed.
NOTE:If pitting or indentation in the glass surface
has alreadg occurred,the cooktop glasswill have to
be replaced.Inthis case,servicewill be necessarg.
To order parts
Toorder CERAMABRYTE®Ceramic Cooktop
Cleanerand the cooktop scraper,pleasecall
our toll-free number:
National Parts Center 800.626.2002
CERAMA BRVTE®Ceramic
Cooktop Cleaner ............ # WXl OX300
CERAMA BRVTE® Ceramic
Cooktop Scraper ........... # WX10XOZ02
Kit ............................ # WB54XS027
(Kit includes cream and cooktop scraper)
CERAMA BRVTE® Cleaning Pads for
Ceramic Cooktops ......... # WXlOX350
21
Before You Call For Service
Induction Cooktop
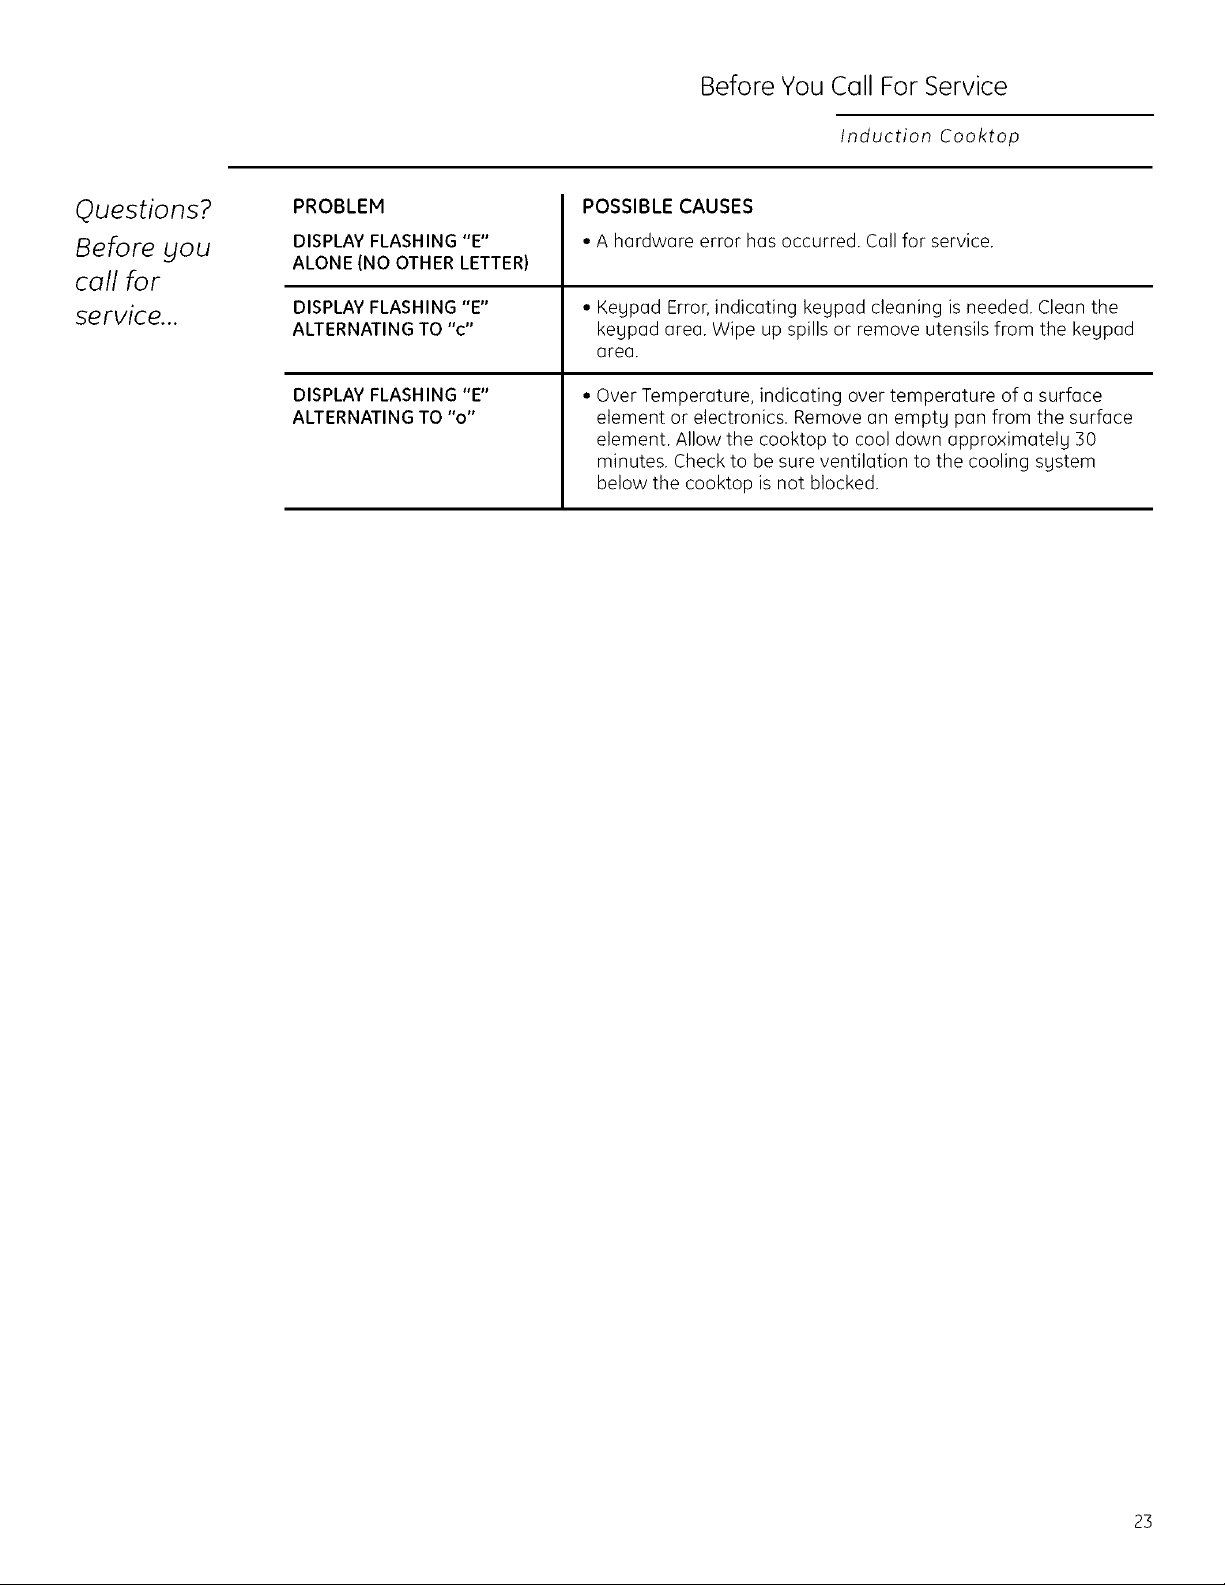
Questions?
Before you
call for
service...
PROBLEM
SURFACE ELEMENTS WILL
NOT MAINTAIN A ROLLING
BOIL OR COOKING IS SLOW
SURFACE ELEMENTS DO • Cooktop controls improperlg set. Check to be sure the correct
NOT WORK PROPERLY control is set for the surface element gou are using.
FLASHING "F"
SCRATCHESON COOKTOP
GLASS SURFACE
POSSIBLE CAUSES
• Improper cookware being used. Use pans that are recommended
for induction, have flat bottoms and match the size of the
surface element.
• Wrong pan tgpe. Use a magnet to check that cookware is
induction compatible.
• Pan is too small. Flashing "F"-pan size is below the minimum
size for the element. See the Using the correct size cookware
section.
• Pan not positioned correctlg. Center the pan in the cooking ring.
• Incorrect cleaning methods being used. Userecommended
cleaning procedures.Seethe Core and Cleaning section.
• Cookwarewith roughbottoms being used,courseparticles
(saltor sand)were between the cookware and the surface of
the cooktop or cookware hasbeen slid across the cooktop surface.
To ovoid scratches,use the recommended cleaning procedures.
Make sure bottoms of cookware ore cleonbefore use,and use
cookware with smooth bottoms.
AREAS OF DISCOLORATION
ON THE COOKTOP
• Food spillovers not cleaned before next use. Seethe Core and
Cleaning section.
• Hot surface on a model with a light-colored gloss cooktop.
This is normal. The surface mag appear discolored when it is hot.
This is temporarg and will disappear as the gloss cools.
PLASTIC MELTED TO • Hot cooktop came into contact with plastic placed on the hot
THE SURFACE cooktop. See the Care and Cleaning section.
PITTING {OR INDENTATION} • Hot sugar mixture spilled on the cooktop. Call a qualified
OF THE COOKTOP technician for replacement.
UNRESPONSIVE KEYPAD • Kegpad is dirtg. Clean the kegpad.
• A fuse in gour home mug be blown or the circuit breaker tripped.
Replace the fuse or reset the circuit breaker.
PAN DETECTION/SIZING
NOT WORKING PROPERLY
• Improper cookware being used. Use a flat induction capable pan
that meets the minimum size for the element being used. See
the Using the correct size cookware section.
• Pan is improperlg placed. Make sure the pan is centered on the
corresponding surface element.
• Cooktop control improperlg set. Check to see that the control is
set properlg.
22
Before You Call For Service
Induction Cooktop
Questions?
Before you
call for
service...
PROBLEM
DISPLAY FLASHING "E"
ALONE (NO OTHER LETTER)
DISPLAY FLASHING "E"
ALTERNATING TO "c"
DISPLAY FLASHING "E"
ALTERNATING TO "o"
POSSIBLE CAUSES
• A hardware error has occurred. Call for service.
• Keypad Error,indicating keypad cleaning isneeded. Clean the
keypad area. Wipe up spills or remove utensils from the keypad
area.
• Over Temperature, indicating over temperature of a surface
element or electronics. Remove an empty pan from the surface
element. Allow the cooktop to cool down approximately 30
minutes. Check to be sure ventilation to the cooling system
below the cooktop is not blocked.
23

Notes
Induction Cooktop
24
 Loading...