

Gateway FHD2302 Owner's Manual

®
FHD2302 23-inch Widescreen LCD Monitor
USERGUIDE


Contents
Contents
Chapter 1: Using Your Gateway Flat-Panel Monitor . . . . . . . . . . . . . . . . . . . . 1
Connecting the monitor . . . . . . . . . . . . . . . . . . . . . . . . . . . . . . . . . . . . . . . . . . . . . . . . . . . . 2
Connecting video inputs . . . . . . . . . . . . . . . . . . . . . . . . . . . . . . . . . . . . . . . . . . . . . 2
Connecting audio input (only for VGA/DVI input) . . . . . . . . . . . . . . . . . . . . . . . 3
Connecting USB cables . . . . . . . . . . . . . . . . . . . . . . . . . . . . . . . . . . . . . . . . . . . . . . . 4
Card Reader . . . . . . . . . . . . . . . . . . . . . . . . . . . . . . . . . . . . . . . . . . . . . . . . . . . . . . . . 5
Connecting the power . . . . . . . . . . . . . . . . . . . . . . . . . . . . . . . . . . . . . . . . . . . . . . . 6
Connecting a security cable . . . . . . . . . . . . . . . . . . . . . . . . . . . . . . . . . . . . . . . . . . 6
Basic front view . . . . . . . . . . . . . . . . . . . . . . . . . . . . . . . . . . . . . . . . . . . . . . . . . . . . . 7
Adjusting the angle . . . . . . . . . . . . . . . . . . . . . . . . . . . . . . . . . . . . . . . . . . . . . . . . . . . . . . . . 8
Starting the monitor . . . . . . . . . . . . . . . . . . . . . . . . . . . . . . . . . . . . . . . . . . . . . . . . . . . . . . . 8
Using the EzTouch menu buttons . . . . . . . . . . . . . . . . . . . . . . . . . . . . . . . . . . . . . 8
Turning on the monitor . . . . . . . . . . . . . . . . . . . . . . . . . . . . . . . . . . . . . . . . . . . . . . 8
Adjusting monitor settings . . . . . . . . . . . . . . . . . . . . . . . . . . . . . . . . . . . . . . . . . . . . . . . . . . 9
Using the EzTouch menu buttons . . . . . . . . . . . . . . . . . . . . . . . . . . . . . . . . . . . . . 9
Using the shortcut menu . . . . . . . . . . . . . . . . . . . . . . . . . . . . . . . . . . . . . . . . . . . . . 9
Using the main menu . . . . . . . . . . . . . . . . . . . . . . . . . . . . . . . . . . . . . . . . . . . . . . . 10
Changing Windows screen settings . . . . . . . . . . . . . . . . . . . . . . . . . . . . . . . . . . . . . . . . . 12
Changing color depth and screen resolution . . . . . . . . . . . . . . . . . . . . . . . . . . 12
Video modes . . . . . . . . . . . . . . . . . . . . . . . . . . . . . . . . . . . . . . . . . . . . . . . . . . . . . . . 13
Power management . . . . . . . . . . . . . . . . . . . . . . . . . . . . . . . . . . . . . . . . . . . . . . . . . . . . . . 14
Energy declaration . . . . . . . . . . . . . . . . . . . . . . . . . . . . . . . . . . . . . . . . . . . . . . . . . 14
Maintenace . . . . . . . . . . . . . . . . . . . . . . . . . . . . . . . . . . . . . . . . . . . . . . . . . . . . . . . . . . . . . . 14
Troubleshooting . . . . . . . . . . . . . . . . . . . . . . . . . . . . . . . . . . . . . . . . . . . . . . . . . . . . . . . . . . 15
No power . . . . . . . . . . . . . . . . . . . . . . . . . . . . . . . . . . . . . . . . . . . . . . . . . . . . . . . . . 15
No picture . . . . . . . . . . . . . . . . . . . . . . . . . . . . . . . . . . . . . . . . . . . . . . . . . . . . . . . . . 15
Display colors are wrong . . . . . . . . . . . . . . . . . . . . . . . . . . . . . . . . . . . . . . . . . . . 15
Picture has shadows or “ghosts” . . . . . . . . . . . . . . . . . . . . . . . . . . . . . . . . . . . . . 16
Color is not uniform . . . . . . . . . . . . . . . . . . . . . . . . . . . . . . . . . . . . . . . . . . . . . . . . 16
Image is not sized or centered correctly . . . . . . . . . . . . . . . . . . . . . . . . . . . . . .16
The monitor has pixels that are always dark or too bright . . . . . . . . . . . . . 16
FAQs . . . . . . . . . . . . . . . . . . . . . . . . . . . . . . . . . . . . . . . . . . . . . . . . . . . . . . . . . . . . . . . . . . . . 16
General . . . . . . . . . . . . . . . . . . . . . . . . . . . . . . . . . . . . . . . . . . . . . . . . . . . . . . . . . . .16
How To . . . . . . . . . . . . . . . . . . . . . . . . . . . . . . . . . . . . . . . . . . . . . . . . . . . . . . . . . . .17
Technical . . . . . . . . . . . . . . . . . . . . . . . . . . . . . . . . . . . . . . . . . . . . . . . . . . . . . . . . . . 17
Video/Display . . . . . . . . . . . . . . . . . . . . . . . . . . . . . . . . . . . . . . . . . . . . . . . . . . . . . . 18
Appendix A: Safety, Regulatory, and Legal Information . . . . . . . . . . . . . . 21
i

Contents
ii

CHAPTER 1
1
Using Your Gateway
Flat-Panel Monitor
• Connecting the monitor
• Adjusting the angle
• Starting the monitor
• Adjusting monitor settings
• Changing Windows screen settings
• Power management
• Maintenace
• Troubleshooting
• FAQs
CHAPTER 1: Using Your Gateway Flat-Panel Monitor
Connecting the monitor
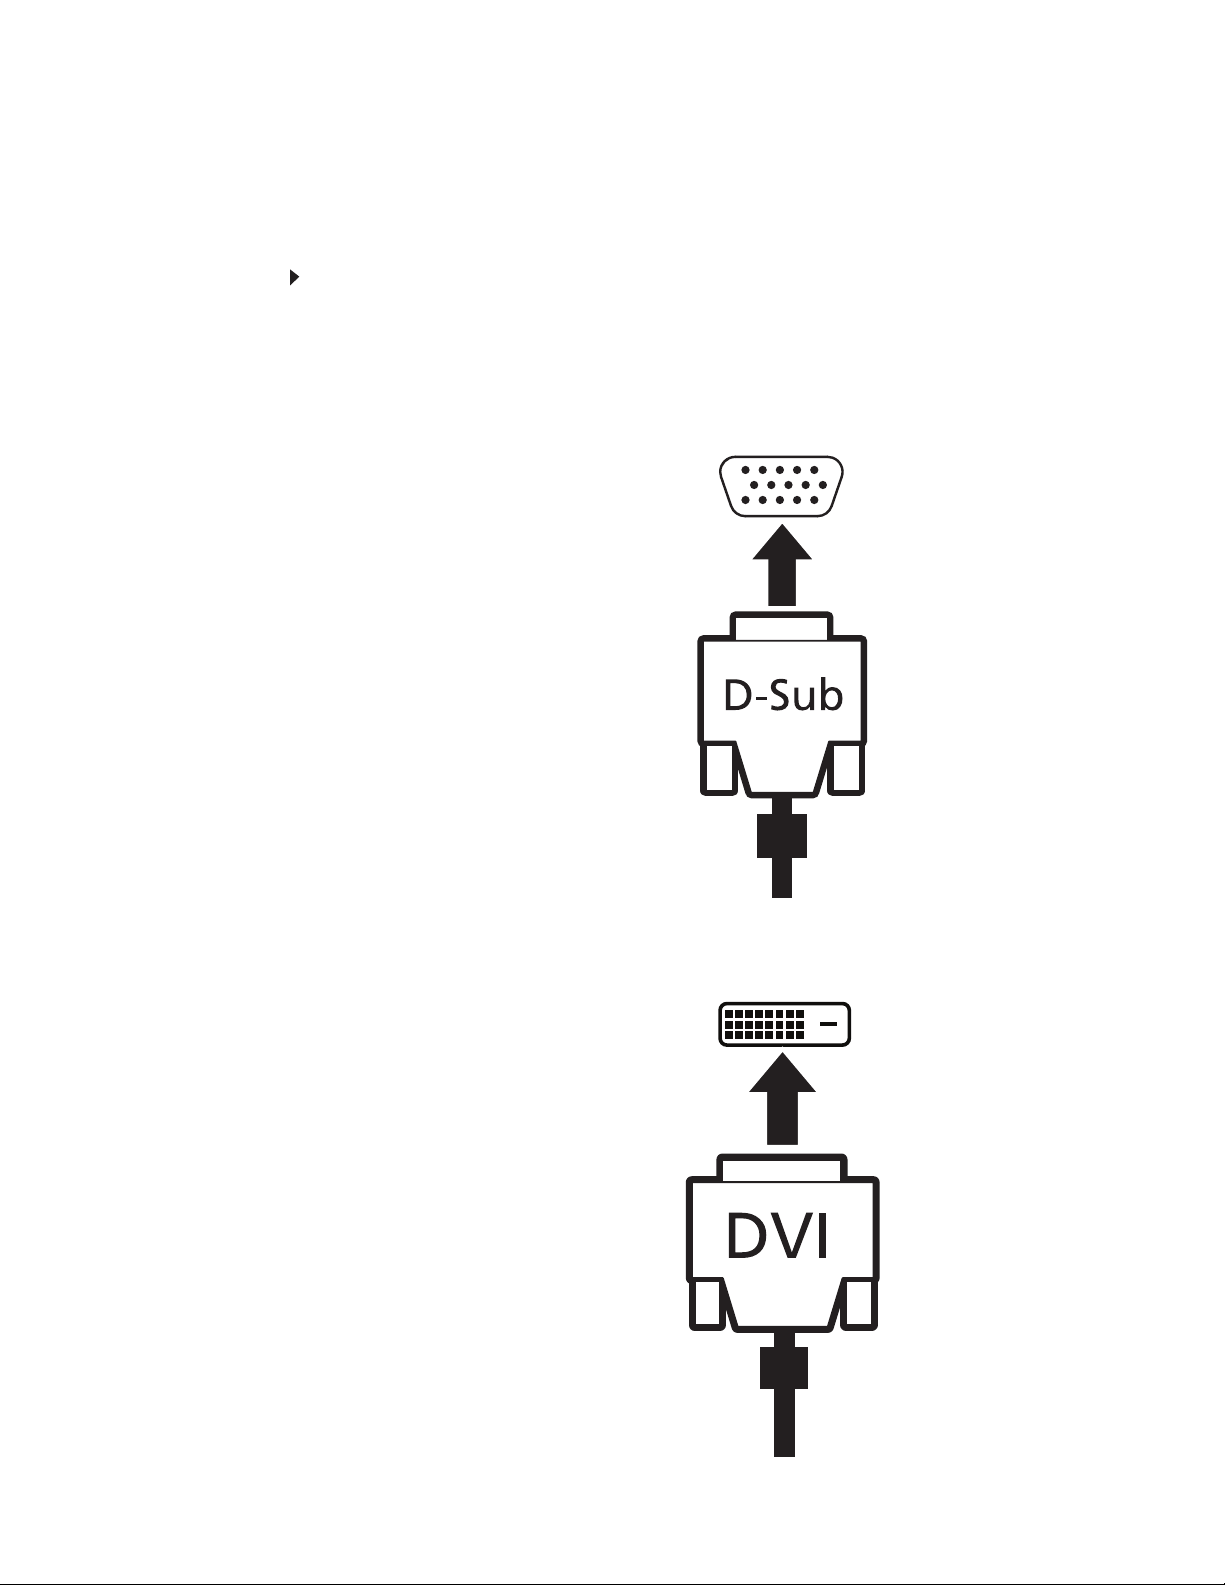
Connecting video inputs
To connect video sources to your monitor:
1 Position your computer and the monitor so you can reach the back of each.
2 Connect the blue VGA video cable to the blue VGA video connector under the back of the
display.
3 Ensure your computer is turned off. Connect the other end of the VGA cable to the video
port on the back of your computer.
2
- OR If your computer has a digital video connector (DVI), connect a DVI video cable to the white
connector under the back of the display.
www.gateway.com
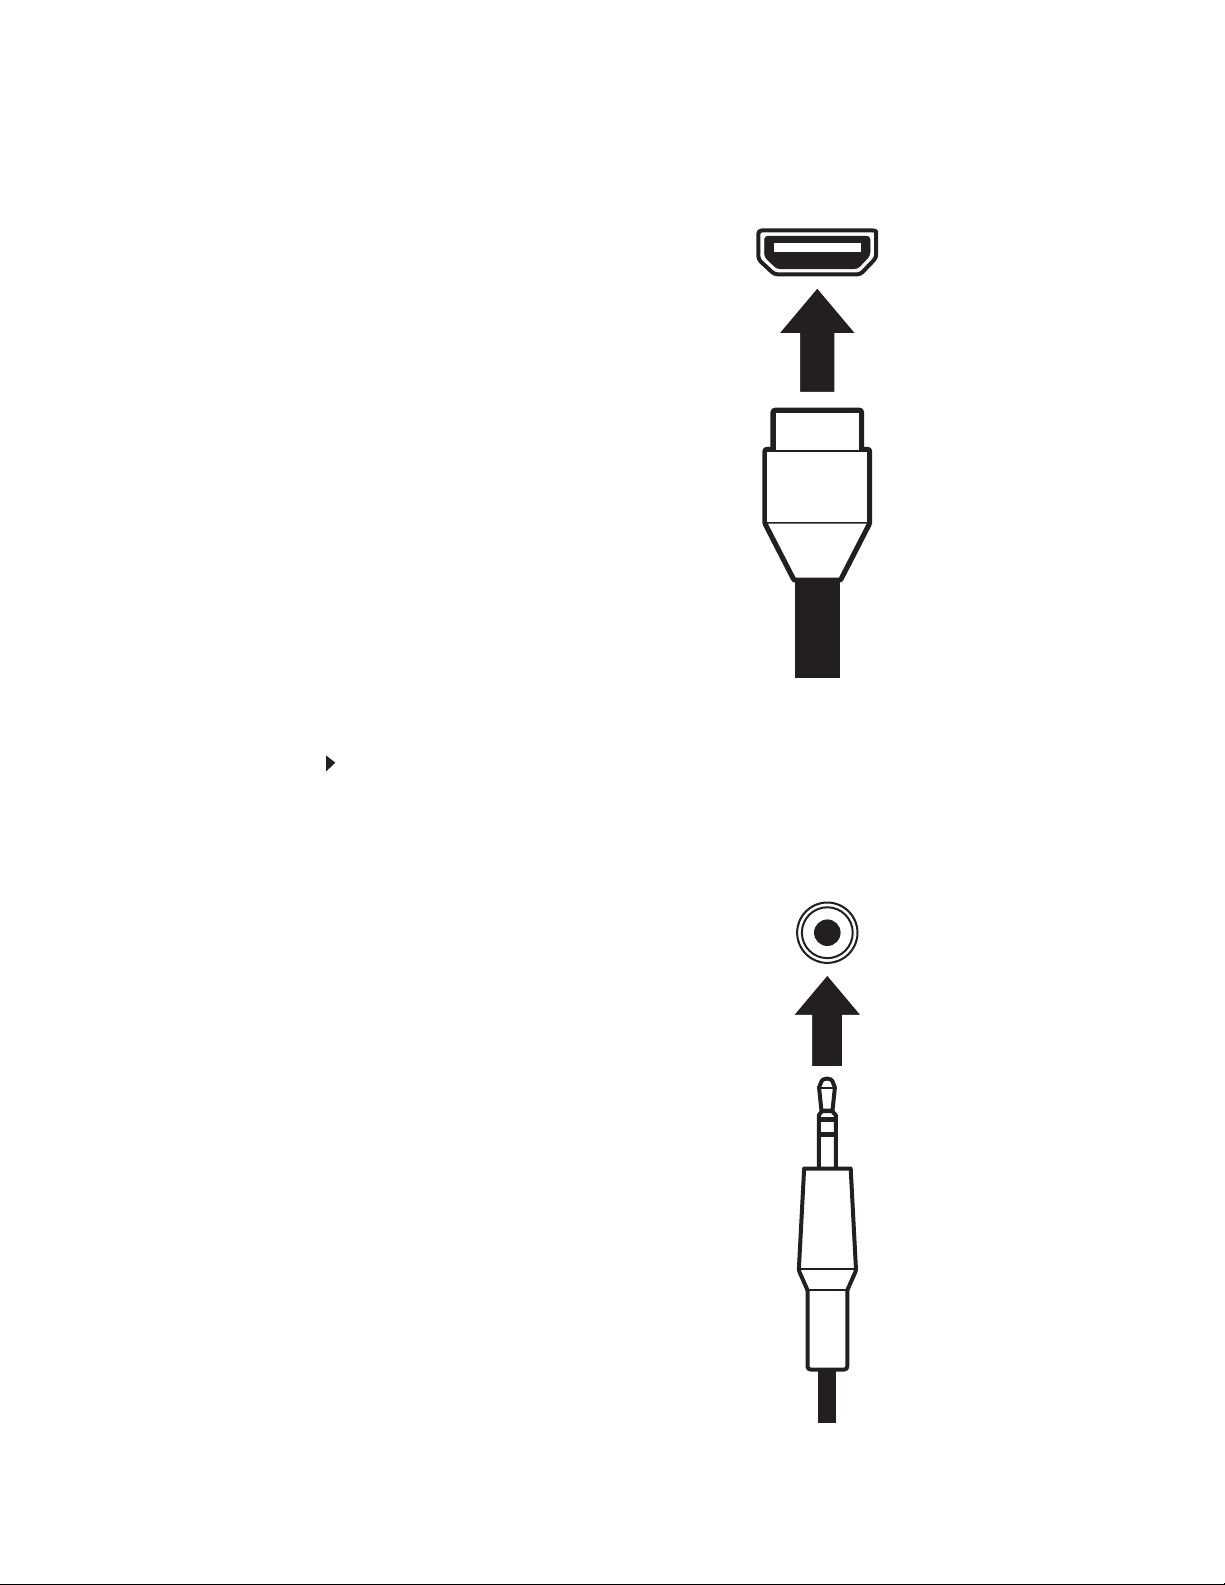
- OR If your computer has a High-Definition Multimedia Interface (HDMI), connect a HDMI cable
to the black connector under the back of the display.
(Option)
Connecting audio input (only for VGA/DVI input)
To connect audio source to your monitor:
1 Position your computer and the monitor so you can reach the back of each.
2 Connect the audio cable to the green audio connector under the back of the display.
3 Ensure your computer is turned off. Connect the other end of the audio cable to the audio
port on the back of your computer.
3
CHAPTER 1: Using Your Gateway Flat-Panel Monitor
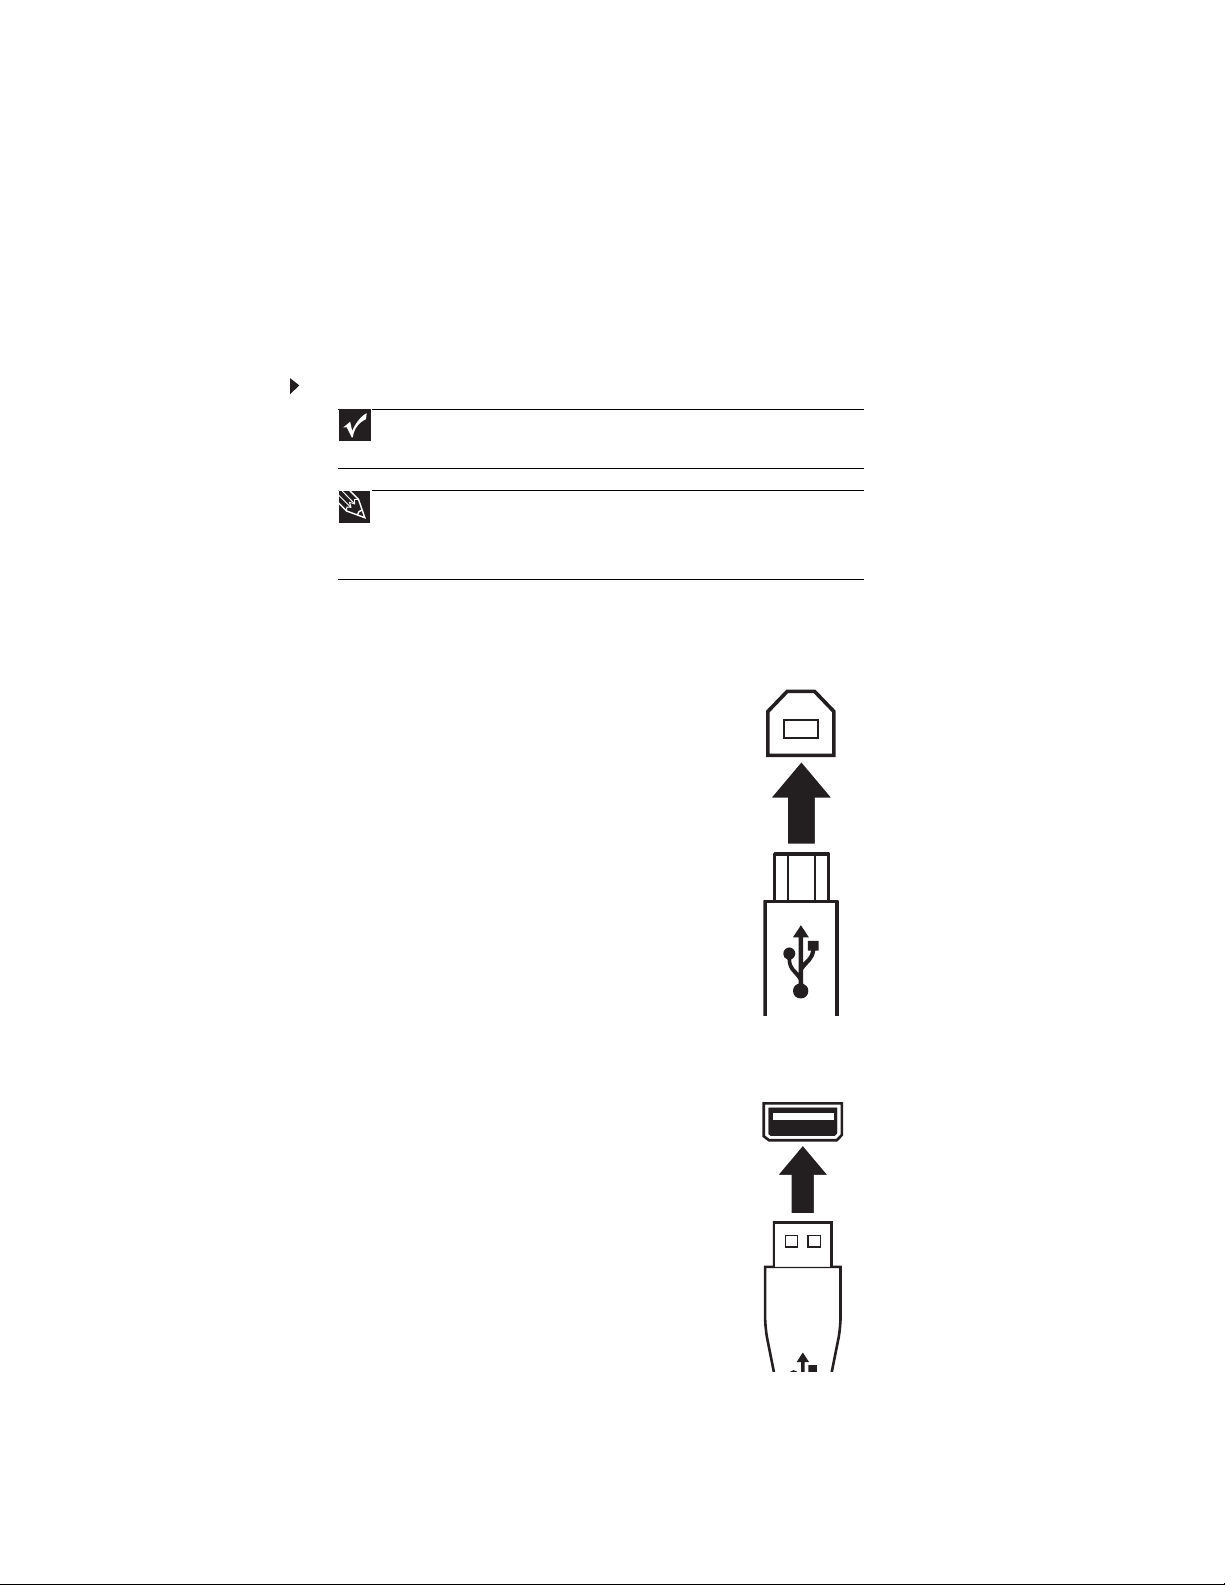
Connecting USB cables
Your monitor has the built-in card reader and USB 2.0 hub. In order to use
these devices, your monitor needs to be connected to your computer using the supplied USB A-B
cable.
The USB 2.0 hub will let you conveniently connect USB devices. Because your computer case may
be under your desk or inside a cabinet, these monitor-mounted USB ports can be much easier to
access.
To use the monitor’s USB ports, you must first connect the monitor to a USB port on your computer.
Because the USB hub uses power from the monitor, it does not require its own power connection.
To connect USB cables:
is connected to a USB 1.1 port on your computer or on a USB hub.
you want to keep connected most of the time, such as a keyboard, a mouse, or a
printer. Use the USB 2.0 ports on the side of the monitor for connecting USB devices
that are frequently disconnected, such as cameras, flash drives, and USB hard drives.
1 Connect the included USB cable to the USB-in (“B” type) port on your monitor, then connect
the other end (“A” type) of the cable to a USB 2.0 port on your computer.
(Option)
Important
The built-in USB 2.0 hub provides only low-speed connections if its USB-in port
Tip
Use the USB 2.0 ports on the back of the monitor for connecting USB devices
4
2 Connect any USB device to one of the available USB 2.0 ports on the monitor.
www.gateway.com
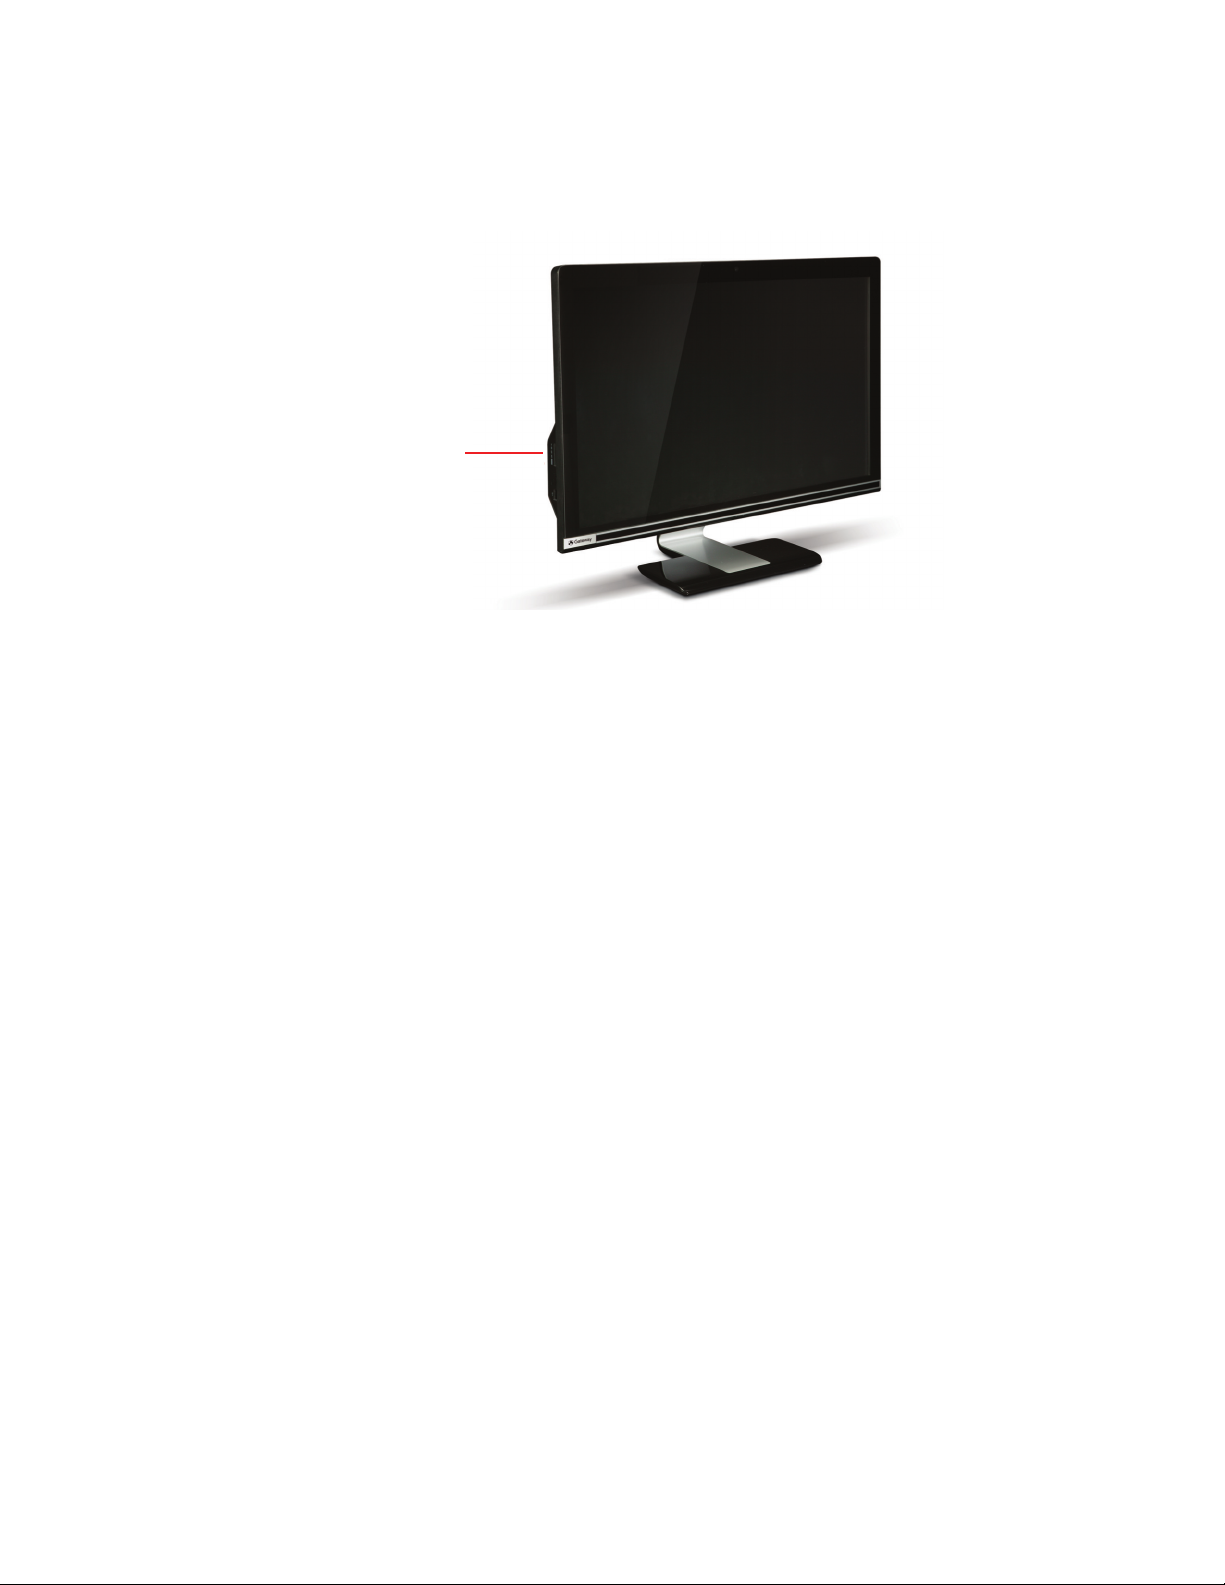
Card Reader
Card Reader
(Option)
The Card reader is on the left hand side of the monitor as shown and supports XD/SD/MMC/MS.
5
 Loading...